
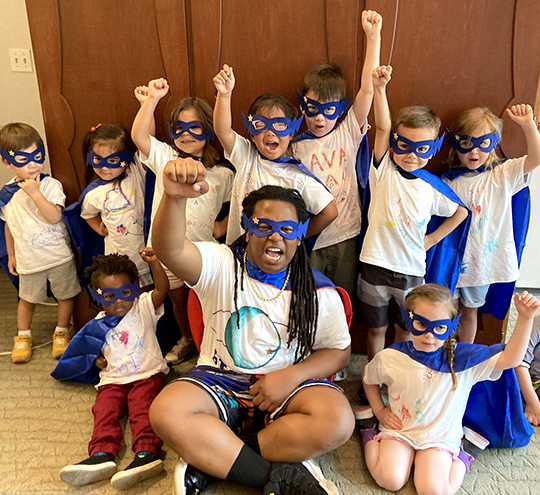
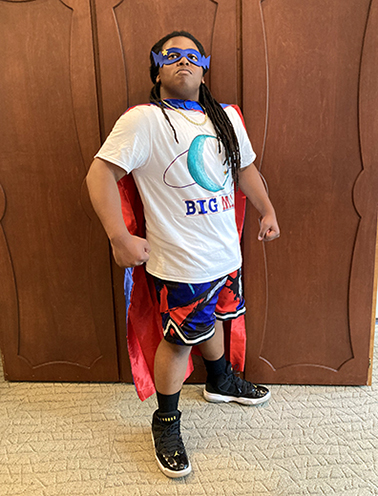
 It’s a bird, it’s a plane, it’s SUPER BIG MAN! Jadon, our high school summer intern, put together one of the most fantastic story times our library has ever seen, complete with jumps, landings, super poses, villains, a kidnapped Miss Katie, and flowing capes!
We read Ten Rules of Being a Superhero by Deb Pilutti (Henry Holt and Company, 2014). Captain Magma and Lava Boy are out and about the house and neighborhood. There are ten rules of being a superhero, from quick response time, to knowing your superpower, to making noise, and of course being brave. Unless there’s a bee in the garden and you’re scared, then your sidekick might need to rescue you.
You’ll need:
- 1 white t-shirt
- 1 cape & mask
- Fabric markers for decorating
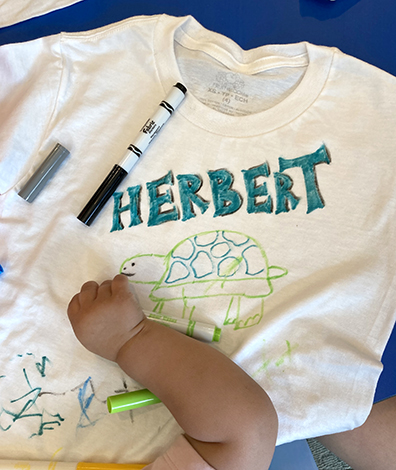
As far as story time projects go, this was our simplest yet! Kids decorated white t-shirts with fabric markers. Some wrote their super names, some drew their favorite things. My personal favorite was a tribute to Herbert the Super Turtle (whose origin story still remains a mystery)…
 The superheros then received a shiny blue cape (a 20 pack on Amazon is $35). The capes were quite cute and fastened with Velcro. Fabric eye masks with elastic bands also came in the set, but we didn’t hand those out just yet. You had to earn the eye masks by completing all your super tasks!
And this is where things got really awesome.
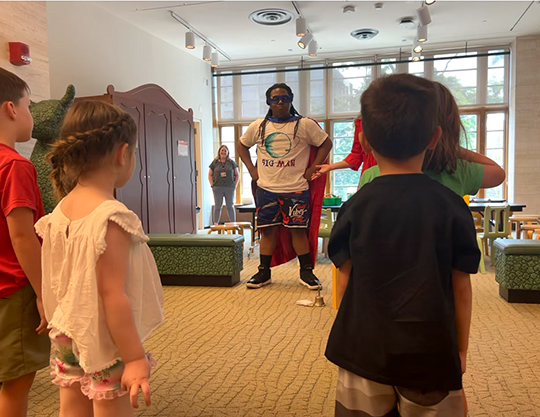
Our summer intern Jadon knocked it out of the park playing SUPER BIG MAN. When it was time to introduce the craft project, he came leaping into the story time area, posing, booming, and just generally being all around super. He chatted with the kids while they were working on their shirts (and added stars if they wanted), asked them about their super powers, gave fist bumps, and just absolutely rocked it.
 When everyone had their shirts and capes on, Jadon took them through some superhero poses. Then he moved the gang on to power jumps (leaping over a soft block):
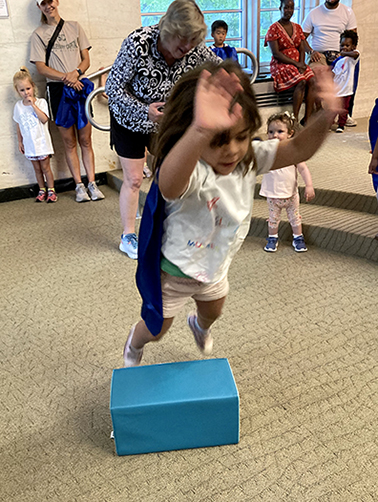 Next he demonstrated the classic superhero landing and invited the kids to try it too. We used a padded mat for safety. Just look at this perfect form!

Finally, Jadon lead everyone outside to find good deeds to accomplish. But unbeknownst to the kids, the evil Dr. Zafarious was hiding behind a tree on the library plaza. Dr. Zafarious was EPICALLY played by the talented Zachary Painter, Assistant University Librarian for Science and Engineering. While the kids were practicing their super poses, Dr. Zafarious swooped in and kidnapped Miss Katie! The superheroes quickly sprung into action and saved the day. And yes, we did get everything on video…
Villain thwarted, the kids earned their masks and we headed back inside for some epic cape blowing poses in front of box fans. It really was an amazing story time full of good feels and smiles. You could tell the kids were just so proud of themselves.
This story time would not have been possible with the boundless energy and creative planning of Jadon, who is a rising high school sophomore and official library legend! We caught up with him for a quick interview…
 Tell us a little about yourself!
I live with a family of 4 (extended family aside), each person in my biological family is musical in at least one way. Most common in singing or piano. I’ve been attacking all sides, including other instruments. I’m a multi-instrumentalist and a producer. I’m an aspiring actor as well. I’m taking acting coaching from Jerry Compiere, a highly accomplished musician and part time drama producer.
What is your superpower?
My superpower is Intelligence. Intellectually, I’m able to compensate for my strength, have a good alias, and I’m able to look a little stupid to hide the fact I’m not. I can read people, and I’m pretty outgoing.
How was story time at Cotsen?
AMAZING! Story time was such a different experience, it’s difficult to put it into words. Cotsen was an extremely different experience from all the other places I’ve worked. And I’ve worked in daycares before with my father. He works in one now. It was much different to be seen as a special guest kinda like SNL and I were Bruno Mars. It was amazing from the moment I entered and heard the kids gasp in amazement. I loved working there and I hope one day I can work there once more.
What’s next for Big Man, superhero extraordinaire (and Jadon)?
Big Man is trying the “Clark Kent thing.” Laying low, being normal (Somewhat normal) and being ready to save the world when needed. And Jadon…he’s going to figure out who he is and what he has to contribute to the world. Direct quote from Big Man, “I’m starting with the man in the mirror. I’m asking him to change his ways. And no message could’ve been any clearer. If they wanna make the world a better place. Take a look at yourself and then make a change.”
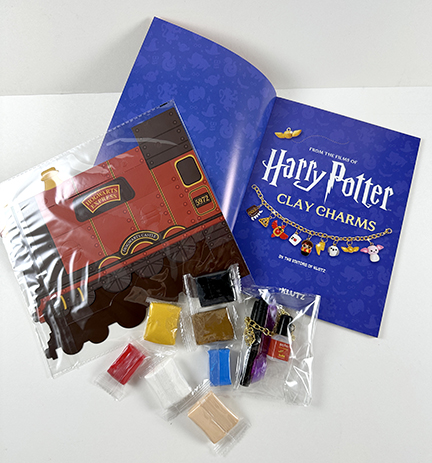
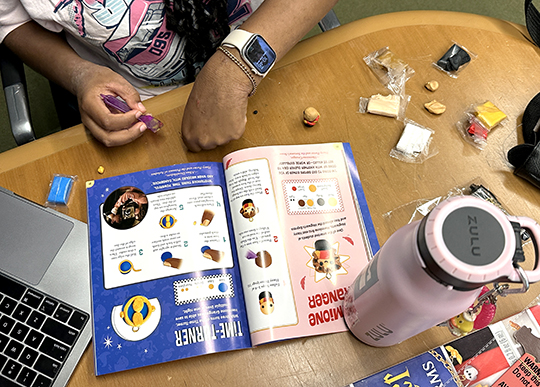
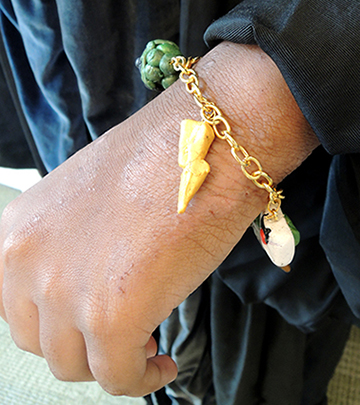
 Professor Flitwick is going to be thrilled, because this post is all about charms! When we learned that Malaysia, one of our awesome high school summer interns, was a huge Harry Potter fan, we just knew this kit was hers to test! Accio bracelet!
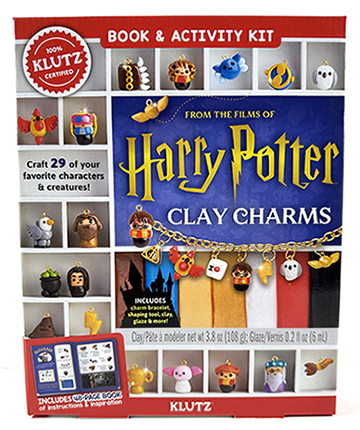
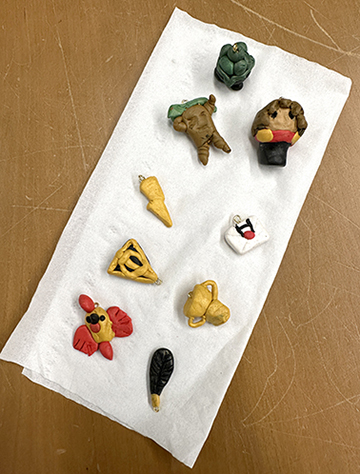
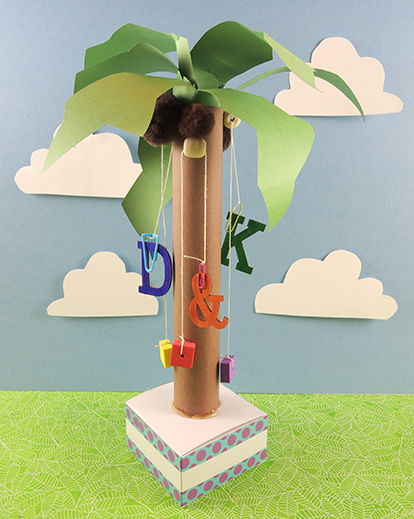 Climb little alphabet, climb! You know those letters, you know that coconut tree, and you know this beloved book. We added a simple dynamic pull string effect to an iconic classic, and the results were boom-tastic!
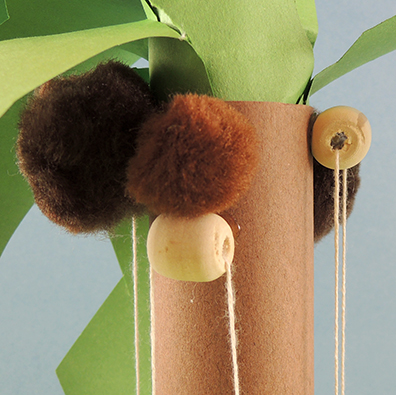 Tie one end of the string to a bead, and the other end to a small paperclip. Next, decorate your letters with markers. We used leftover wood letters from
  You might ask – why not just permanently tie the letter to the string? You could definitely do that. But we wanted the kids to have multiple interchangeable letters (conveniently stored in the box base of the tree). This way, they can follow along with the story, and send different letters up the tree as they’re mentioned in the story!