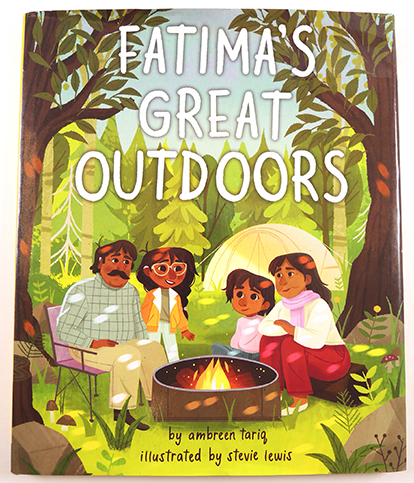
 We recently discovered the coolest little easter egg (and book), and wanted to share it!
Fatima’s Great Outdoors (Kokila, 2021) is written by Ambreen Tariq – author, activist, and founder of @BrownPeopleCamping. The story follows Fatima Khazi and her family as they go camping for the first time. From building fires to fending off spiders, the family learns a lot about what it means to come together and learn new things. There are so many reasons to love and enjoy this book, and it’s beautifully illustrated by outdoor enthusiast Stevie Lewis, who we meet here.
The cover of the book is bright and charming, but when you remove the dust jacket…SURPRISE! The scene turns to night!
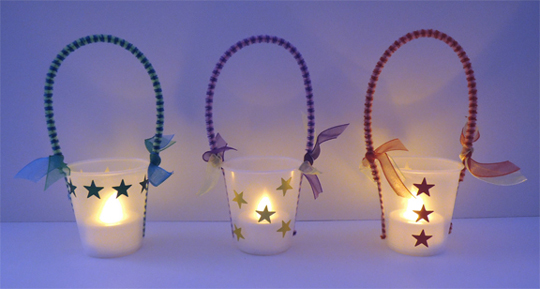
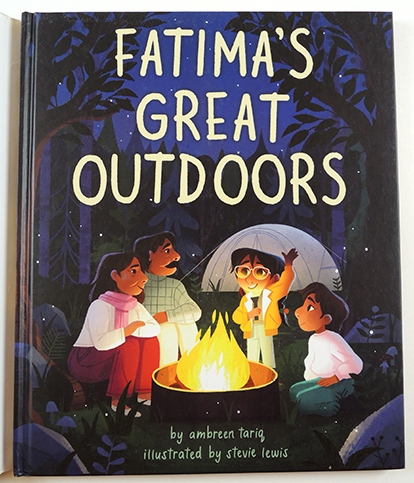 And yes, the back cover does that as well, but you’ll have to acquire a copy and see the lovely image for yourself! Better yet, turn this into a story time and activity with this simple (but SUPER popular) Dixie cup lantern…
Or you can put together this legal-size manilla folder backpack and supplies!
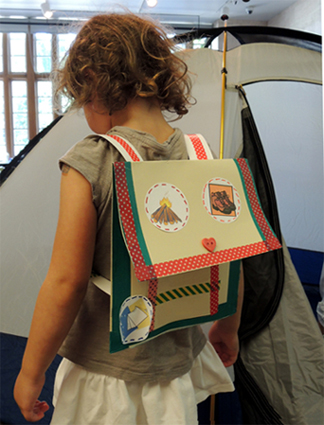 Don’t forget to pack the marshmallows!

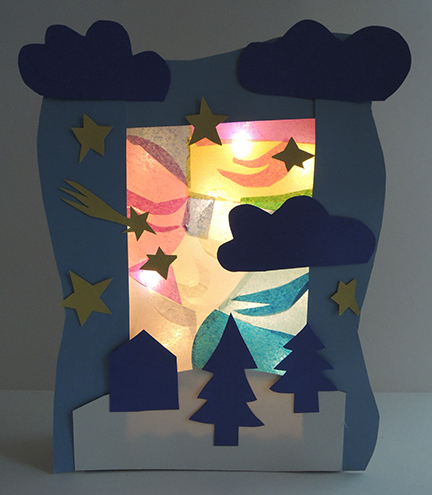 It’s a simple project, but oh-so-beautiful! Design your own aurora borealis in Arctic skies, then light it up for a creative and colorful glow box!
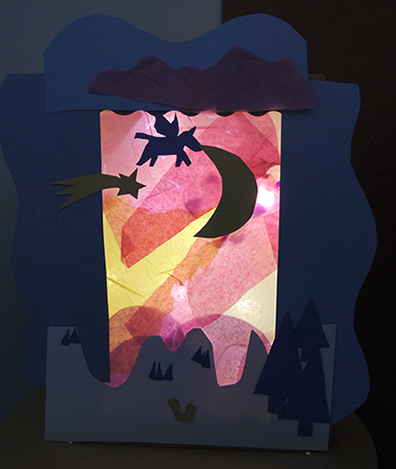
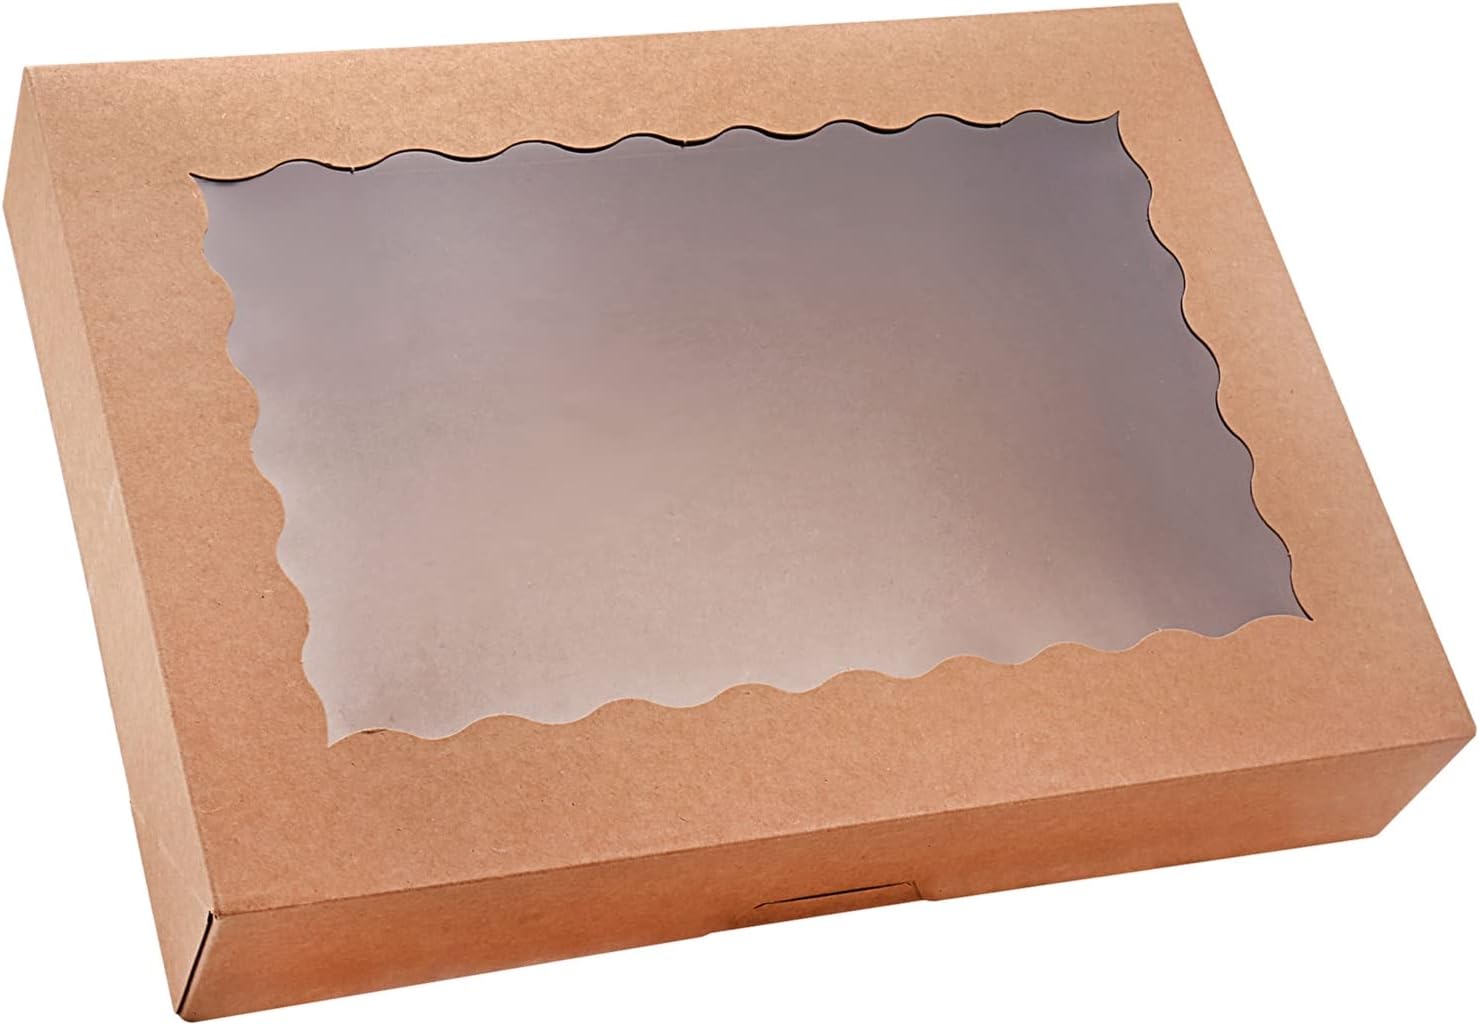 Now for the aurora borealis! Open the box and glue tissue paper snippets on the interior side of the window. We found glue sticks to be the best way to adhere things, because you can clearly see the glue going on and it dries clear! When the sky is finished, tape a string of LED mini lights to the back of the box like so:
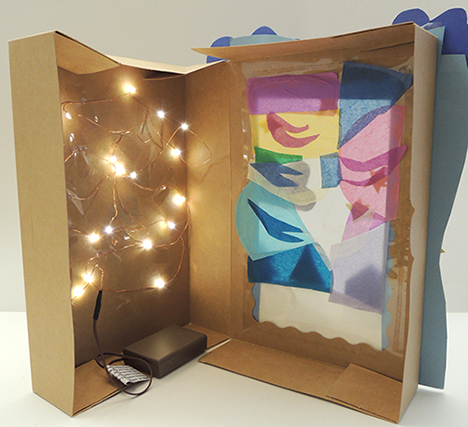 Close the box and use poster board to create a landscape on the front of the box. We used cool Arctic colors: light blue, dark blue, yellow and white. The boxes turned out great…especially this one with a FLYING UNICORN!!!
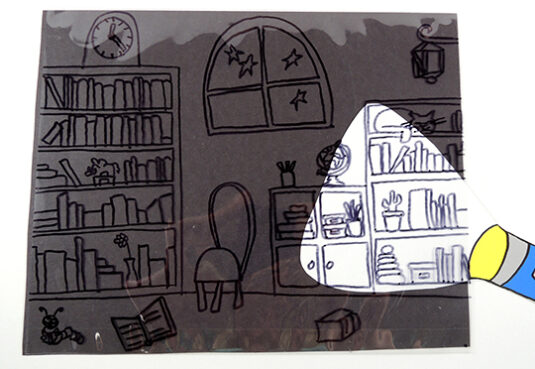
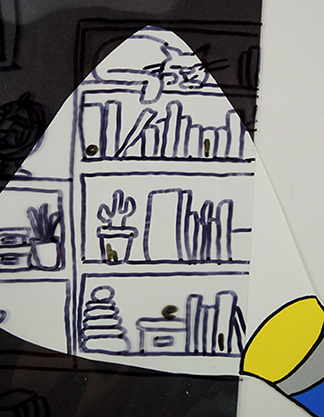
 Replace the paper library template with a piece of black construction paper. Tape the corners of the black construction paper to a tabletop, then tape the corners of the plastic to the tabletop as well. Really to explore the library? Slide the flashlight’s light beam between the construction paper and plastic to “illuminate” the scene!