Happy New Year! It’s 2025, and resolutions abound! If one of those resolutions involves a new fashion direction, well, today’s post is very relevant. ESPECIALLY if you are a naked mole rat seeking a plethora of new looks!
We read Naked Mole Rat Gets Dressed by Mo Willems (Hyperion, 2009). Wilbur is a naked mole rat who likes clothes. Unfortunately his passion for fashion is ceaselessly mocked and questioned by the other naked mole rats. Especially when Wilbur opens a clothing store. Outraged, the naked mole rats march Wilbur to Grand-pah mole rat for a supreme talking to. But wise Grand-pah has nothing but words of encouragement for Wilbur (and all the other naked mole rats) to lean into their individualism and follow their fancies.
You’ll need:
- 1 naked mole rat template, printed on 8.5″ x 11″ card stock
- 1 set of naked mole rat clothing templates, printed on 8.5″ x 11″ card stock
- 2 self-adhesive button magnets
- 5-6 small paper clips
- Scissors and tape for construction
- Markers for decorating
The simplest form of this project is to print the mole rat and clothing templates, then color and cut them out. Attach two button magnets to the mole rat, then tape paper clips on the backs of the clothing. Connect the paperclips to the magnets to change outfits!
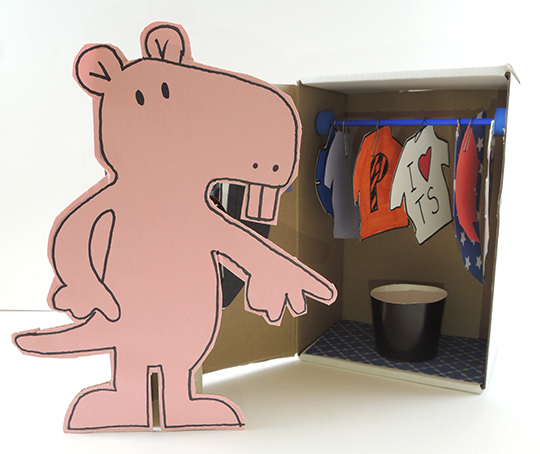
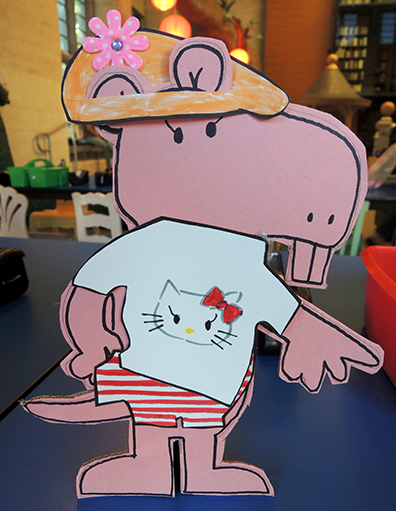
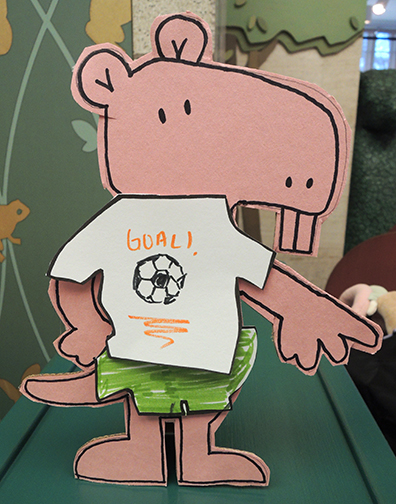
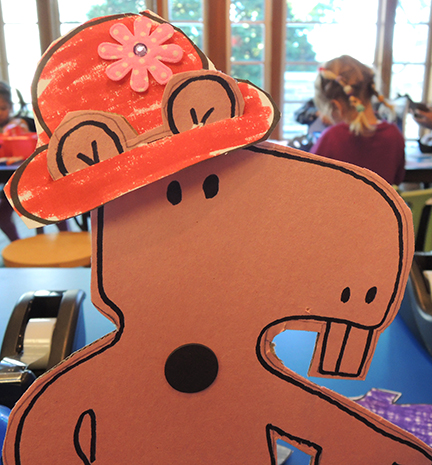
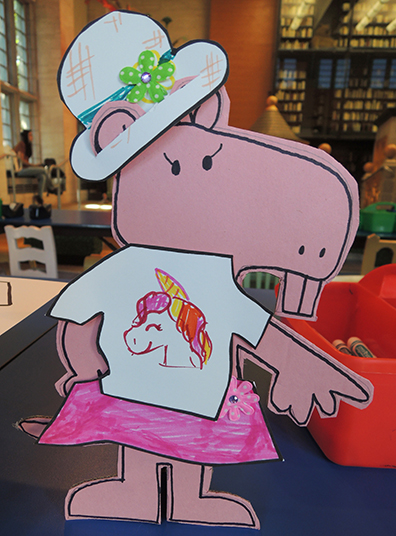
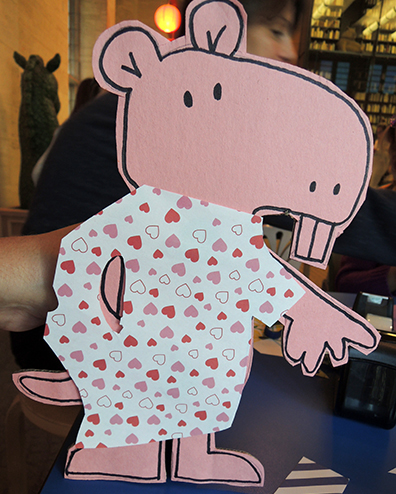
 At our story time, however, we went with a sturdier mole rat that could stand on its own. First, we traced our mole rat templates onto pink construction paper, then backed them with corrugated cardboard. We added a toilet paper tube support to the back, and then finished by attaching the clothing magnets. Here’s a look at the back and the front of our finished mole rats:
 We also decided we needed to be extra fancy and make our mole rat a closet. As you can see, the closet rack is a snippet of balloon stick secures with two foam beads. Dangling from the rack are paper clips that act as “hangers” for the shirts, skirts, and pants. There’s a shortened paper cup glued to the floor to house all the fashion accessories, and mini clothespins hot glued to the door to secure the mole rat’s various hats.
 Kids loved customizing the various outfits and hats!
Sometimes, kids really connect with a project, and one mom reported that her son’s naked mole rat was his constant companion for WEEKS. He went with her son to the gym, on trips, to restaurants, in the stroller, was cuddled at night, and basically lived the life of a most beloved friend. Mom reports that this lead to some very interesting questions from onlookers about naked mole rats, which her son was happy to answer.
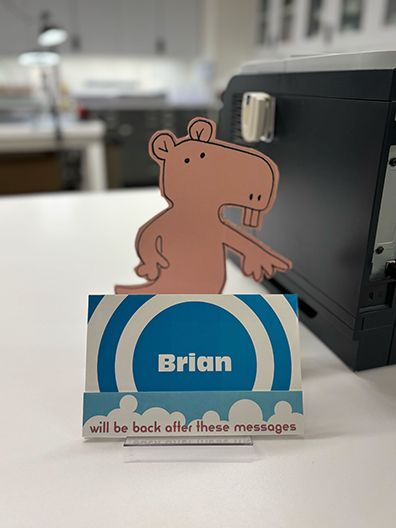
But that’s not all! Another one of our naked mole rats caught the eye of Brian George,


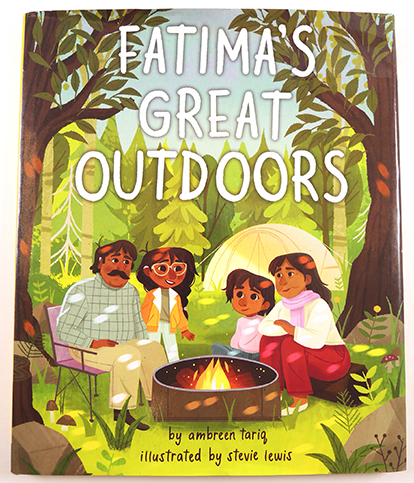 We recently discovered the coolest little easter egg (and book), and wanted to share it!
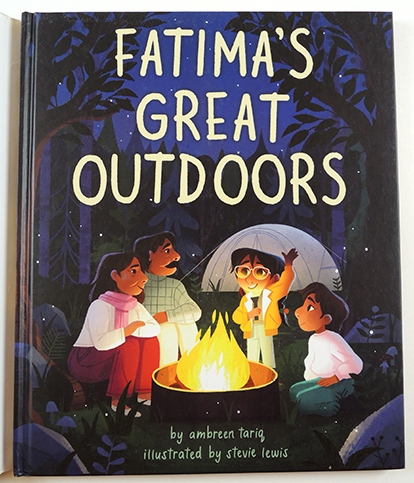 And yes, the back cover does that as well, but you’ll have to acquire a copy and see the lovely image for yourself! Better yet, turn this into a story time and activity with this simple (but SUPER popular)
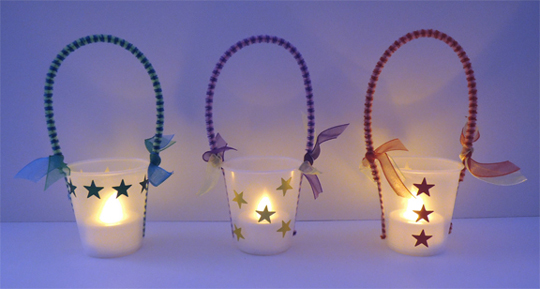
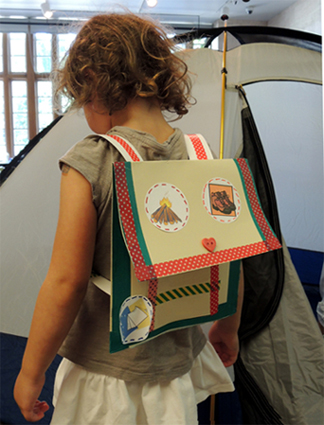 Don’t forget to pack the marshmallows!
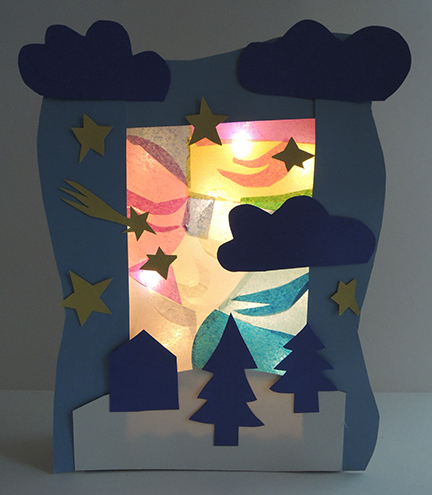 It’s a simple project, but oh-so-beautiful! Design your own aurora borealis in Arctic skies, then light it up for a creative and colorful glow box!
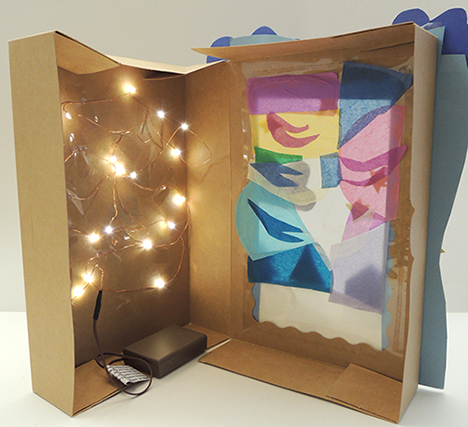
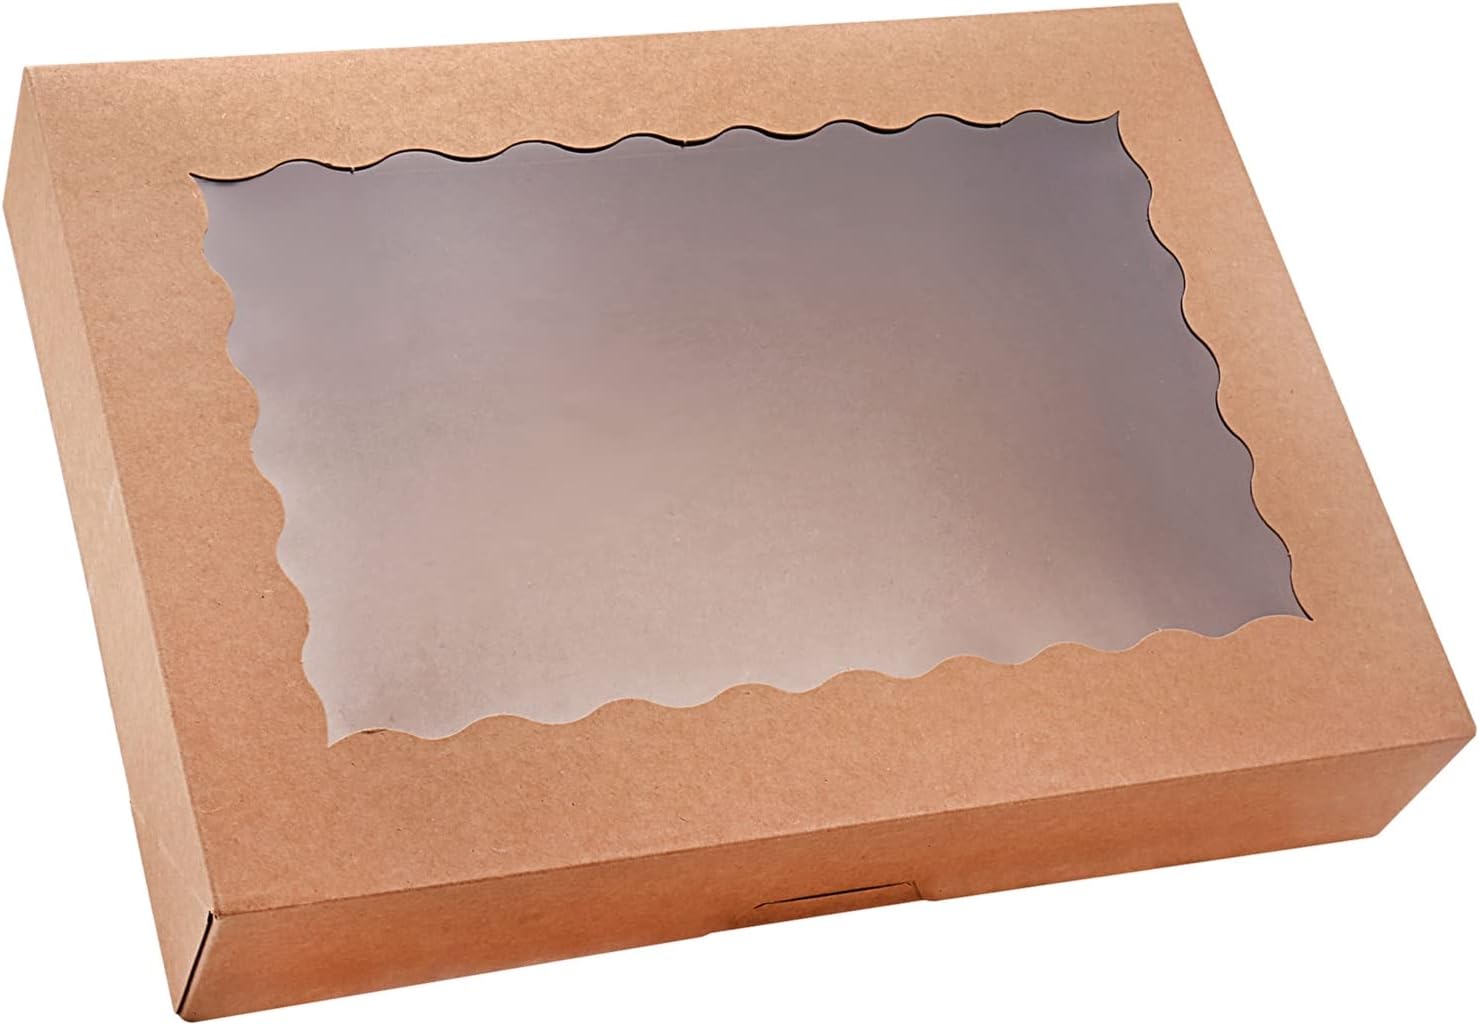 Now for the aurora borealis! Open the box and glue tissue paper snippets on the interior side of the window. We found glue sticks to be the best way to adhere things, because you can clearly see the glue going on and it dries clear! When the sky is finished, tape a string of LED mini lights to the back of the box like so:
 Close the box and use poster board to create a landscape on the front of the box. We used cool Arctic colors: light blue, dark blue, yellow and white. The boxes turned out great…especially this one with a FLYING UNICORN!!!