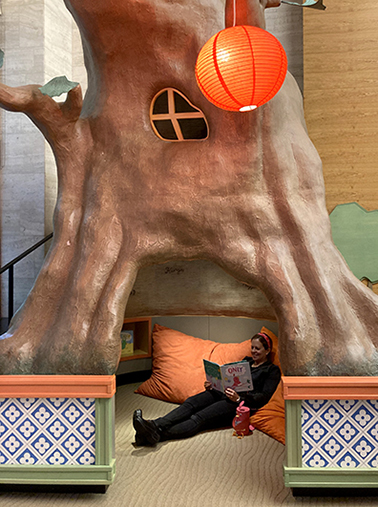
 There’s lots of dancing, singing, chatting, and partying out there in the world, but what happens if you just want to be a little quiet and alone time? What if what you really need is a calm nest and a good book? And who is that in our library tree? Could it be…the author of today’s book? YES!
We read Only, written and illustrated by Airlie Anderson (Hachette Book Group, 2024). The tree is lively with Singy, Squawky, Tappy, Flappy, Chippy, and Flippy, who are full of songs, games, and cheer. But it’s all too much for Only, who flies away to build a quiet nest, close the door, and read. While the other birds can’t figure out why Only wants to be quiet and alone, Squawky stops by for a visit. As it turns out, hanging out and doing things doesn’t always have to be loud. And, equally importantly, being alone doesn’t necessarily mean being lonely!
We were so excited to have Airlie Anderson come to our library to share Only! Definitely Check out my interview with her at the end of the post!
You’ll need:
- 1 oatmeal container
- Construction paper
- 1 pipe cleaners
- Scissors, glue, and tape for construction
- Markers for decorating
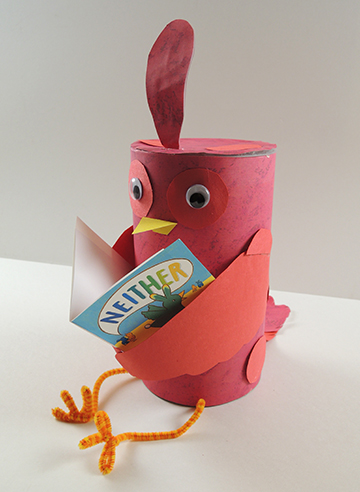
This project is a fairly simple oatmeal container bird, but as a nod to one of Only’s favorite quiet time activities, we added a little book! Did you notice the cover? That’s right! It’s one of Airle’s other books, Neither!

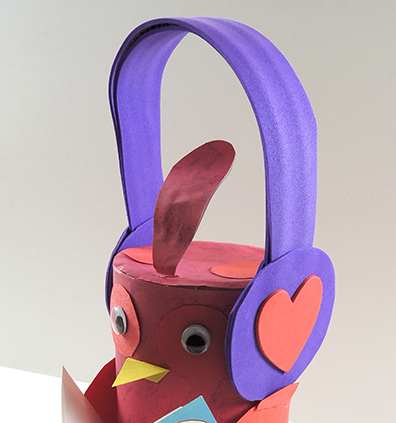
We added one more touch to the project. In the book, Only and Squawky listen to music together wearing headphones. We loved Airlie’s illustration so much, as well as the concept of sharing an experience quietly together, that we added foam headphones kids could wear too!
 To make these, you’ll need some self adhesive foam and two pipe cleaners. Lay two sheets of foam on top of one another, then cut a pair of circles and two strips (for a total of 4 circles and 2 strips). Peel the backing off one set and lay everything sticky side up. Place the strip on top of the two circles, then lay the two pipe cleaners along the length of the strip like so:
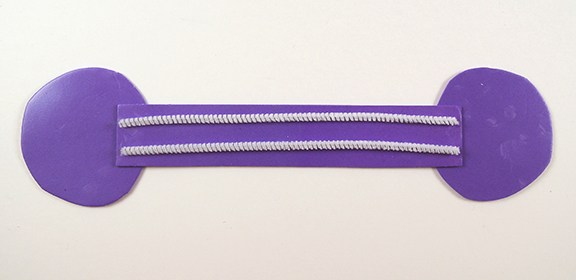
Peel the backing off the remaining pieces, then place them sticky side down on the first set. Bend the pipe cleaners to fit around your head, and you’re done. Enjoy your time with your new friend!
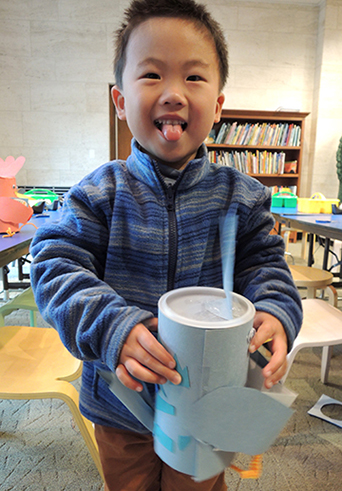 I can’t recommend Airlie enough for a library visit. She is funny, engaging, wonderful with the kids, and jumps right into the craft project. In fact, this is the second time she’s come to a Cotsen story time and we hope to have her back for many more!

Hi Airlie! Welcome back to Pop Goes the Page! How are you doing?
I’m having a happy day, thank you! Glad to be back at Pop Goes the Page.
How did the concept of this book come to be?
The concept of Only came to me during quarantine, during which I discovered that I am not as much of an introvert as I once thought. Not only do I enjoy alone time, I also like being around crowds, in public. I wanted to make a book about experiencing both of those dynamics, and how different characters enjoy various levels of that.
In addition to Only, there are also birds named Singy, Squawky, Tappy, Flappy, Chippy, and Flippy. Which one is most like you?
I love this question! I hadn’t thought of that before. But now that you mention it, I’m most like Squawky. Squawky is the bird who ventures into the quiet nest because they don’t feel like playing bird ball at that moment.
Only the bird has a pretty amazing “quiet nest” stocked with toys and activities. What would your personal quiet nest include?
My quiet nest would look a lot like Only’s quiet nest, except that I don’t know how to knit! But I enjoy drawing balls of yarn. So definitely stacks of books (I’m currently reading one of Carrie Fisher’s memoirs), art supplies, headphones, and journals. I would add a yoga mat and one of those electric pots for making hot water for tea.
What are you working on now?
Right now I’m “filling the well” of creativity, so for me that means reading lots of different kinds of books, for grown-ups and kids. I’ve been watching movies from the early Hollywood era — I feel quite drawn to them for some mysterious reason. Sometimes story ideas come from unexpected places, so I follow my bliss when it comes to that. Have you seen His Girl Friday? Amazing. The picture book that I have on deck is still developing, and it involves rodents. I am super excited about it!
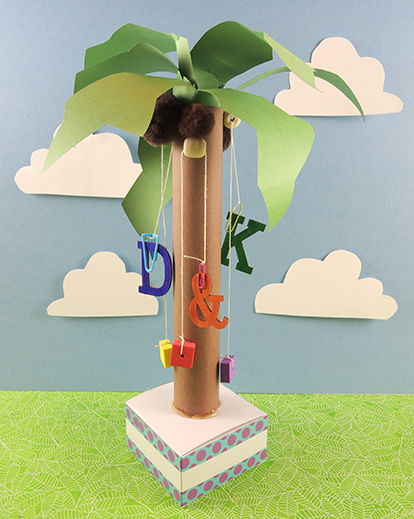 Climb little alphabet, climb! You know those letters, you know that coconut tree, and you know this beloved book. We added a simple dynamic pull string effect to an iconic classic, and the results were boom-tastic!
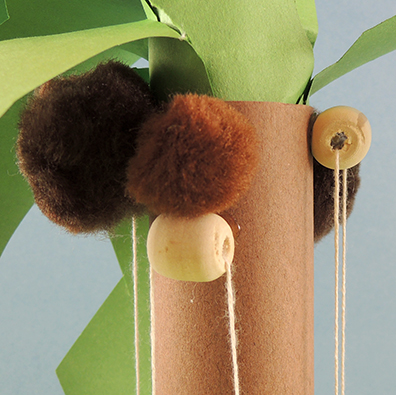 Tie one end of the string to a bead, and the other end to a small paperclip. Next, decorate your letters with markers. We used leftover wood letters from this project, but paper works just as well. Slide the letter onto the paperclip, then pull the bead to watch it climb the tree!
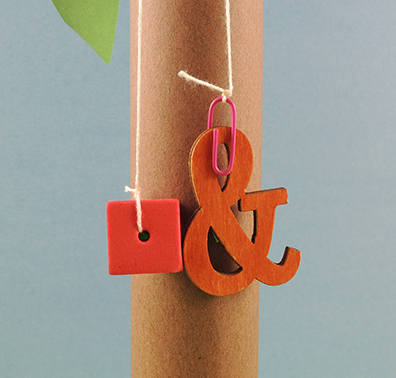 You might ask – why not just permanently tie the letter to the string? You could definitely do that. But we wanted the kids to have multiple interchangeable letters (conveniently stored in the box base of the tree). This way, they can follow along with the story, and send different letters up the tree as they’re mentioned in the story!
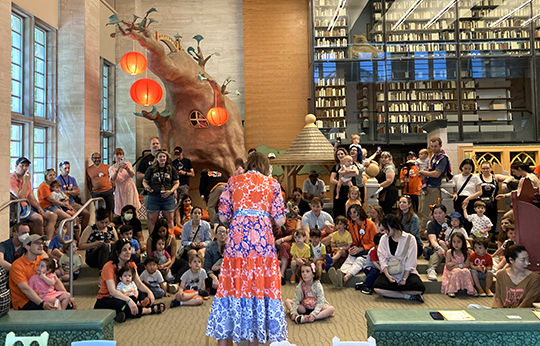 Clap your hands, stamp your feet, and get ready to boogie woogie with Latte the dalmatian dog…it’s a massive parade down Broadway, and you’re invited! We were delighted to host author and illustrator Laura Ann Trimble Elbogen, who wowed the crowds with her energy and enthusiasm. And don’t miss our chat with her at the end of the post!
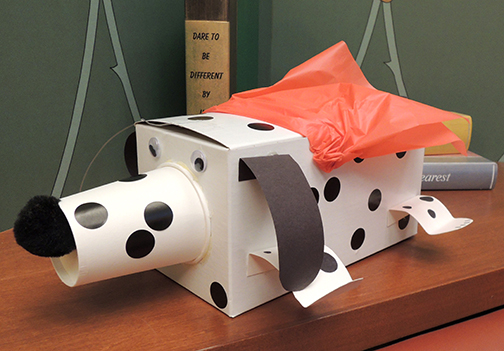 At the heart of the book is a sweet dog named Latte, so for our project we made box dogs kids could pull on a clear elastic strings. Instructions for that project can be found
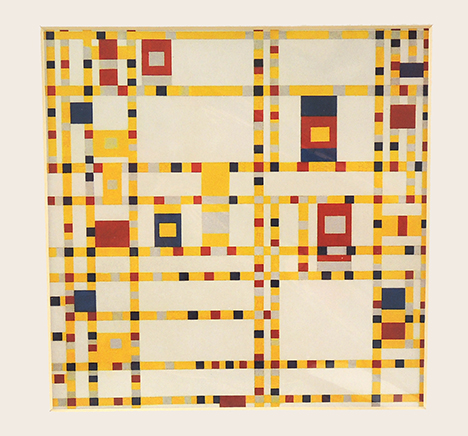
  One of the interesting things about the book is that the illustrations are based on Dutch artist Piet Modrain’s painting “Broadway Boogie Woogie.” Laura brought a print of it with her, as well as examples of boogie woogie music. It was very lively!
 I caught up with Laura after story time to chat about her book, and the fabulous inspirations behind it!
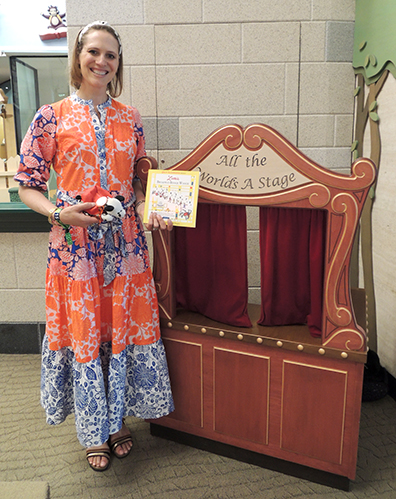 Hi Laura! Tell us a little about yourself!
 There’s lots of dancing, singing, chatting, and partying out there in the world, but what happens if you just want to be a little quiet and alone time? What if what you really need is a calm nest and a good book? And who is that in our library tree? Could it be…the author of today’s book? YES!

 To make these, you’ll need some self adhesive foam and two pipe cleaners. Lay two sheets of foam on top of one another, then cut a pair of circles and two strips (for a total of 4 circles and 2 strips). Peel the backing off one set and lay everything sticky side up. Place the strip on top of the two circles, then lay the two pipe cleaners along the length of the strip like so:
 I can’t recommend Airlie enough for a library visit. She is funny, engaging, wonderful with the kids, and jumps right into the craft project. In fact, this is the