
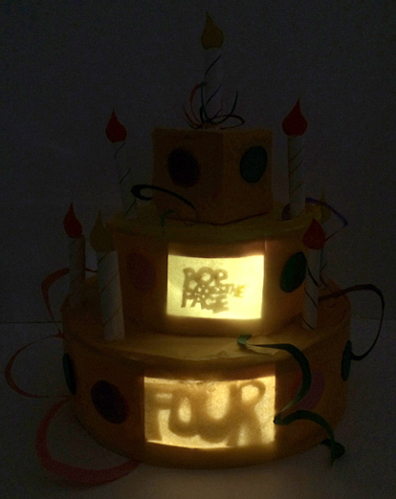
 When it comes to crafting, the best way to send that project over the edge of coolness is to LIGHT IT UP! We’ve wired flannel boards with conductive thread, tested a neon sign writer, made super simple lanterns, made some slightly-more-complicated lanterns, crafted a vehicular night light, a castle votive, lightning bugs, cities of light, and illuminated underwear. And who can forget the interior lights on Marissa’s blog birthday cake?
 So when we spotted the Circuit Clay kit by Klutz we were excited. Ideally, the kit allows kids to do all sorts of electrical experimenting, with the added bonus of sculpting unique creations. But conductive clay? Would that even work? I must admit, we were a wee bit skeptical.
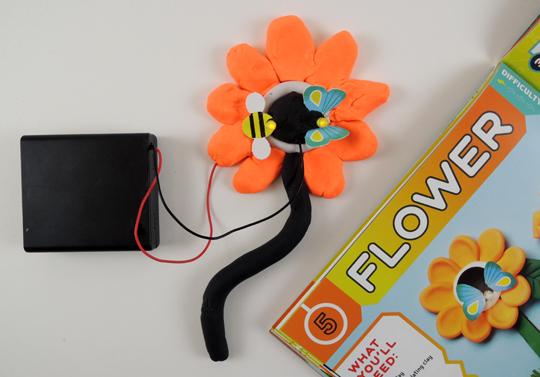
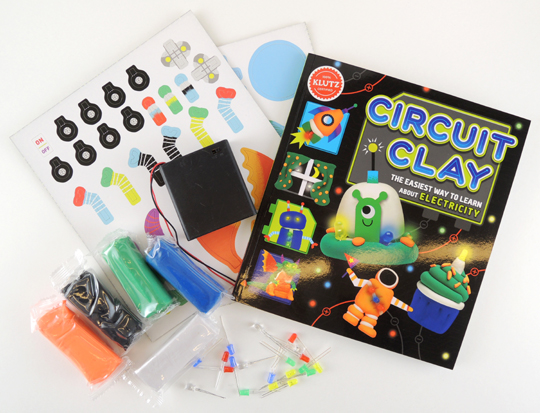 The Klutz kit retails for around $22 (ages 8 & up). It contains a 52-page instruction booklet, 4 packs of color conductive clay, 1 pack of white insulating clay, 20 color LEDs, a battery pack (4 AA batteries required), and 52 paper embellishments for your projects. Katie put the kit through its paces. Take it away Katie!
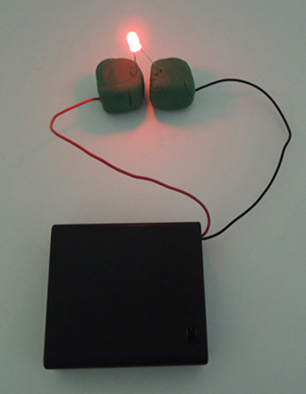
Following the instruction booklet’s explanation of a basic circuit, I molded two balls of green clay into cubes, pushed the wire legs of a red bulb into each cube, and inserted the positive (red) wire and the negative (black) wire into the cubes. Lo and behold, the bulb illuminated when I flipped on the battery case!
 Feeling certain in my understanding of basic circuits, I moved ahead in the instruction book and created a Princeton University-inspired orange and black flower, complete with a little glowing bee and butterfly from the kit’s paper add-ons.
The flower project required the use of the insulating clay, which doesn’t allow the electric current to flow through it. However, the instructions were straightforward. The clay petals were pretty thin, so it was challenging to make sure the bulb’s wire legs were fully inserted. One wrong move, and the bulb would go out. This issue would be doubly hard for kids. However, the end result was pretty cool:
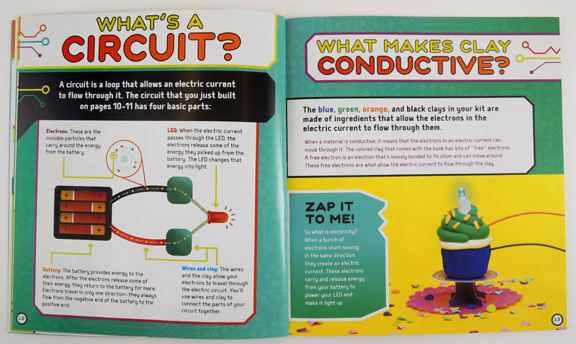
 A note about the instruction book: it is an exceptionally well written and illustrated manual that provides easy to understand lessons for kids about electricity. Kudos to Klutz for using every inch of the book with colorful images and educational descriptions.
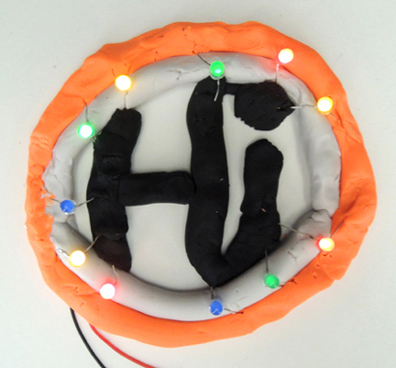
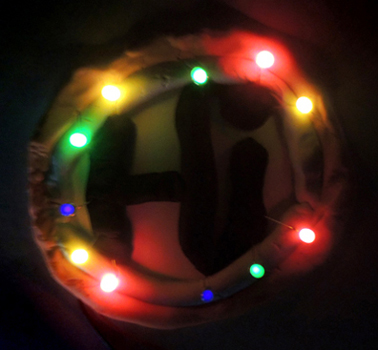
 Riding a wave of confidence, I decided to crank it to 11 and make my own design with as many lights as possible. As I was forming the letters to say “Hi” and the circle around it, I had to remember to maintain the circuit between the conductive clay and the insulting clay. I will admit this was a little challenging, and I *may* have broken several bulbs putting it together. But eventually it worked! Here’s a photo of it in full darkness. Notice that the blue bulbs are much dimmer?
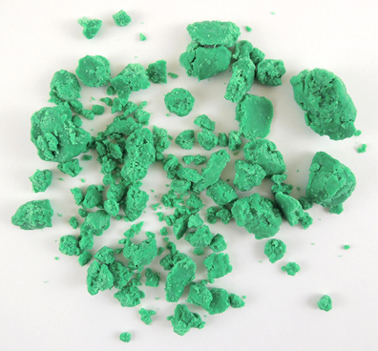
 Now for the bad news. I found the clay was quick to crumble and shred, even fresh out of the package. It was sometimes tough to keep the LED bulb’s long wire legs fully inserted into the designs, and it was frustrating at times to figure out how to set up the different circuits. Finally, the book says to “keep your clay in a resealable plastic bag or container so it won’t dry out.” I did seal it in a Ziploc bag, but a couple weeks later, the clay was dry, flaky, and nearly impossible to manipulate.
 The Klutz Circuit Clay is definitely a clever way to teach kids about electricity without them accidentally getting hurt or shocking themselves. It’s an activity children with patience and strong reading skills can do on their own, but younger kids will definitely need assistance. The suggested age range may be a little low (ages 8 & up), but I’m not sure if kids older than 10 would find this experiment worth their time and attention.
Following in the footsteps of our kid tester, Hope, and weighing the pros and cons, I rate this product 2 out of 5. The lessons about electricity, circuits and positive/negative charges are great, but the flaking clay, easy-to-break LED lights, and tough-to-mimic designs might be frustrating for kids.
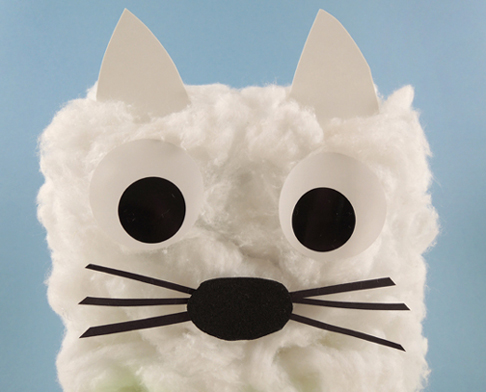
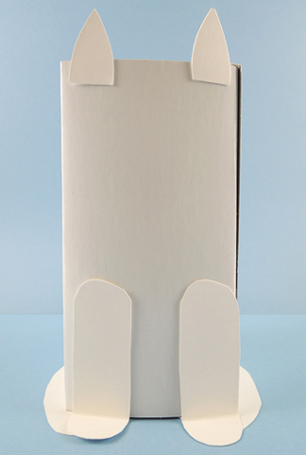
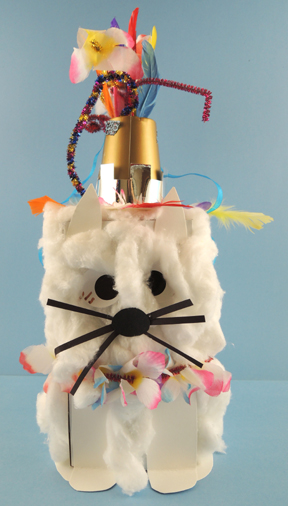
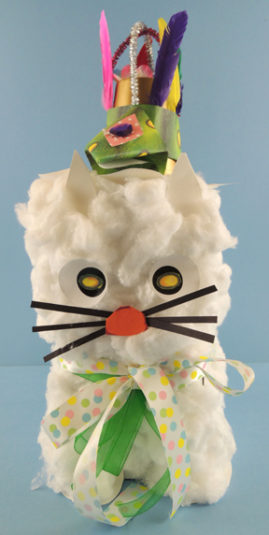
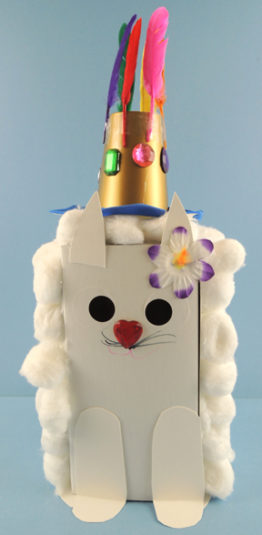
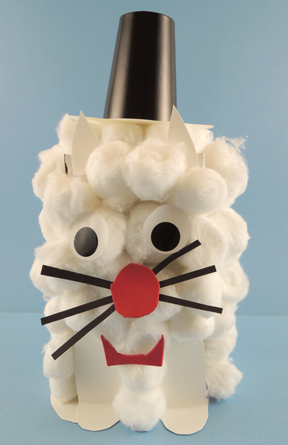
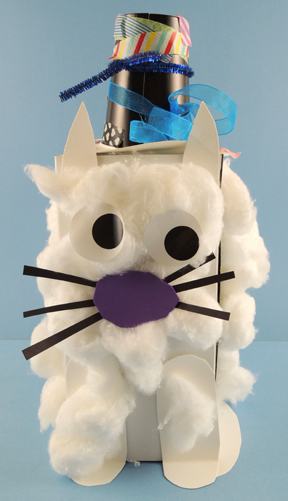
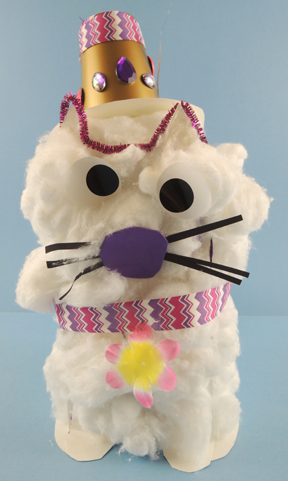
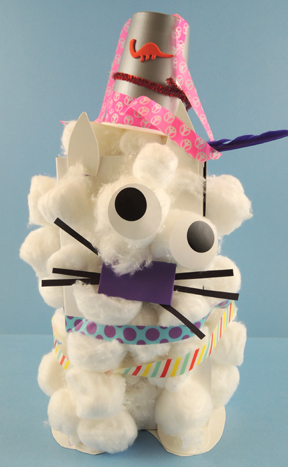
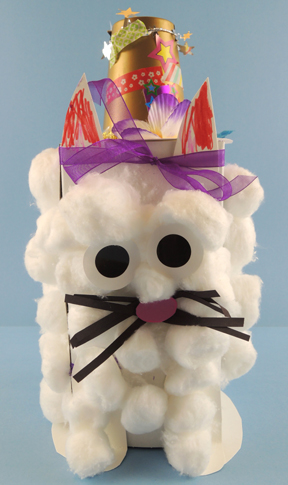
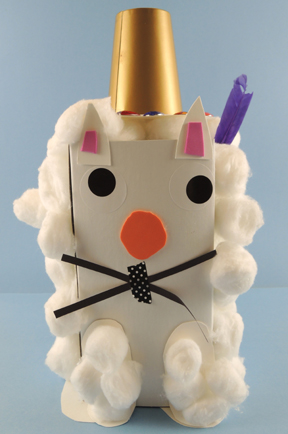
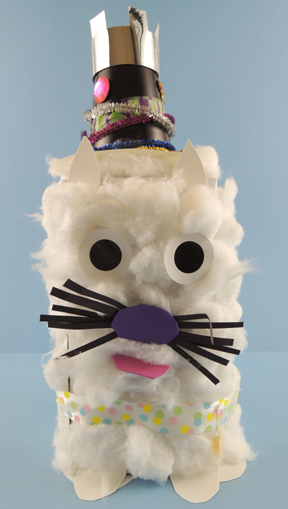
 Basically, just cover the box with cotton balls! The fluffier, the better! For the face, we used large, 1.5″ eyes stickers from Oriental Trading Company (a roll of 100 pairs is $2.50), and a bit of
  Then, out came the


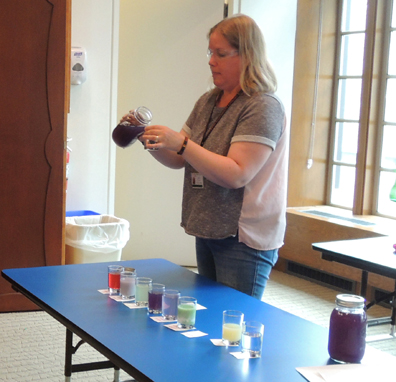 The red cabbage indicator demo is simple, inexpensive, but impactful. The experiment involves adding red cabbage juice to various household acid and bases, and then observing how the acids and bases change color according to their pH level. Katie used
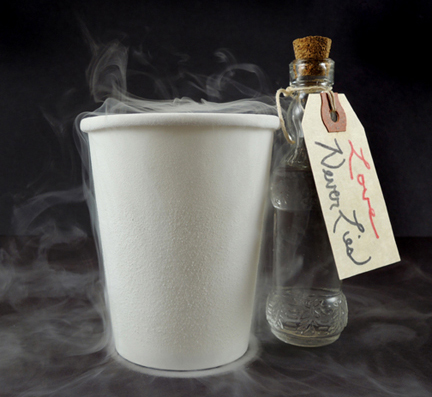
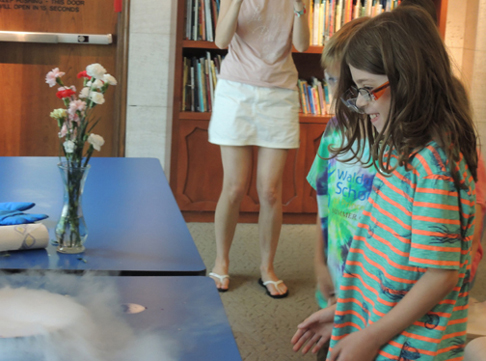
 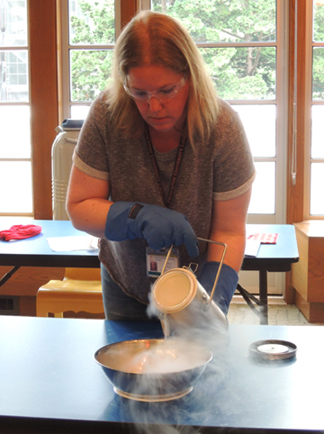 Wearing gloves, wielding protective eye gear, and armed with her knowledge of nitrogen-infused particles, Katie froze balloons, carnation flowers, and made clouds. It was AWESOME.
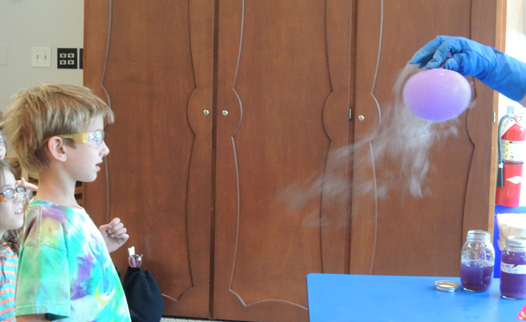
 The grand finale was mixing your very own bottle of “Love-Never-Lies” potion to take home. Katie purchased some 5″ vintage replica bottles with corks from Amazon (10 bottles cost $20). These are the same bottles we used with much success for our Sherlock Holmes
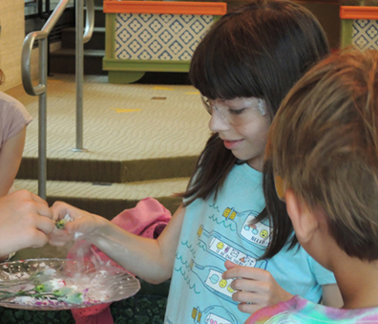
 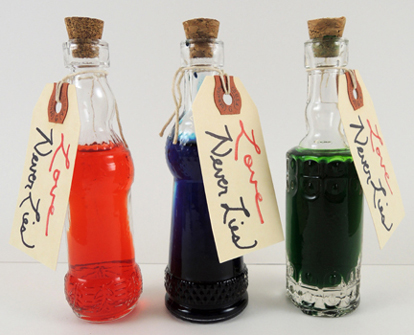 Katie filled the bottles with water, and then kids came forward to choose the color and amount of food dye for Katie to drip into the bottle. As the colors mixed, the kids predicted the final color of the potion.
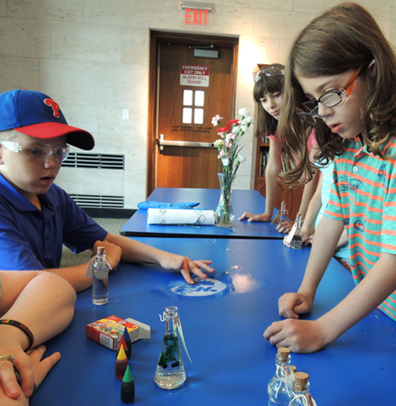 Cressida Cowell is also the author of the How to Train Your Dragon series. If you’d like to see what we did with that book, you’ll find the post