 Our robot project has something very special inside – open its chest door to reveal a burst of birdsong, straight from the heart! And for an extra story time surprise, a life-size robot stopped by for hugs and high fives! Here’s the robot project in action:
We read The Robot and the Bluebird by David Lucas (Farrar Straus Giroux, 2007).
When a robot’s broken heart can’t be mended, he is exiled to a scrap heap. As the days pass, he grows rusted and despondent. One winter day, a bluebird flies into the scrap heap, and the robot invites her to rest in the space where his heart used to be. She does, and the robot is amazed. The bluebird’s wing beats feel like his heart is beating again! Her singing makes him feel like his heart is singing! Unfortunately, the bluebird can’t stay – it’s too cold for her to survive. In fact, she fears she doesn’t have the strength to reach her final destination. So her robot friend carries her through blizzards, fog, and biting winds, until at last they come to a warm place where the sun is shining. There, the exhausted robot freezes in place, his strength finally spent. But the bluebird continues to live in his heart, and so do all the other birds. They circle around him, singing with joy.
I defy you to get through this touching book without choking up! It’s beautifully written and illustrated. What makes it even more special is that this was a special request from a story time regular who will be aging out of the program during our gallery renovations. It’s one of his favorite books. This one’s for you Aaron!
You’ll need:
- 1 large box with a hinged lid (ours was 4.5” X 4.5” x 9” – a large tissue box works)
- 1 small box (ours was 4” x 4” x 4” – basically, anything that fits inside the larger box)
- 1 packing tape core
- A box cutter
- Robot decorating supplies (more on these later!)
- 1 wooden bird whistle
- 1 bubble tea straw
- Scissors, tape and glue for construction
- Markers for decorating
- Hot glue
You definitely need a box with a hinged lid for this project. We went with our standard 4.5″ x 4.5″ x 9″ handy dandy craft box.
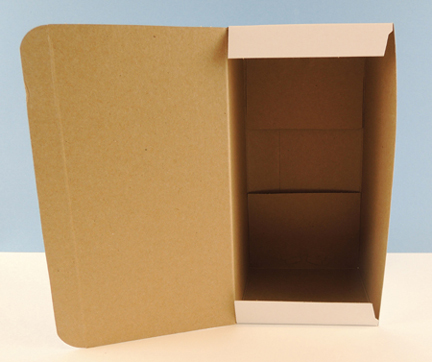 But you can also use a large tissue box. Just use a box cutter to create a hinged lid out of the bottom of the box like so:
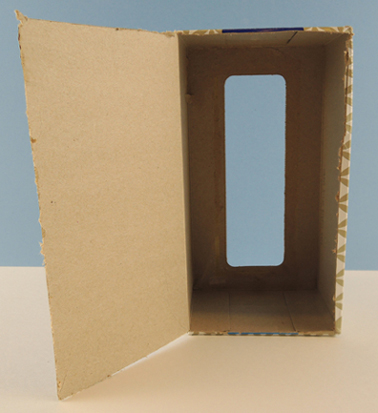 Next, fit a small box inside the large box. The small box is the robot’s chest cavity, so you will need to place it near the center or the large box. We did this by hot gluing a packing tape core to the bottom of the small box, then attaching the whole assembly inside the large box with more hot glue.
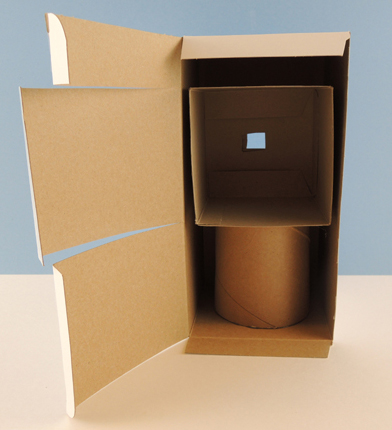 You’ll notice that the lid of the box is cut into 3 sections. These sections eventually fold over to form the front of the robot. Secure the top and bottom sections closed with tape, but leave the middle section open so you can access your bird whistle later.
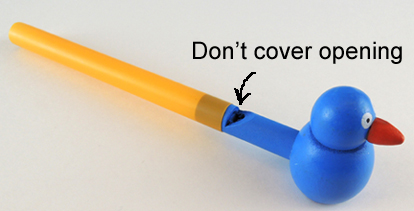
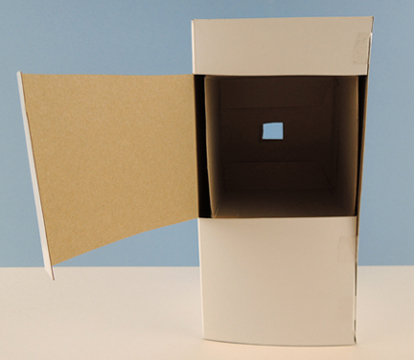 In the above image, you’ll also notice a small square cut in the back of the box. That’s for the mouthpiece of the bird whistle. Use a box cutter to create the square, making sure your cut goes through both the large and the small box. Next, cut a bubble tea straw down to approximately 5″, and slide it onto the mouth piece of a wooden bird whistle (we got ours on Amazon, $8 for 12). Just make sure the little opening in the whistle isn’t covered, or the whistle won’t tweet!
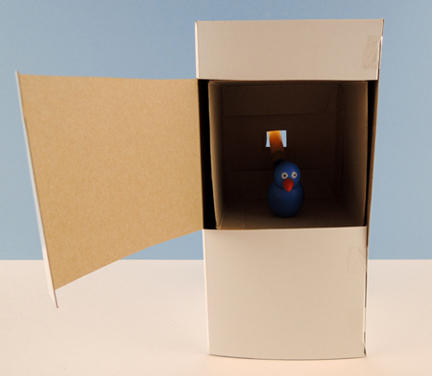
 Thread the straw through the square hole in the back of the box. Now your bird whistle is resting inside the box, and the bubble tea straw is extended out the back.
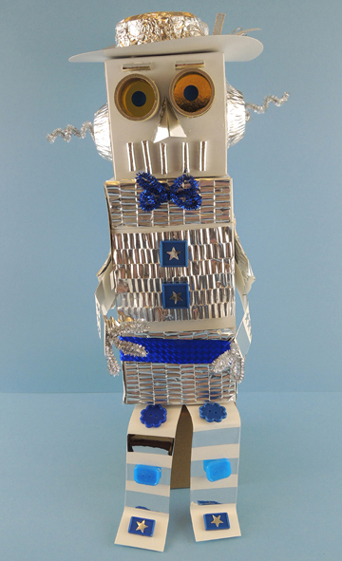
 Time to decorate the robot! We offered extra boxes for heads, poster board strips for the arms and legs, tin foil, mini aluminum cake tins, mirror board, metallic pastry circles, sparkle stems, tape cores, dot stickers, plastic buttons, textured silver paper, holographic tape, silver paper straws, and foil star stickers. To make your robot’s heart sing, hold it in front of you, open the chest door, and blow on the bubble tea straw.
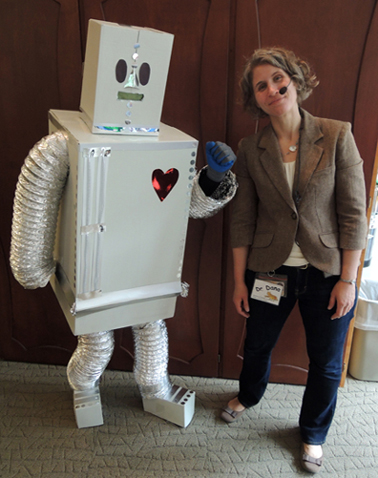
 So that’s the project, but there’s ONE thing we did to make this story time extra special. Instead of giving the kids bird whistles while they were making the project, we waited until everyone was finished. Then, a LIFE-SIZED ROBOT came walking into the gallery, carrying a flock of bird whistles for the kids to choose from!
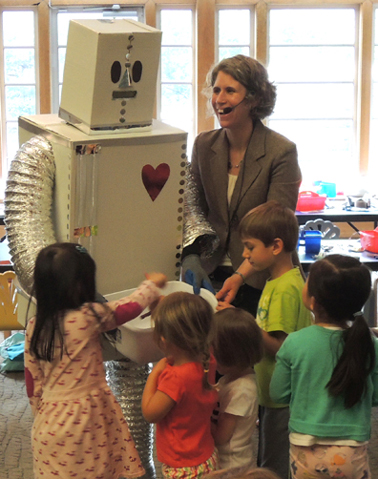 That’s Ian in there, expertly playing the robot (also on his resume – walking a dog, getting a blog tattoo, strewing hearts, channeling his inner Grover, and testing wizard pudding). We put the costume together with a couple boxes. The arms and legs are 8″ flexible foil duct tubing from the Heating & Cooling section of Lowe’s. It took a couple fittings to get the head, torso, arms, legs, and feet to work together. Ian could juuuuust see out of the mouth of the robot, which we covered with a couple layers of yellow tulle.
All in all, Ian was pretty nimble inside the robot costume, even though I did have to help him get around a few obstacles with his box feet. Our puppet theater proved to be a bit of a challenge, but as you can see, Ian recovered beautifully.
Of course, this post would not be complete without a Pop Goes the Page group robot dance…so…without further ado…
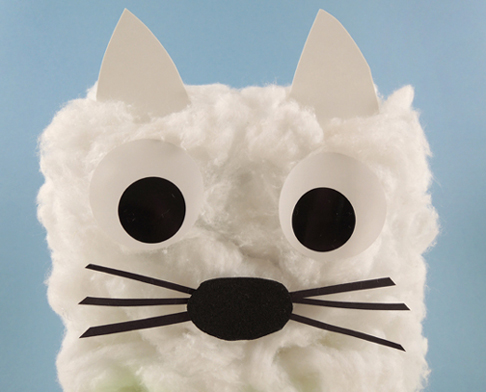
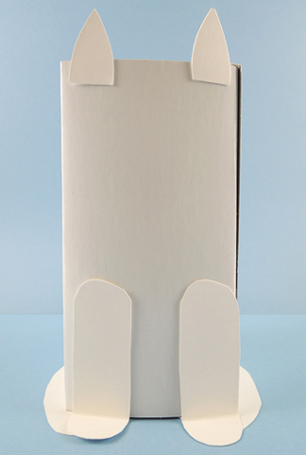
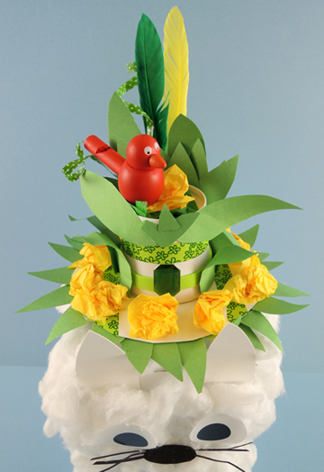
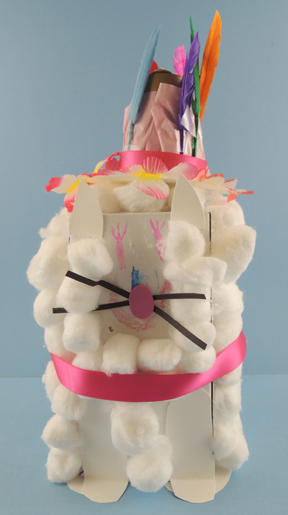
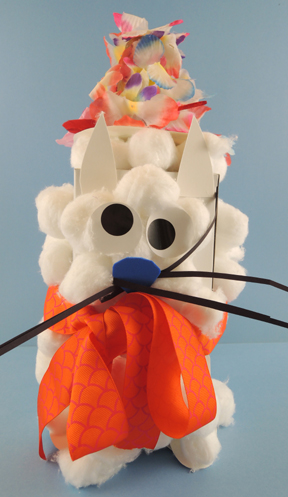
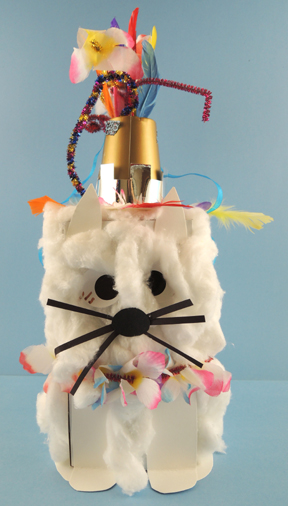
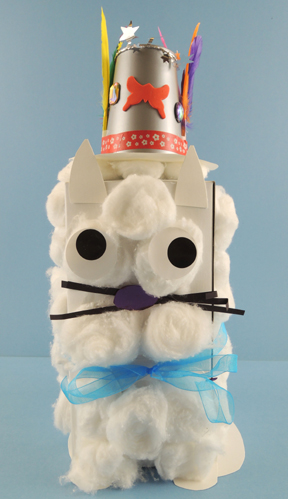
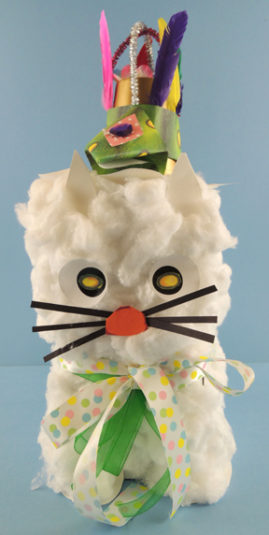
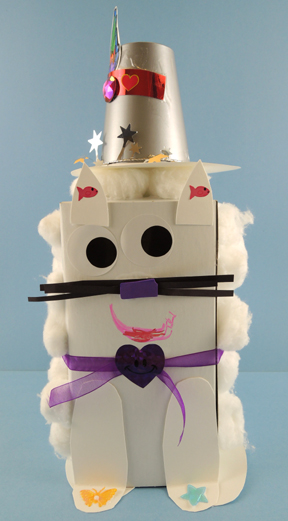
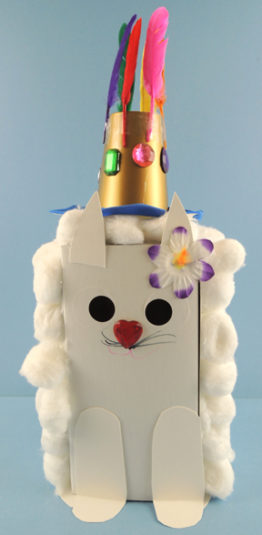
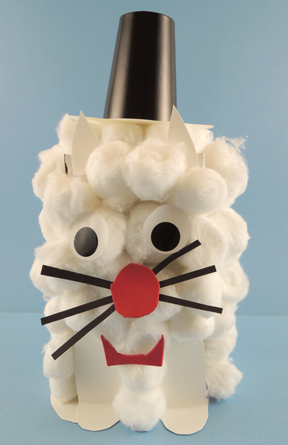
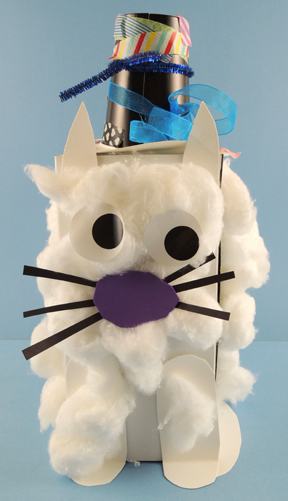
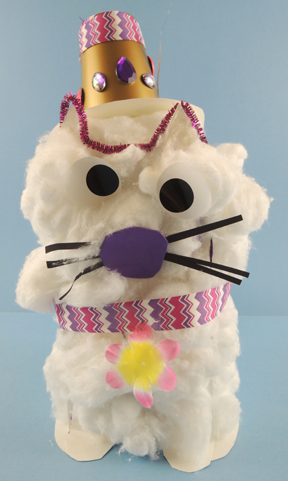
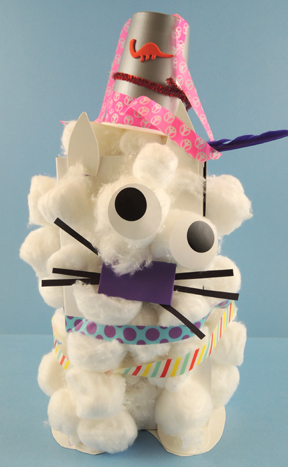
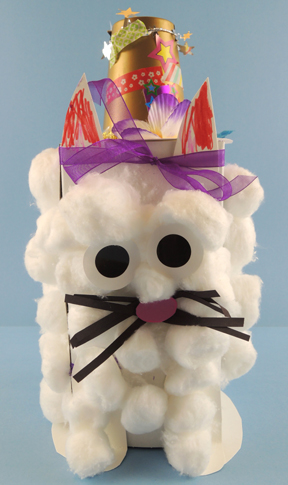
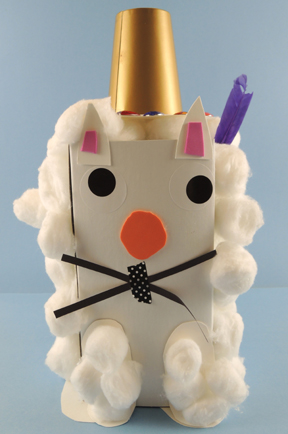
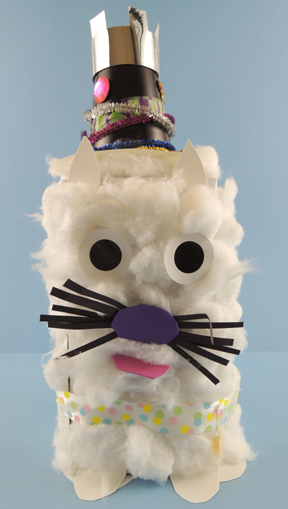
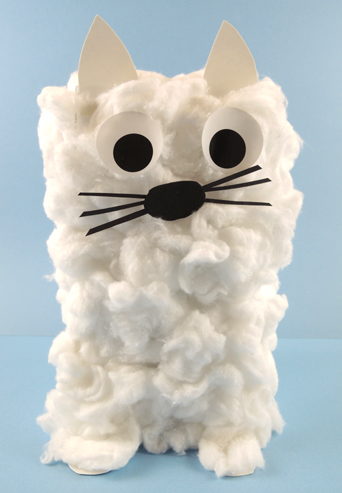 Basically, just cover the box with cotton balls! The fluffier, the better! For the face, we used large, 1.5″ eyes stickers from Oriental Trading Company (a roll of 100 pairs is $2.50), and a bit of self-adhesive foam for the nose. You can just use construction paper to make these, though. The whiskers are construction paper as well.
 Then, out came the Bling Bin, as well as sparkle stems, duck quills, patterned paper, and fabric flowers. And things got FANCY.

 Our robot project has something very special inside – open its chest door to reveal a burst of birdsong, straight from the heart! And for an extra story time surprise, a life-size robot stopped by for hugs and high fives! Here’s the robot project in action:
 But you can also use a large tissue box. Just use a box cutter to create a hinged lid out of the bottom of the box like so:
 Next, fit a small box inside the large box. The small box is the robot’s chest cavity, so you will need to place it near the center or the large box. We did this by hot gluing a packing tape core to the bottom of the small box, then attaching the whole assembly inside the large box with more hot glue.
 You’ll notice that the lid of the box is cut into 3 sections. These sections eventually fold over to form the front of the robot. Secure the top and bottom sections closed with tape, but leave the middle section open so you can access your bird whistle later.
 In the above image, you’ll also notice a small square cut in the back of the box. That’s for the mouthpiece of the bird whistle. Use a box cutter to create the square, making sure your cut goes through both the large and the small box. Next, cut a bubble tea straw down to approximately 5″, and slide it onto the mouth piece of a wooden bird whistle (we got ours on Amazon, $8 for 12). Just make sure the little opening in the whistle isn’t covered, or the whistle won’t tweet!
 Thread the straw through the square hole in the back of the box. Now your bird whistle is resting inside the box, and the bubble tea straw is extended out the back.
 Time to decorate the robot! We offered extra boxes for heads, poster board strips for the arms and legs, tin foil, mini aluminum cake tins,
  So that’s the project, but there’s ONE thing we did to make this story time extra special. Instead of giving the kids bird whistles while they were making the project, we waited until everyone was finished. Then, a LIFE-SIZED ROBOT came walking into the gallery, carrying a flock of bird whistles for the kids to choose from!
 That’s Ian in there, expertly playing the robot (also on his resume –