 You love books. You think it’s a clever idea. You’ve picked it up while shopping and mused over it a dozen time. But each time you put it back, thinking…do those make your own book mail-in kits really deliver the goods? Well, ponder no more! Today, we’re reviewing the IlluStory Make Your Own Book kit by Lulu Jr.
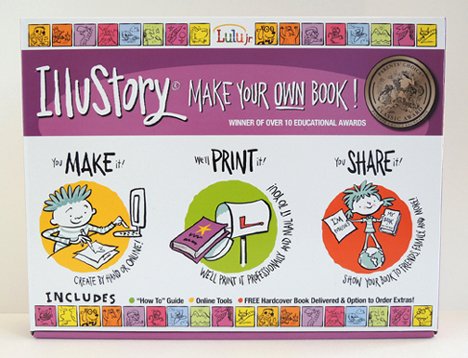 The kit retails for around $20 – $30. It includes 10 washable markers, 20 blank book pages, 2 blank cover pages, a mailing envelope, and detailed instructions. It also has multiple prompt sheets to get young writers going (including – and I really liked this – nonfiction stories and biographies). The kit price includes the production of your book and shipping costs from, and back to, your house (USA only). The final product is a 7.25″ x 9.25″ hardcover book with an illustrated story that is a maximum of 18 pages long.
 Getting started, you have two creation options with this kit: 1) Draw the book by hand; or 2) Design it online using templates, backgrounds, and digital stickers (you can also upload drawings and photos). We went as low tech as possible and chose to create the book by hand. The 8.5″ x 11″ story pages have a big box for illustrations, and 5 lines for text. Since your story can’t be over 18 pages, there are a couple of extra pages, just in case you mess up.
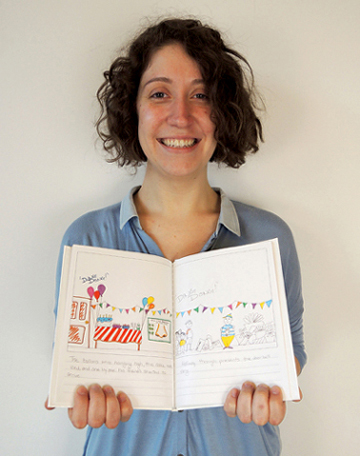
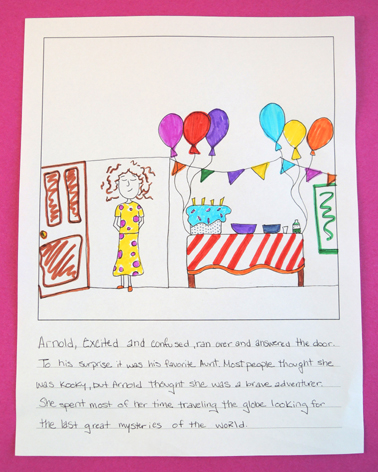
Marissa bravely agreed to write and illustrate a story she titled Arnold’s Birthday Party. She reports that the markers were “awesome.” IlluStory recommends using dark pencil or pen. Marissa used ballpoint pen for her illustrations and text, which worked just fine.
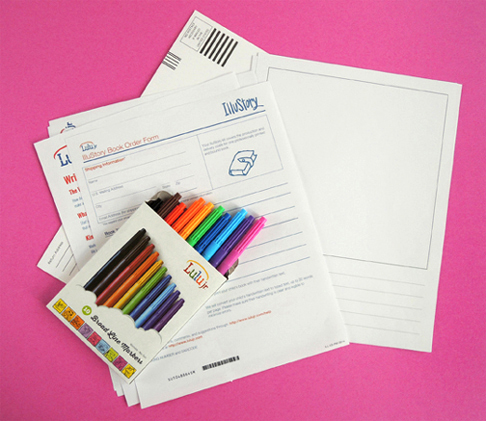
 When the book was finished, we turned to the order form. Here, we were presented with two options: 1) Produce the book using your handwritten text; or 2) Have the company convert your handwritten words to type (but there is a 20 word per page limit, and they don’t correct spelling or edit). We went with hand lettering.
Make sure you read the kit instructions and the order form carefully! Because otherwise you might miss that you need to number the pages, in pencil, on the back of each page (otherwise, they’ll just print them in the order received). You need to write “Cover” on the back of your cover page. And you definitely don’t was to miss the free options to add a dedication page, or author photo and bio on the back of the book!
Ready to send it off? You have two options: 1) Send it via snail mail in the prepaid envelope; or 2) Upload scans of your cover and story pages to the IlluStory website. We stayed low-tech and went with snail mail.
 IlluStory say the books are printed less than 2 weeks from the date received, and ship 3-5 days after printing. They were right on the money. In just under 3 weeks, Marissa’s book was back. It looked fantastic.
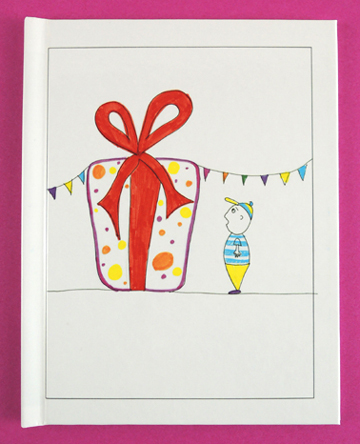
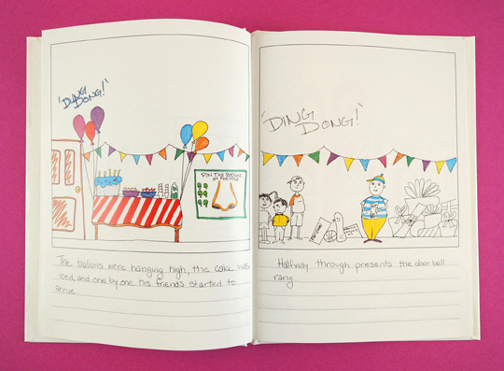 I was worried that the binding might look cheap. Nope. This is a real, honest-to-goodness book. Glossy white cover, crisp printing, text well clear of the binding margins. The author photo we sent was reproduced nicely. They even put the title and author’s name down the book’s spine! There’s a title page too. It looks really cute:
 You also have the option to purchase additional copies and send them to your adoring fans (copies of our book, for example are $14.99). You can order multiple copies in advance, or use the info printed on the back of the book to order copies later.
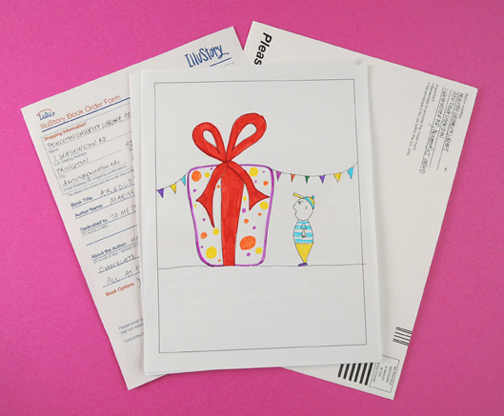
Beware, however. The production on this kit is quite literal. If you did what I did, and fill out the dedication and author bio in ALL CAPS on the order form, the production team will put those in ALL CAPS IN YOUR BOOK. Also, remember to write the title on the cover of your book. They don’t do that for you. Marissa’s book cover is missing a title, but it sort of adds to the mystery of the big package, doesn’t it? What’s in that big package anyway?*
 In summary, the IlluStory Make Your Own Book kit is terrific! It’s easy to put together with really nice, professional-looking results. Make sure to read all the instructions and fine print and remember – what you send is exactly what is printed. If you know an aspiring author or illustrator, or are looking to create something special for someone, this kit is a sure bet.
*Spoiler alert. Inside the present is a colossal spider – a gift from an eccentric aunt. The spider runs rampant through the town, swatting helicopters, before Arnold shuts it down with bug spray.
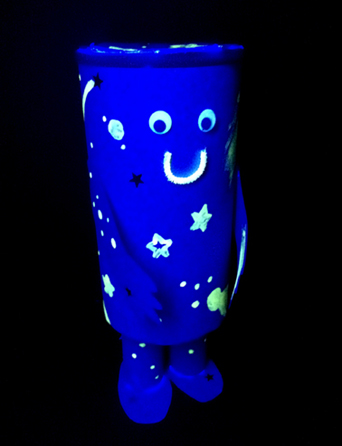 Afraid of the dark? Nah! With this fantastic, illuminating friend, you can discover how much fun the dark really is! And if you’re still not convinced, join us for a glowing balloon bounce bonanza!
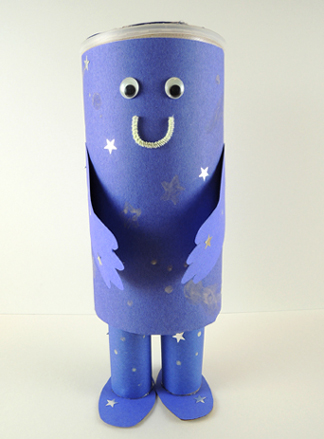
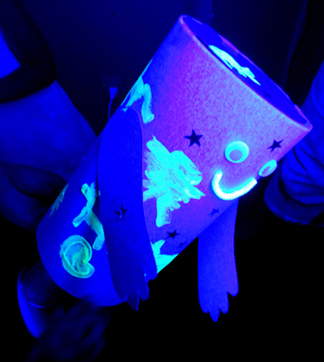
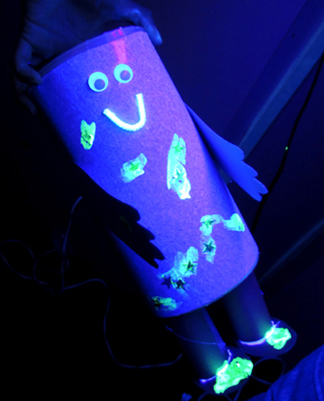
 The neat thing about the glow glue is that it dried semi-clear, so there’s a bit of a dramatic reveal when it illuminates:
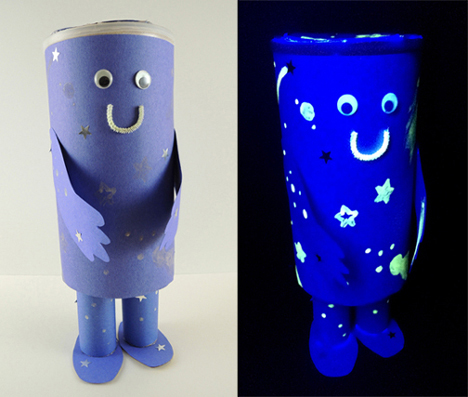 Notice how the eyes and mouth of the project are glowing too? Those are glow-in-the-dark wiggle eyes (available through Oriental Trading Company – a pack of 100 is $3) and a snippet of white pipe cleaner painted with glow glue. We were dubious at first, but the glue stuck to the pipe cleaner very nicely and dried quickly. It also stuck to Katie’s hands, giving her awesome alien fingers.
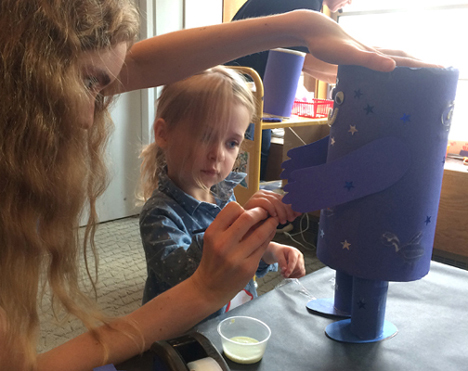
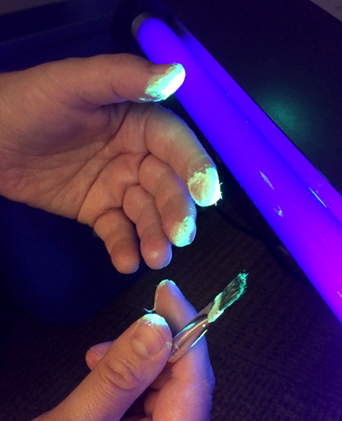 While the kids’ projects were drying on the tables, we decided to capture the spirit of the book by having lots of fun in the dark. We blew up a bunch of LED balloons (which you first encountered in
 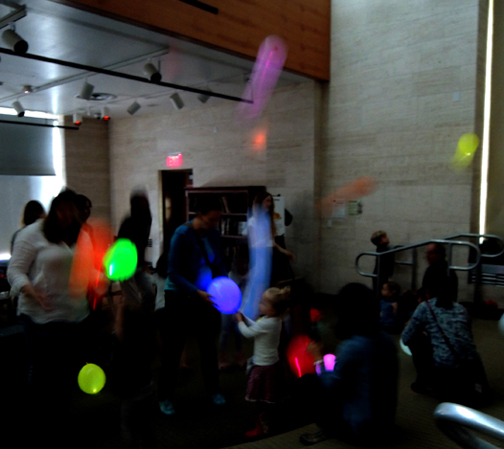 We also had a little black light closet set up, so kids could get a preview of what their creations would look like later than night.
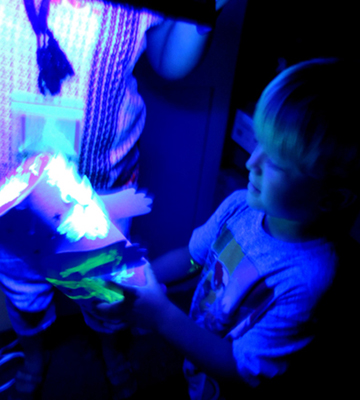
 Some of the balloon revelers ended up in the black light closet too. Because why not?
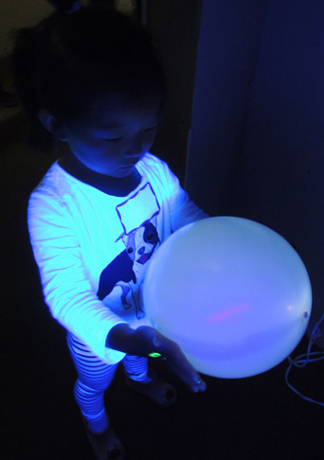
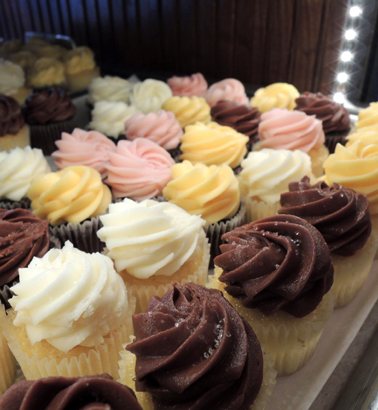
 The name “Mr. Willy Wonka” is synonymous with delicious chocolate, zany confections, and unusual flavors. Who doesn’t, for example, want to try a Wonka’s Whipple-Scrumptious Fudgemallow Delight? See what’s simmering in the Inventing Room? Or take a sip of that amazing, rich, creamy chocolate that’s been mixed by waterfall? But you can’t of course, it’s just a story in a book.
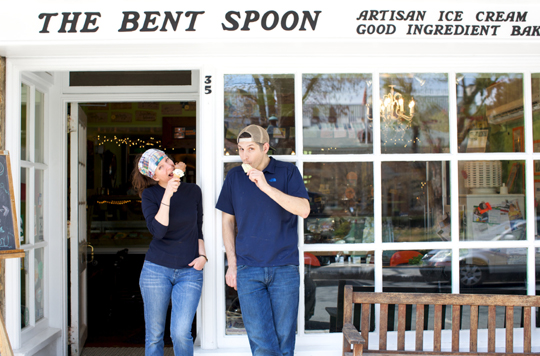
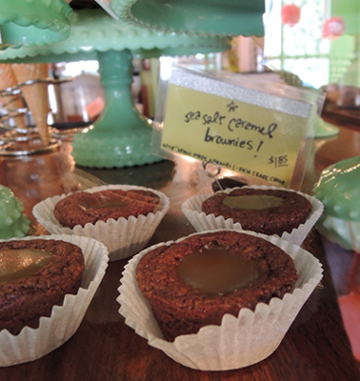 Gabi has brought her flavor wizardry to our library events too. She created chocolate Earl Grey ice cream for Alice in Wonderland, lime sorbet “Bombo” for Treasure Island, nector & ambrosia sorbet (with a hint of pomegranate) for The Lightning Thief, and honey ice cream for Robin Hood. Recently, I caught up with Gabi to chat about her magical Wonka touch.
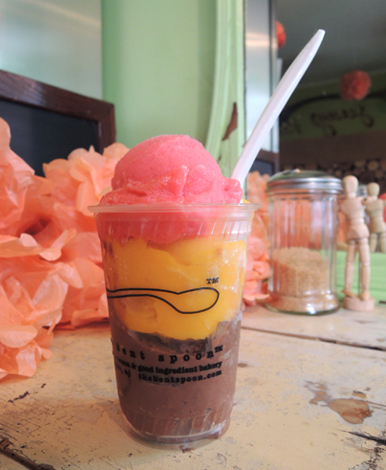 What’s the most unusual ingredient you have experimented with?