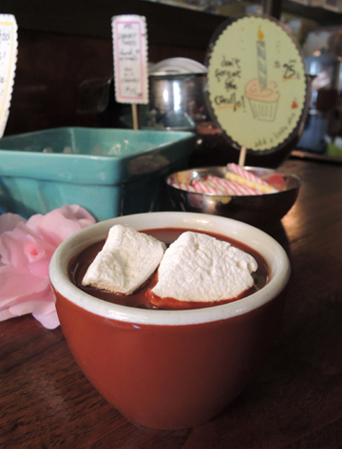
 The name “Mr. Willy Wonka” is synonymous with delicious chocolate, zany confections, and unusual flavors. Who doesn’t, for example, want to try a Wonka’s Whipple-Scrumptious Fudgemallow Delight? See what’s simmering in the Inventing Room? Or take a sip of that amazing, rich, creamy chocolate that’s been mixed by waterfall? But you can’t of course, it’s just a story in a book.
But what if I told you that you could?
Enter Gabi Carbone, co-owner of, and flavor wizard for, The Bent Spoon. Established in 2004, the Bent Spoon is a renowned artisanal ice cream and good ingredients bakery in Princeton, New Jersey. And when I say “renowned” I mean that it is legend.
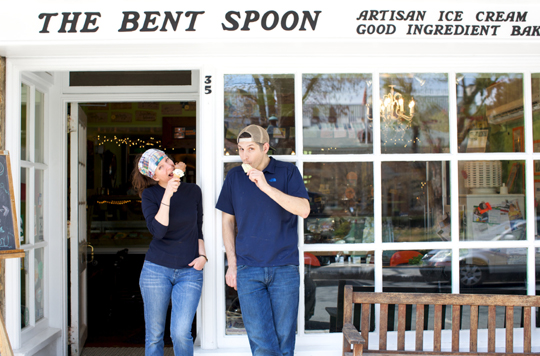
Photo courtesy of the Bent Spoon
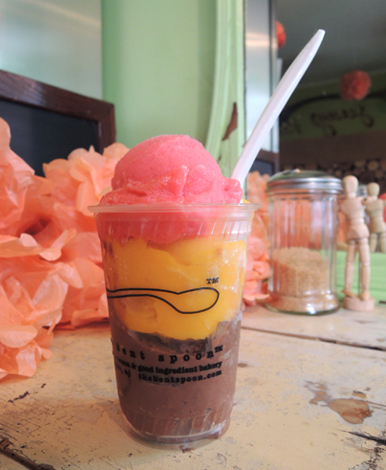
Not only do they have a mission to use regionally-sourced and preferably organic ingredients, they offer some of the most unique and delicious flavors your tongue has ever dared to taste. Alongside classics like vanilla, chocolate, and pistachio, you will also find avocado, sweet corn, basil, bacon, kale, cardamom ginger, habanero pepper, heirloom tomato, and green tea.
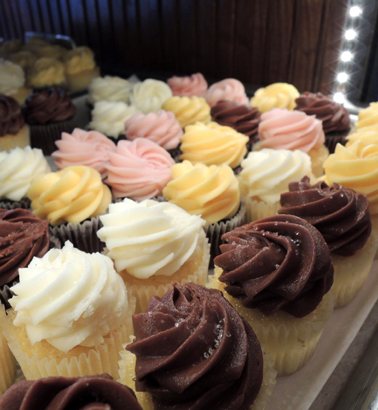
In addition to ice cream and sorbets, the Bent Spoon offers baked goods so amazing, you will find yourself standing in their long line of daily customers to snag a fork-pressed peanut butter cookie, a creamy cupcake, or a brownie with a well of caramel sea salt embedded in the center.
 Gabi has brought her flavor wizardry to our library events too. She created chocolate Earl Grey ice cream for Alice in Wonderland, lime sorbet “Bombo” for Treasure Island, nector & ambrosia sorbet (with a hint of pomegranate) for The Lightning Thief, and honey ice cream for Robin Hood. Recently, I caught up with Gabi to chat about her magical Wonka touch.
Tell us a little about your culinary background!
I think both Matt [co-owner of the Bent Spoon] and I have been involved in culinary everything from the time we were in our young teens. I got my first job at a good ‘ol café near my house. They had a soft serve machine and I started learning how to use it. It was a small family run business, and Matt bussed dishes at a restaurant! Both Matt and I grew up with families that really enjoyed food and had small gardens… and we both worked in food service at a young age. We got a taste for all of it.
After I graduated college, I lived in Japan for a year. I took every possible class and visited every grandma to learn how to make miso, soba, ramen…basically everything! I eventually went to the French Culinary Institute in New York City for pastries. That was my formal education, but ice cream making and almost everything else came from absorption. If you really love it, you search out teachers wherever you can.
How do you craft or discover different flavors of ice cream?
We have over 550, probably 600 flavors by now. It all comes from wanting to make it taste as much like the pure thing as possible. Cantaloupe, pear…to make it taste like a cold version of that thing. Once that part is good, it’s deciding what spins on that. A great example is Matt’s grandma always loved to eat pears with sour cream. We had to figure out how to craft that. Then we may taste it and think “oh, this could use some lavender just for fun.” Starting out 12 years ago, it was really important for us to perfect the individual flavors. When we first started out, we didn’t have a flavor like ‘Peach Rose’ or ‘Bellini’ because we wanted to perfect just the flavor of peach. We built on the core flavor.
 What’s the most unusual ingredient you have experimented with?
There’s a lot of them. Oysters, lobsters, mushrooms, different kinds of wood…
Seriously?
Yes! I joke that we go through periods, like our wood period. It almost doesn’t matter what it is because every ingredient is fascinating to work with. But milk and cream are still amazing ingredients. Everything gets reverence.
If you could turn one non-edible flavor into a baked good, ice cream or confection, what would it be?
A wet brick. I like the smell of a brick building after it rains.
I heard rumors about marshmallows flavored with mushrooms. Is that true?
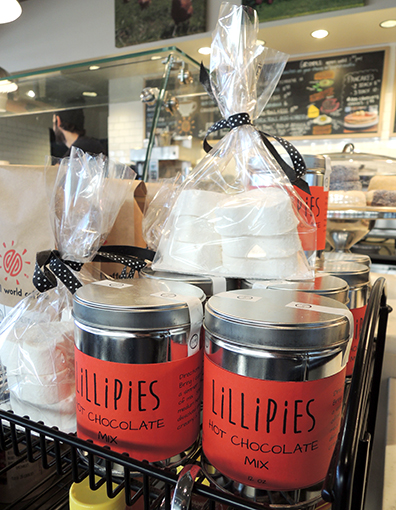
Yes, marshrooms! They are delicious. I love them because they are so earthy in taste. I use maitake mushrooms, which are the hen of the wood mushrooms. They are beautiful, gorgeous, earthy and delicious. It’s a cool way to eat your mushrooms – enjoying it as a marshmallow on your hot chocolate.
What are the challenges of flavor experimentation?
Very few challenges, really. It’s more about just doing it. Ice cream making is sometimes like making a soup. You start with an idea and if you don’t like the way it tastes, you add a little of this and add a little of that. Try it.
Once though, I made a peach sriracha flavor, which was delicious. But after seven days, not so delicious. The garlic got very strong. So one challenge is to see how an ice cream tastes a week later. Sometimes it’s awesome because the flavor develops even more. But sometimes it doesn’t work. Like if it’s a garlic, or onion, or a chocolate chip Bellini flavor. It’s great for four days, maybe. But get it to a week? It tastes like a big onion.
In a few words, describe your philosophy on creating delicacies for your customers.
Real. Lots of love. I feel like local and sustainable are together, they are not separate things. You can throw organic in there, too. Community, for sure. Empathy is a huge one, believe it or not. Thinking about the chicken that laid the egg that’s eventually going to be here, or someone who is growing the product, what it takes to make it, empathy for the customer with a food allergy…that’s a big one.
Of all the goodies at The Bent Spoon, which one has the most rabid fan base?
You’d be surprised, but every area has its own fan base. The banana whip people are the banana whip people, the hot caramel people are the hot caramel people, the chocolate sorbet people are the chocolate sorbet people, and the hot chocolate people are the hot chocolate people. And we know what you are, Dana!
My blood is 75% Bent Spoon hot chocolate.
I’ll finish this post with a quote from the blog, Serious Eats. They visited the Bent Spoon and had the following to say:
“These are the kinds of flavors so powerful that they go beyond mere taste—conjuring up memories, rather than just sensation. ‘This tastes like Peanut Butter Ripple at this one, tiny ice cream place on the Jersey shore,’ mused my dining companion, as we worked our way through the flavors. ‘This tastes like stealing my neighbor’s pears in September.’ ‘This tastes like Thanksgiving.’ And with the lingering warmth of all those pumpkin pie spices, with the bite of cranberry and sweetness of apple, it truly did.”
It’s fantastic, fabulous, and dare I say it? Wondercrump flavor magic.
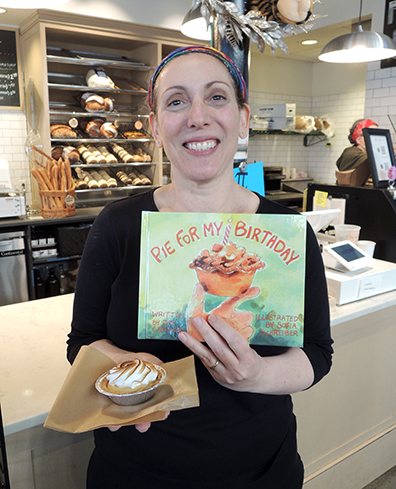
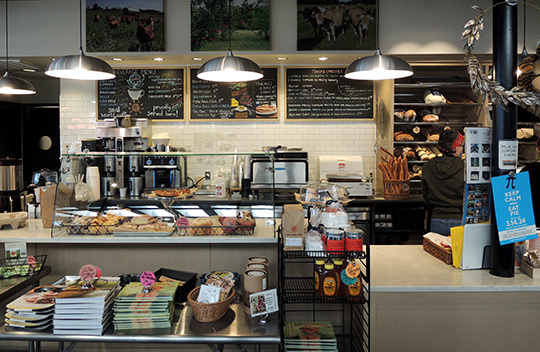
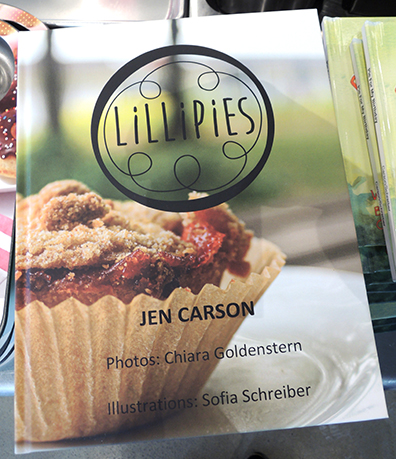
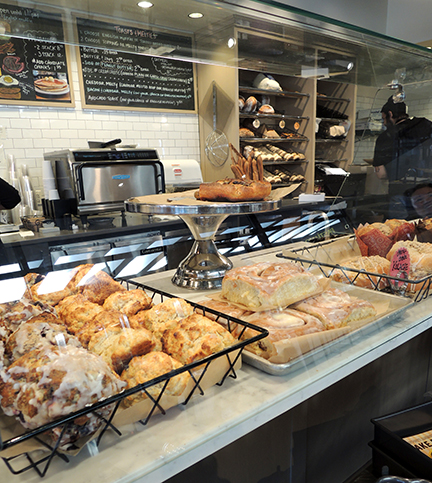
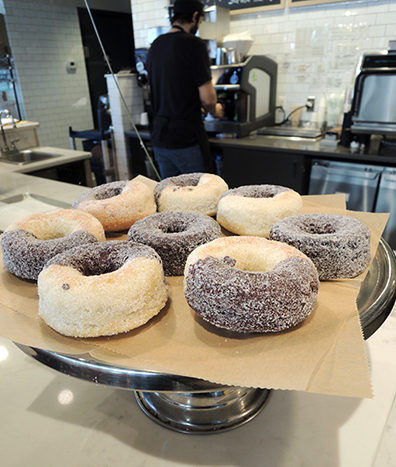
 Over the years, Jenn’s business has grown exponentially, culminating in a fantastic bakery that also serves delicious breakfasts. And now…she’s a children’s author! It took absolutely no convincing for me to photograph her happy busy eatery, and chat with her about this heartwarming story of baking and family.
 Hi Jenn! Tell us a little about yourself!
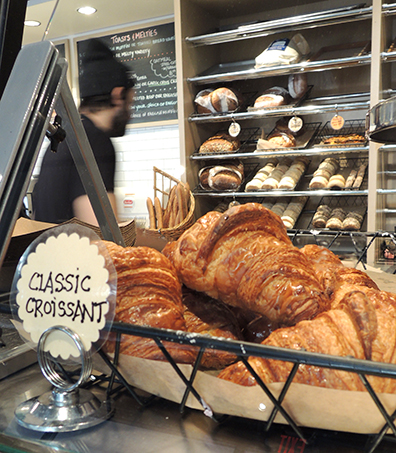

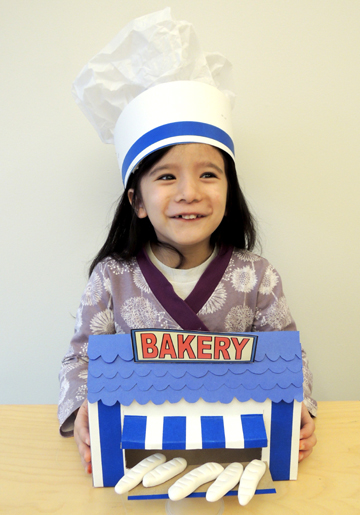
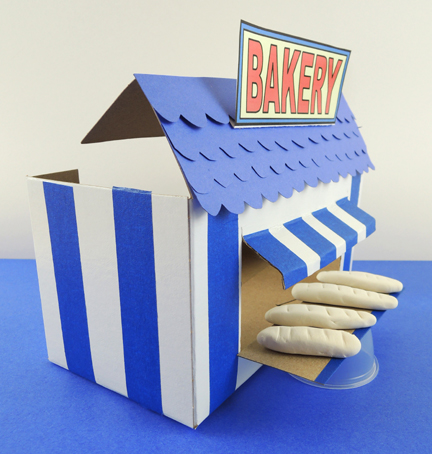
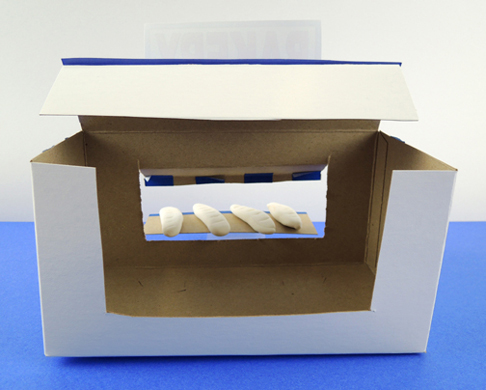 And use the resulting cardboard to make a countertop for your bakery. Hot glue it to a cut-down paper cup or plastic sample cup, then place the counter outside your bakery window. Use modeling clay (we used air dry Model Magic) to fashion some little baguettes.
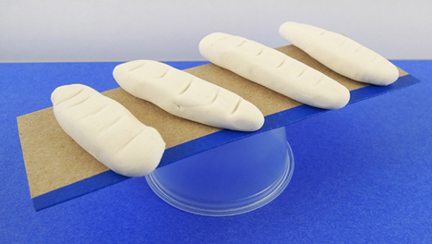 The final touch is a baker’s hat, and you will find the supply list and instructions for it

 The name “Mr. Willy Wonka” is synonymous with delicious chocolate, zany confections, and unusual flavors. Who doesn’t, for example, want to try a Wonka’s Whipple-Scrumptious Fudgemallow Delight? See what’s simmering in the Inventing Room? Or take a sip of that amazing, rich, creamy chocolate that’s been mixed by waterfall? But you can’t of course, it’s just a story in a book.
 Gabi has brought her flavor wizardry to our library events too. She created chocolate Earl Grey ice cream for Alice in Wonderland, lime sorbet “Bombo” for Treasure Island, nector & ambrosia sorbet (with a hint of pomegranate) for The Lightning Thief, and honey ice cream for Robin Hood. Recently, I caught up with Gabi to chat about her magical Wonka touch.
 What’s the most unusual ingredient you have experimented with?