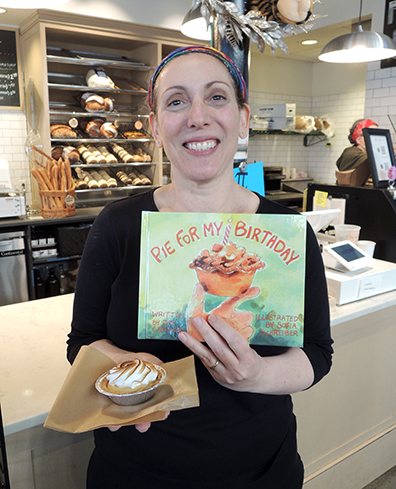
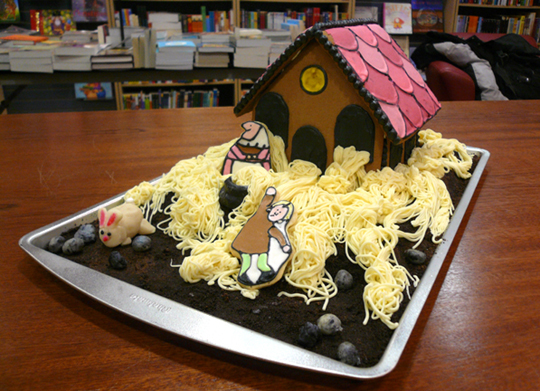
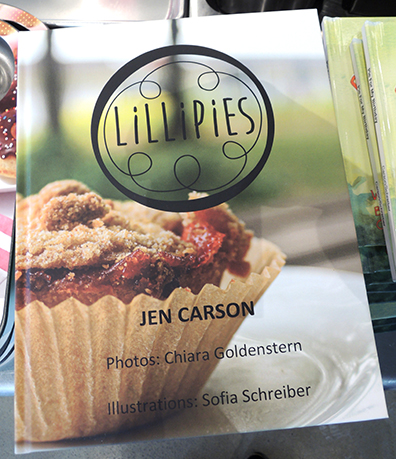
Is there anything more perfect than pies and picture books? Meet the amazing Jenn Carson, owner of LiLLiPiES bakery! I first met Jenn when she was doing farmers markets and delivering her amazing baked goods to my favorite local coffee shop. Long time blog readers might also remember that Jenn as the architect of this truly astounding Strega Nona house that was part of our 2013 Gingerbread Cottage Challenge.
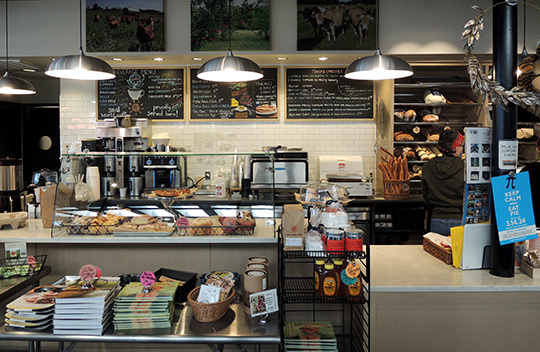
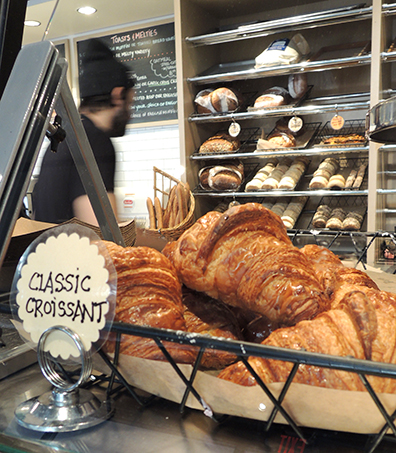
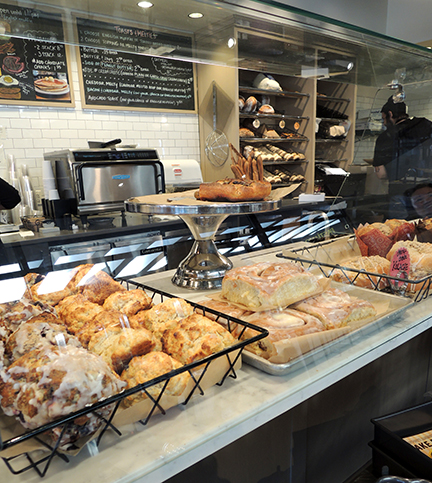
 Over the years, Jenn’s business has grown exponentially, culminating in a fantastic bakery that also serves delicious breakfasts. And now…she’s a children’s author! It took absolutely no convincing for me to photograph her happy busy eatery, and chat with her about this heartwarming story of baking and family.
 Hi Jenn! Tell us a little about yourself!
Hi Dana! I am Head Baker and owner of LiLLiPiES bakery in Princeton. I also teach Artisanal Bread Baking at Mercer County Community College’s Hospitality program. My husband, Ken, and I have three adult children as well as a sweet doggy named Lucy.
You already have an amazing cookbook…what inspired you to write a picture book as well?
I have a background in elementary education and have always seen the importance and beauty in parents baking with their children. Plus, I had a blast collaborating with Sofia for the original cookbook and wanted to work with her again.
Tell us a little about the lovely family that fills the pages of this story…
Pie For My Birthday is a true story of our son, Sean’s 6th birthday. It’s a story about listening to each other, patience, cooperation, and teamwork. In the end, our family worked together to make little pies for Sean’s class.
These days, Sean (that little kindergarten boy in the book) works as a project manager here in New Jersey. James, (the impish little brother in the book) is a civil engineer working in Brooklyn. Sara, (the teeny baby sister in the book) is a college student, majoring in Music and Business. Ken (the Dad) is a Pharmaceutical Chemist who focuses on cancer therapies. We still enjoy cooking together very much.
What was it like to work with the illustrator, Sofia Schreiber?
Working with Sofia was absolutely wonderful. She actually knows my kids and Ken quite well and was able to show their personalities in her paintings for the book. Watching her progression week to week brought me to tears quite often. She is really an amazing talent.
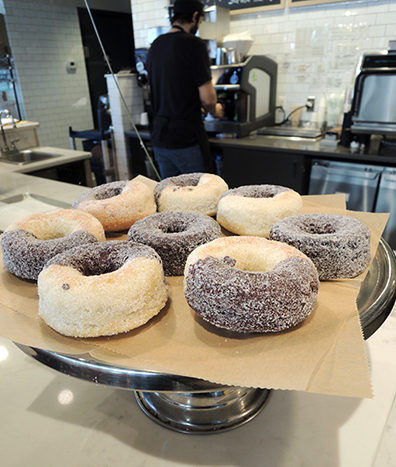
Ok, so this is technically not a question, but we were SO excited to see a donut recipe in the back of the book. Your donuts are LEGEND!
Haha! Glad you enjoy them. I started making them for farmers markets. One farmers market had their opening day on National Donut Day. I thought it would be fun to bake my cake recipes in donut pans, so that customers could try our cake. When the next week came around and the donuts were not offered, I got quite a few requests to bring them back. They’ve been on the menu ever since.
If you were send one message to the little future bakers who read this book, what would it be?
Bake on!

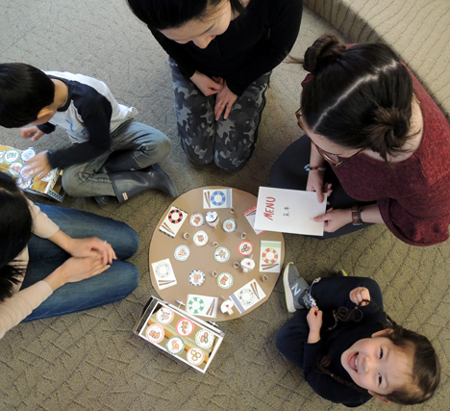 Hungry? We invite you to peruse the contents of this adorable dim sum cart. In addition to being stocked with deliciously delectable dishes, the cart is a bilingual matching game with an additional story time social twist!
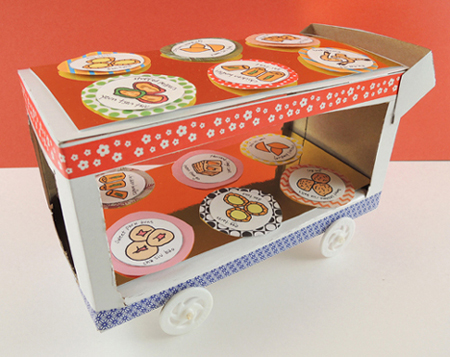 We read Dim Sum for Everyone! by Grace Lin (Alfred A. Knopf, 2001). Follow a family as they sample the many little dishes served at a dim sum restaurant. Pork buns, fried shrimp, egg tarts…the carts have something for everyone! The book concludes with an excellent essay about dim sum – it’s history, traditions, and social aspects. Fantastic book!
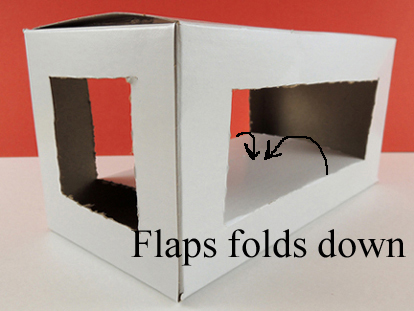 Add a wheel assembly to the bottom of the box (you’ll find instructions and alternative wheel suggestions
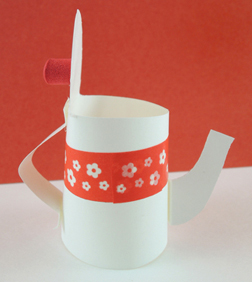
 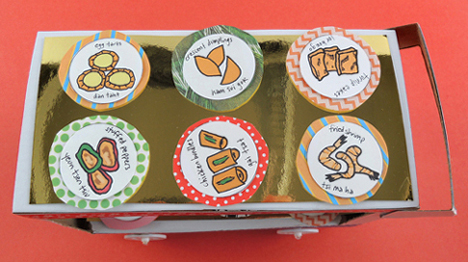 Would you also like to serve tea? The tea cups are leftover bits of card stock circled into miniature cylinders. To make the teapot, circle and tape the rectangular part of the
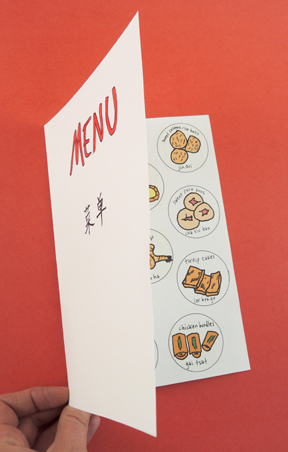
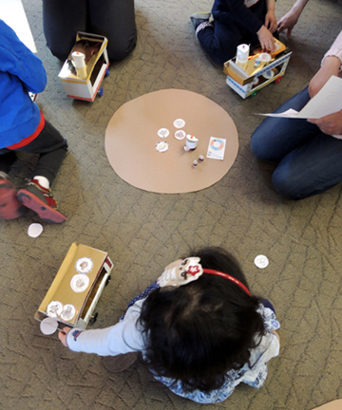
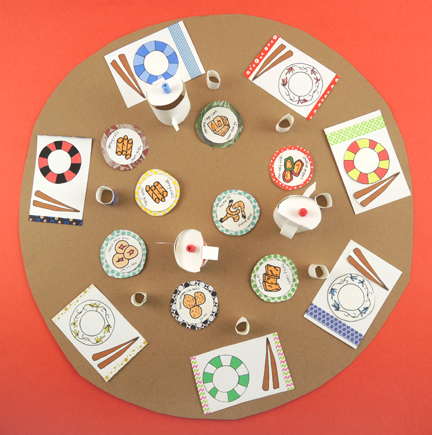 The book mentions how social dim sum dining is, so we made a couple tables (i.e. brown poster board circles) and asked the story time grown ups to sit around them. Kids traveled to ALL the tables, playing the matching game with everyone’s grown up! If you decided to add this social aspect to your story time, just make sure the kids write their names on the backs of each of their dishes so they can be returned to the proper cart.
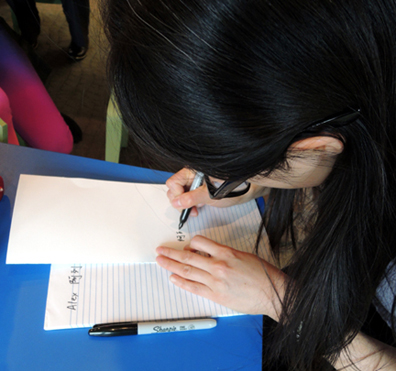
 The final touch on this awesome project? Our colleague, Dr. Minjie Chen, stopped by to write the kids’ names on their menus in Chinese characters. The absolutely loved it. Thanks Minjie!
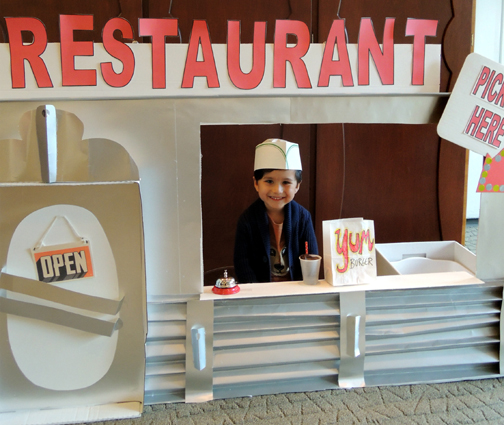
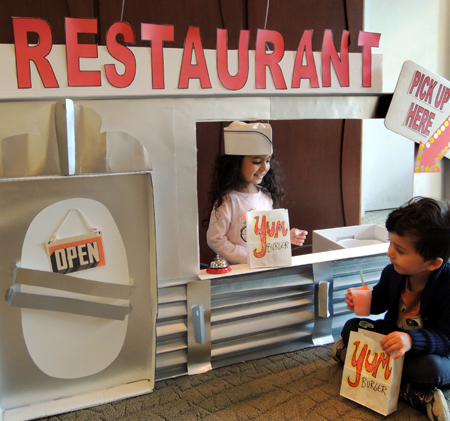 Get your piping hot hamburger, crispy crinkle fries, and ice cold soda served over the counter of this awesome 1950s diner! The cook is taking orders, and our fun matching game insures that your customers will get exactly what they like.
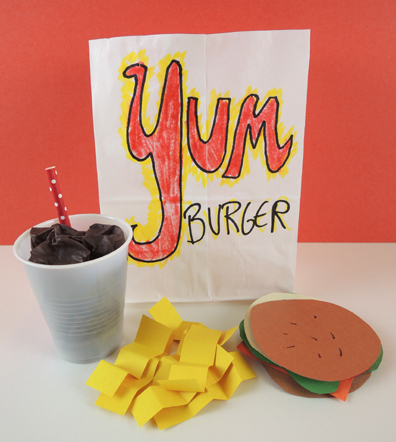 This project consists of 3 paper bags, 3 sodas, 3 sets of fries, 3 burgers, and 3 “customer cards.” First, cut the paper bags down to 7″, then decorate the fronts with your restaurant’s logo. To make the soda, squish three, 9″ x 13″ pieces of tissue paper into 3 small plastic cups. Add a half of a drinking straw to each cup (our straws were 4′ long). For the fries, accordion fold 1″ x 3″ pieces of yellow construction paper. We’ll get to the burgers in just a moment.
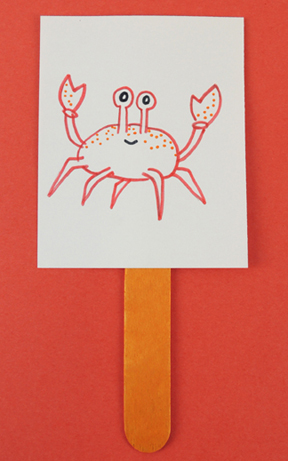 Now for the matching burger! Each burger consists of 6 pieces of construction paper: 2 brown buns, 1 slice of cheese, 1 lettuce leaf, 1 tan burger patty, and 1 tomato slice. Since you’re making 3 burgers, you’ll need 3 sets of those 6 pieces.
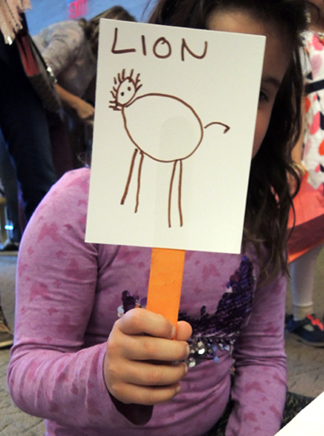
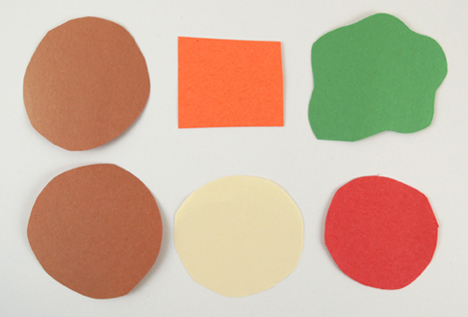 To customize the 3 burger patties, draw what each creature eats on a patty. For example, one of our creatures is a crab. Among other things, crabs eat fish parts and algae. So we drew them on the burger patty (here’s a
 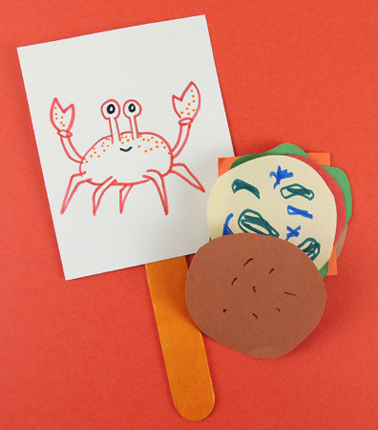 Use
Use 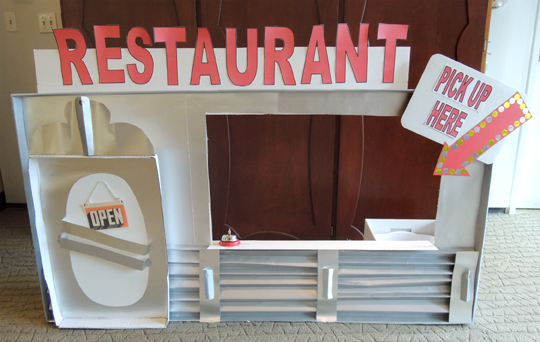 This diner is Marissa in all her awesomeness. The front is a recycled box lid (first used for this
 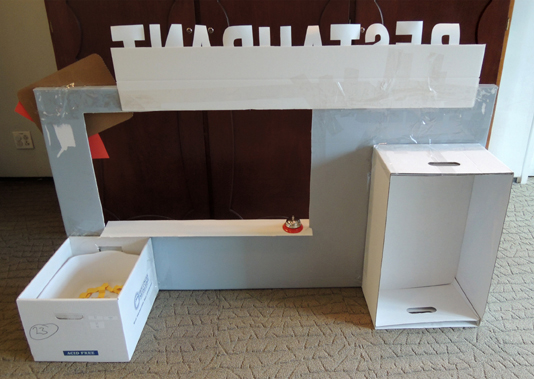 If you don’t have time to make a diner, no worries. Use a tabletop, small desk, or even an overturned box! However, I do recommend including a counter bell (in the past, I’ve borrowed the bell from the library’s circulation desk). Since our bell was going to get repeatedly slammed by kids, I taped it to the counter. You might want to do the same.
 Kids matched the customer to the appropriate burger, took a drink order (we offered cola, lemonade, or orange pop), and grabbed a generous serving of crinkle fries.
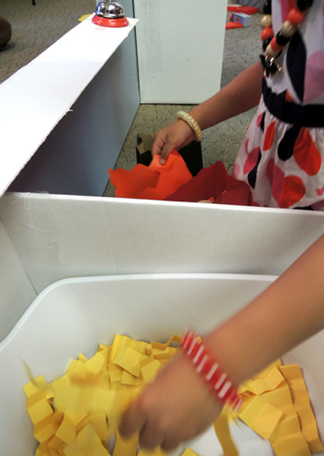 They bagged everything, briskly dinged the bell, and shouted “Order up!” Once that customer had left, it was on to the next customer until every creature had been matched to a burger. Did we have fun? Oh yeah! In fact, we left the diner up for 20 minutes after story time for repeat customers. There was lots of enthusiastic bell dinging and BIG smiles!
 Want to supersize that? Check out these