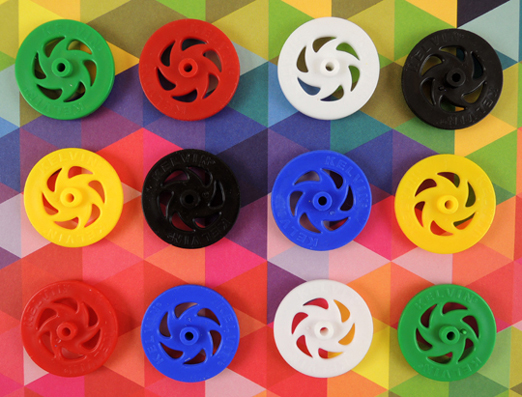
 You’ve seen them in various projects that roll, toddle, and race. For anything ambulant, we highly recommend these fantastic plastic wheels, sold by Kelvin Educational. This post also includes instructions on how to make an official Pop Goes the Page wheel assembly for all your vehicular needs!
We discovered the 1-3/8″ diameter wheels while designing an event for Richard Scarry’s classic book, Cars and Trucks and Things That Go. The event was my son’s idea. He was 6 at the time, and told me the library needed to do “a program about crazy cars you can make.” Crazy cars we DID make, with some science thrown in to boot (details here).
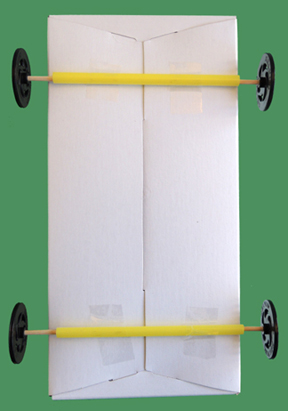
 To make a wheel assembly, tape two, 4″ plastic straws to the bottom of a box. Then thread two, 6″ wooden rod “axles” through the straws. We used BBQ skewers cut down to the proper size with pruning shears (and don’t forget to cut off the pointy end of the skewer!). Here’s what a finished wheel assembly looks like:
 The wheels can be purchased from Kelvin Educational. Black wheels are product #990168 ($10 for 100); and color wheels are #990169 ($11 for 100). Warning! Sometimes, the wheels slide off the ends of the skewers. To remedy that, we hot glue foam beads to the outsides of the wheels. But Kelvin Education DOES sell the same wheels, same price, with “end caps.” So we recommend going with those (black #990170; color #990171).
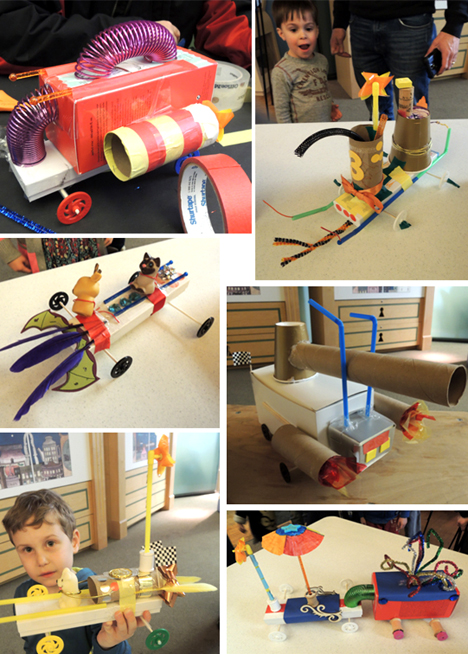
In terms of sturdiness and versatility, these wheels are definitely worth the splurge! Here are some story time projects we’ve created with them…
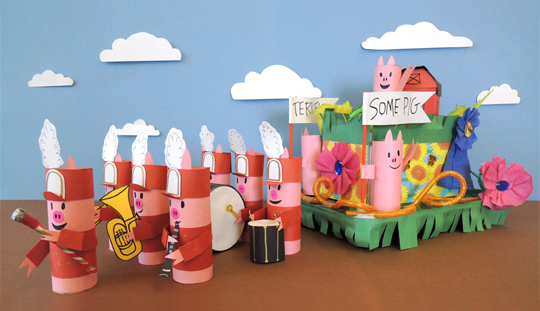 Pig parade floats (marching band optional)
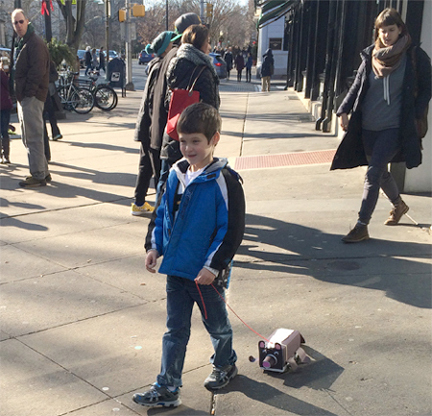 Hitting the streets with your pet skunk
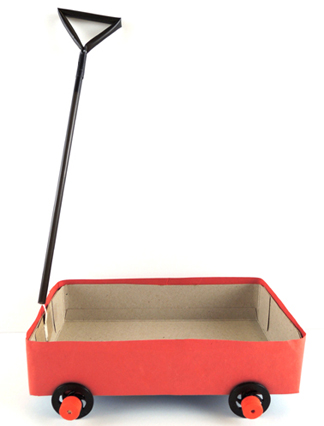
A super sweet tissue box red wagon
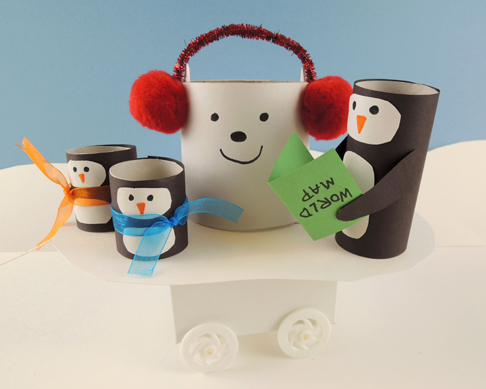 An ice floe for a geographically challenged polar bear and penguin family
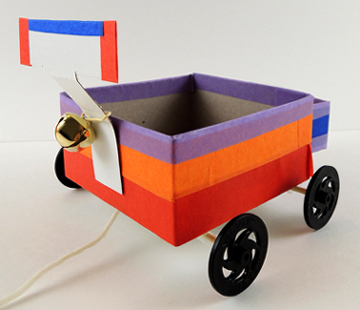 A bicycle for a well-meaning monster
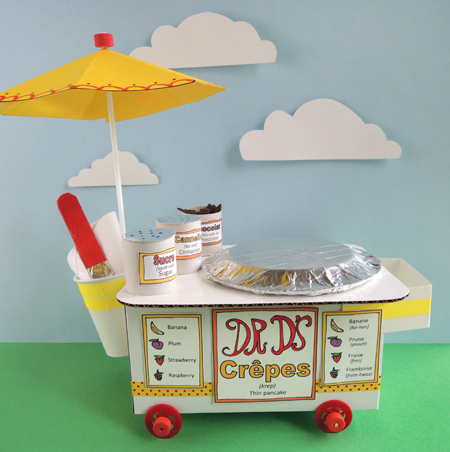
A crêpe cart with all the trimmings, including a menu that allows you to order en français!
If these plastic wheels won’t work for you, alternatives include wooden wheels (a regularly stocked item at Michael’s Craft store), wooden spools, sized-down toilet paper or paper towel rolls attached to the bottom of the box, or poster board/card stock wheels glued to the sides of the box (like this awesome car, or this charming train).

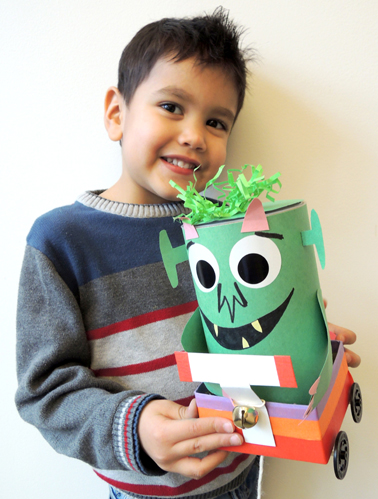 We’ve made a lot of monster projects on the blog, but this is our first monster…on a bicycle! Where is he going? To find YOU, of course. And make a very special delivery.
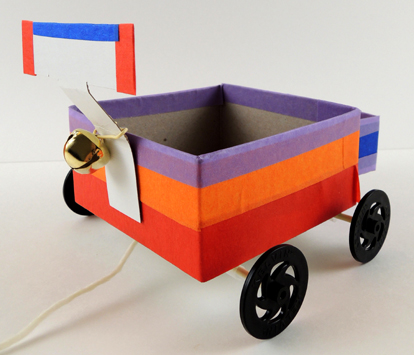 The bike is a 4″ x 4″ x 4″
 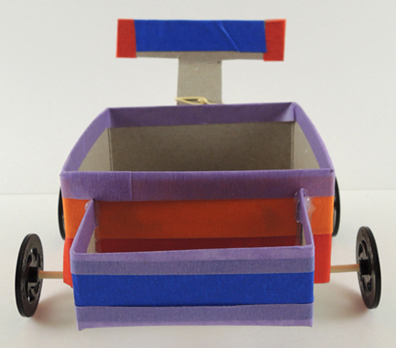 Use a small box or extra cardboard to create a small bike basket, then tape or hot glue to the back of the bike box. Not only does the basket keep the bike from tipping too far back when you’re pulling it, the basket holds something VERY special a little later. Finally, we have our monster…
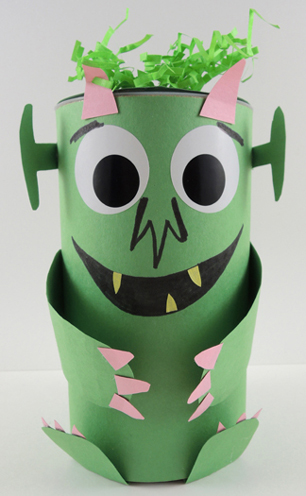 Wrap a small oatmeal container with construction paper, then add arms, legs, eyes, ears, and horns. We added a little
 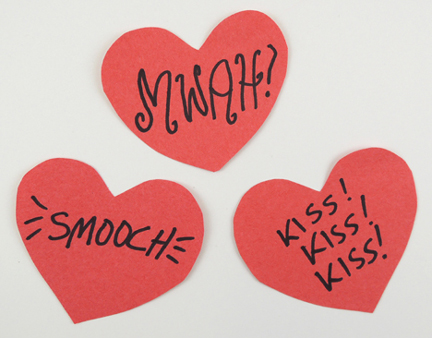 These were “kisses” the monster was carrying with him in his bike basket for you! Awww!
 We always promised that we would share the good, the bad, and the ugly on this blog. Well, today we present a complete and total fail. We tested a 6ft, 72″ latex climb in balloon. Yes, a giant balloon you climb inside.
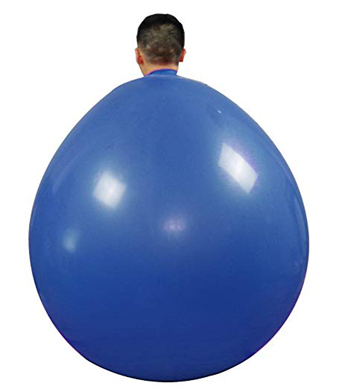
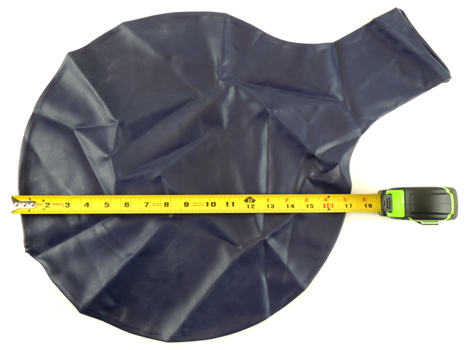 The technique for getting inside the balloon is to inflate it a little, stretch the neck open, and then quickly slide a foot in. Inflate again, and slide the other foot it.
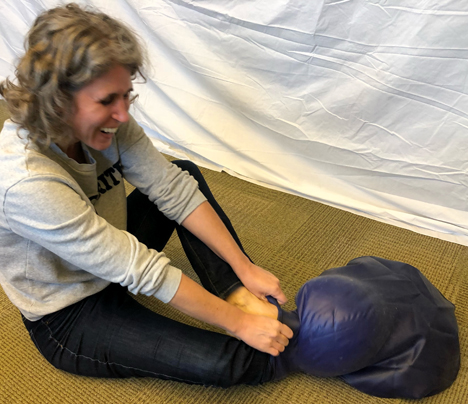 Then you stand up, inflate, and start shimmying the balloon up your body. But in order to create the space for your legs and torso, the balloon has to stay semi-inflated at all time. Which means someone is running a leaf blower next to your head as you try to ease your way into your balloon suit.
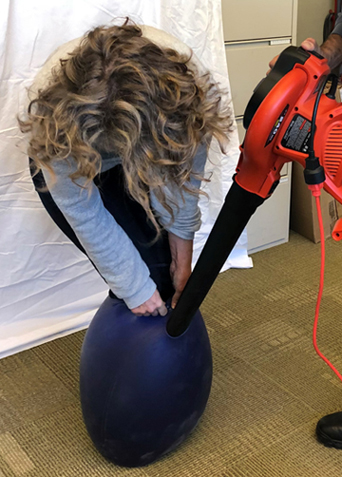 We made it a little past my knees before the balloon ripped. NOOOOO! Maybe it was the roughness of my clothing? Something smooth like running tights, yoga pants, or even wearing shorts might have made the difference.