 Hit the road in a totally stylin’ pull string truck. Your mission? To deliver produce to the city market. But first, you have to navigate a 12 foot obstacle course packed with trees, animals, buildings, water, and bridges!
We read Little Blue Truck Leads the Way, written by Alice Schertle, and illustrated by Jill McElmurry (Harcourt, 2009). Little Blue Truck is heading to the city to deliver some fresh country produce. But the city is a lot bigger, faster, and unfriendlier than Little Blue expects. A bus bullies, a grocery truck shouts, a police car wails, and a street sweeper hollers. Suddenly, the limousine carrying the mayor breaks down, creating a terrible traffic jam. But when conscientious Little Blue offers to give the stranded mayor a ride, the traffic jam turns into a delightful procession through the city, ending at the grocery store just in time for Little Blue’s delivery!
You’ll need:
- 1 box (mine was 4 ½” X 4 ½” x 6” – a small tissue box works too)
- 1 pickup truck template printed on 8.5″ x 11″ card stock
- 4 circles of black construction paper (approximately 2.5″ in diameter)
- A piece of string (approximately 24″ long)
- 1 mini craft stick
- 2-4 toilet paper tubes
- 2-4 rectangles of green tissue paper (mine were 9″ x 12″)
- 1 roadway obstacle course (more on that later!)
- Scissors and tape for construction
- Markers for decorating
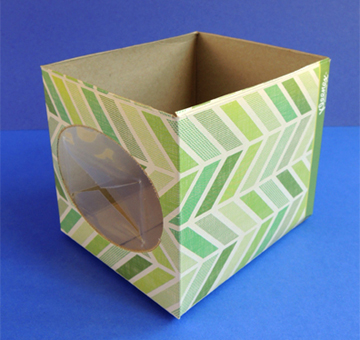
 First, the pickup truck! I used a craft box with a lid, but I’ll also demonstrate how to use a small tissue box. If you’re using a craft box, begin by cutting the lid and tabs off the box. If you’re using a small tissue box, turn the box on its side and cut the side off.
 Set the box aside for a moment. Cut the front of the truck from the template. There are 5 folds you’ll need to make on the template. Each fold is marked with a dotted line. First, fold the 2 tabs on either side of the hood.
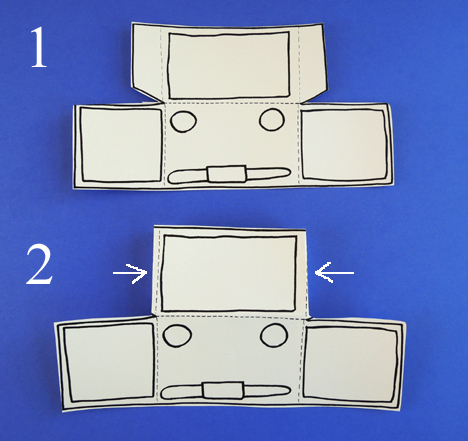 Next, fold the 2 panels on either side of the truck’s headlights.
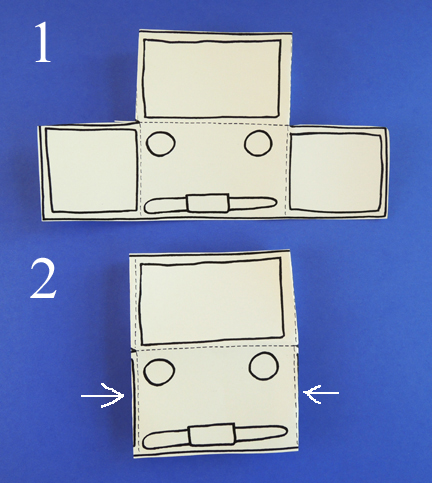 Finally, fold the hood down to meet the side panels, and secure it with tape.
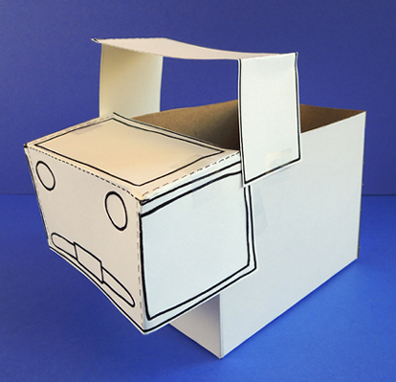
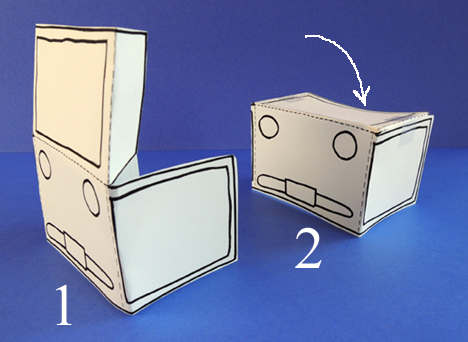 Tape the front of the truck to the front of the box like so:
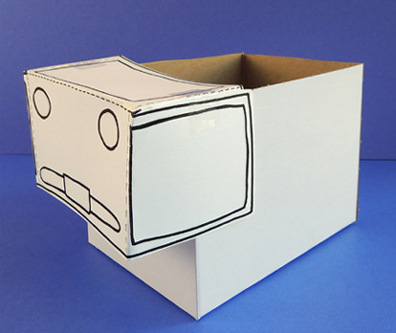 Here’s the tissue box version. As you can see, this results in a slightly shorter (but still very serviceable) truck.
 Next, cut the roof piece from the template. Fold along the dotted lines and tape the roof to the top of the box.
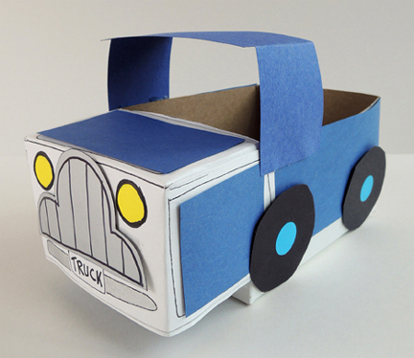
 Draw some lines on the grill template, then tape it to the front of the truck. Finish by taping black construction paper wheels to the sides. Make sure the wheels don’t extend past the bottom of the truck!
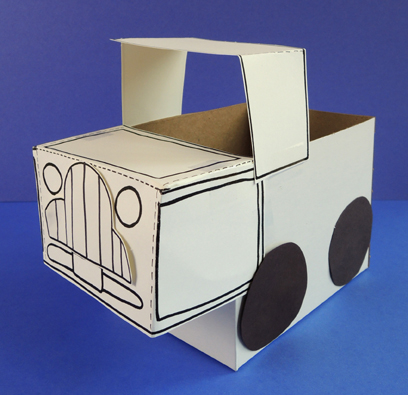 That’s the basic construction, but there are a couple variations on it. You might, for example, want to wrap the box with construction paper first. Also, we traced roof and grill templates onto different paper. Our roof was blue construction paper, and our grill was silver poster board. We also added some dot stickers to the wheels for hubcaps.
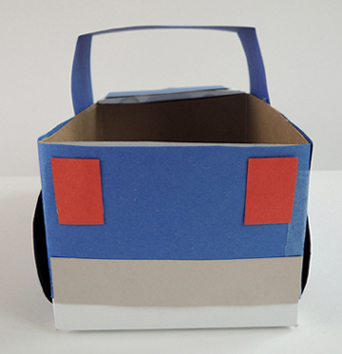
Use red and gray construction paper to add tail lights and a rear bumper.
 Of course, you can also skip these variations and just use the template pieces and markers! If you decide to go that route, have the kids decorate the template pieces with markers before they tape them to their boxes.
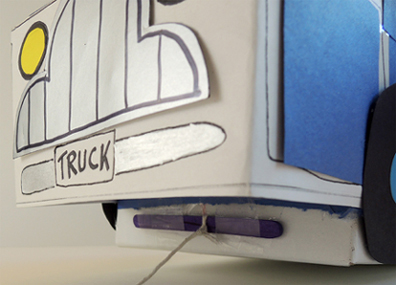
The final step is to make the truck’s pull string. Knot a piece of string around a mini craft stick, then attach it to the bottom of the box with tape:
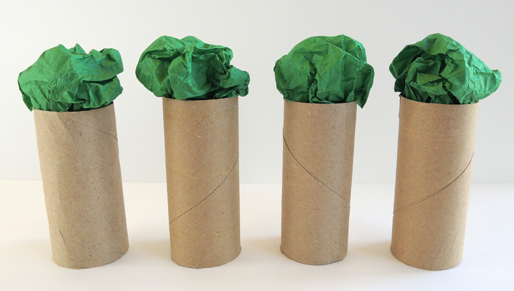
 To make your “produce,” stuff the tops of 2-4 toilet paper tubes with green tissue paper. Place the tubes in the back of the truck. We didn’t secure the tubes down with tape. We wanted them to wiggle and wobble while the trucks navigated the obstacle course.
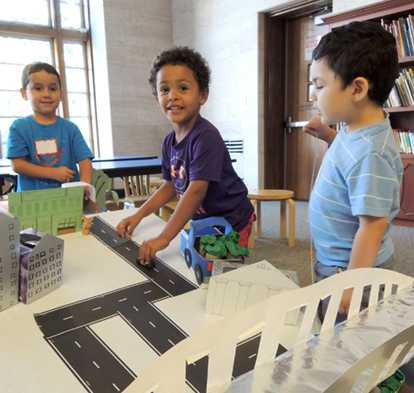
 And what an obstacle course it was! We used two, 6′ plastic tabletops to create it. These tables have shown up on the blog before – once for sled runs, and again for snail races.
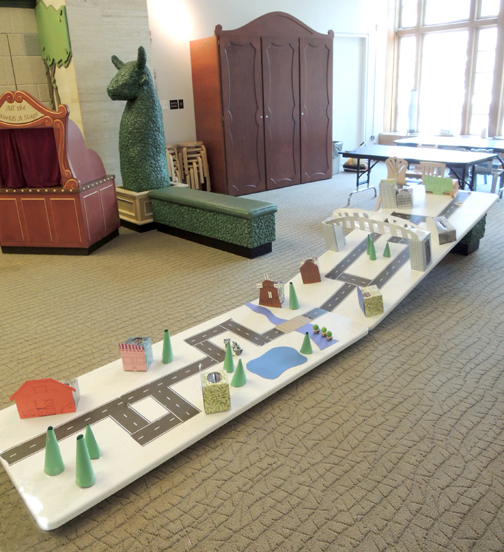 One of the tables was (securely) propped up on a cushioned stool to add a challenging hill to the course. You can also see how we made the buildings…facades taped to tissue boxes, which were then secured to the tabletop with packing tape.
 The building facades were Marissa’s handy work! Out in the country was a big red barn…
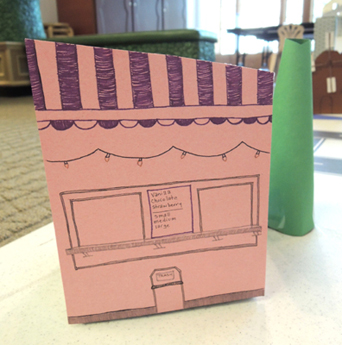
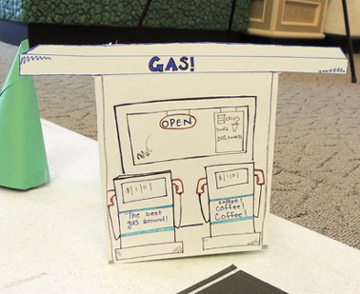
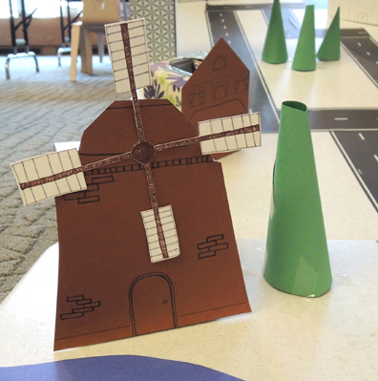
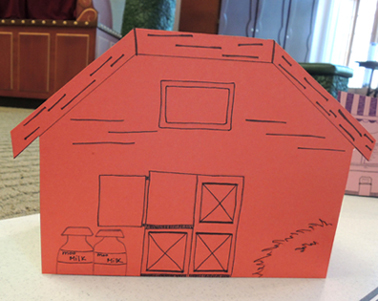 As well as an ice cream stand, a gas station, and a windmill…
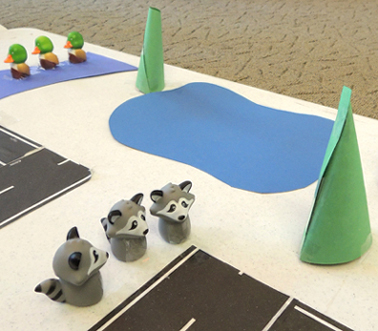
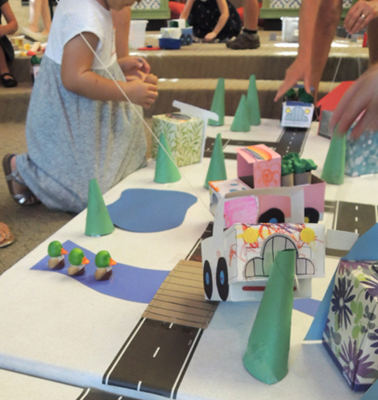
 There were ducks by a river bridge, and a trio of raccoons near a pond…and how do you like those towering conifer trees?
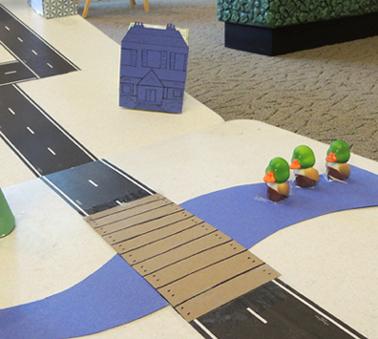
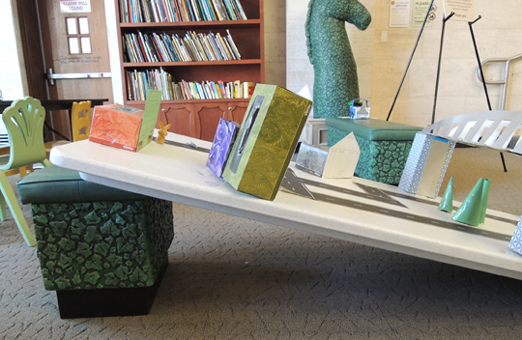
 The entrance to the city was marked with a big bridge. I made it out of a strip of cardboard, tin foil, tissue boxes, and silver poster board.
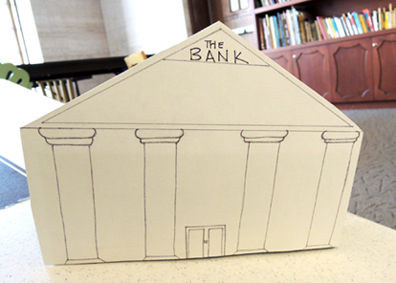
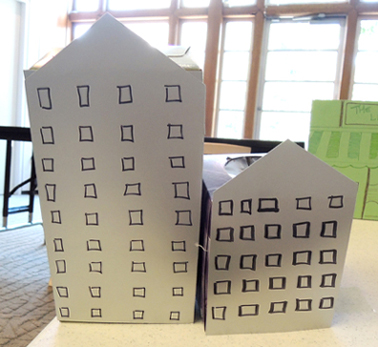
 Once in the city, there’s a bank and a couple of skyscrapers…
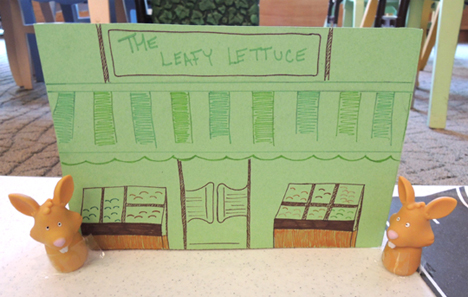
 And finally, at the veeeery top of the course, was “The Leafy Lettuce.” This is where you delivered produce to your eager customers.
 While constructing the course, we taped the buildings down first, and then added the road. We considered using long strips of black paper, contact paper, or masking tape outlines (similar to what this clever person did). But then I found this glorious stuff at our local toy store. I had to give it a test drive:
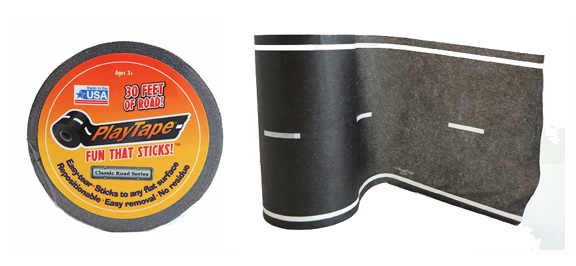 PlayTape is basically masking tape with road printed on it! The 30′ rolls came in 2 widths (2″ or 4″). I went with the 4″ size, which was $13 a roll (the 2″ size is $9). I found the tape on Amazon as well (in different colors, with special curved pieces, as train tracks, and there’s even a “Mud Madness” version!). The tape was awesome. My only complaint is that at times, the ends curled up off the plastic tabletop. The tape did much better on the rugs and hardwood floors of my home. It peeled easily off all surfaces, and left no residue behind.
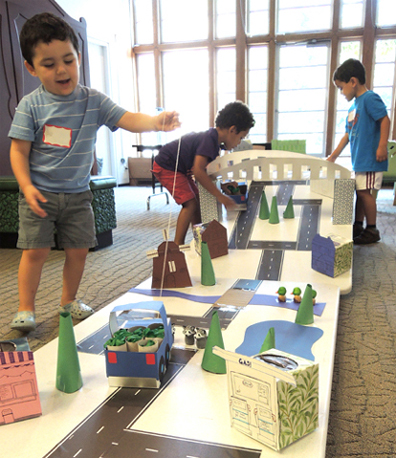
With the road in place, the course was ready! Drivers started at the bottom, then tugged, steered, turned, and yanked their cars up the course.
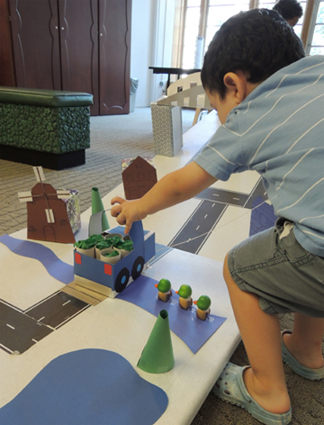 Make sure you tape everything firmly in place (even the animals) because there will be plenty of hilarious crashes. Oh yes, there will.
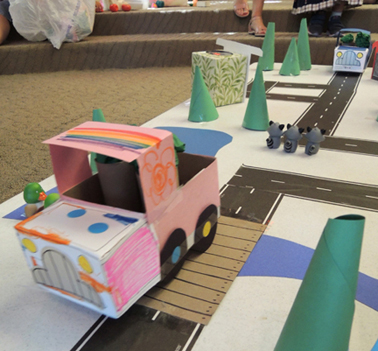
 Here’s one of my favorite trucks on course. Look at that fantastic rainbow roof!
 Eventually, all the trucks found their way to The Leafy Lettuce. We left the course open for a good 20 minutes after story time. It was very busy. A few Hot Wheels cars even showed up to take a drive…

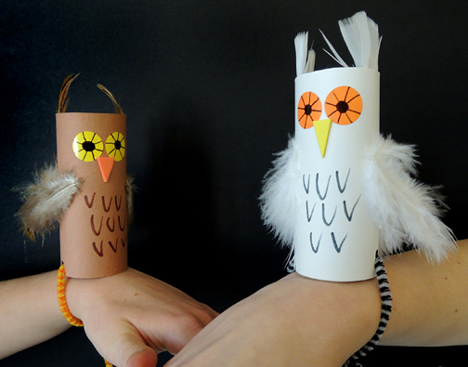
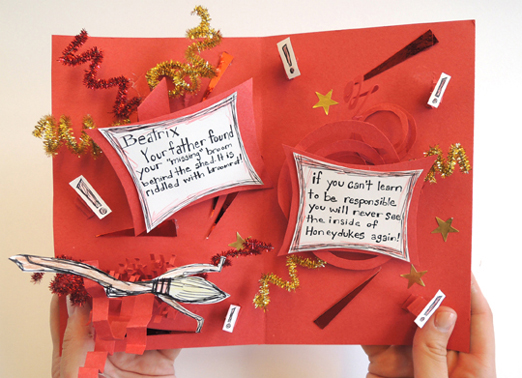 Messed up on a test at school? Misplaced your toad? Stole your father’s flying car? Brace yourself – you might be getting a Howler in the mail.
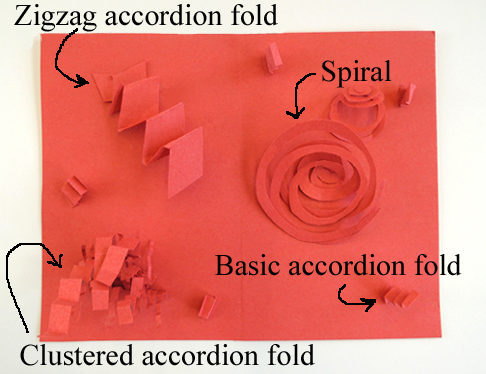 To make the basic accordion fold, take a strip of paper and fold it back and forth until it resembles a stair case. Attach one end to the card with tape. We cut a number of different size strips and let kids pick and fold the ones they wanted. We also had rectangular pieces available in case kids wanted to cut and fold a cluster of accordion folds.
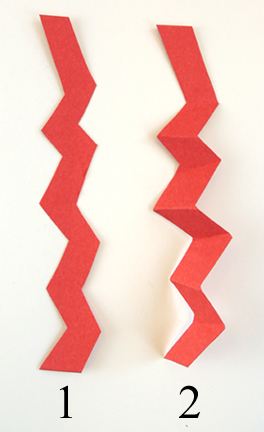 We had sparkle stems, foil star stickers, and little bits of red mirror board available to decorate the cards (the idea was to make it look as explosive as possible, so lots of red and gold)! Finally, write magical crimes and consequences on pieces of white card stock and attach them to the card or pop-up elements. Feel free to add illustrations as well (like Marissa’s fantastic broomstick in the image below? And did you notice the little exclamation marks popping up on accordion folds?).
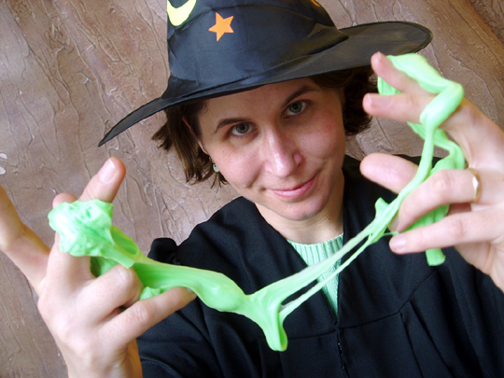 It’s Harry Potter week at Pop Goes the Page! Harry Potter and the Cursed Child, Parts 1 & 2 will be released this weekend, and there will be launch parties and countdown events galore. I thought it would be helpful to compile all of Pop’s Harry Potter posts and projects, just in case you find something that might come in handy at your wizardly celebration.
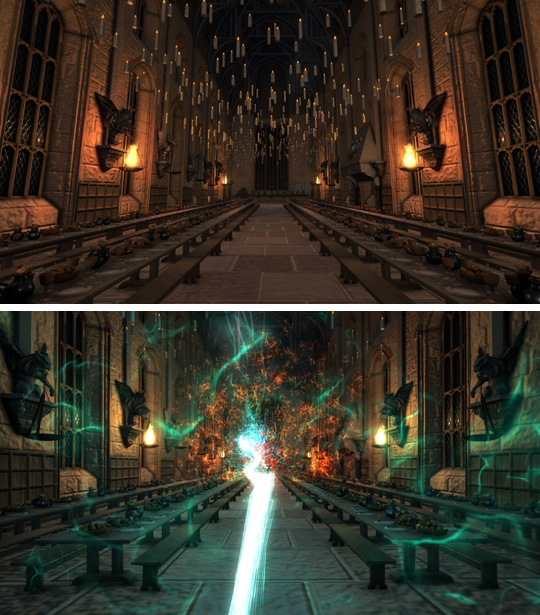 And now for more amazing-ness. This
 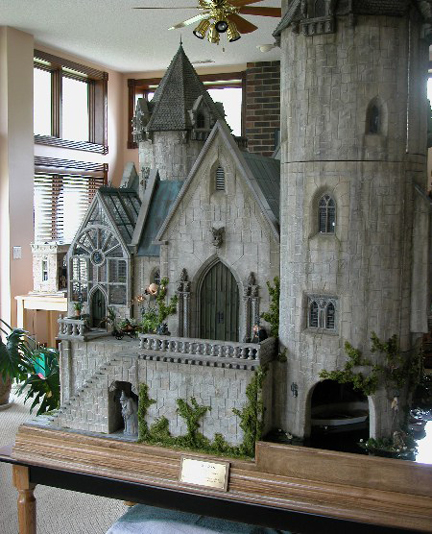 However, if your magical real estate aspirations need to be on a slightly smaller scale, try this Gothic
 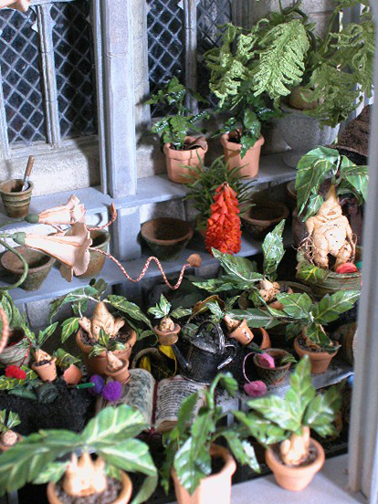 Herbology continues with this little dried herb
 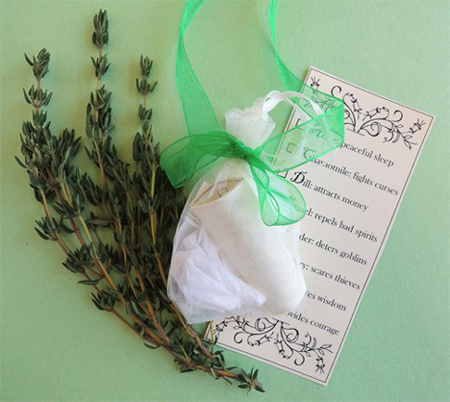 And these dashing, yet simple,
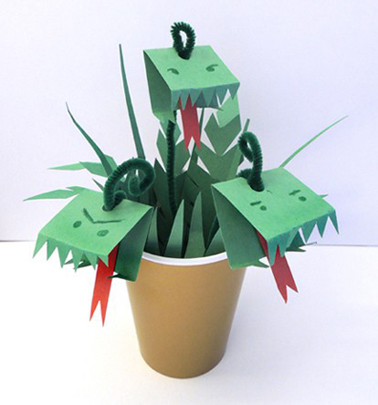
 Another Harry Potter post I dearly love is this
 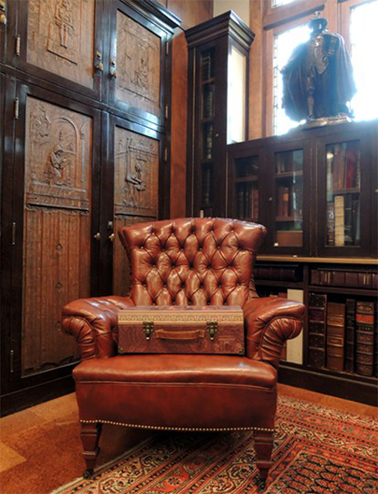 We’ve also made plenty of dragon and monster projects in the past, from this
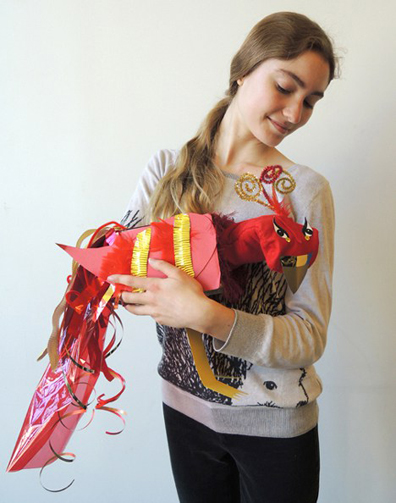 Moving on to school supplies, try these simple, but immensely popular,
 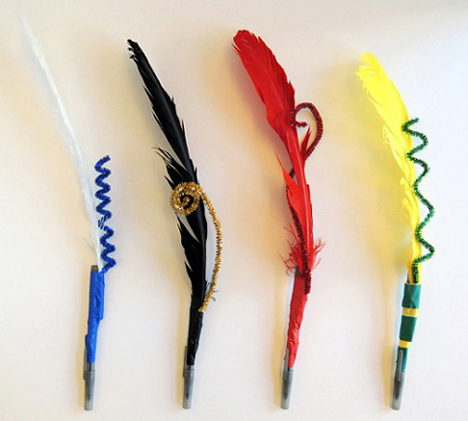 If it’s a wand you need, take a look at the custom wands we made at our Harry Potter
 Or, learn some smaller spells. A pair of Slytherin students joined us at our
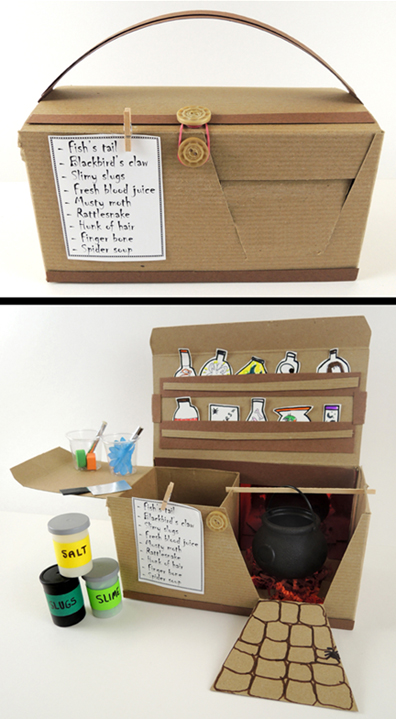
 And what would Harry Potter be without some treats? Check out the gourmet
  We also tested a couple recipes from the The Unofficial Harry Potter Cookbook by Dinah Bucholz (Adams Media, 2010). Including Hagrid’s famous rock Cakes!
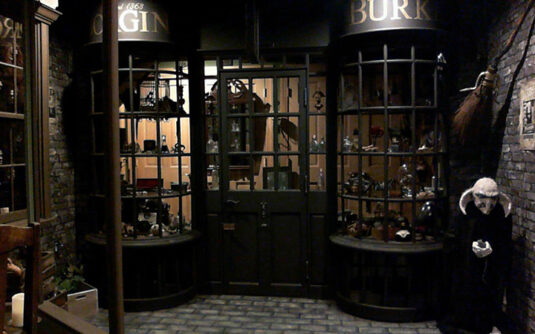
 Those wanting a more academic perspective on Harry Potter (not to mention a look at some goodies from our rare books vaults) should check out the