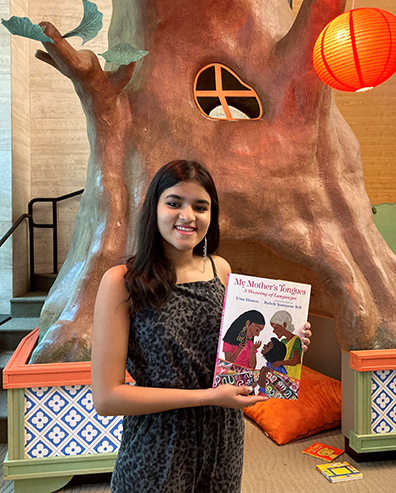
Recently, we were honored to host author and Princeton University student Uma Menon who is also GRADUATING today! CONGRATULATIONS! Uma brought her gorgeous picture book, My Mother’s Tongues: A Weaving of Languages (Candlewick Press, 2024; illustrated by Rahele Jomepour Bell). In the book, Uma describes the beautiful dynamic of her family and the multiple languages they speak. So we designed this sweet home…
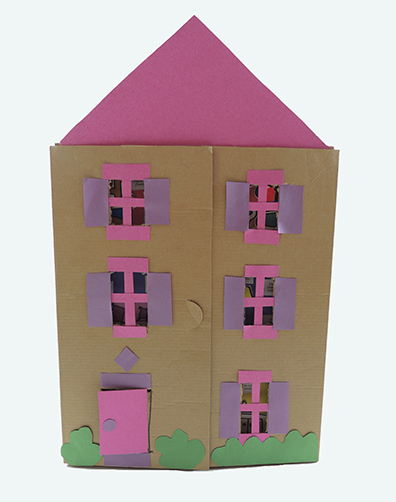 …that opens to reveal the names of everyday household items in all the languages mentioned in her book! Malayalam, Spanish, Hindi, French, and Tamil!
 We used some flat boxes we acquired from our library’s upcycling program, but a folded piece of poster board works too! Just color and cut the household furniture template and household words labels, then glue them into your home. We also provided patterned paper for some extra fancy design elements.
 After story time, I caught up with Uma to ask her about her experiences writing her picture book, and what’s she’s planning to do next:
Hi Uma! Tell us a little about yourself!
I am a senior at Princeton University majoring in the School of Public and International Affairs with minors in South Asian Studies, American Studies, and Gender & Sexuality Studies. Outside of school, I enjoy writing poetry, fiction, and nonfiction. My first children’s book, My Mother’s Tongues, was published by Candlewick Press in February, and it will be followed by a sequel next year, titled Our Mothers’ Names. Both books tell the story of a young Indian American girl who grows up speaking Malayalam and English, inspired by my own childhood. Previously, I wrote a poetry collection, Hands for Language, which was published by Mawenzi House in 2020, and I have also written essays and poetry for many publications including The Washington Post, The Huffington Post, and The Progressive.
What inspired this book?
I began writing this book around high school graduation, when I was 16 years old. Growing up, I did not encounter any stories of children like me who spoke more than one language, so I wanted to write a book that represented this experience shared by millions of children of immigrants across America. As a child, speaking a different language doesn’t always feel like a superpower—it often feels like a point of difference. Through My Mother’s Tongues, I hope to celebrate the beauty and power of multilingualism while highlighting the wonder and confusion young children may experience.
Do you have any insights or reflections to share, growing up in a bilingual home?
Being bilingual is not easy. As we grow up, attend school, and interact primarily with English speakers, it becomes more difficult to maintain native fluency in our mother tongues. Yet, I realized that there is great value in making an active effort to preserve my knowledge of Malayalam. It has allowed me to connect more deeply with family members, consume diverse media and art, and access more cultural perspectives. Growing up bilingual taught me the value of being able to speak multiple languages and hence inspired me to become a lifelong language learner: inspired by my heritage, I decided to study Hindi while at Princeton. As with Malayalam, learning Hindi has allowed me to access a rich body of literature and film as well as understand more perspectives on the world.
What do you enjoy most about writing?
For me, writing is a valuable tool for personal expression and communication with diverse audiences. Throughout my life, reading and writing have allowed me to better understand my own identity and the perspectives of others. Books have made me a more empathetic and global citizen. As a writer, I hope to reach the hearts and minds of people across the world—those who have both similar and different life experiences as me.
What are you planning to do after you graduate from Princeton University?
In the fall, I will be attending Yale Law School, where I am excited to study international law and human rights. Of course, I will also continue writing across many genres, but I especially hope to begin working on more children’s literature this summer!

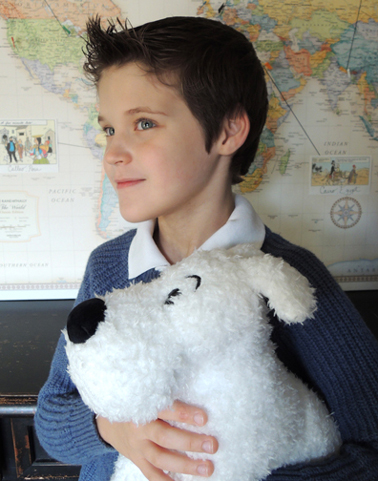
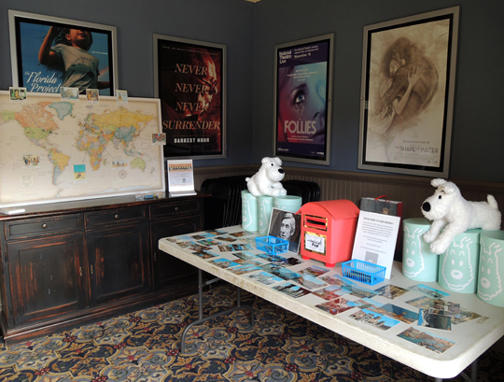
 Families entering the theater were greeted by a table covered with postcards (I found a pack of 92 vintage postcards at the thrift store for for $4 woot!) and a big world map.
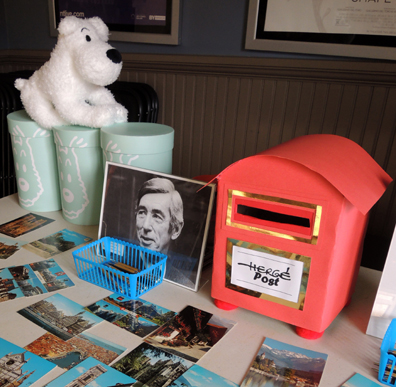
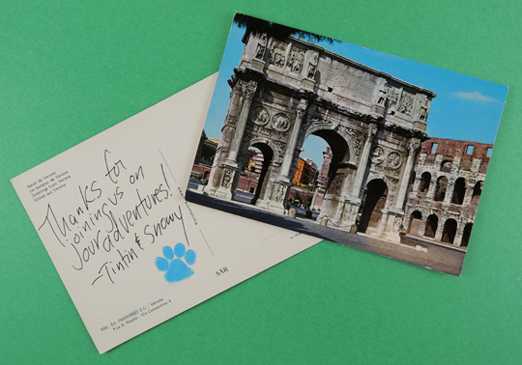
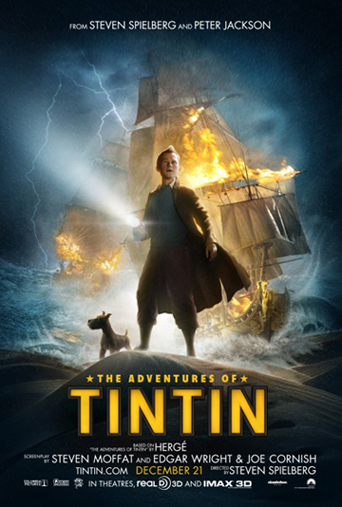
 Kids were invited to select a postcard and write their name and address on it. Then, they put the postcard in the red mailbox for a chance to win a stuffed animal of Snowy, Tintin’s faithful canine companion. Katie modeled the mailbox after the ones she saw in Brussels (birthplace of Tintin!). Isn’t it awesome? It has pom-pom feet!
 Next to the postcard table was a big map (50″ x 32″) mounted on foam board:
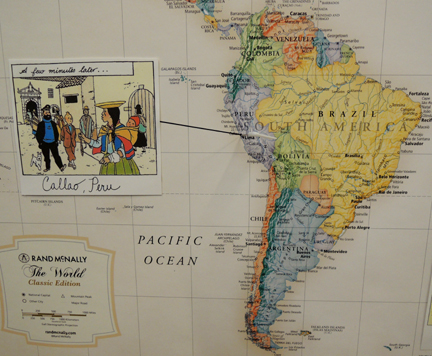
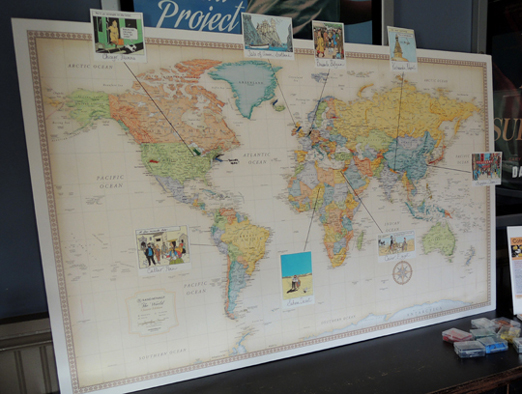 Katie selected some cool Tintin location images from the various volumes and attached them to the map. A line and a flag showed the actual location on the map.
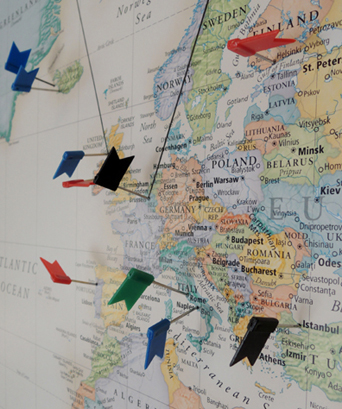
 During the event, kids were invited to add pushpin flags on locations they had traveled to. As it turns out, our crowd was pretty well traveled! Iceland, Australia, India, Thailand, Costa Rica, China, Hawaii, South Korea, Europe…
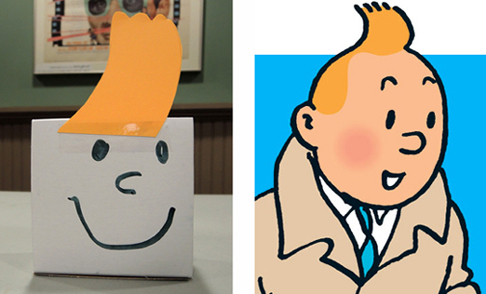
 Around the corner from the postcard and map table were 2 additional activities: A Tintin head band with the iconic hair flip, and a pull-along box Snowy. The box Snowy was a 2″ x 4″ x 4″
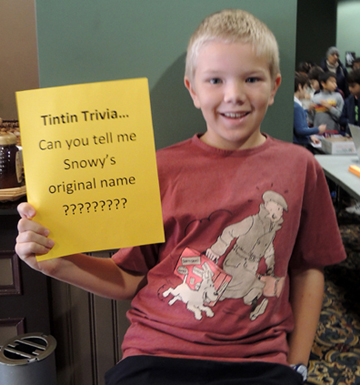
 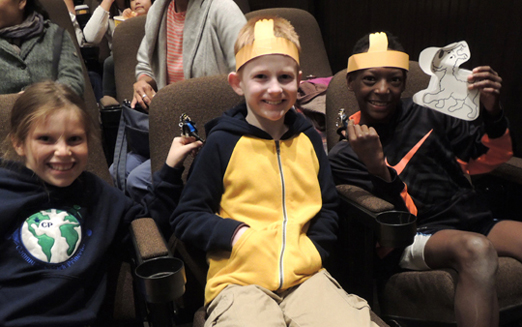 Notice the little Captain Haddock key chains they’re holding up? Those were part of a trivia contest we were running. Our Tintin expert had a couple key chains on hand to give to kids who correctly guessed Snowy’s original name in the comics (which were first published in French).
 In honor of Snowy, we also had a very, very special performance. A live dog show provided by
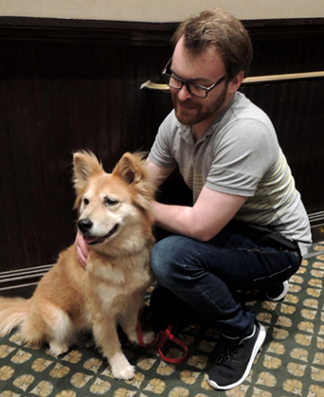
 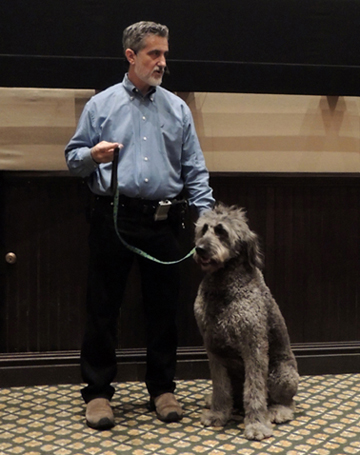 Bill Berloni is a Tony-Award winner with decades of experience training animals. In fact, he trained the very first Sandy for the original production of Annie. He and his apprentice, Andy, brought 3 dogs – Marti, who plays Sandy in Annie (and this was the Sandy from the 2014 movie!), Nessa, who plays Toto in The Wizard of Oz, and Bowdie, who plays Winn-Dixie in Because of Winn-Dixie. Above is Bowdie. Below is Marti, waiting with Andy to go on stage:
 And here’s Nessa, the cutest, most enthusiastic Toto ever, racing down the aisle:
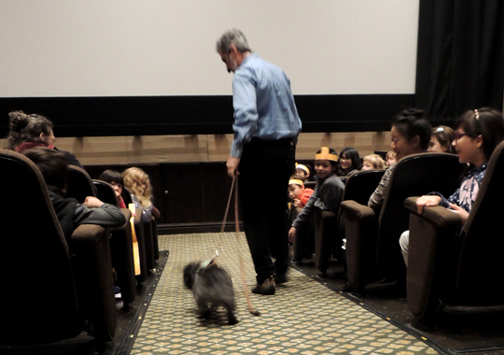 Bill shared a little of his history, his training techniques, and the rescue stories of each of the dogs. There were plenty of demonstrations too, both on and off the leash. The thing that shone through the most however? How happy the dogs are, how much they love working with Bill, and what a tremendous advocate he is for rescue animals. He’s truly amazing. He’s also an author! After the event, he gave me a copy of his heart-warming book, Broadway Tails: Heartfelt Stories of Rescue Dogs Who Became Showbiz Superstars (Lyons Press, 2008), which has a foreword by Bernadette Peters.
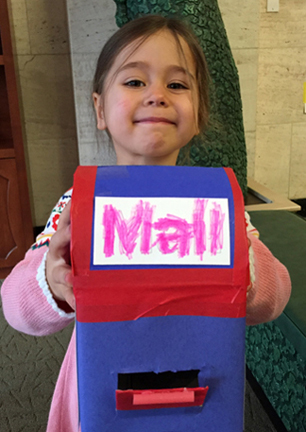
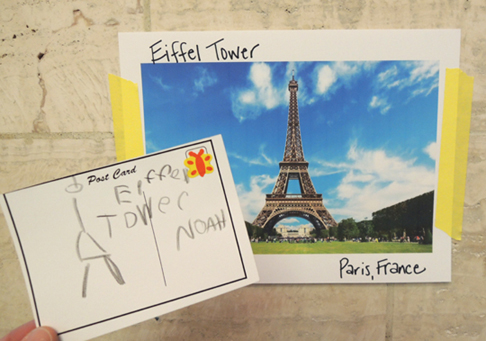 It’s the ultimate global adventure that ends with custom postcards in your very own mailbox! We made classic blue mailboxes, then visited locations around the globe to create postcards to send home. And don’t forget the stamp!
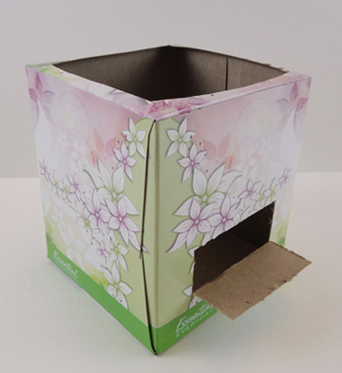
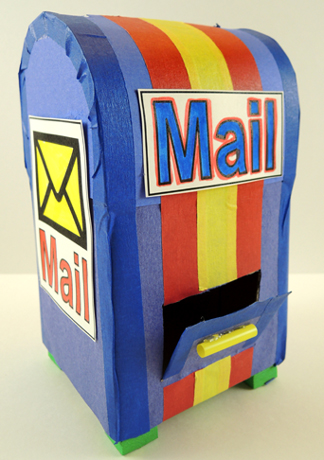 To make a mailbox, cut the top off a small tissue box. Use a box cutter to cut a little door at the bottom of the box. The postcards are 3″ wide, so make sure your door is 3″ or wider.
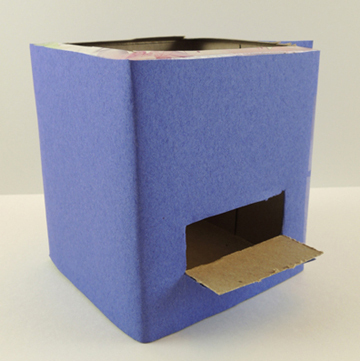
 Wrap the box with blue construction paper, then use the box cutter (or scissors) to re-establish the little door.
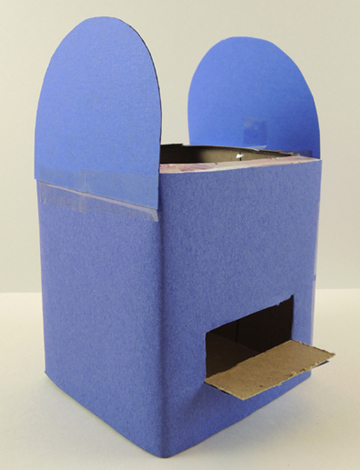
 The rounded sides of the mailbox are 2 pieces of blue poster board (ours were approximately 4.25″ wide, and 3.25″ tall). Secure them in place with tape.
 To make the top of the mailbox, cut a 3.5″ mail slot in the center of a 4.5″ x 9″ rectangle of blue poster board. Gently curl the poster board over the rounded sides of the mailbox, then tape in place. The curling and taping is definitely the toughest part of the project. Keep in mind that it doesn’t need to be perfect!
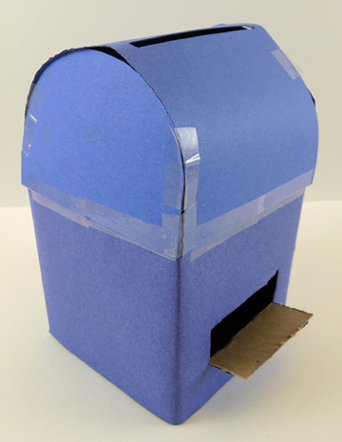 Next, use colored masking tape to reinforce the edges of the mailbox, and to decorate it. Color and cut the mailbox signs from the template and tape (or hot glue) in place.
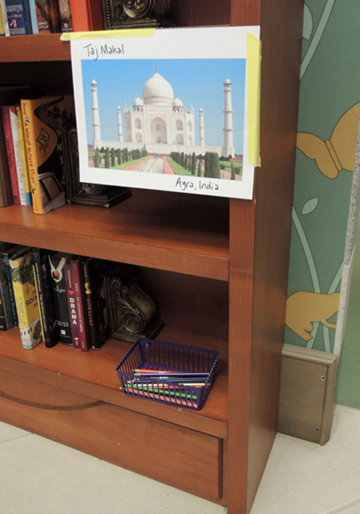
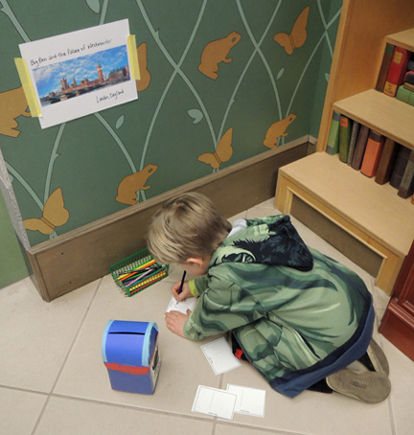
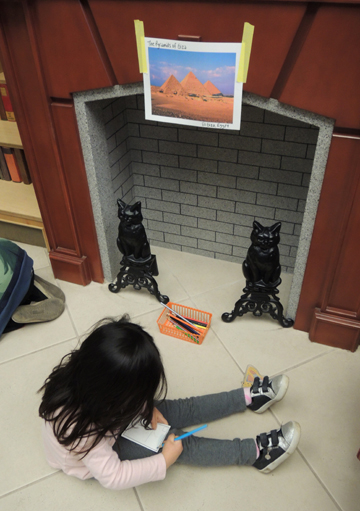
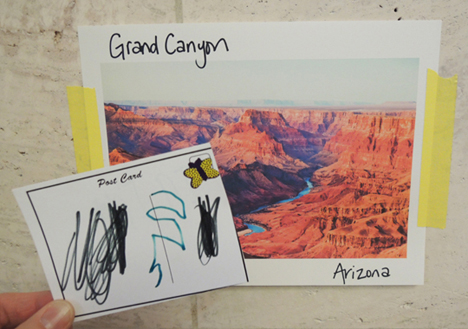
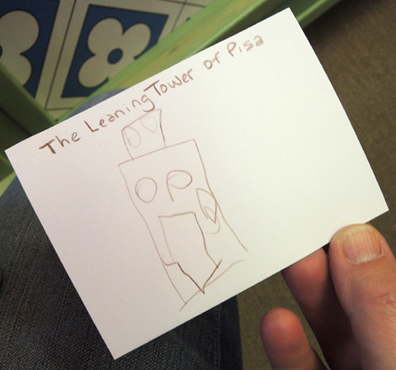
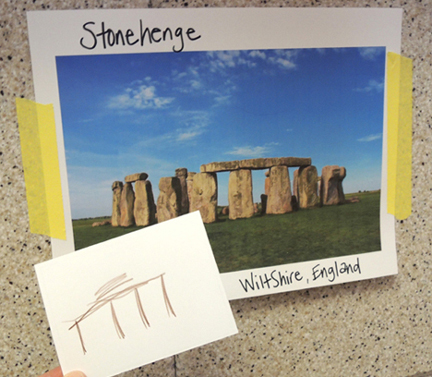
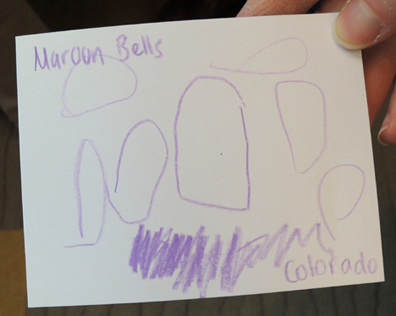
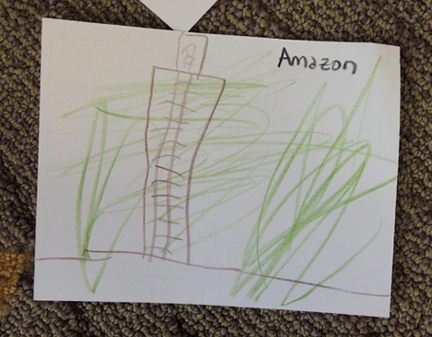
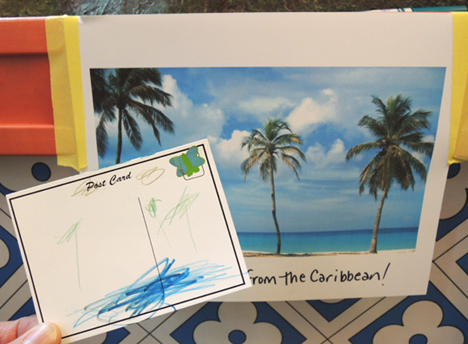 We even got postcards from places we didn’t include! Here’s a postcard from the Amazon, even though it wasn’t one of our photo locations. I think that’s a person on top of a giant tree with a ladder? Cool.
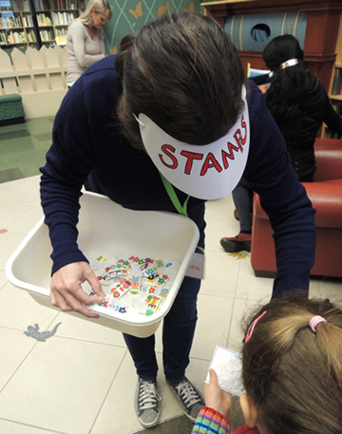
 To make the postcard activity official, Miss Melinda donned a stamp-selling visor and circulated the gallery, “selling” stamps that were actually cute little stickers.