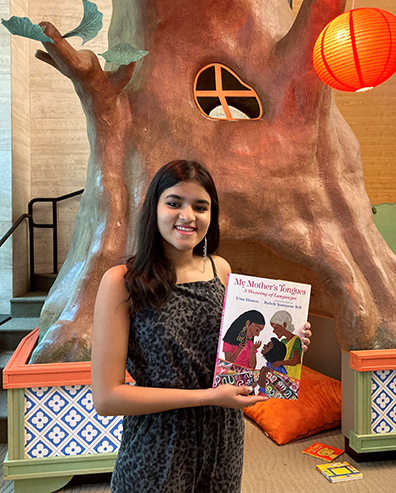
Recently, we were honored to host author and Princeton University student Uma Menon who is also GRADUATING today! CONGRATULATIONS! Uma brought her gorgeous picture book, My Mother’s Tongues: A Weaving of Languages (Candlewick Press, 2024; illustrated by Rahele Jomepour Bell). In the book, Uma describes the beautiful dynamic of her family and the multiple languages they speak. So we designed this sweet home…
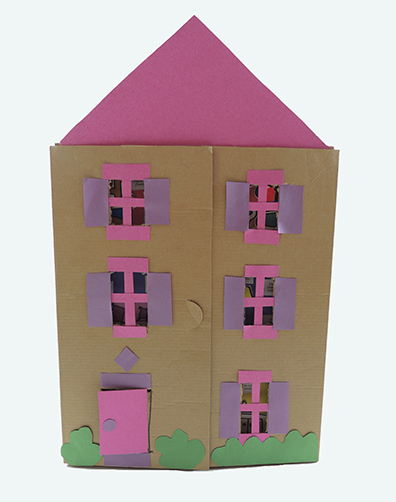 …that opens to reveal the names of everyday household items in all the languages mentioned in her book! Malayalam, Spanish, Hindi, French, and Tamil!
 We used some flat boxes we acquired from our library’s upcycling program, but a folded piece of poster board works too! Just color and cut the household furniture template and household words labels, then glue them into your home. We also provided patterned paper for some extra fancy design elements.
 After story time, I caught up with Uma to ask her about her experiences writing her picture book, and what’s she’s planning to do next:
Hi Uma! Tell us a little about yourself!
I am a senior at Princeton University majoring in the School of Public and International Affairs with minors in South Asian Studies, American Studies, and Gender & Sexuality Studies. Outside of school, I enjoy writing poetry, fiction, and nonfiction. My first children’s book, My Mother’s Tongues, was published by Candlewick Press in February, and it will be followed by a sequel next year, titled Our Mothers’ Names. Both books tell the story of a young Indian American girl who grows up speaking Malayalam and English, inspired by my own childhood. Previously, I wrote a poetry collection, Hands for Language, which was published by Mawenzi House in 2020, and I have also written essays and poetry for many publications including The Washington Post, The Huffington Post, and The Progressive.
What inspired this book?
I began writing this book around high school graduation, when I was 16 years old. Growing up, I did not encounter any stories of children like me who spoke more than one language, so I wanted to write a book that represented this experience shared by millions of children of immigrants across America. As a child, speaking a different language doesn’t always feel like a superpower—it often feels like a point of difference. Through My Mother’s Tongues, I hope to celebrate the beauty and power of multilingualism while highlighting the wonder and confusion young children may experience.
Do you have any insights or reflections to share, growing up in a bilingual home?
Being bilingual is not easy. As we grow up, attend school, and interact primarily with English speakers, it becomes more difficult to maintain native fluency in our mother tongues. Yet, I realized that there is great value in making an active effort to preserve my knowledge of Malayalam. It has allowed me to connect more deeply with family members, consume diverse media and art, and access more cultural perspectives. Growing up bilingual taught me the value of being able to speak multiple languages and hence inspired me to become a lifelong language learner: inspired by my heritage, I decided to study Hindi while at Princeton. As with Malayalam, learning Hindi has allowed me to access a rich body of literature and film as well as understand more perspectives on the world.
What do you enjoy most about writing?
For me, writing is a valuable tool for personal expression and communication with diverse audiences. Throughout my life, reading and writing have allowed me to better understand my own identity and the perspectives of others. Books have made me a more empathetic and global citizen. As a writer, I hope to reach the hearts and minds of people across the world—those who have both similar and different life experiences as me.
What are you planning to do after you graduate from Princeton University?
In the fall, I will be attending Yale Law School, where I am excited to study international law and human rights. Of course, I will also continue writing across many genres, but I especially hope to begin working on more children’s literature this summer!

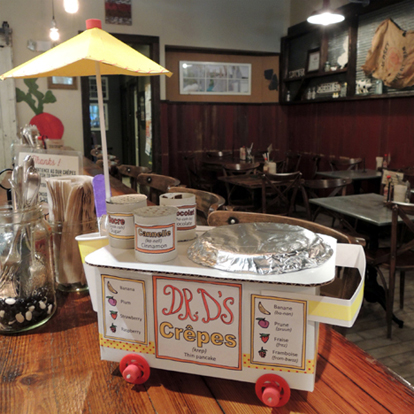
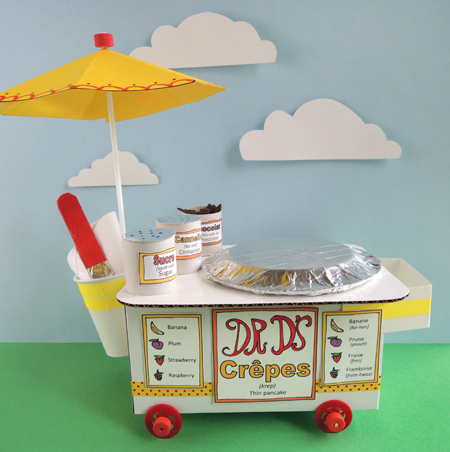 Make delicious crêpes to order with this fantastic crêpe cart! Pour the fabric batter onto the griddle, add a number of felt toppings, sprinkle on a bit of sucre from your counter top shaker, then use your spatula to fold the crêpe at just the right time. The cart’s signs are printed in both English and French (with helpful pronunciation guides), so your customers can order like Parisian pros! C’est Magnifique!
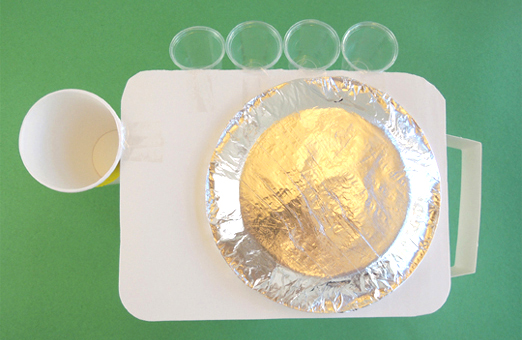
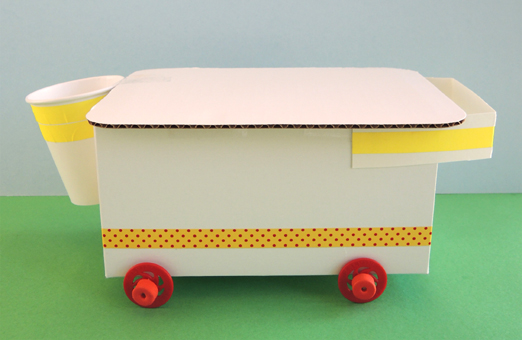 Two important things about the cart’s counter top! 1) Make sure it’s wide enough to fit your small paper plate (our counter tops were 7.5″ x 9.75″); 2) It’s a little hard to tell in the above photo, but make sure the paper cup end of the counter top is flush against the side of the box. Otherwise, your umbrella won’t attach correctly. And speaking of paper cups, notice how ours is taped towards the back of the cart? That’s so you won’t keep bumping into the umbrella while reaching for your crêpe supplies.
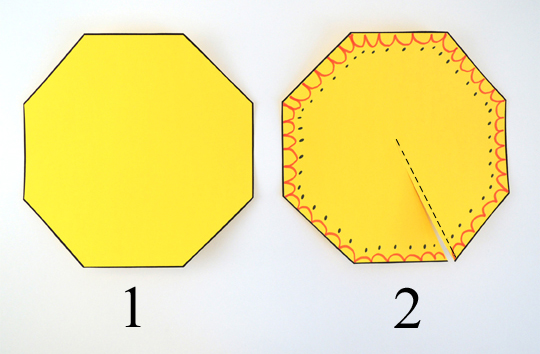
 The umbrella comes next! Cut the umbrella octagon from the template (we printed ours on yellow card stock). Decorate it with markers, then use scissors to cut a slit from one of the points of the octagon to its center.
 Carefully mountain fold the octagon along its remaining points.
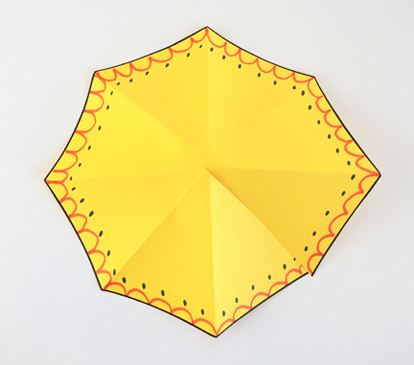 Cut a small slice in the top (this is where your umbrella pole will poke through). Next, slide one of the octagon’s triangle folds under another, then tape the octagon closed.
 This results in a seven-sided umbrella canopy with a hole in the top.
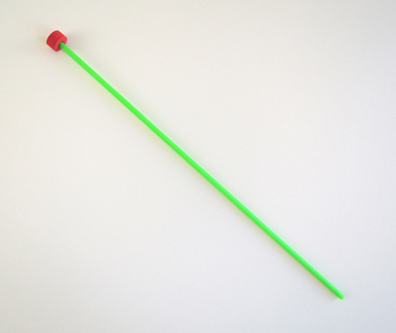
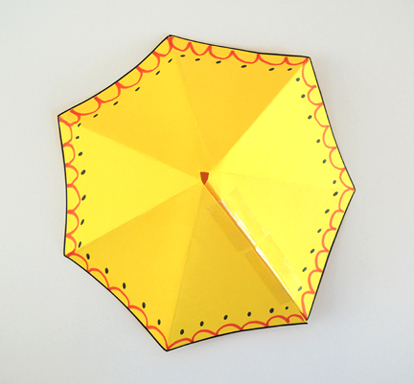 Now stick a foam bead on the end of a balloon stick.
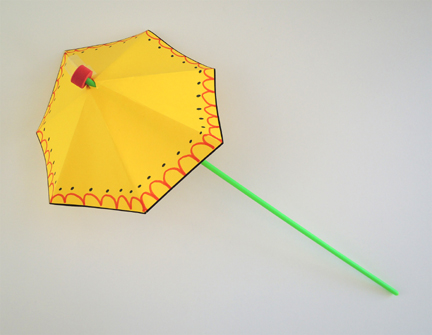
 Slide the umbrella canopy up the stick to meet the foam bead.
 Slide a second foam bead up the stick to secure the umbrella’s canopy in place. In the below photo, you can see the umbrella canopy wedged between a red bead and an orange bead.
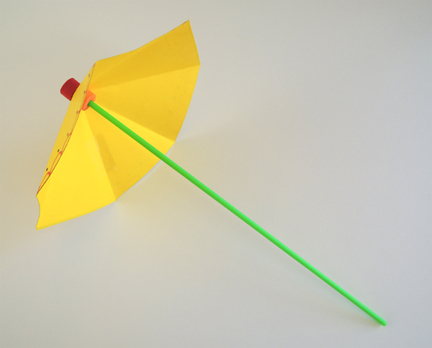 Tape the umbrella to the stand. If the balloon stick extends past the bottom of the cart, use scissors to clip off the excess.
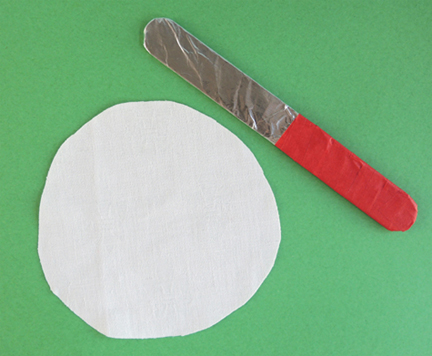
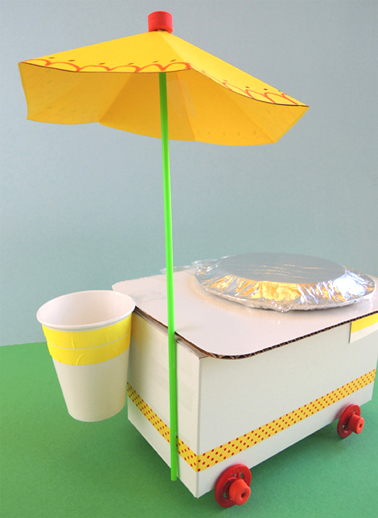 Now it’s time to stock your cart! Cut and decorate the signs from the crêpe cart template, and glue (or tape) them to the front of the cart. The crêpe batter and spatula go into the paper cup. Our “batter” was an old fabric tablecloth (thank you
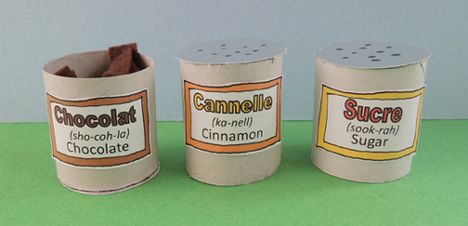
  Sitting on top of the cart are your sugar, cinnamon, and chocolate canisters. Each canister was 1/2 of a toilet paper tube with a template label affixed to it. The sugar and cinnamon had little circles of silver mirror board hot glued to the tops (we used Sharpie to draw little holes in the tops too). The chocolate canister’s circle is hot glued to the bottom of the tube. Then it gets stuffed with bits of brown felt.
 The little plastic cups on the back of the cart are also filled with bits of felt. Pink for strawberry, red for raspberry, yellow for banana, and purple for plum.
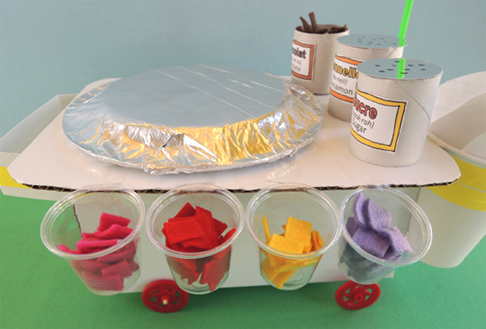 Voilà! Your cart is finished! So, how exactly do you make a crêpe? You put the circle of batter on the griddle, add some felt ingredients, fold the crêpe in half with the spatula, fold the crêpe in half again, then serve it to your customer.
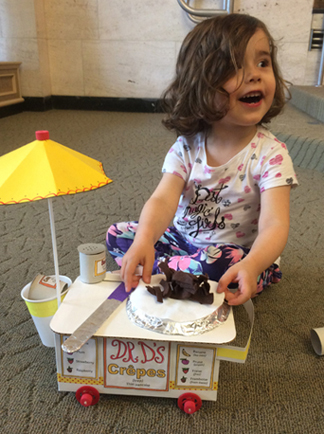 Or maybe it would just be easier to show you…in French no less
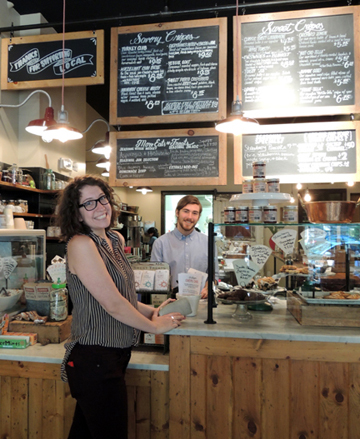 Here’s a griddle at work. You can just see the special spatula on the white cutting board…
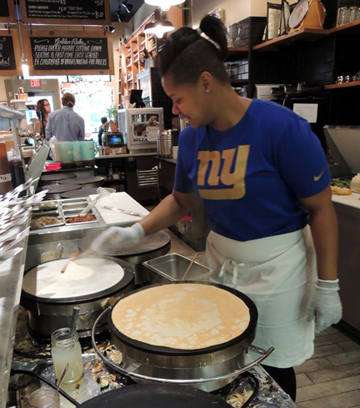 The crepe arrives at your table in a beautiful, warm wedge of deliciousness. I’m trying to work my way through the restaurant’s generous menu of sweet and savory crêpes, but I keep getting stalled on their hammin’ cheese melty with seasonal pickles and mustard aioli. Mmmmmm…
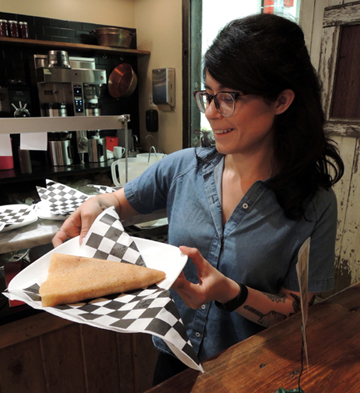 Jammin’ Crêpes LOVED the little crêpe cart! It received their official stamp of approval.
 Did I – heh heh – mention Jammin’ Crêpes makes their own nutella spread with hazelnuts, almonds, and chocolate? I think…I need to do some more crêpe research. Right. NOW.
