
Bacon, eggs, and donuts anyone? Or how about a glass of freshly squeezed orange juice? This little diner set features a compact countertop, fully-stocked kitchen, and mini Post-It Note pad for taking orders!
We read Every Friday by Dan Yaccarino (Henry Holt, 2007). Every Friday morning, rain or shine, a boy and his Dad navigate the city and have breakfast at their favorite diner. Pancakes, coffee, smiles…see you next Friday guys!
You’ll need:
- 1 rectangle of corrugated cardboard (we used a 9.5″ x 14″ cake pad)
- 1 large box (we used a 4.5” X 4.5” x 9” box – a tissue box works too)
- 1 box cutter
- 1 strip of white poster board
- 2 craft sticks (ours were 4.5″ long)
- 1 diner breakfast template printed on 8.5″ x 11″ white card stock
- 3 plastic sample cups
- 1 plastic cocktail cup
- 1 medium pom-pom
- 4 cotton balls
- 1 drinking straw
- 1 mini Post-It Note pad
- 1 pencil
- Scissors and tape for construction
- Markers for decorating
- Hot glue
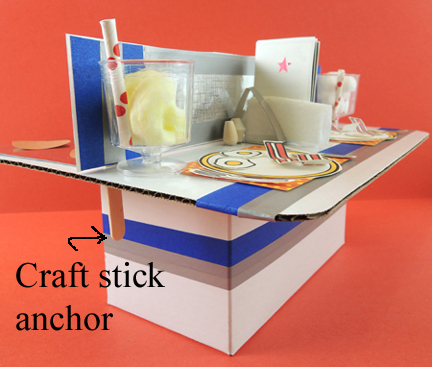
Begin by hot gluing the corrugated cardboard rectangle on top of the box. This is your “countertop,” which divides into 2 sections: dining area and kitchen. To divide your countertop, tape a craft stick to each end of a strip of white poster board (our strip was 2.5″ x 14″) . Use the box cutter to make a slit in each end of the countertop, then slide the craft sticks into the slits to anchor the divider in place:
 If you like, you can use color masking tape and embossed foil paper to fancy up your divider and countertop. Here’s the dining area…
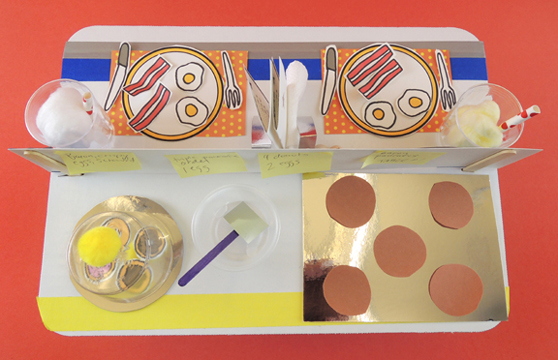
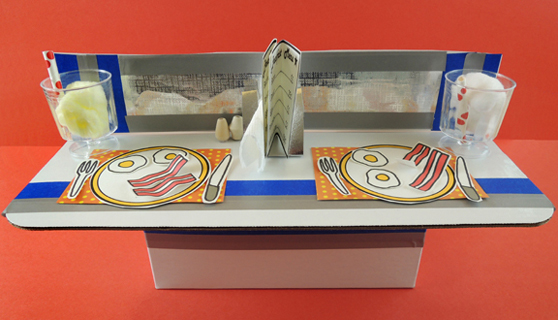 The plates, utensils, food, and menus are on the template. We used patterned paper for the place mats, fancy plastic shot glasses (with bits of drinking straw and cotton ball “milk” and “juice”), and wooden beads for the salt & pepper shakers. We even included some snippets of paper towels for the napkins, AND made a napkin holders:
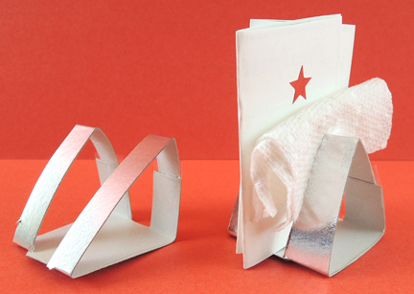 Basically, these are triangles of silver mirror board with the center cut out to accommodate menus and napkins. On the other side of the diner is the kitchen:
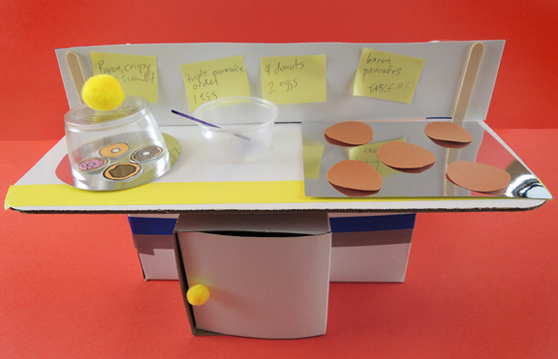 The donut dome is a plastic cocktail cup that has been cut down to 1.5″ and has a small pom-pom hot glued on top. There’s mirror board plate underneath it, and a mirror board griddle as well. There’s also a plastic sample cup mixing bowl with spatula (that’s a bit of silver mirror board taped to a mini craft stick). The pancakes are construction paper. Oh, and we included a fridge made out of a little box, but that’s totally optional.
The set isn’t complete without a mini Post-It Note pad to take orders, and a golf pencil. The Post-It notes stick right up on the kitchen wall! Here’s a bird’s eye view of the finished diner.
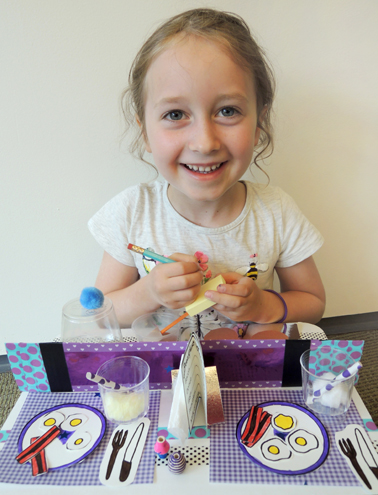
 Miniature food sets are REALLY popular at story time. Sometimes, I hear about kids who are still playing with their sets months – sometimes years! – after story time (specifically our ice cream truck, sushi set, donut shop, and crêpe cart). The kids put a lot of love into creating and customizing their sets, but every once in a while, one set will blow us away. Like this one…
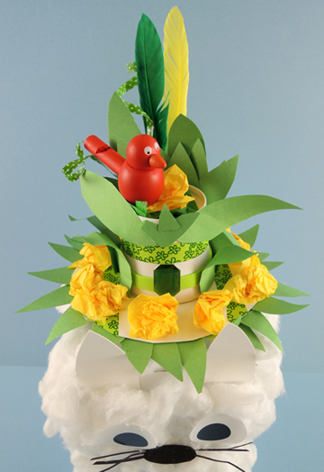
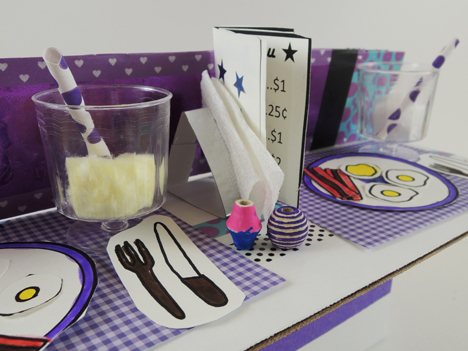 Look at the gorgeous purple decor! The carefully detailed salt and pepper shakers! The purple stripes on the bacon!
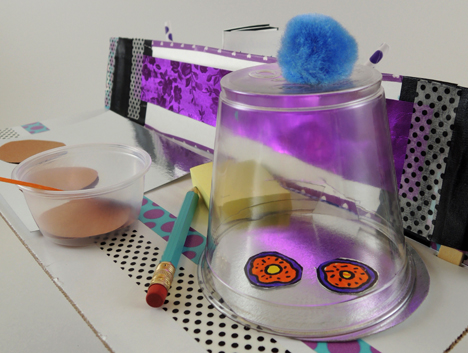 Which are only surpassed by the purple donuts. And then the black polka dots! LOVE.
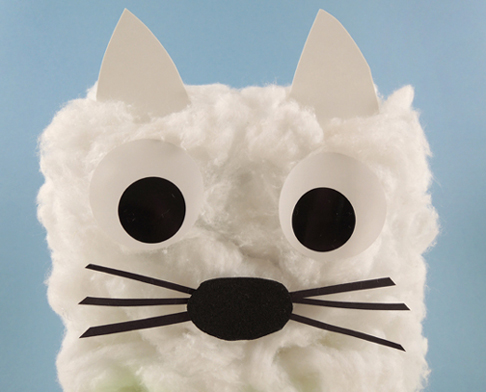
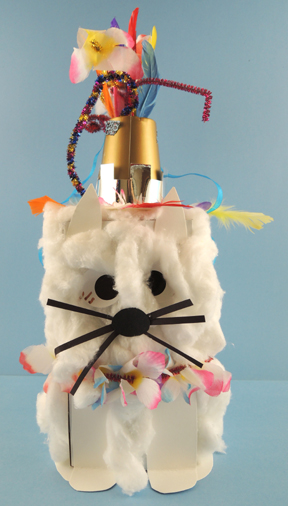
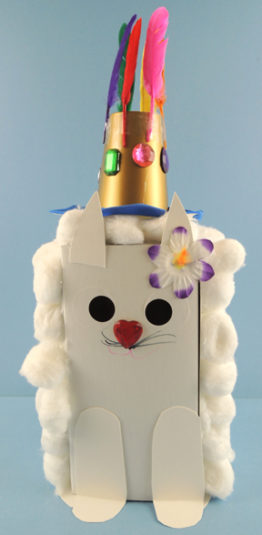
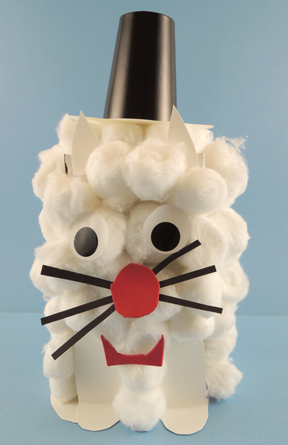
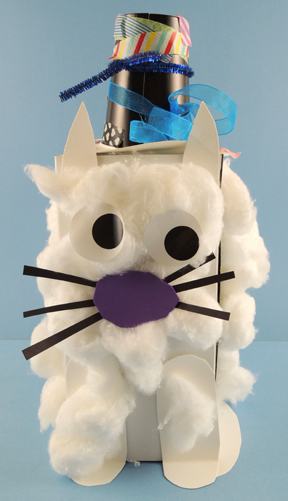
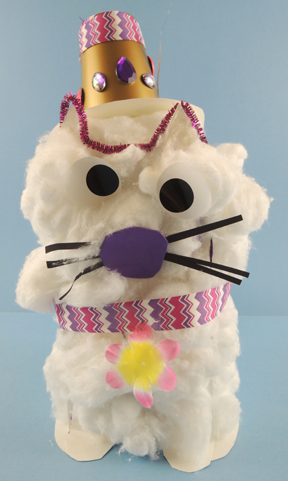
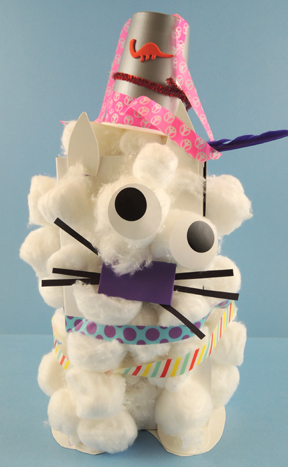
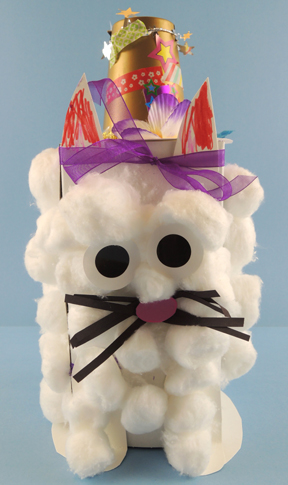
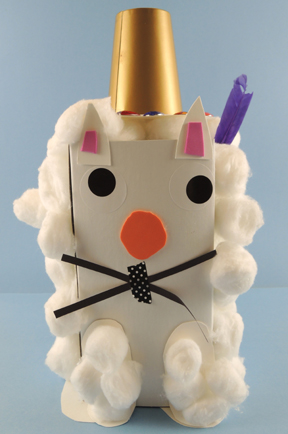
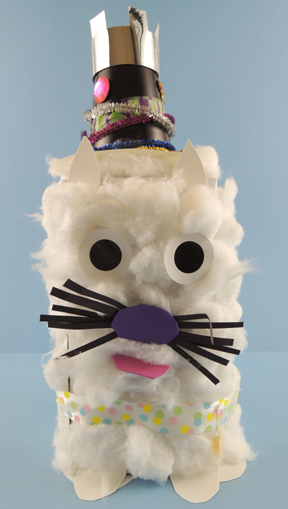
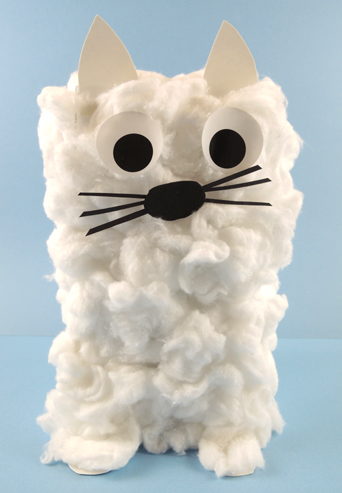 Basically, just cover the box with cotton balls! The fluffier, the better! For the face, we used large, 1.5″ eyes stickers from Oriental Trading Company (a roll of 100 pairs is $2.50), and a bit of
  Then, out came the
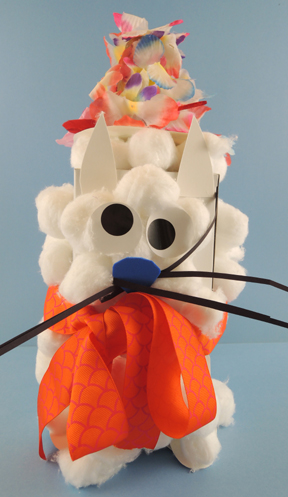

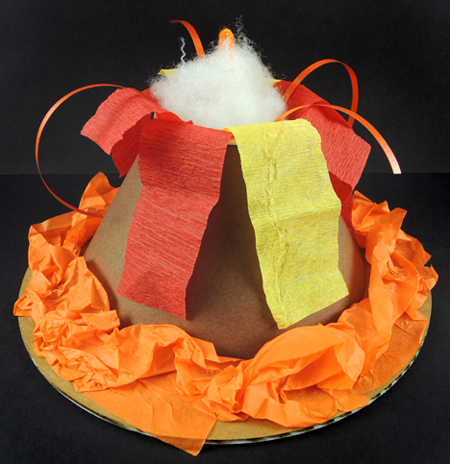 A tug is all it takes to activate this awesome paper lava volcano! Katie had lava on her mind when she designed this project…and we have some pretty spectacular proof of it at the end of the post!
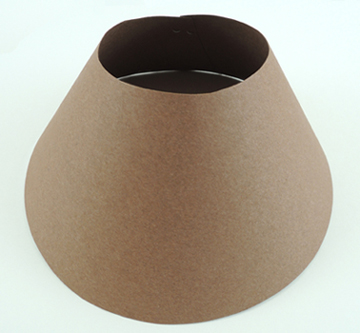 Drop a paper cup in the top of the cone, then hot glue the bottom of the CUP to the corrugated base (no need to glue the volcano cone to the base). We added some orange tissue paper lava as well, but this is optional!
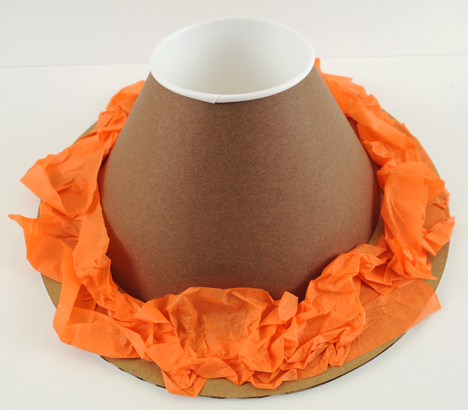 To make the eruption, cut a 2″ diameter circle out of poster board. Punch a hole in the center of the circle, then thread a 14″ piece of yarn through it. Secure the yarn to the back of the circle with tape.
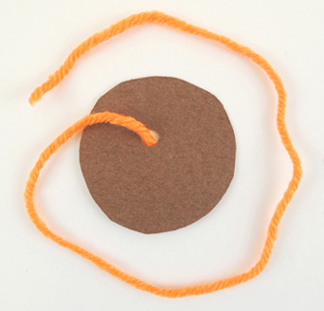 Tape six, 6″ yellow and red paper streamers to the back of the circle. Definitely don’t do more than 6, or the circle won’t slide in and out of the cup as easily. We also added four, 6″ pieces of orange
 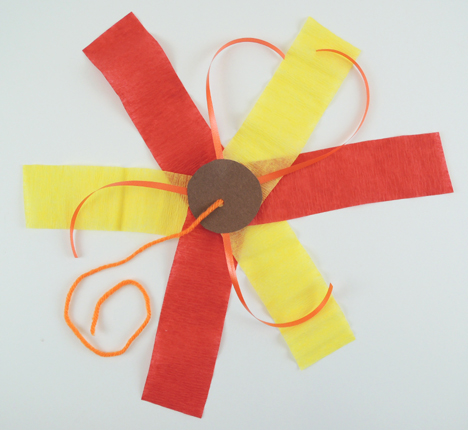 Finally, the smoke! Carefully thread a piece of polyester fill down the yarn, and hot glue it to the top of the circle. The yarn should rise from the center of the polyester fill.
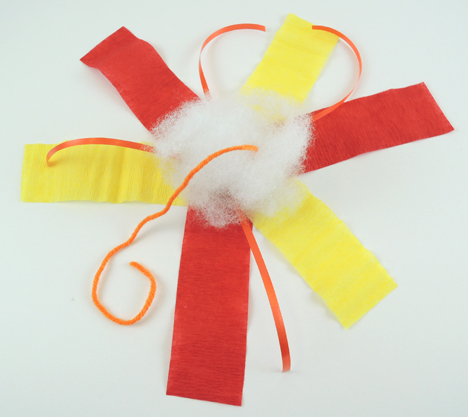 To operate your volcano, gently push the eruption circle into the cup, leaving the yarn dangling out the side of the volcano cone. Tug the yarn, the circle will rise, and your volcano will erupt!
 Katie was a little concerned about kids going home and jumping on their furniture to escape the lava. WHY was she concerned? Because that’s exactly what she and her brothers used to do everyday. It drove her mom bonkers. So she designed a “Lava Proof” spot for kids to jump on instead. Basically, this was a 12″ diameter cake circle. Kids could color in the
  One kid, however, took safety a step further and made her spot “Cheetah Proof” as well.
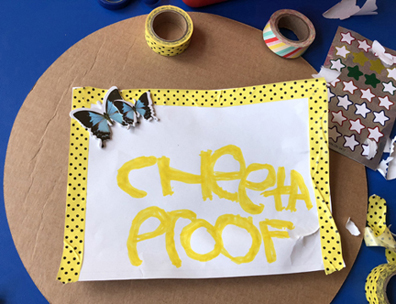
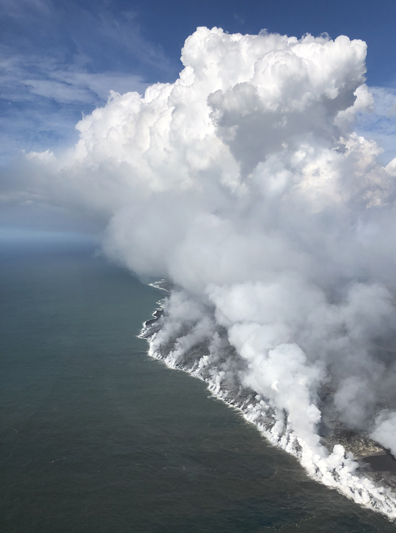 Our pilot, Scott, described what we were seeing from the windows of our helicopter the best: it is uncomfortably beautiful. Uncomfortable in the sense that many people have lost their homes and possessions because of the volcanic eruption, but beautiful because we were witnessing the birth of new land created by one of the most powerful natural forces on our planet.
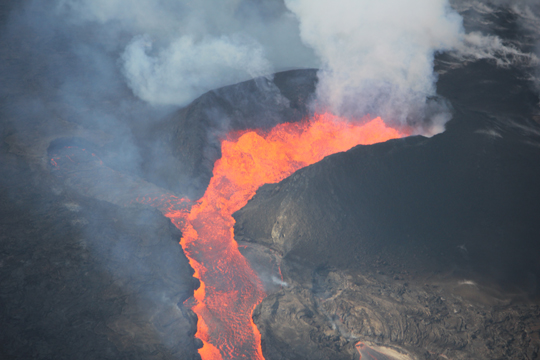 I think what astounded me the most was the glow Fissure 8 created along the horizon, especially at night. We drove to Pāhoa one evening, which is the closest town to Fissure 8. The entire sky was an eerie orange color that would pulse and move as the lava erupted out of the ground. We also watched a sunset from Mauna Kea, a dormant volcano on the Big Island, and stayed until it was completely dark to stargaze and see the Milky Way galaxy. You can see the volcanic glow from Fissure 8 on Mauna Kea, and they are separated by 60 miles! Incredible!
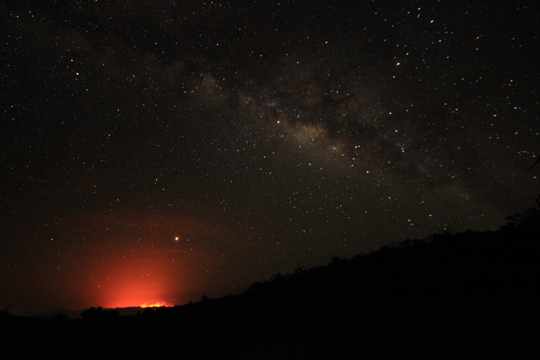 Mahalo nui loa, Goddess Pele, for sharing your majesty with us. Our trip is one we will never, ever forget.