 “Check this out!” Katie said to me one morning, holding up her phone. “My friend just posted this to her Instagram!” It was a board game, based on the book Hatchet, designed by Quinn Densmore, a 5th grader in New Mexico.
First of all, wow. Hatchet is a fantastic book. Second of all, WOW! Quinn’s game board was 3-dimensional! Thirdly, what amazing muse inspired him to create a game version of the book? The answer was Kandice Tomanek, his teacher. Clever Ms. Tomanek invited her class to design board games based on their favorite books. I asked if she would be willing to share a few more creations. The whole class voted for their Top 5, which I am delighted to present to you today, in no particular order.
PETER PAN
Designed by Terra Donahue
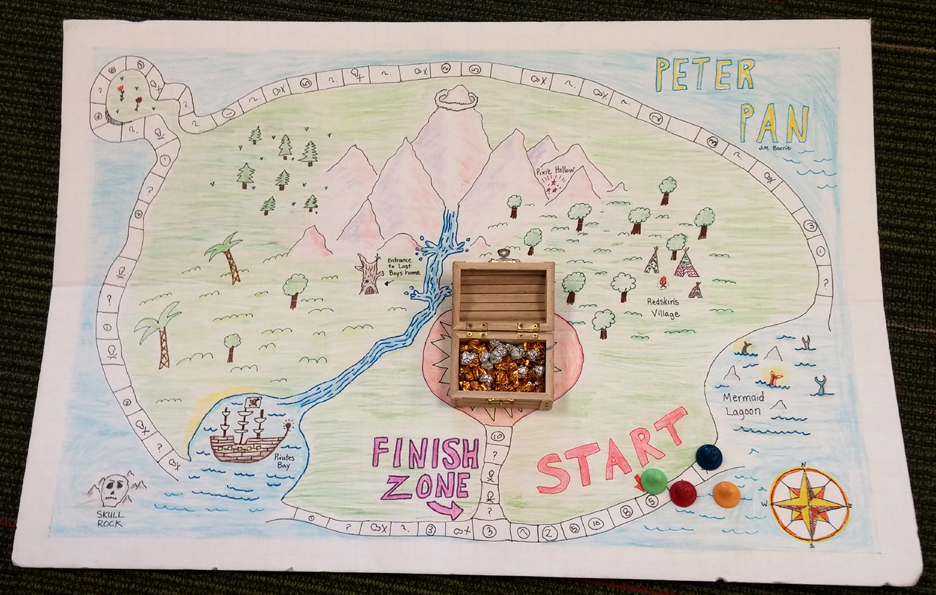
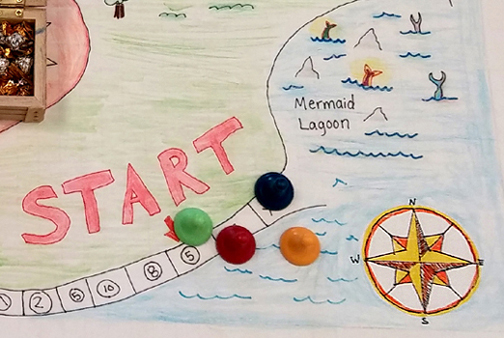
Dice rolls move 4 players around the board. Some squares contains a symbol, others a number. If you land on a marked square, you must pick a card with the matching symbol or number and follow its instructions (be they good or bad). The game ends when a player reaches the “Finish Zone,” but the winner is the person who has collected the most gold balls.
I love the way the game board opens into Mermaid Lagoon and Pirate’s Bay. I love that all the famous Neverland landmarks are there. I love the ring of clouds around the top of the tallest mountain. I love the gorgeous compass. And I especially love the upended mermaid tails in the lagoon!
UPSIDE-DOWN MAGIC: STICKS AND STONES
Designed by Ailey Cassidy-Jones
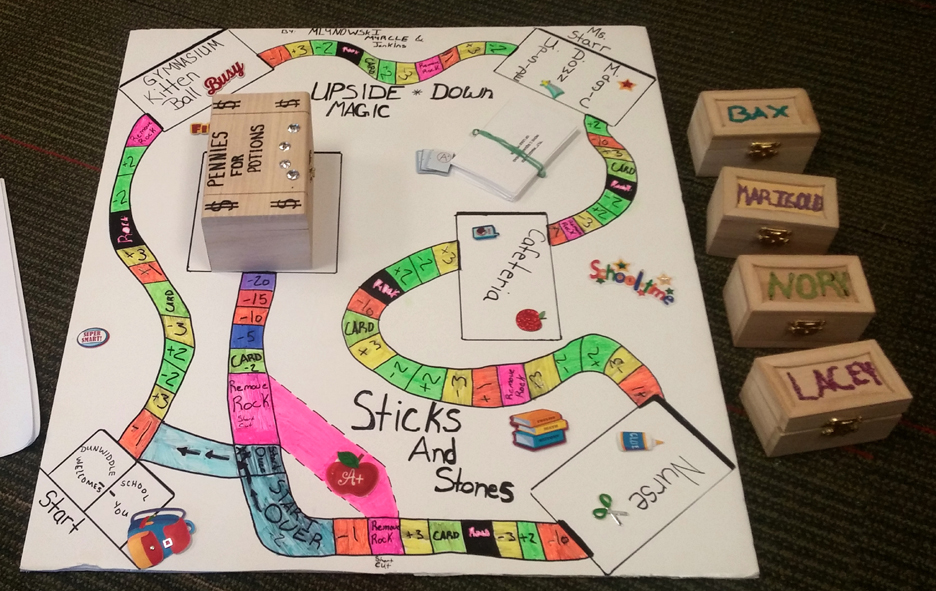 The goal of this game is to get rid of as many gems as you can before reaching the finish line (i.e. the “Pennies for Potions” square). No small feat considering that each player starts with 50 gems! As you travel the board, you can either gain or lose gems depending on the space you land on and the cards you draw.
I’m not familiar with the Upside-Down Magic books, but I can absolutely appreciate that the game players are characters from the books (such cool little wooden boxes for each of them!). I also appreciate the math involved as you navigate the board and acquire and lose gems. That and Kitten Ball in the Gymnasium. I need to know what Kitten Ball is!
THE LANDS BEYOND
Designed by Greta Smith
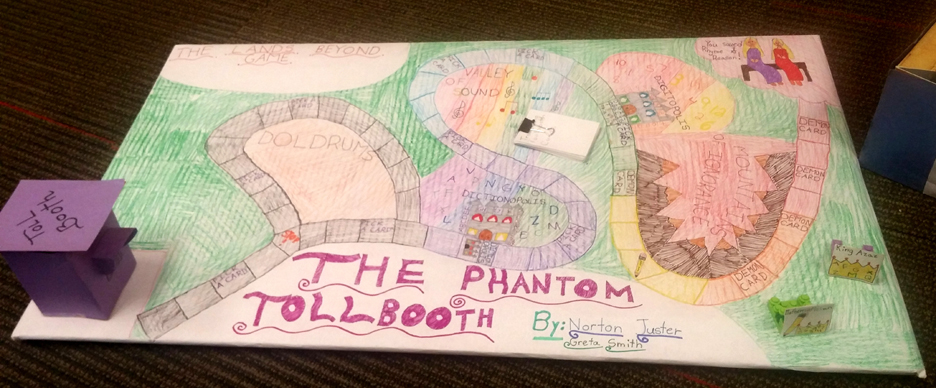 Based on The Phantom Tollbooth, players begin at the tollbooth but soon encounter the Doldrums. If you roll a 1,3, or 5, you get stuck on the Doldrums. If you roll a 2,4, or 6 you take another path. The game continues to move forward in this quirky fashion, and also includes directional cards that make you stop or allow you to roll again. Waiting at the finish line, of course, are Princesses Rhyme and Reason.
So, how much do you love that beautiful purple tollbooth? And the innovative take on dice roll navigation? As you get close to the Mountains of Ignorance, you’ll notice that the cards change from “Pick a Card” to “Demon Card” as well. So clever. And did you notice the Mathamagician’s pencil?
I can’t resist sneaking a couple Phantom Tollbooth connections in here. Click here to meet the author, and click here to visit Digitopolis, the city of math.
HATCHET
Designed by Quinn Densmore
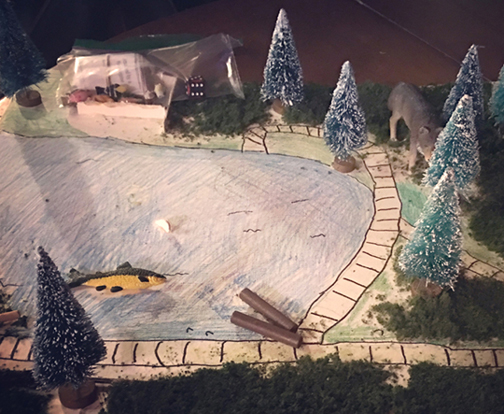 The object of this game is to get rescued from the wilderness. As you move around the board, you acquire different cards. If you get a fire card you are immune to 1 hypothermia card. If you get hit by a disaster, you must do what the card instructs (move back, lose a turn, etc.). If you get a rescue card, you are safe from the next attack card. Collect 5 rescue cards, and you win!
Not only is this board a total work of 3-dimesional art, I think Quinn really captured the uncertainty of Brian’s plight in the game play. Because sometimes Brian was just plain unlucky (plane crash, gut cherries, extremely territorial moose). Also, there’s no finish line. You wind your way back and forth through the wilderness until (hopefully) you are rescued. Very cool.
THE HOBOKEN CHICKEN EMERGENCY
Designed by Rebekah Bagwell
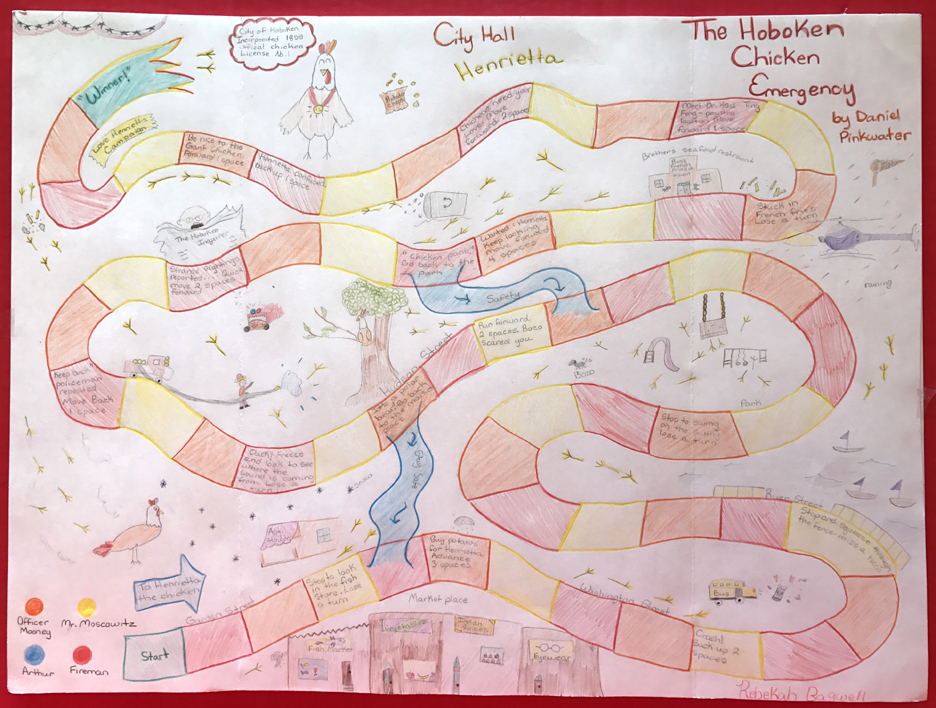 I’ve been a Daniel Pinkwater fan since I was 9, so I was thrilled to see this classic book turned into a game. Players race each other to Hokoben City Hall. Along the way, they must follow the directions on each space (if they land on a blank space, they just wait until their turn comes up again). The winner gets to take home a little Henrietta as a pet!
The details on this game are awesome. The players are characters from the book. Rebekah’s labeled the streets, the stores, and locations. There are nods to Bozo, potatoes, the Hoboken Inquirer, and Dr. Hsu Ting Feng. I tip my hat to you, Miss Bagwell.
Many thanks to Ailey, Greta, Quinn, Rebekah, and Terra for sharing their games, and to Kandice Tomanek for organizing the vote and sending the pictures (and just for being an awesome teacher)!
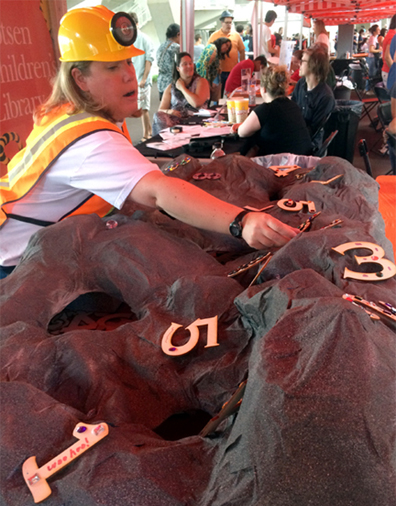 Welcome to the number mines of Digitopolis, the famous kingdom from The Phantom Tollbooth! This fall, we hosted a table at Princeton University’s annual Community & Staff Day event. Big crowds meant that we needed something simple, but we wanted to be creative too. Since we had successfully offered the number mines at a massive math event last spring (you can read about it
 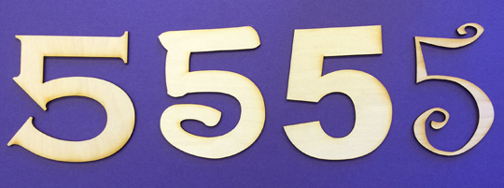 We found that 4″ was a great size for decorating, but if 56
 Once kids found a number they liked (7 and 8 were very popular), they went over to the number decorating area, which was stocked with metallic makers, glitter markers,
 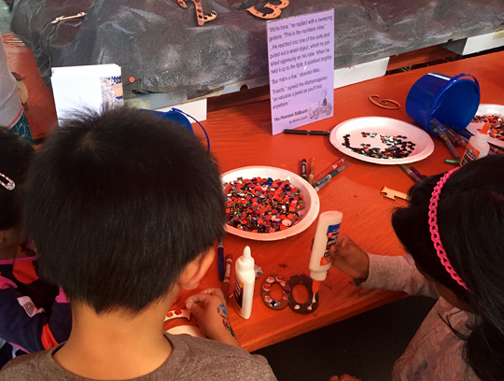 Note! If you use squeeze glue (as opposed to hot glue) make sure to have paper towels or small paper plates handy so families can safely transport their numbers home. Hand wipes are also a good idea for sticky fingers and tabletops. Katie and I dressed for the occasion in miner’s helmets and safety vests.
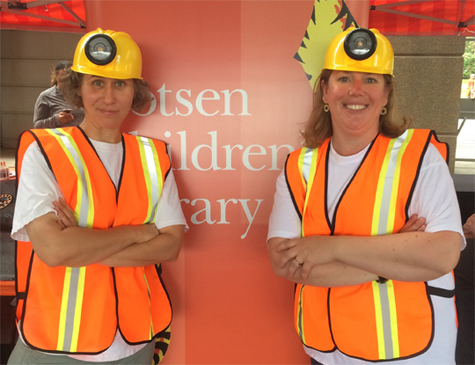 So, that’s our event table…now for constructing the mine! You certainly don’t have to get as elaborate as we did. You can create a mine by covering a box with grey paper. Cut a hole in the box’s lid, throw some numbers in there, and have kids reach into the box! Or you could skip the mine altogether and just do the number decorating part of the project. But if you do want to build a mine, here’s how we did it.
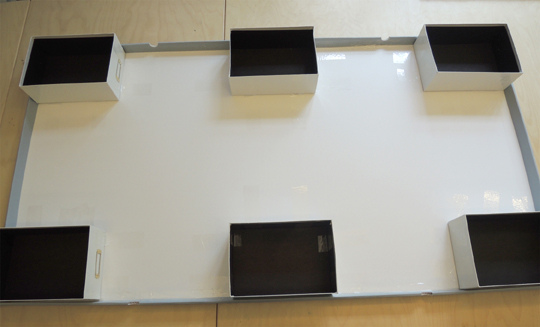 Since the box lid didn’t reach all the way to the bottom of the photo storage boxes, we closed the gap by attaching big strips of corrugated cardboard to 3 sides of the mine. We left it the mine open in the back so we could restock numbers during the event.
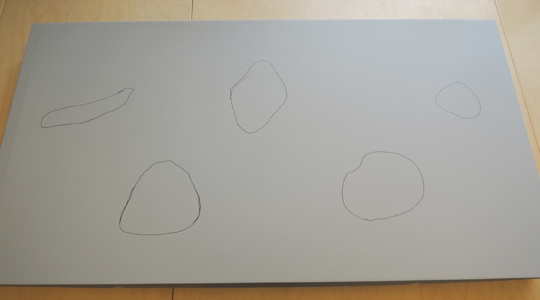
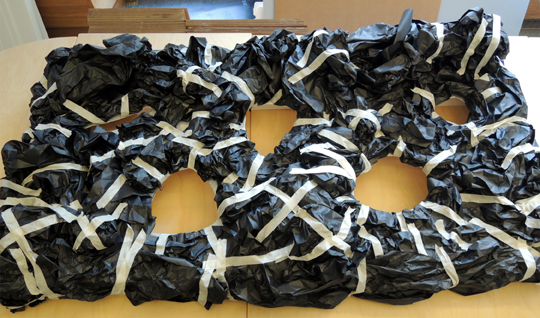
 Since we had a lot of area to cover, we used big, 6″ x 16.5″ pieces of newspaper. Occasionally, we use a smaller strip for edges or crevices, but mostly we stuck with the big ones.
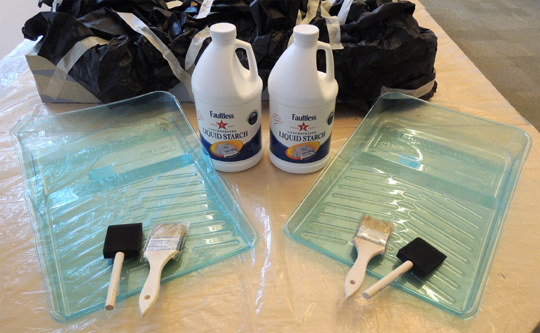
 The liquid starch held up well! It did coat our hands with sticky residue that required multiple rounds of soap and scrubbing to remove, but it wasn’t too bad. Honestly, the worst thing about the liquid starch was the fact that it was scented. “Mountain Fresh” scent to be exact. Hoo boy. You could smell the mountains the minute you took the cap off. After a couple minutes, the fragrance was looming in the room like a big, ominous fog. Katie put together a little graphic to convey the overpowering Mountain Freshness.
 We left the first layer to dry overnight. For the second layer, we got a little experimental. While researching liquid starch, we learned that some people absolutely rave about using white paper towels and computer printer paper for papier-mâché projects, especially if the projects are going to be painted later. So we decided to give it a try. We papier-mâchéd the bottom of the mine with paper towels, and the top portion with computer printer paper.
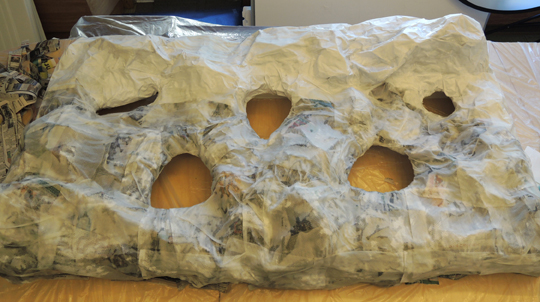 Wow, did the paper towels suck up the liquid starch! The printer paper needed much less. But the printer paper was so stiff, it created unwanted gaps like this one:
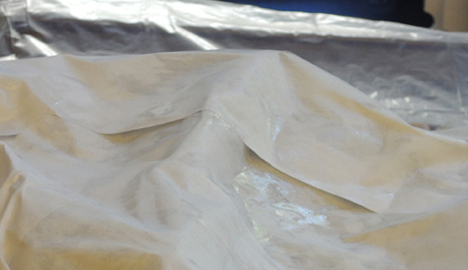 The solution was to drape a liquid starch-soaked paper towel over it. Below is that same gap with the paper towel over it. As you can see, the soft paper towel completely obscures the gap. I didn’t officially test this, but I believe newspaper would obscure gaps as well, perhaps even better than the paper towels.
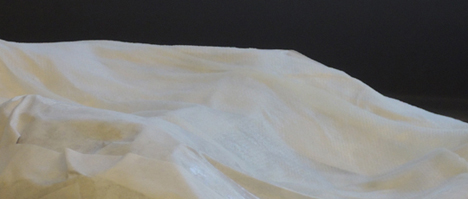 I was a little worried the paper towels were too transparent. But overnight, they magically dried to solid white.
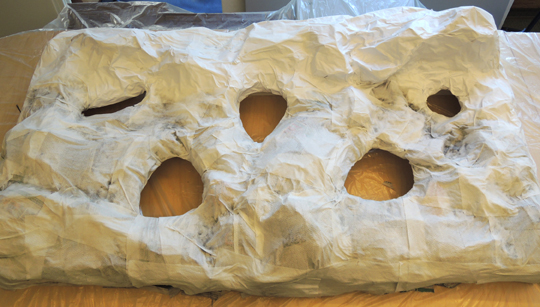 In the above photo, you can see there were still wet patches in crevices where the liquid starch had pooled. Katie hit those with a hair dryer, no problem. And we should add that, even now, things were still smelling quite Mountain Fresh.
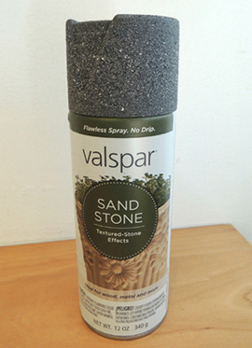 A cheaper option would be to use gray paint to cover the mine, then dab on darker gray with a piece of sponge. This will get you a textured surface, without the hefty spray paint price. Once the spray paint had dried (which, we might add, finally dissipated the Mountain Fresh fragrance), we decorated some numbers and attached them to the mines with hot glue. We hot glued some large plastic gems on as well – purchased from the wedding favor aisle at Michaels Craft Store.
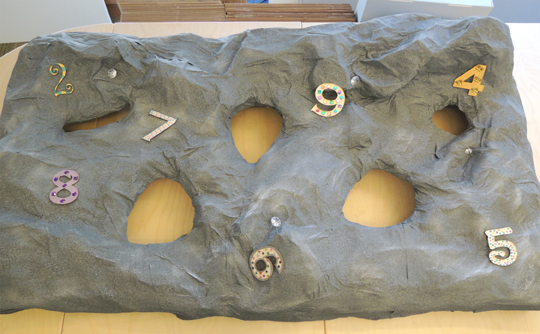 And this, dear readers, is when we discovered the fatal flaws in regards to paper towels:
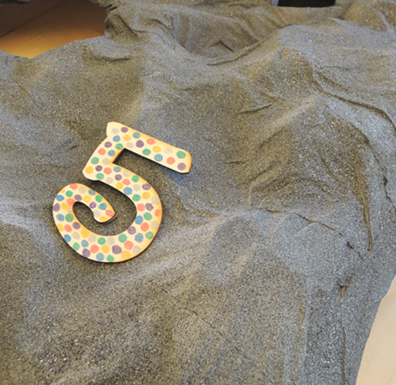 The printer paper, on the other hand, was much sturdier and the edges were hidden under the paint. The lesson? DON’T use paper towels for papier-mâché projects. Use newspaper and printer paper instead. In fact, I highly recommend printer paper for the second layer of painted papier-mâché projects. Very sturdy, holds paint very well.
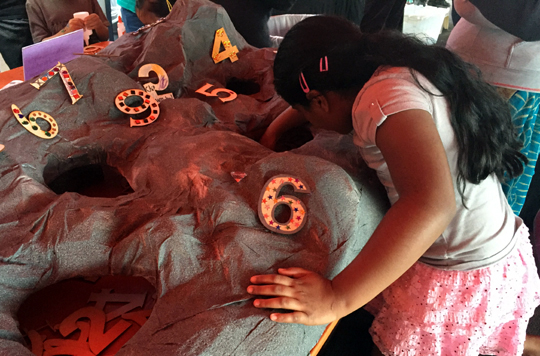 Anticipating trouble, we brought duct tape and a couple of step stools to the event. The stools elevated the kids right up to table level, allowing them to keep their weight mostly on the stools and not on their hands. So the paper towels held, but there were a couple time you could see them bending. Katie and I would brace ourselves for a tearing, crunching, breaking sound. Thankfully, it never happened. Whew!