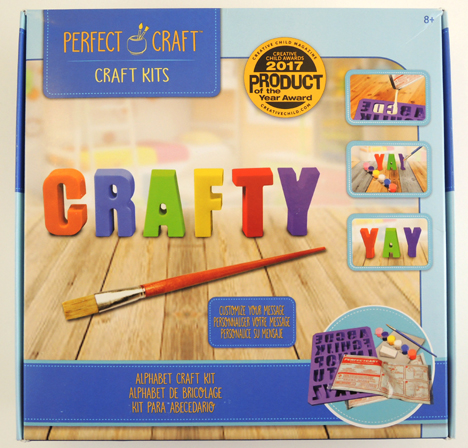
Mix, pour, and paint…constructing words has never been so hands-on! Today, Katie and her intrepid assistant are test driving the “Perfect Craft” Alphabet Craft Kit by Skullduggery. Intended for children ages 8 and up, this kit allows you to make three-dimensional letters from scratch. Did our letter kit make the grade? Take it away, Katie!
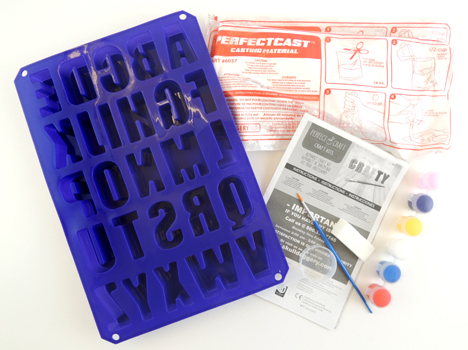
The winner of several awards from Creative Child Magazine, this kit retails on for around $20. It contains 2 two bags of casting mixture, 1 silicone letter mold, 6 small containers of paint, 1 paintbrush, 1 paint sponge, and 1 square of sandpaper. The suggested age range for the kit is 8+, but I feel younger children should definitely have adult assistance, especially when pouring the casting material into the mold. Children who are 10 and older can work on this craft kit on their own.
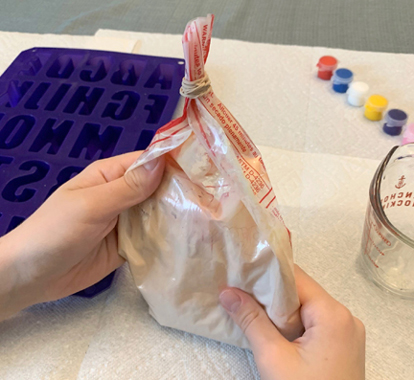
The instructions tell you to pour ½ cup of water into one of the bags of casting material and mix it together with your hands until it is a “melted ice cream” consistency. The original cast color is white, but you can give it color if you add paint to the mixture. My son and I decided to try and color our casting material orange, so we dropped in some red and yellow paint. Sadly, it did not come out as strong orange as we had hoped.
We debated what word we should create, and finally decided to spell out “Princeton.” However, we soon discovered a problem – there are TWO letter N’s in Princeton! We were going to be one letter short! Happily, we realized we could spell “Cotsen” with the letters we had already poured, and we could spell “Tiger” if we added the letter G. We still had extra casting mixture, so we also poured the letters A, K and Z, which are my son’s and my initials.
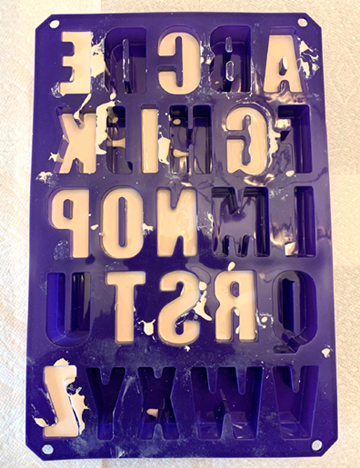 One entire bag of casting mixture allowed us to make 13 letters, but be careful! The instructions suggest you fill the letter mold about ¾ full. However, due to the fast pour of the mixture, we sometimes overfilled. As you can see, the final letters E and Z were quite thick!
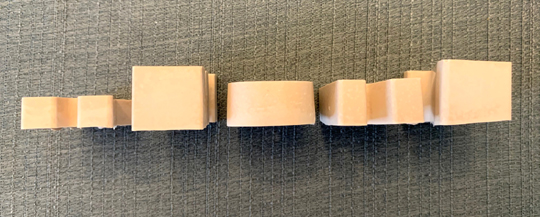
We waited an hour for the cast to harden and then peeled the letters from the silicone mold. The letters had some crumbly edges that were easily sanded down using the provided sandpaper, but otherwise the letters looked fantastic.
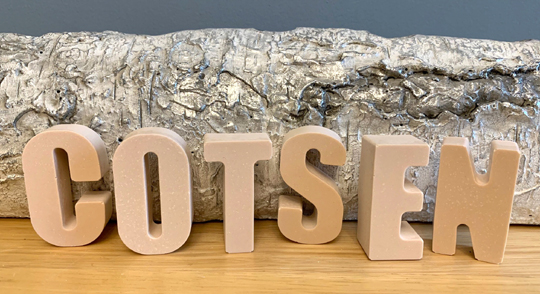
We let the letters to dry overnight before we painted them. The hefty red paintbrush pictured on the front of the box? NOT the one that is included in the packaging! Ours was much much smaller!
The tiny brush really doesn’t provide adequate paint coverage, so I decided to try the kit’s paint sponge and multiple coats. In the photo below, you can see how I used the paint sponge and double coat on the C and S, the paintbrush and double coat for the T and E, and the paintbrush and one coat with the O and N. You can definitely see the color difference between the various methods.

As a final touch, I added a light coat of sparkle paint on all of the letters. Oddly, the sparkle paint removed some of the purple paint from the letter C, but not from any other paint color!
Perfect Craft’s Alphabet Craft Kit is ideal to keep children busy for a couple of hours. Creating and painting the letters was quite entertaining, and clean up was a snap. Once the letters are created, however, there’s not much more to do with the letters. I suppose you can use the letters to practice spelling different words? Or use them for a game of Boggle? Another thought I had would be to mount them onto a wood sign to hang on a child’s bedroom door, or create a family announcement board. Also, once you’re out of the casting mix, you are DONE! So think carefully about what you want to spell!
Final ranking: 3.5 out of 5 stars

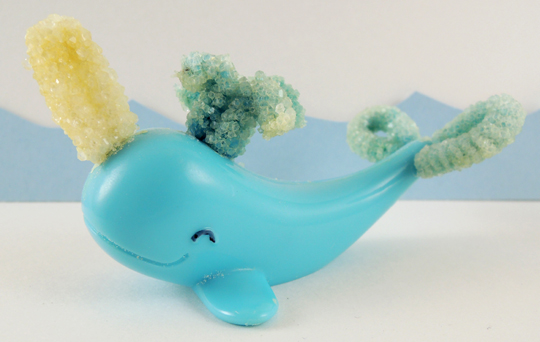
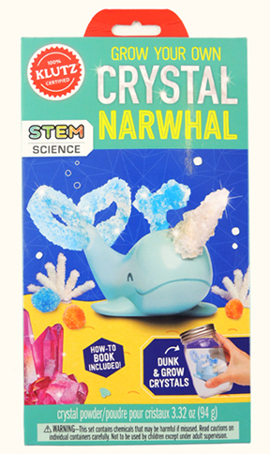 The kit provides the basic pieces to get started. Namely an instructional booklet, 2 pipe cleaners, crystal powder, a plastic narwhal figurine, and a little paper backdrop to pose the finished product on.
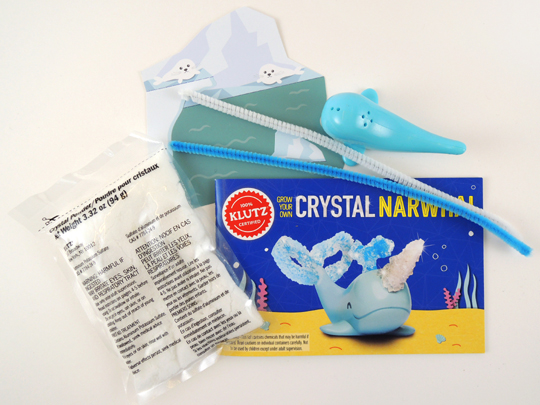 However, you will have to fill in some gaps with items you may or may not have already at home: 2 heatproof glass jars with lids (I used old jelly jars, but Bell jars would totally work), measuring cups and spoons, a plastic plate, and a pot holder or trivet. Most importantly, you need to use distilled water to make the crystal growing solutions. I bought a gallon of distilled water at the grocery store for 99 cents.
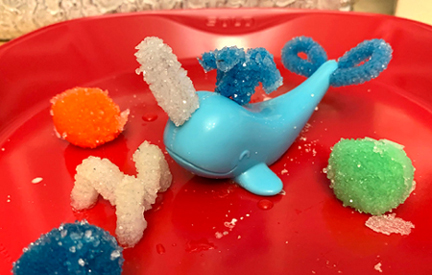
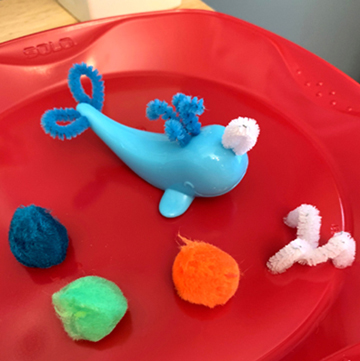 Next, you make a crystal “growing solution” and let the narwhal soak in the solution for 4-8 hours. If you made the solution correctly, crystals will grow on the pipe cleaners. Let the narwhal dry overnight, then do a second round of soaking in the growing solution. If your experiment worked, you finish with a beautiful narwhal with a crystal tusk, water spout and tail!
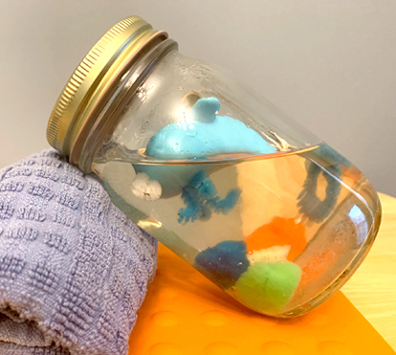
 One suggestion…I had to get a bit creative with my glass jar because there wasn’t enough growing solution liquid to fully cover my narwhal. I simply rolled up a dish towel and rested my jar at an angle so the pipe cleaners were submerged.
 Another suggestion is using something other than your fingers to remove the narwhal from the liquid after it is done soaking. I used a wood skewer, but you can also use a plastic spoon or tongs. In fact, every time I handled the narwhal or any of the experiment materials, I thoroughly washed my hands to remove residual crystal powder (which is aluminum potassium sulfate, or alum).
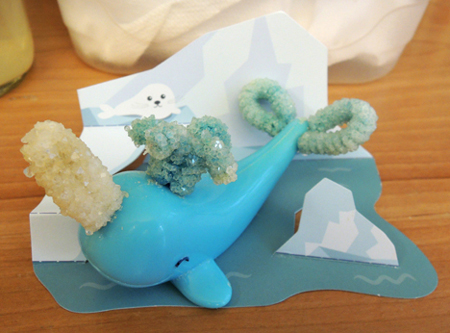 It took me 4 days to finish the project. But I allowed extra soaking time for the pom-pom “icebergs” to grow bigger crystals, so technically you can wrap up the experiment in 3 days. There is a great deal of adult supervision to complete this kit. I fully agree with the suggested age range of 8 and older with adult assistance. There is no way a child should work with stove tops, microwaves, boiling water, and chemicals without an adult present.
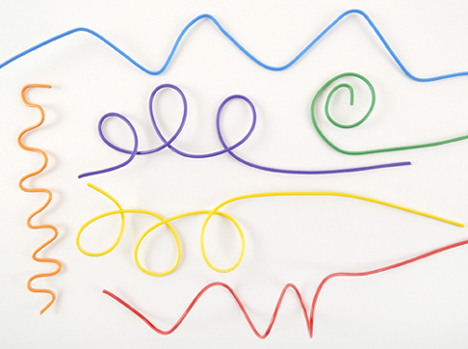
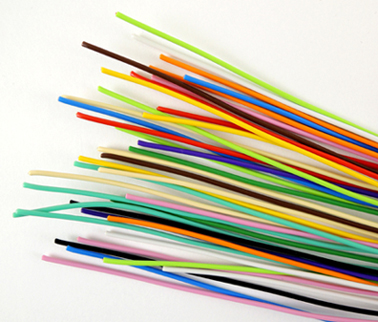 I also like Twisteez because, unlike craft stems and
 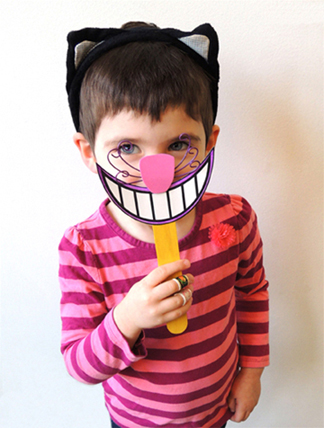 And it’s not just for kiddie art projects! In researching this post, I learned that Twisteez was invented by 2 artists – Harold and Kiki Rabinowitz – 55 years ago. Together, with their 6 children, it has bloomed into a family-owned business. They have an
 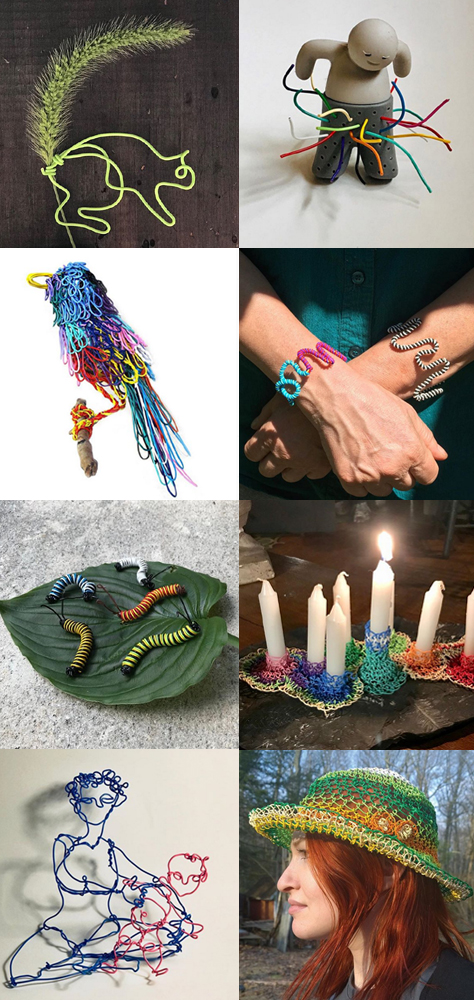 Twisteez wire is, however, a bit more expensive then the aforementioned pipe cleaners and sparkle stems. It comes in 30″ long strands, bundled together in packs of 50 ($10-$13) and 200 ($35-$42). You can also get 60″ long bundles of 50 for around $23-$30.