It should come as no surprise to anyone when I make this statement: KATIE ADORES ESCAPE ROOMS. Since her first in-person escape room during a birthday celebration, Katie has gone on to design many awesome literary escape rooms, both in-person (see here, here, and here), and virtual (see here, here, and here)! So it makes total sense for her to test drive Finders Seekers, a mailed-right-to-your-door escape room company. Take it away, Katie!
Yes, I adore escape rooms, both participating in and creating them! Not being able to partake in a live escape room because of the pandemic, I eagerly started searching for a worthy “at-home” alternative. That’s when I found Finders Seekers.
Finders Seekers is a monthly subscription where you receive a box in the mail with an escape room mystery adventure inside. The rooms are based on the culture and history of a different city somewhere in the world. The cities have covered the entire globe, including Sydney, Australia; Athens, Greece; Petra, Jordan; and San Francisco, California. There are a couple options for purchasing: you can sign up for a month-to-month service for $30, or you can select up to 3 levels of prepay spanning a year. There’s a gift option for sending a box to an escape room fanatic as well. You can cancel your subscription at any time.
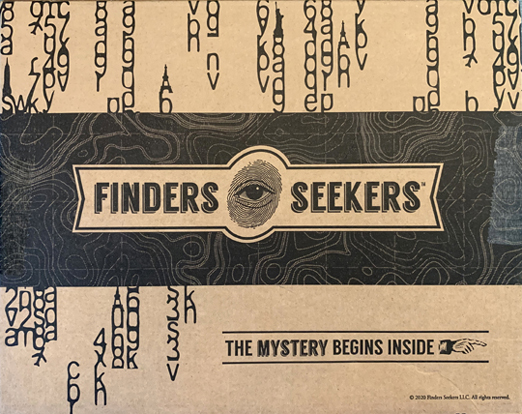
Your “Escape Room in a Box” literally comes in a Finders Seekers marked box, which tells you that “The Mystery Begins Inside.” When you open the box, you find a “Classified” envelope with all the materials you’ll need to solve the escape room, along with a letter of specific instructions from Lucy Calder, Chief Seer of the Society of Seekers. Chief Seer Calder provides a website with links to different locations within the city, along with supporting information to help you solve the clues and puzzles.
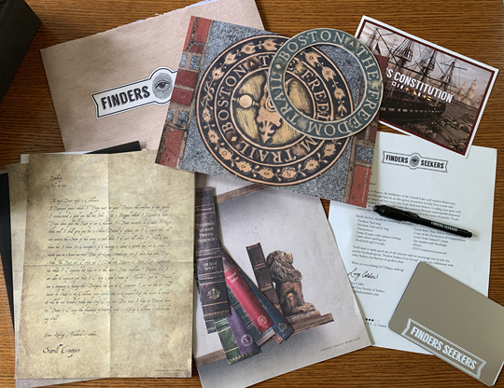
Our first Finders Seekers adventure took us up the East Coast to Boston, Massachusetts. From the deck in our backyard, my son and I raced along Boston’s Freedom Trail and visited 10 historical stops along the way. We were tested by 10 “patriots” at the sites and once we solved the riddle, we were given a token that helped us decipher the final mystery to the location of a stolen relic.
The descriptions and data provided within the website work hand-in-hand with the materials found inside the envelope. You definitely need both elements to figure out the solution. If you get stuck on a puzzle, never fear. The website provides additional hints (and even the final solution!) if you need help as you work through the escape room.
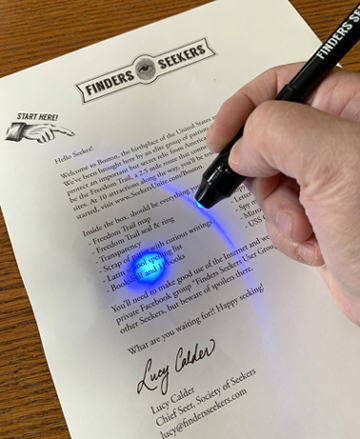
My 13 year-old son and I found some of the puzzles rather easy to figure out, whereas others required us to put in a bit more thought to figure out the solution. Some friends of ours did it with their daughter and her friends (ages 9-11) with success as well. Even though my son and I had decided to not use any of the extra hints, we did get help once because it was difficult to read part of the clue on our materials and the puzzle wasn’t terribly clear.
Otherwise we managed to solve the escape room entirely on our own. Together we traveled through the city, learned fun facts about one of the most historical places in the United States, and crossed the Boston Marathon Finish Line in a little over two hours!
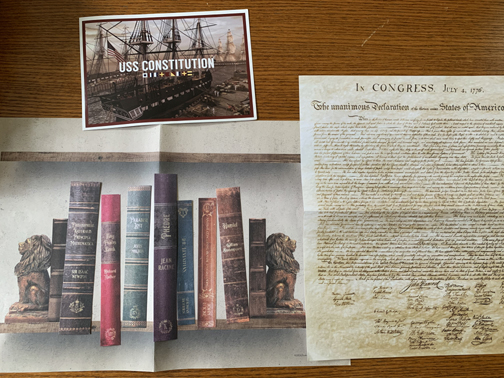
Our other Finders Seekers adventures had us jetting off to Paris, France and making various stops along the Metro, including the Catacombs and Moulin Rouge. We also have a mystery in Beijing, China waiting for us to solve.
For families who like game nights, for couples searching for a fun date activity, or for anyone who simply loves escape rooms (including yours truly), Finders Seekers is ideal. You finish the escape room in one sitting, rather than having to solve one section and then wait another month for the next part of the mystery. You can also do it entirely on your own! It provides enough challenges to foster excitement and intrigue for several enjoyable hours and introduces the adventurers to new places and cultures. Finders Seekers receives my highest recommendation!

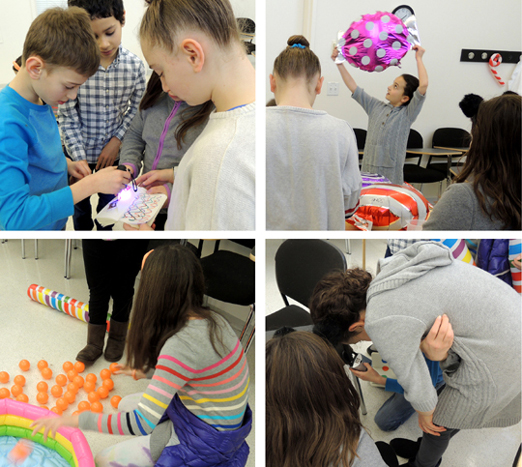
 Like last year, we ran 3 identical rooms simultaneously, every half hour, for 5 hours. The 3 classrooms we used were lined up down a long hallway, each door marked with a different color – red, green, or blue. We also had an extra classroom to serve as a “waiting room” for kids and parents.
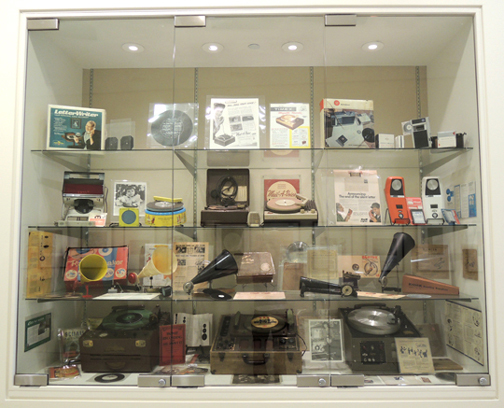
 In between the rooms were cool displays of vintage machinery and mechanisms. Like these old record players (our
  Annnnnd drumroll please! This is what the escape room looked like…
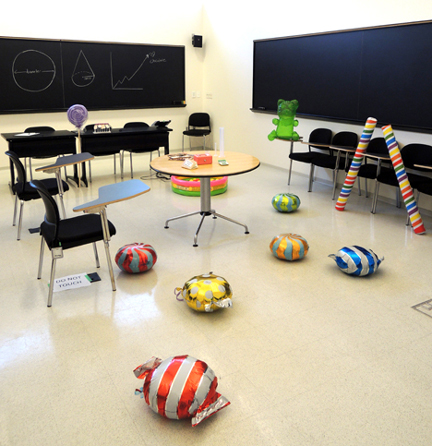 As the kids entered, a game master welcomed them to Mr. Wonka’s “Inventing Room.” She explained that there were job openings at the world-famous factory, but in order to make the cut, the team had to solve the puzzles Mr. Wonka had left for them. They had 20 minutes to find the ultimate solution. Here we go…
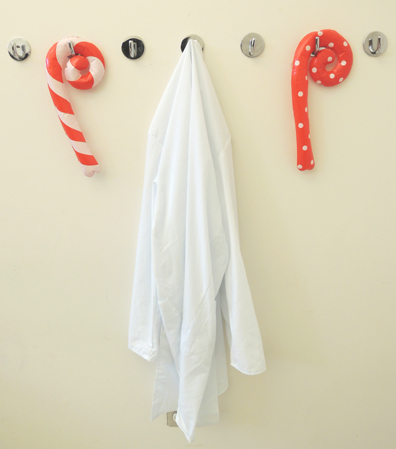
 Next, find the black light flashlight in the pocket of a lab coat hanging nearby:
 Then head over to the lab table, which had a number of objects on it, including the aforementioned Invention Book:
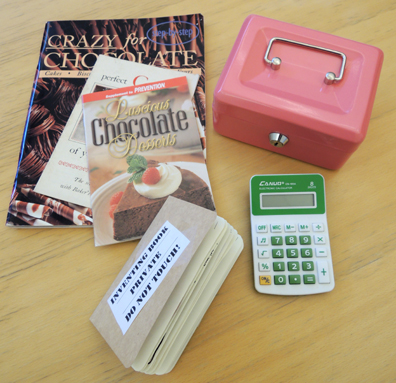 The book was full of recipes, ideas, diagrams, and quirky thoughts (all Roald Dahl appropriate of course, Katie really did her research):
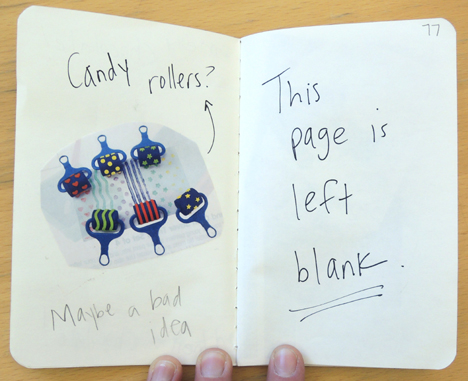 But shine the black light on the pages, and secret messages are revealed in UV ink!
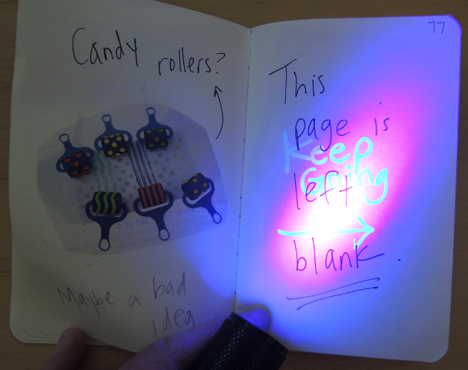 Eventually, with several directional clues like “This way,” “Go Back,” “Stop,” or “Too Far!” you end up on this most curious page:
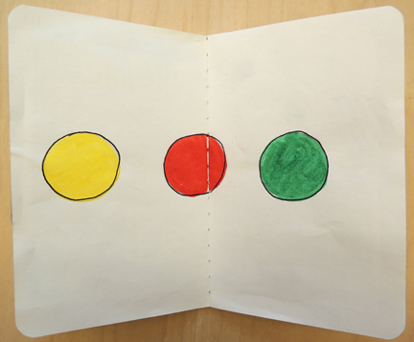
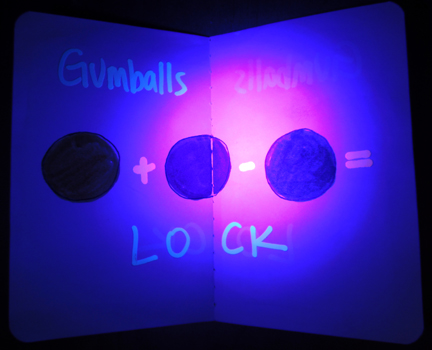 The clue leads to an inflatable kiddie pool filled with giant plastic “gumballs”
 Count the balls, solve the equation, and you get the three digit code for lock #1 (we provided a calculator to help them with this calculation. It can be hard to do math under pressure):
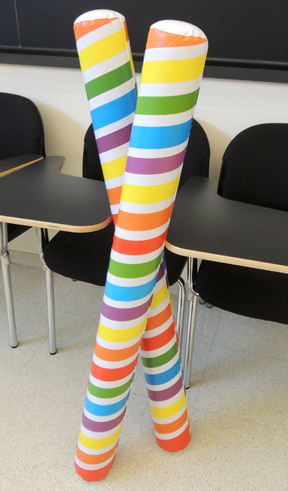
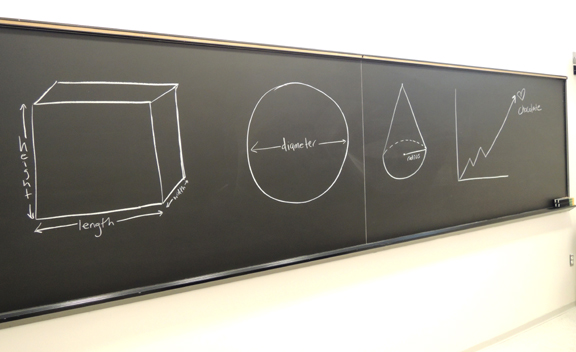
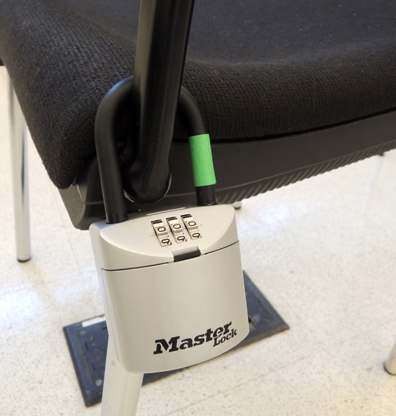 Inside the lock’s chamber is a piece of paper requiring 3 measurements: 1) The length of a gummy bear’s leg; 2) The number of red candy cane stripes; 3) The diameter of Smartie’s candy. But, of course, nothing is QUITE the right size. The gummy bear, for example, was simply enormous:
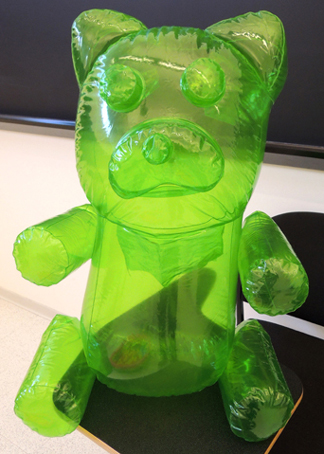
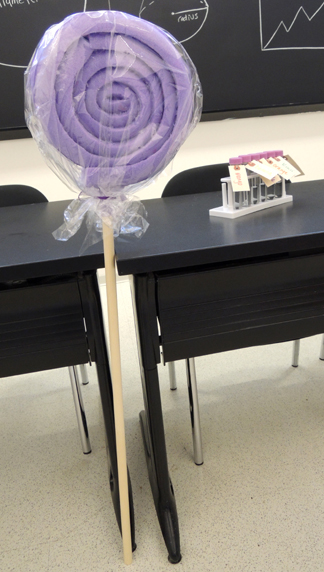
 When we test-piloted the room, some kids said they had trouble recalling diameter. So we snuck the information on the classroom blackboard to help out:
 Once you have the 3 numbers, open lock #2, which holds a key. The key opens the pink box on the lab table, which reveals a test tube. Your instructions? Smell the tube’s contents:
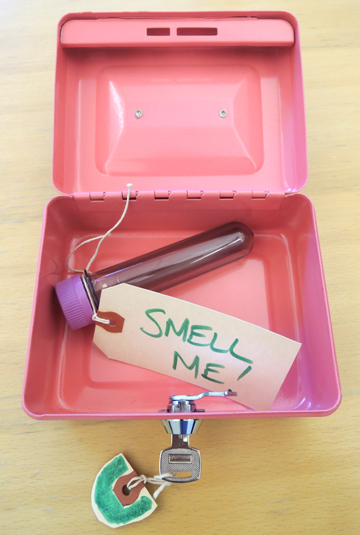 The tube contained McCormick banana extract. After a good sniff, teams had to vote and select the correct flavor from a rack of test tube labeled with various fruit smells:
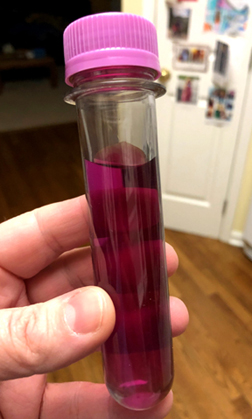
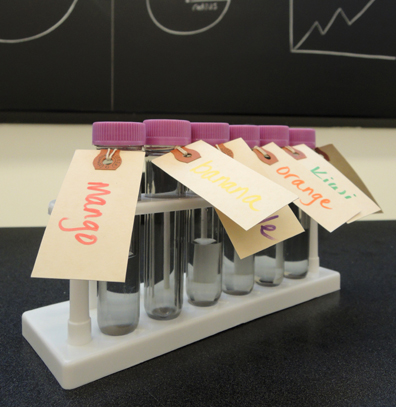 Once the selection was made, the game master produced a tube and said “If I add this liquid to the tube you picked…and the liquid turns purple…you WIN!” Unbeknownst to the kids, the winning “banana” test tube was filled with phenolphthalein, and the game master’s tube contained sodium carbonate. Combine them to get an awesome purple color change (sorry, the only photo I have is Katie testing it in her kitchen!):

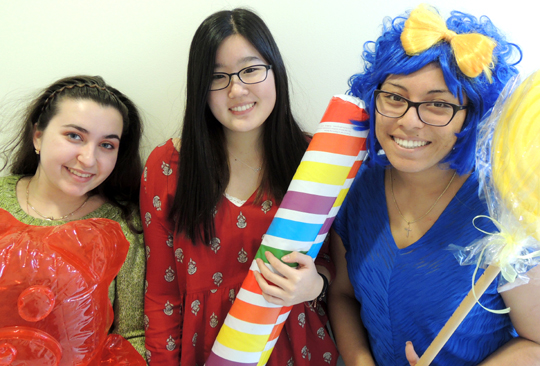
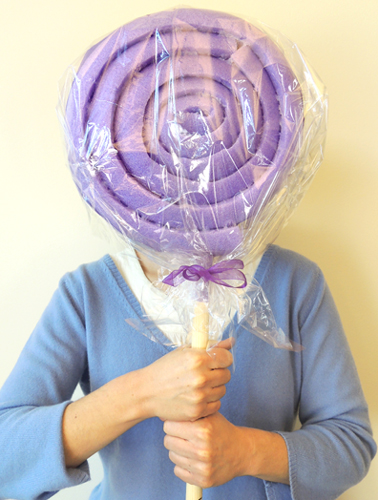 Now that’s a large lollipop! Tomorrow, our library is hosting an original Willy Wonka
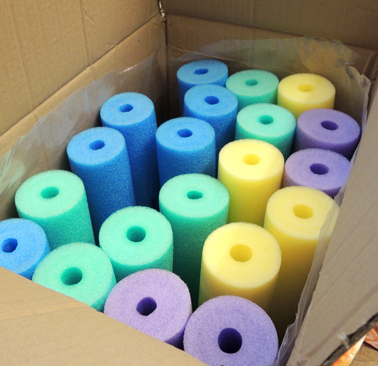 Start by cutting a pool noodle in half. Katie used a box cutter and scissors. She found that neither tool was ideal, but the scissors worked a little better for her. Both methods, however, resulted in shredding, so definitely work over a trash can.
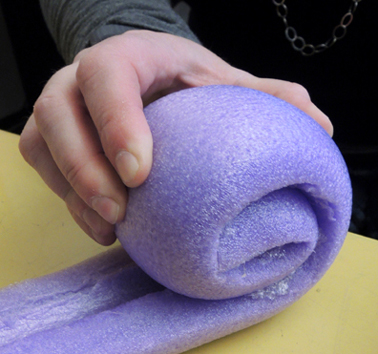 When you get to the end of the first noodle half, glue on the second half and keep rolling! Note: there will be a gap where the two halves meet, but it’s not too bad:
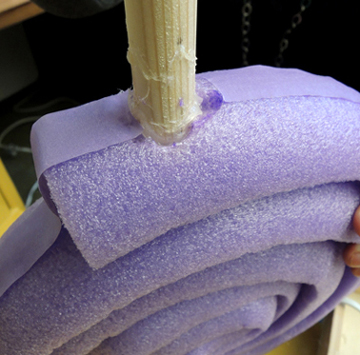
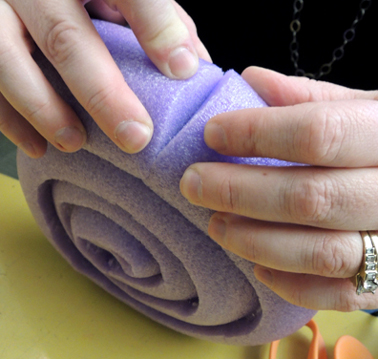 When the lollipop head is finished, use a box cutter and scissors to create a small hole in the bottom of the spiral (about 1.5″ deep), for the lollipop’s stick. We used 36″ wooden dowel that was .75″ in diameter. I found them at Michael’s Craft store for $1.60 a piece. Insert the stick, and glob a ton of hot glue in and around the hole to secure the stick in place. Katie’s also used color masking tape to reinforce the perimeter of the lollipop spiral.
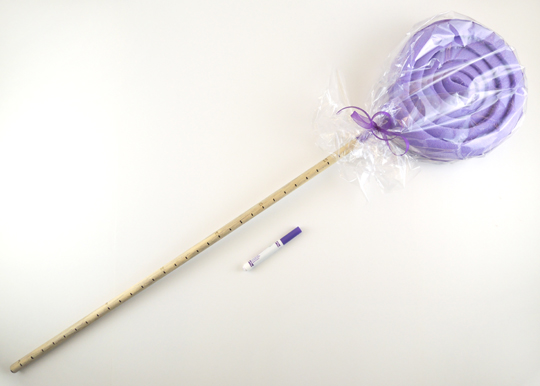
 Finally, use clear cellophane and a ribbon to wrap your lollipop head. Here’s our finished lollipop…the final length was a whopping 46″. I included a marker to show you the size ratio. Notice the measurement notches along the stick? Shhhh! It’s a clue!
 And just in case you’re wondering, yes, it is a lot of fun to run around the office wielding giant lollipops. Definitely recommend it.