 Hungry? We invite you to peruse the contents of this adorable dim sum cart. In addition to being stocked with deliciously delectable dishes, the cart is a bilingual matching game with an additional story time social twist!
 We read Dim Sum for Everyone! by Grace Lin (Alfred A. Knopf, 2001). Follow a family as they sample the many little dishes served at a dim sum restaurant. Pork buns, fried shrimp, egg tarts…the carts have something for everyone! The book concludes with an excellent essay about dim sum – it’s history, traditions, and social aspects. Fantastic book!
You’ll need:
- 1 large box (ours was 4.5” X 4.5” x 9” – a large tissue box works too)
- 1 box cutter
- 1 wheel assembly
- 1 dim sum dishes template, printed on 8.5″ x 11″ card stock
- A selection of construction paper
- 1 dim sum menu template, printed on 8.5″ x 11″ card stock
- 1 teapot template, printed on 8.5: x 11″ card stock
- 1 dim sum restaurant place mats, printed on 8.5″ x 11″ card stock
- Scissors, tape, and glue for construction
- Color pencils for decorating
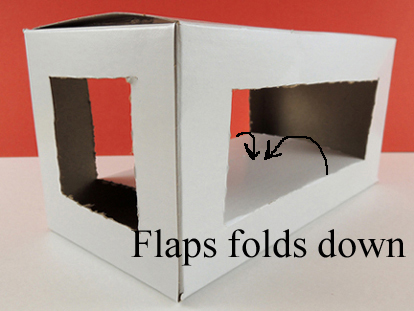
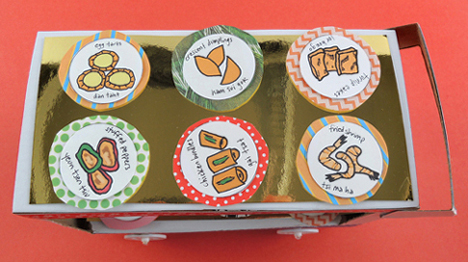
First, the cart! Use a box cutter to create a square in one of the short sides of a box (leave the other short side intact). Next, cut hinged rectangular flaps in the long sides of the box. Fold the flaps down to create the lower “shelf” of the cart. Secure the flaps in place with tape or hot glue.
 Add a wheel assembly to the bottom of the box (you’ll find instructions and alternative wheel suggestions here). Use leftover box cardboard to make a cart handle. We also added gold mirror board and patterned tape to make the cart extra fancy.
Time for the food! Color and cut the dim sum dishes from the template, then glue them on top of construction paper (or patterned paper) circles. Thanks to Lin’s awesome illustrations on the front and end papers of the book, the dishes are labeled with their English and Chinese names.
 Would you also like to serve tea? The tea cups are leftover bits of card stock circled into miniature cylinders. To make the teapot, circle and tape the rectangular part of the template to create the teapot’s body. Then add a handle, spout, and bead knob on top! The circular part of the template becomes the teapot’s hinged lid:
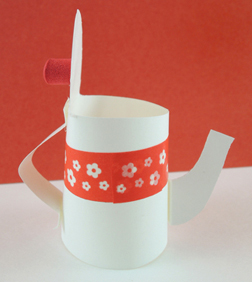
The book mentions that an open teapot means you are requesting a fresh pot – something we really wanted to replicate for this project. When the carts were finished, it was time for the matching game. Each cart came with a menu (the template is here):
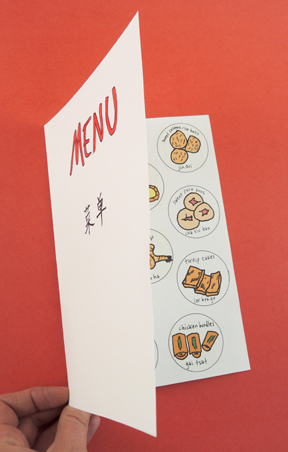
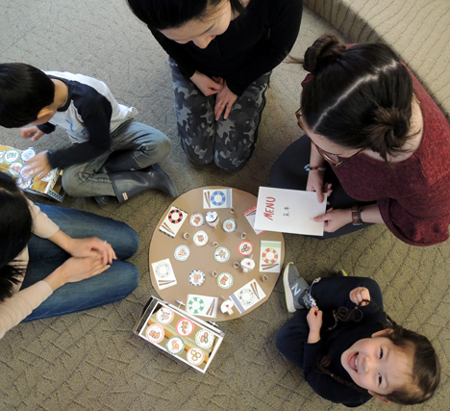
To play the game, kids rolled the carts up to their customers. The customers would point to a menu item, and the kids had to locate it on their carts! Oh, and we also included a cute place setting for your customers (template here).
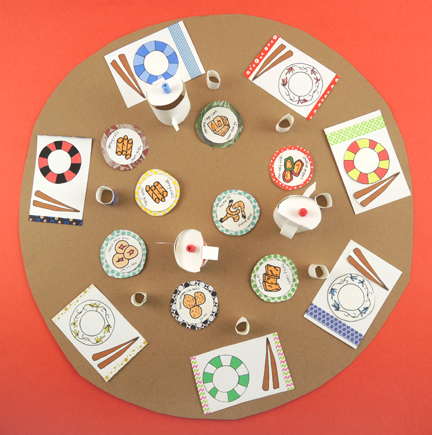 The book mentions how social dim sum dining is, so we made a couple tables (i.e. brown poster board circles) and asked the story time grown ups to sit around them. Kids traveled to ALL the tables, playing the matching game with everyone’s grown up! If you decided to add this social aspect to your story time, just make sure the kids write their names on the backs of each of their dishes so they can be returned to the proper cart.
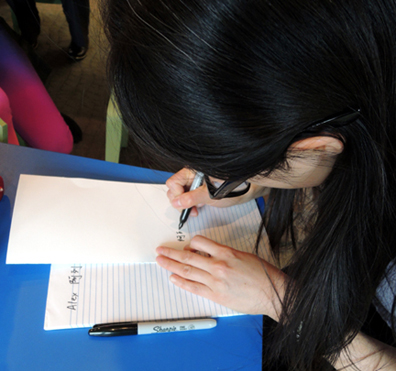
 The final touch on this awesome project? Our colleague, Dr. Minjie Chen, stopped by to write the kids’ names on their menus in Chinese characters. The absolutely loved it. Thanks Minjie!
 Now that’s a large lollipop! Tomorrow, our library is hosting an original Willy Wonka
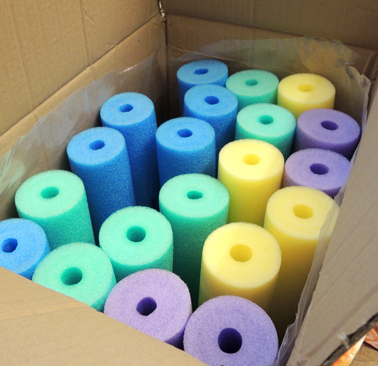 Start by cutting a pool noodle in half. Katie used a box cutter and scissors. She found that neither tool was ideal, but the scissors worked a little better for her. Both methods, however, resulted in shredding, so definitely work over a trash can.
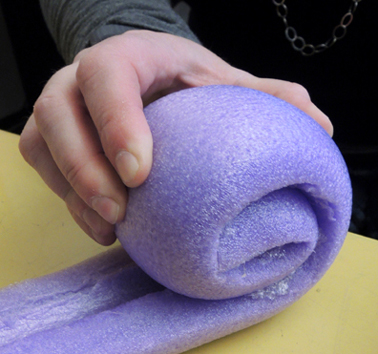 When you get to the end of the first noodle half, glue on the second half and keep rolling! Note: there will be a gap where the two halves meet, but it’s not too bad:
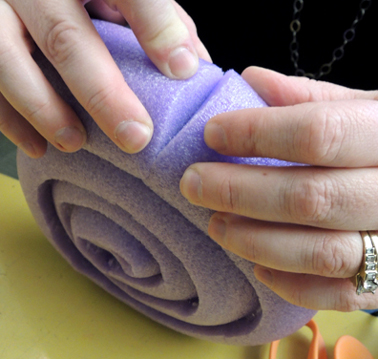 When the lollipop head is finished, use a box cutter and scissors to create a small hole in the bottom of the spiral (about 1.5″ deep), for the lollipop’s stick. We used 36″ wooden dowel that was .75″ in diameter. I found them at Michael’s Craft store for $1.60 a piece. Insert the stick, and glob a ton of hot glue in and around the hole to secure the stick in place. Katie’s also used color masking tape to reinforce the perimeter of the lollipop spiral.
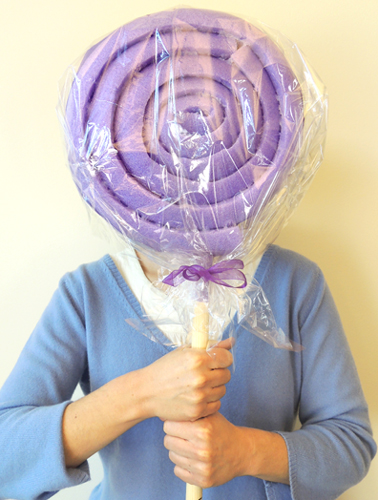
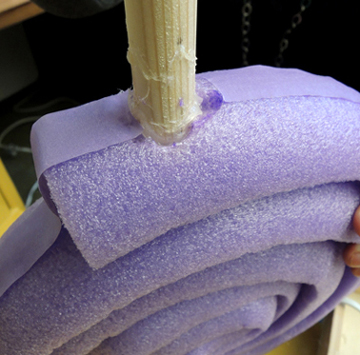 Finally, use clear cellophane and a ribbon to wrap your lollipop head. Here’s our finished lollipop…the final length was a whopping 46″. I included a marker to show you the size ratio. Notice the measurement notches along the stick? Shhhh! It’s a clue!
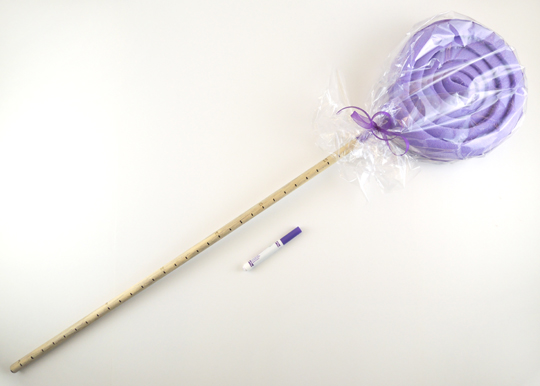 And just in case you’re wondering, yes, it is a lot of fun to run around the office wielding giant lollipops. Definitely recommend it.