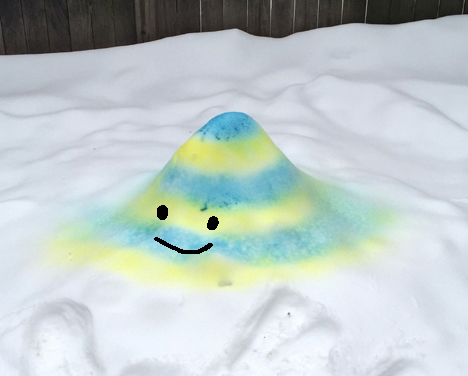
 We’ve had PLENTY of snow this winter, and the last storm to blow through resulted in an unexpectedly zany backyard colorscape! The blue and yellow snow mound you see above is a nod to the striped tower on the cover of Dr. Seuss’ book, Oh, The Places You’ll Go! (I couldn’t resist adding a smiley face too). And today is Dr. Seuss’ birthday, so it’s timely as well!
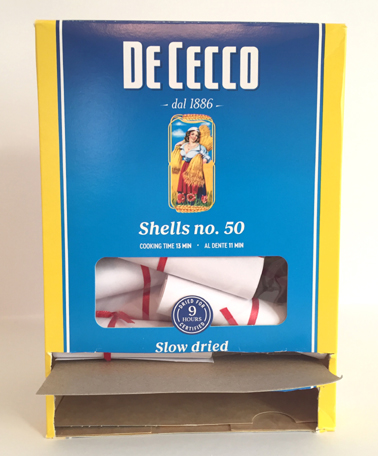
You’ll need:
- Snow
- A box of liquid food coloring
- Spray bottles filled with water
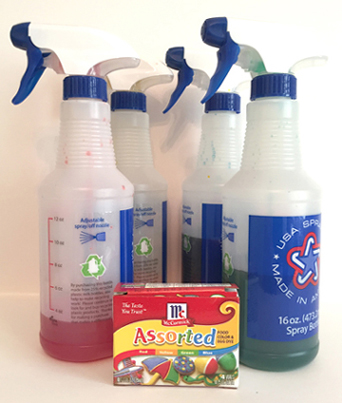
I used McCormick brand food coloring and spray bottles I found in the housecleaning section of my local grocery store (I’ve also seen them at Dollar Stores and in the beauty/travel size section of Target). I filled the bottles with warm water, then dribbled in dye until the desired color was achieved. Then we headed out to the backyard!
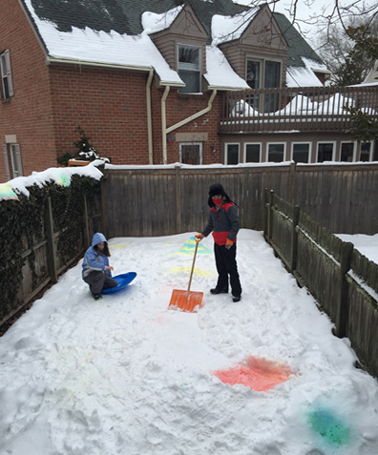
This photo was taken at the very beginning of our adventures…I’m afraid I don’t have a crazy “after” photo! But the kids painted a multi-color path around the yard (and constructed a micro sledding hill as well). I decorated a little higher, spraying the snow along the top of our fence:
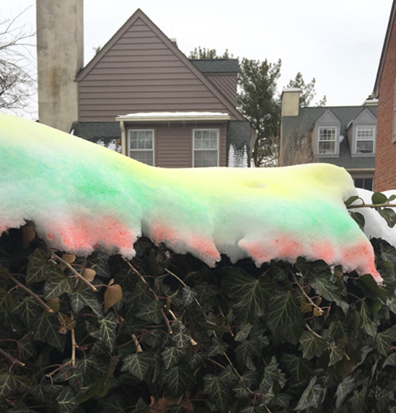
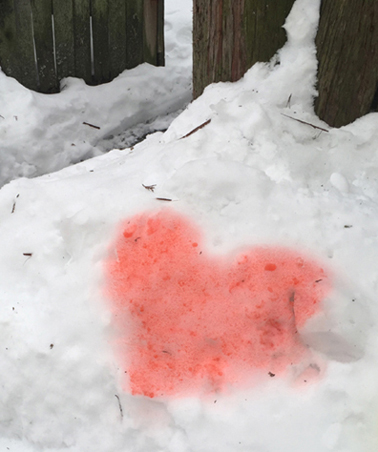
We also made some hearts on the opposite side, for the neighbors to enjoy…
A couple hints:
- Fill the water bottles to the top, so you don’t have to keep going inside to refill.
- Make sure the tops are screwed on tightly. Hah!
- Wear gloves (fleece or knit). Bulky mittens make it difficult to operate the spray lever.
Did this project make a huge mess? Actually no! I thought it was going to be much worse. Our clothes didn’t get stained, and I didn’t even need to wash our gloves afterwards. The melting snow has NOT left dye on anything, including foliage or the wood fence.
If you’re looking for another Seuss-inspired activity, but need to keep it indoors, check out our Seuss mini golf post! Here, you’ll find instructions for making inexpensive putters and holes.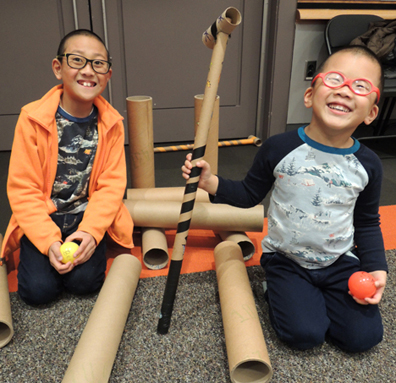
You’ll also find suggestions for putting together a custom course! You can build it with recycled boxes, plastic cups, paper tubes, old pool noodles…and just about anything else you can haul out of your closet!

As part of our library’s mission of diversity, equity, and inclusion, we would like to share a link to a statement from Dr. Seuss Enterprises addressing their commitment to action regarding the content of six particular Seuss titles
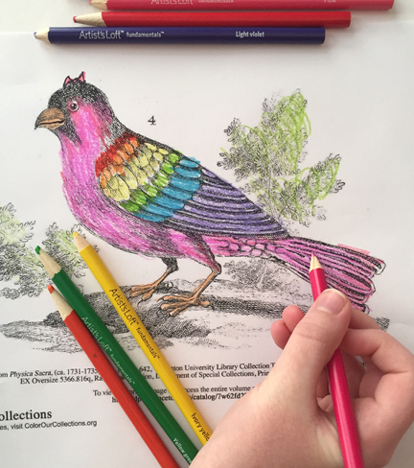 This week libraries, archives, and cultural institutions around the world are sharing free coloring sheets and books based on their amazing collections. Hosted by The New York Academy of Medicine, the