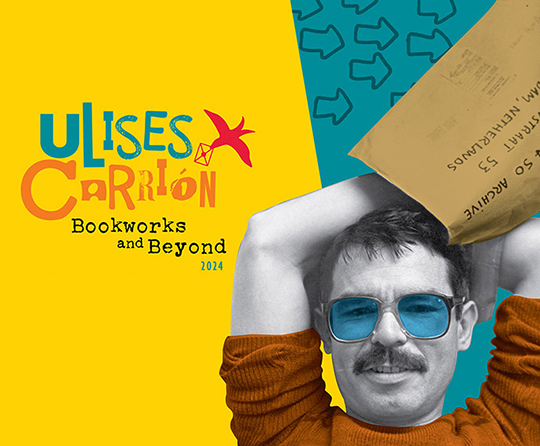
 This spring, the the Department of Special Collections at Princeton University Library hosted a fabulous exhibit, “Ulises Carrión: Bookworks and Beyond.” It was co-curated by Sal Hamerman, Metadata Librarian for Special Collections, and Javier Rivero Ramos, a recent Ph.D graduate from the Department of Art & Archaeology.
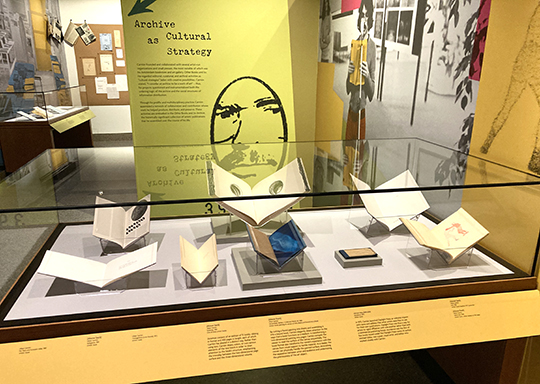
In addition to being a writer, Ulises Carrión was one of the most influential of all modern artists engaged in the book, and a vital force in the mail art movement of the 1970s. So in honor of the exhibit, we decided to bring the community together for a day of art, mail, zines, and collaboration! We also offered a children’s tour of the exhibit, lead by Sal Hamerman themselves. Sal encouraged kids to think about books as more than just “containers of words,” and asked them to observe the works of Carrión through the lenses of interactivity, composition, creativity, and community. Sal also touched on the challenging concepts of freedom of expression and censorship.
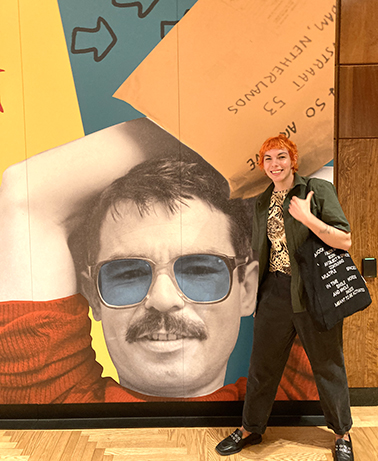
Sal Hamerman, Metadata Librarian for Special Collections
In the Cotsen Children’s Library gallery, we wanted to highlight Carrión’s mail art, as well as capture the excitement and collaboration of an artistic communities he cultivated. And speaking of, we hosted a FANTASTIC group of local artists from Princeton Comic Makers, who you will meet a little later in the post!
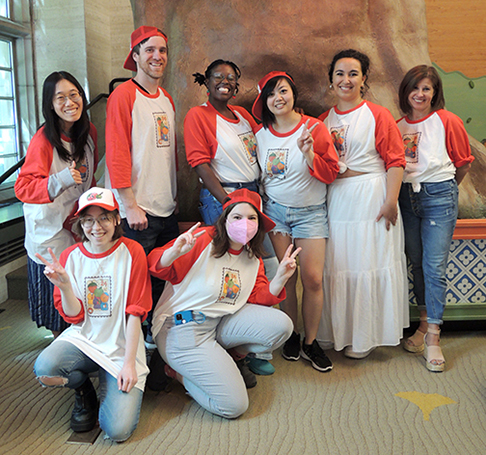
Princeton Comic Makers top row from left: Suyang Gong, Luther Mosher, Tyera Queen, Christina Castro, Olivia de Castro, Carrie Johnson; bottom row from left: Anita Hayden, Masha Zhdanova
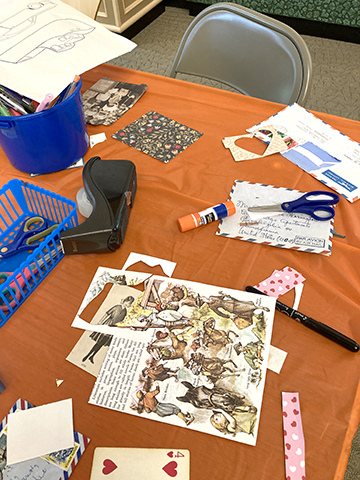
For the hands-on portion of the event, we created an interactive “Community Post Office.” Kids started with a basic 4 page zine fold, and then we offered a ton of supplies to decorate it. In addition to glue, tape, and a variety of pens, we had large containers of old stamps, letters, pieces of magazines, vintage cards, ads, patterned paper, old maps. We discovered a few artists on Etsy who put together specialty packages of scrap booking material, and we were not disappointed!
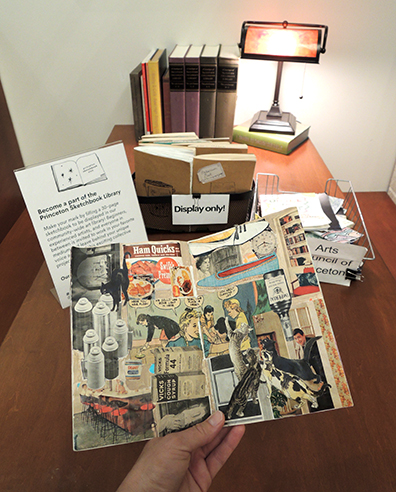
We also had some phenomenal zine examples compliments of the Arts Council of Princeton. They loaned us a whole bunch by local artists, and also included a sampling of works by the Princeton Sketchbook Club (a very cool project initiative you can take a look at here – my daughter and I are part of it!).
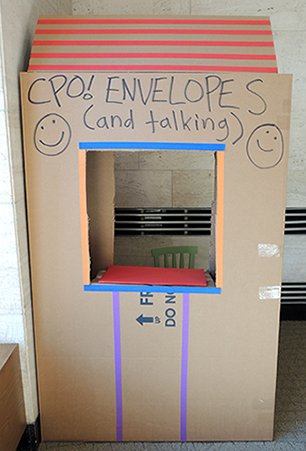
Once the zine was complete, kids headed over to the Community Post Office buildings. They picked up colorful envelopes (and have a chat through the window with staff or a caretaker):
 Then they could let their creations play a bit on the post office’s chutes and elevators….
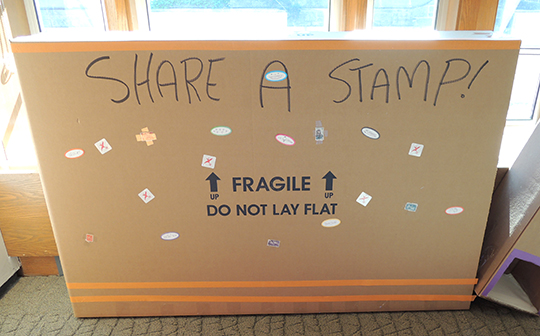
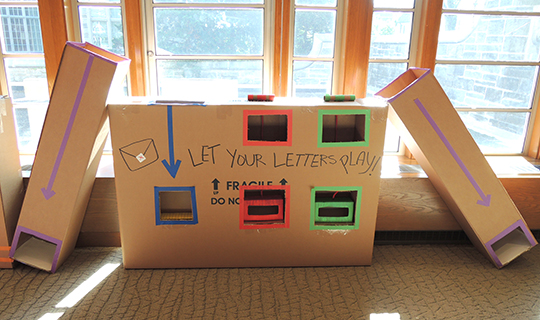 Or contribute to our stamp wall (there was a stamp activity elsewhere in the gallery, we’ll get to that a little later in the post!).
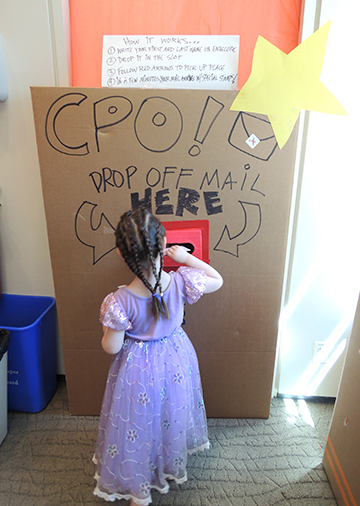
 The grand finale was to write your name on your envelope and drop it into the drop box that we rigged over one of the doors to my office/studio…
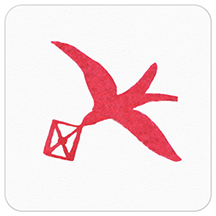
 And THEN! Event volunteers would take their envelopes and give it two special “stamps.” One was a sticker of a logo Ulises Carrión created for his very own mail art community:
 And the second was a rubber stamp featuring a quote from Lloyd Cotsen, benefactor of the Cotsen Children’s Library and champion of children’s literacy. It’s a quote from this PBS mini-documentary.
“I think reading, to me, was like opening the window and allowing you to look out and maybe fly out. Even if you couldn’t fly, your mind could fly.”
After the envelope was stamped the event volunteers placed it in a “CPO Box” constructed in a doorway on the other side of the gallery. So kids had to dropped their letters, follow arrows across the gallery, and then wait for it to appear in the PO Box, magically stamped!
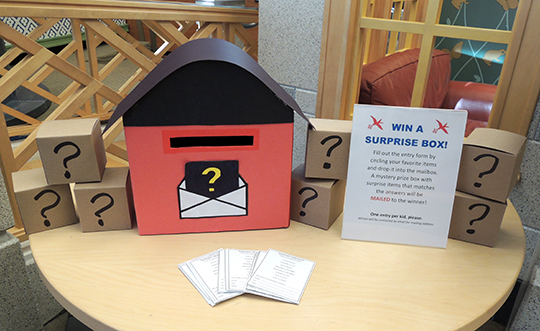
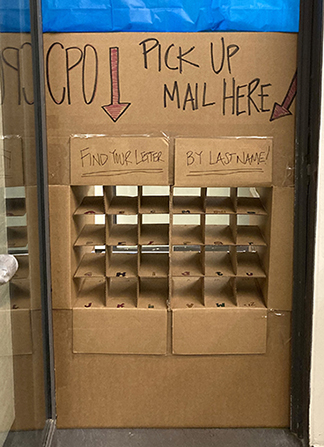 As you can imagine, many kids did this activity repeatedly. I think the record for one little girl was 16 drops. Not too far away in the gallery was the “Mystery Box Drawing.” We asked kids to fill out a form, and then we put together (and mailed) them a very special customize goody box Can you imagine getting a box full of your favorite things?
 Carrión was a huge cultivator of a global community of artists, and we wanted to bring that vibe to our event as well. So now we’d like to formally introduce Princeton Comic Makers, a outstanding conglomeration of local artists, who brought their talents, activities, and enthusiasm to the event.
These folks TURNED IT OUT! They displayed their artwork, chatted, did live drawing demos, designed a “Create a Creature” project, made bookmarks, created stamps, taught kids how to fold zines, offered original coloring pages, and were just generally the most engaging and creative group imaginable! Here they are, in alphabetical order by last name:
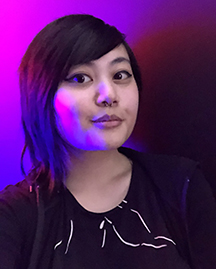 CHRISTINA CASTRO
Christina Castro is a Filipino-American illustrator and storyboard artist born in Manhattan, NY, and raised in central NJ. She graduated from Pratt Institute (2018) with a BFA in Digital Arts (2D Animation) and a minor in Creative Writing. Her work explores the intimacy of human culture and connection through intricate portrayals of food and warm social scenes, while paying homage to coming-of-age narratives, punk rock, and absurdist comedy. Clients include Storytime with Jeff, Smashbits Animation, and gal-dem zine. Christina is a co-organizer of the Princeton Comic Makers weekly Jersey Art Meetups and also leads the project management of several charity zines, collaborating with creatives all over the world.
 OLIVIA DE CASTRO
Olivia de Castro is an illustrator based in Brooklyn, NY. She grew up in a Dominican-Colombian family in New Jersey and graduated from Pratt Institute (2018). Olivia’s illustration style combines traditional pen and ink brushwork with bright and juicy digital color palettes. People-watching on the subway inspires her to focus on culturally diverse and expressive characters in storytelling. She likes to capture the weirdness of everyday life, as well as black and brown joy. When she’s not illustrating, you can find her reading Every. Single. Plaque. In her local museum; or cooking in her tiny Brooklyn kitchen. Olivia is rep’d by Christy Ewers of The Cat Agency.
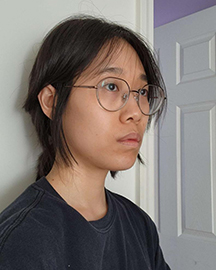 SUYANG GONG
Suyang is a fine artist based in the Princeton area, who primarily works in graphite, ink, and various paints. She graduated with a BFA from Mason Gross in 2021. Her works are large and whimsical, using a spontaneous generative method to tap into unconscious thoughts and memories. Currently, she’s having fun tabling at various local conventions with friends and is a co-organizer of the Princeton Comic Makers weekly Jersey Art Meetups.
 ANITA HAYDEN
Anita graduated from Cedarville University with an Industrial and Innovative Design major and a Studio Art minor. The artwork Anita creates is a melding of her upbringing, her profession, and her style as an artist. Her natural inclination towards articulating structures and buildings is rooted in her upbringing, as both of her parents are architects. Her training as an industrial designer also inspires her to create artwork in a strong perspective. In contrast to the rigid sharp edges of her structures, Anita adds in elements such as organic shapes to represent life and movement. She tries to find the line between the rigid and the organic; the realistic and the abstract. She currently works as a Video Game Developer and Freelance Designer.
 CARRIE JOHNSON
Visual artist, interior designer and emerging playwright, Carrie Johnson’s work explores the human condition and its impact through the fabric of society; its relation to family drama, mixed race love, intergenerational trauma, motherhood and the divine feminine. Carrie has built a career in the experiential marketing and events space spanning more than two decades, where she’s lead project teams for some of the world’s most notable brands including Adidas, Intel, IDG, and Olympus. Organizational memberships include Dramatist Guild and HonorRoll! She holds a Bachelor of Fine Arts from The College of New Jersey.
 LUTHER MOSHER
Luther has wanted to be a comic artist since he was four. This passion led him to the School of Visual Arts in New York City where he earned a BFA in Cartooning & Illustration. Since graduating in 2010, he has worked professionally as a graphic designer and illustrator. As an artist, he has created storyboards for film, drawn children’s books, illustrated cover art for Ben Folds Five, and is currently finishing up his first graphic novel, Mars Lightning.
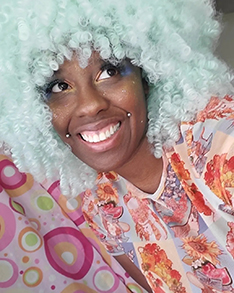 TYERA QUEEN
Tyera Queen–also known as “Three Guys That Paint”–is a multimedia artist creating whimsical, decorative, and functional art and sculptures. Her goal as an artist is to take up space in this crowded world, filling it with as much of her own creations without limitations. She uses her infatuation with color to portray her alternative outlook on life.
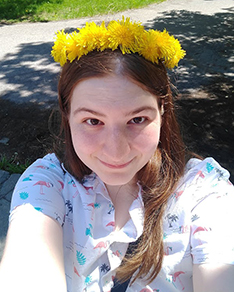 MASHA ZHDANOVA
Masha is a lesbian cartoonist born in Moscow, Russia, and raised in central New Jersey. She received a Bachelor of Fine Arts in sequential art from the Savannah College of Art and Design in 2019. She received an MFA from the Center for Cartoon Studies in White River Junction, Vermont in 2022. She writes and draws original comics, teaches workshops about comics, and writes reviews of comics for a variety of publications, including Publisher’s Weekly, The Comics Journal, and Women Write About Comics. Her work is concerned with the intersections of diasporic and queer identity with elements of genre fiction. Most recently, she is a co-organizer of the Princeton Comic Makers weekly Jersey Art Meetups. She likes coloring and drinks seven cups of tea a day.
We would like to thank the talented Sal Hamerman for working with us to develop this fabulous event, and also for designing and leading the children’s tours! A very big thank you to the Arts Council of Princeton for loaning their fantastic zine and notebook library! Finally, we would like to send much love and appreciation to the wonderful artists of Princeton Comic Makers…Christina Castro, Olivia de Castro, Suyang Gong, Anita Hayden, Carrie Johnson, Luther Mosher, Tyera Queen, and Masha Zhdanova!

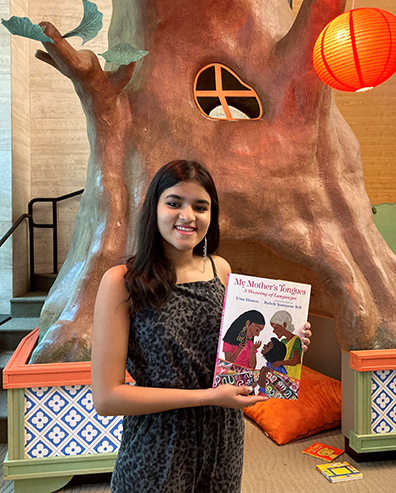
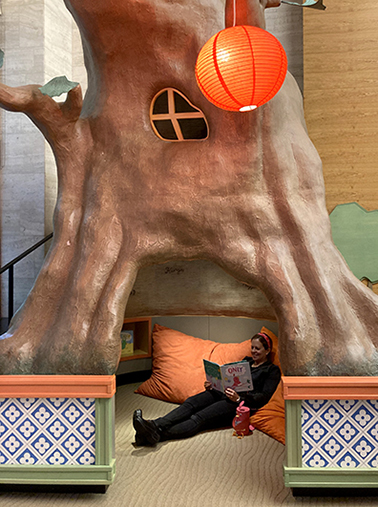 There’s lots of dancing, singing, chatting, and partying out there in the world, but what happens if you just want to be a little quiet and alone time? What if what you really need is a calm nest and a good book? And who is that in our library tree? Could it be…the author of today’s book? YES!
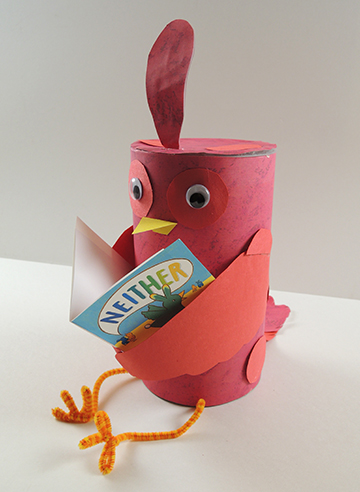

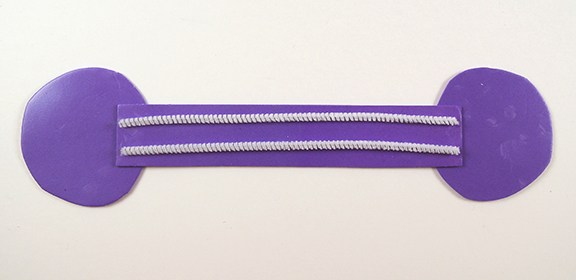
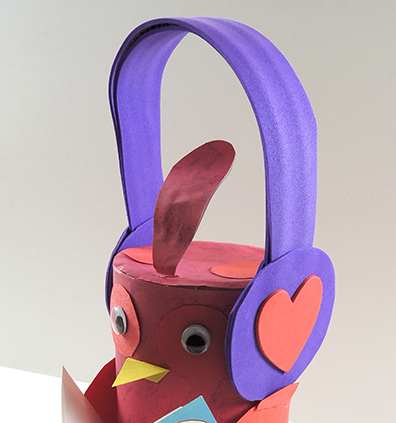 To make these, you’ll need some self adhesive foam and two pipe cleaners. Lay two sheets of foam on top of one another, then cut a pair of circles and two strips (for a total of 4 circles and 2 strips). Peel the backing off one set and lay everything sticky side up. Place the strip on top of the two circles, then lay the two pipe cleaners along the length of the strip like so:
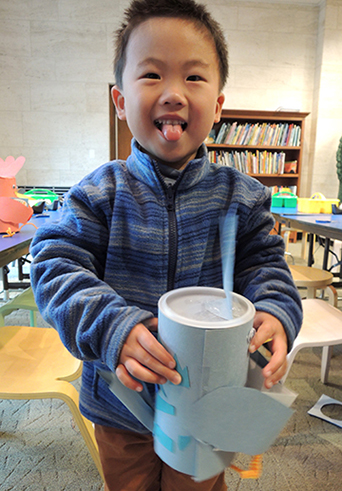 I can’t recommend Airlie enough for a library visit. She is funny, engaging, wonderful with the kids, and jumps right into the craft project. In fact, this is the
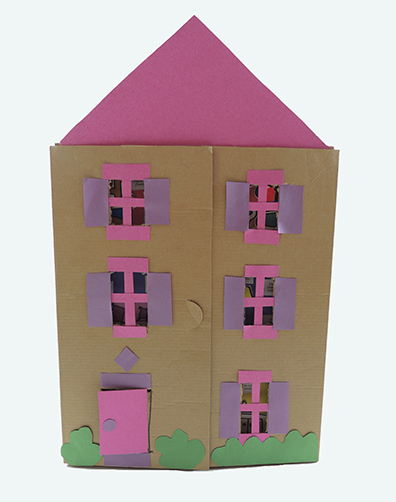 …that opens to reveal the names of everyday household items in all the languages mentioned in her book! Malayalam, Spanish, Hindi, French, and Tamil!
 We used some flat boxes we acquired from our library’s
  After story time, I caught up with Uma to ask her about her experiences writing her picture book, and what’s she’s planning to do next: