 We’ve all been getting quite a bit of screen time lately, but what about if we take it waaaaay back to the early days of screens and animation? Turns out, it can be pretty fascinating. Especially if you have the flipbookit, a DIY hand-cranked miniature movie machine. Katie took the kit for a test drive with some pretty amazing results…take it away, Katie!
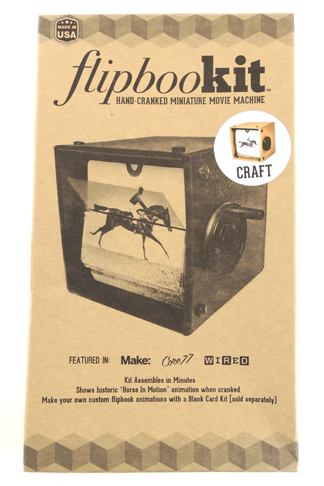
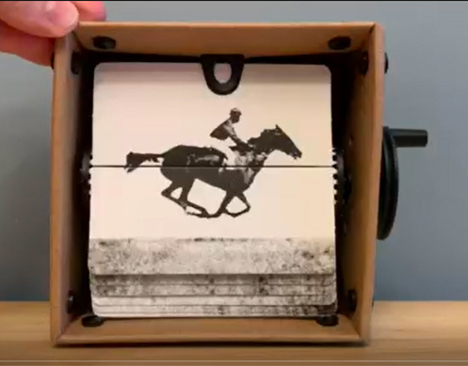
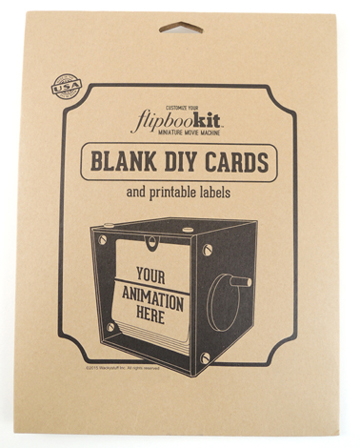
The flipbookit retails for around $35 and comes with everything you need to build your own flipbook animation of the historic “Horse in Motion.” The kit contents include instructions, a box to house the animation, pre-printed cards, and plastic pieces to create the spindle and flipping mechanism. There’s no suggested age range printed on this particular kit, but I would say it’s great for kids 8+ to build on their own. Younger children would need parental assistance.
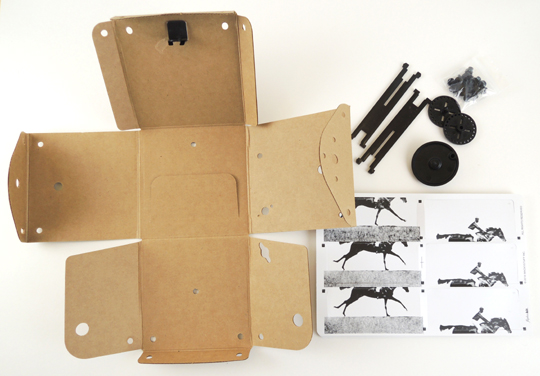
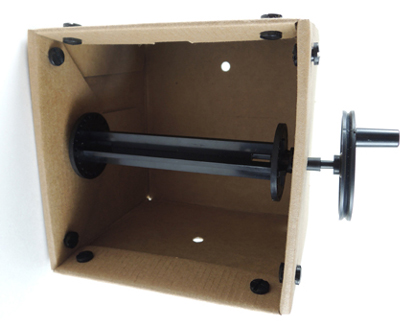
The instructions, which are clear and easy to follow, have you start by building the cardboard box that becomes the “movie projector” (I loved the attention to detail with the snap rivets, which provide a fun industrial vibe).
I had two major issues with the box: the first was making sure the snap rivets were tight and secure. The second problem was when I was trying to insert the spindle, the opposite bushing (the part that holds the spindle in the middle of the box) kept falling out. It felt like I needed a third hand in order to secure the moving parts of pieces, but after a few unsuccessful attempts, I was able to build the spindle and attach the crank pulley.
The flip-cards are a thicker die-cut plastic, which offers the perfect rigidity to spin and create the “moving picture” effect when you turn the spindle. As you remove the flip-cards from the full sheets, you must be careful to not bend the sprockets (the small tabs on the straight side of the card).
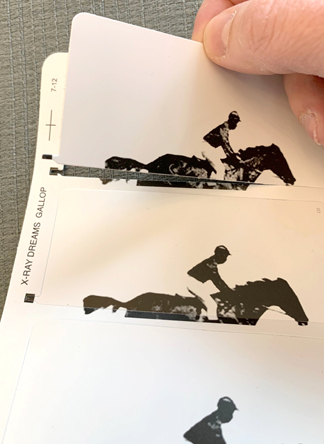 The sprockets insert into holes on the spindle discs and if one is bent or torn, the “moving picture” effect might be lost. There are 24 individual flip-cards to insert into the spindle. Start with number (1) and work your way through all of them.
 This can be a tedious task, especially when you get to the final cards and there’s not much room to squeeze them into place. Once they are all attached, put the flipbookit on a table and turn the hand crank. Voila! You can watch “Horse in Motion” over and over and over again!
The company also offers a blank DIY card kit, giving you the opportunity to create your own animation. It retails for around $14 and provides 24 blank flip-cards and five sheets of blank white label paper for you to either draw or print your own animation.
On their website, flipbookit also has a free Maker Tool where you can upload a video or a series of photographs. The online Maker Tool will then transform it into an animation and allow you to preview, make changes and finally, it will create a .pdf for you to print onto the blank label paper.
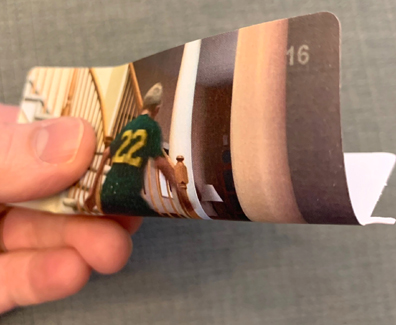
It wasn’t hard to convince my son to help me create a short video for the flipbookit. We tried out several different scenarios and finally decided to have him kick a soccer ball down a hallway in our house. He went back and forth, doing various tricks and movements, which gave me plenty of choices for the animation.
I was amazed at how easy it was to put everything together. Our original video was almost two minutes and the final version that became our “Soccer in Hallway” movie is just 2.6 seconds long. You will need a printer, preferably color, to print the .pdf of your final animation. It took nearly 30 minutes to affix the printed labels onto the blank flip-cards, and then insert them into the projector box.
 The time was well spent because the final product is fantastic! My son has officially claimed the flipbookit and I regularly hear the projector spinning in his room, undoubtably playing “Soccer in Hallway,” while he should be working on his online schoolwork.
My rankings:
KIT: 4.5 out of 5
I loved the simplicity of the cardboard projector. However, it doesn’t assemble in minutes as stated on the front of the box and there are a few parts to the construction that are challenging.
INSTRUCTIONS: 5 out of 5
The creators did a fine job making the instructions concise and well written. The images were perfect to help better explain the written tasks. Plus, they have the instructions available on their website to reprint if your original copy gets misplaced (as I learned from personal experience!).
BLANK DIY CARD KIT: 4 out of 5
As awesome as it is to create your own animation, it’s rather expensive for just one kit. The cost would start to add up if you had several artistic children who all wanted to create their own animations.
ONLINE MAKER TOOL: 5 out of 5
This was, by far, the coolest feature of the entire flipbookit. I was able to test and create several animations before settling on our final movie.
OVERALL: 4 out of 5
flipbookit is very cool. It is a brilliant way to introduce children to an early form of animation and moving pictures. However, the cost to purchase the kit and DIY cards can be prohibitive for some people. I can also see it losing its appeal when one grows tired of watching a “Horse in Motion.”

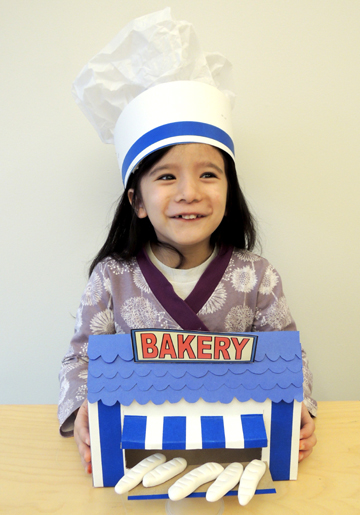
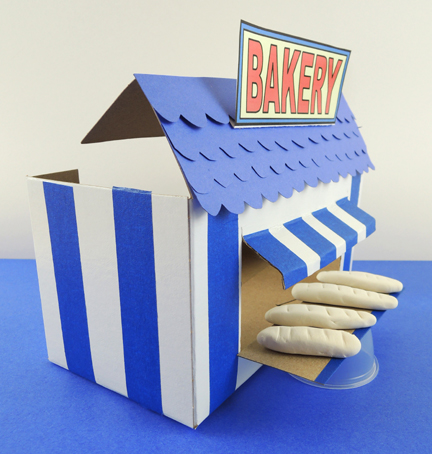
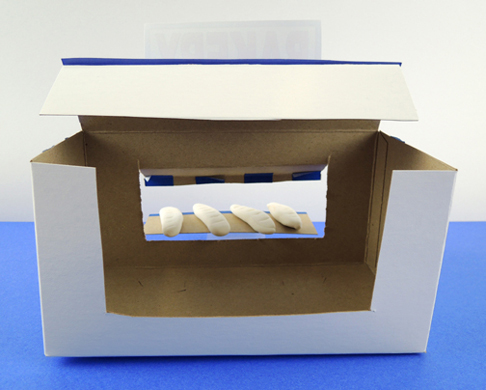 And use the resulting cardboard to make a countertop for your bakery. Hot glue it to a cut-down paper cup or plastic sample cup, then place the counter outside your bakery window. Use modeling clay (we used air dry Model Magic) to fashion some little baguettes.
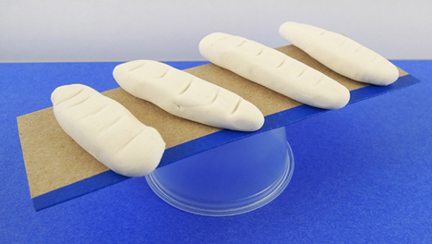 The final touch is a baker’s hat, and you will find the supply list and instructions for it