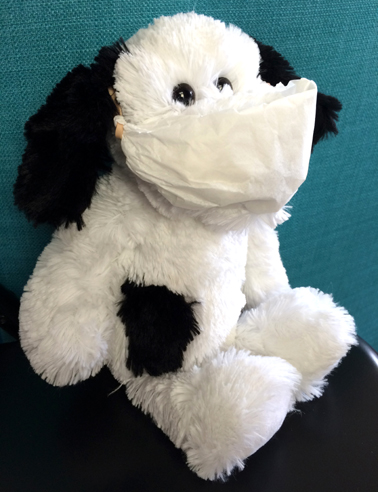
Today’s simple project is the result of a news photo I saw the other day…an exhausted-looking mother in NYC, pushing a heavily covered baby carriage. She was wearing a medical mask. Gripping tightly to her other hand was a little boy, also in a mask, toting a stuffed dog.
But the stuffed dog wasn’t wearing a mask. And my daughter has the exact same stuffed dog. Something in my heart just pulled.
So here’s how to use two common household items to make a mask for those most beloved companions. The ones your children reach to for comfort and reassurance. And hey, if you want to give Domino the Dog a quick cuddle yourself, you just go and do that.
You’ll need:
- 1 flat bottom/basket style coffee filter
- 2 rubber bands
- Scissors
Apologies for the image quality…I’m shooting from my not-so-camera-ready home studio!
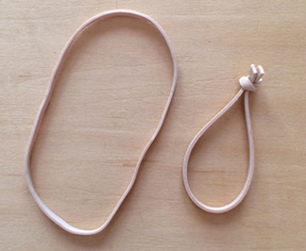
Stuffed animal heads, noses, and ears vary wildly, so you might have to cut the coffee filter down a bit. Same goes for the rubber bands! You can see how I shortened my rubber band below:
Flatten the coffee filter, then fold the top and bottom inwards like a burrito. The size of the folds will, of course, vary with the size of your stuffed animal’s head.

Now tightly bunch both ends of the folded coffee filter. Use scissors to snip a small hole in the bunching on each side (and aim a little ways in from the ends so the rubber bands don’t tear through). Finish by looping rubber bands through the holes.
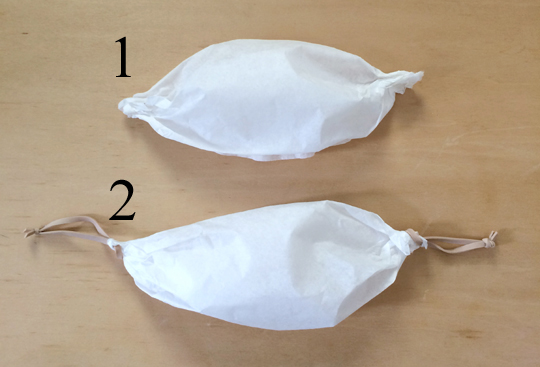
Slide the mask over your stuffed animal’s nose and face, and the rubber bands behind its ears. Adjust as needed. Stay safe, little friend!

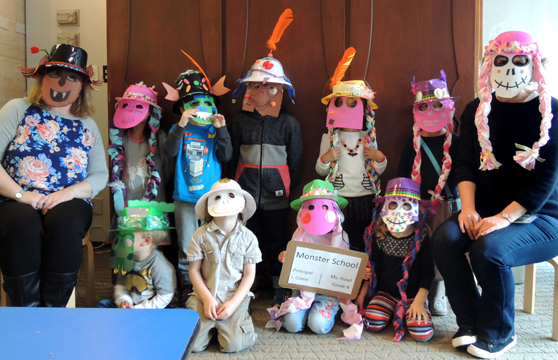
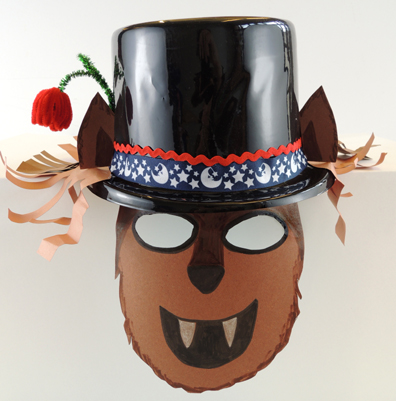 We offered 3 different types of hats, all purchased from Oriental Trading Company:
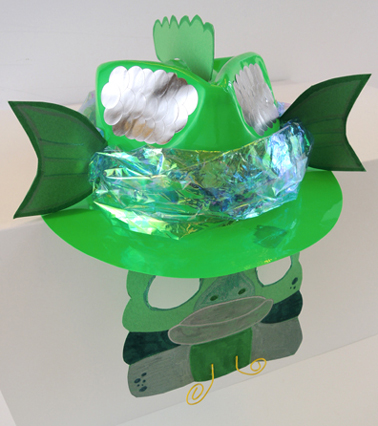 However! It’s best to decorate the mask before you attach it to the hat. Just make sure you leave some empty space at the top of the mask so it rests flat on the inside of the hat.
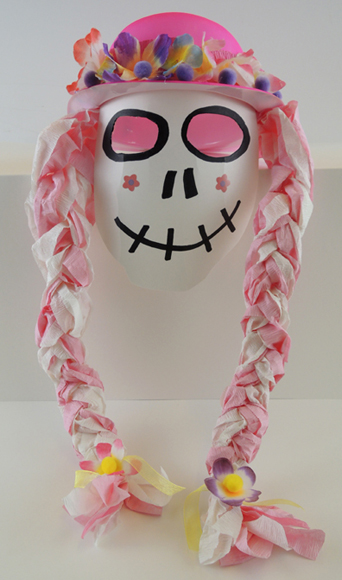 Once the transformation to monster students was complete, we gathered in the “classroom” to learn the monster alphabet. Basically, I created a
 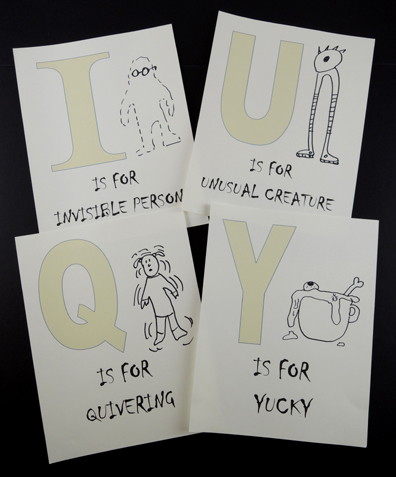 We also printed and stapled together a set of alphabet letters for kids to take home a illustrate themselves. And yes, Z is for ZOMBIE!