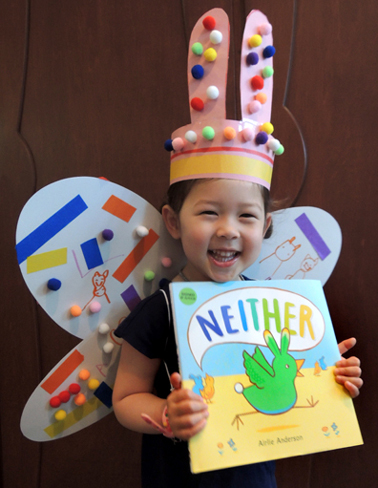
 It doesn’t matter if you are yellow, red, green, this, that, rather, or neither. Just be YOU!
We read Neither by Airlie Anderson (Little, Brown, 2018). Neither the green bunny bird doesn’t fit into the tidy world of blue “This” bunnies or yellow “That” birds. Not rabbity or birdy enough, Neither is asked to leave. After a long flight, Neither lands in The Land of All, where creatures of all kinds live and play happily together. In The Land of All, everyone is welcome. And yeah, this book totally ROCKS!
We were sooooo excited to have author and illustrator Airlie Anderson visit our library for a fabulous story time. There’s an interview with her after the project part of the post. And after that? We’ll be giving away 3 signed copies of Neither to lucky blog readers!
You’ll need:
- Poster board
- Elastic string
- Costume decorating supplies (more on this below!)
- Scissors, tape, and glue for construction
- Markers for decorating
We kept the construction of this project simple – ears and wings – so kids could dedicate all of their time to decorating. While you can easily make wings out of poster board, we decided to test out the “Colorations Decorate Your Own Wings” from Discount School Supply (set of 12 is $20). The wing span is 22.5″ wide. Here’s a poster board version so you can get an idea of the shape:
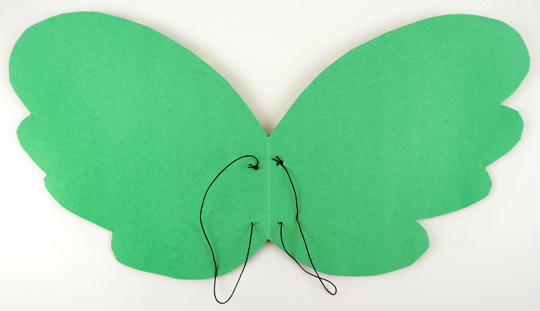
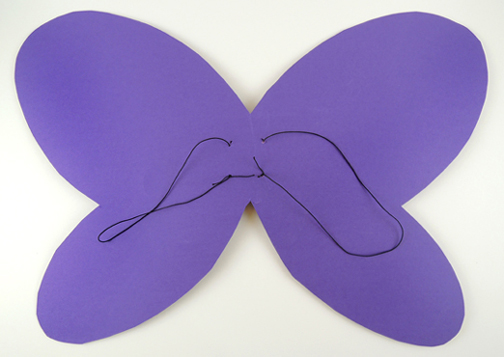 You can also see how the wings are rigged with loops of elastic cord, so the kids can just slide them on like a backpack. If butterfly wings are not your cup of tea, you can easily turn the butterfly wing shape into bird wings like so…
The ears were a simple poster board head band with whatever ears you would like. As you will soon seen, bunny and kitty ears were very popular, though we did have a couple unicorns. We also has tails the kids could tuck into the back of their pants, or attach round their waist with elastic cord.
When your wings, ears, and tails are selected, decorate! We offered metallic , sparkle stems, pipe cleaners, pom-poms, construction paper, self-adhesive foam shapes, crepe paper streamers, iridescent ribbon, color masking tapee, and the Bling Bin! Airlie also walked around, Sharpie in hand, to customize wings and headbands:
I caught up with the amazing Airlie Anderson after story time, and asked her a few questions…
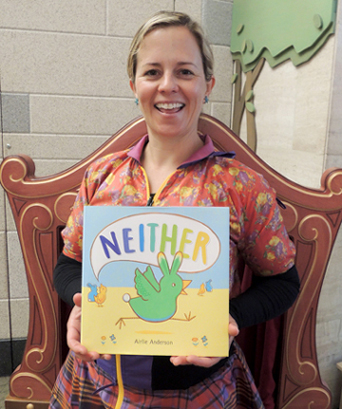 Please tell us a little about yourself!
Hi everyone! I’m Airlie, named after my grandma whose parents were Scottish. I was born and raised in California, and now live just outside of Princeton, New Jersey. I love it here! Except when it’s humid.
I was that little kid who was always drawing, and just never stopped. One of my favorite things to do is to sit in a busy café and draw in my sketchbook. My studio is in a sort of hallway in our house, so I can work while our 2 year old son naps.
How did the concept for Neither first occur to you?
I had a dream about an animal that had a mix of characteristics, and in the dream I thought, “This should be a book, and it will be called Neither.” At the time, I was teaching art to a class of middle school students, and they were just so inspiring. That dream was definitely influenced by them!
When it came to designing the main character of Neither, there were so many animal combinations to choose from! How did you finally arrive at the bird bunny?
In my Neither Dream, the character was mostly cat and butterfly, and it was a grey color. But when I experimented with sketches of that character, it looked too precious, so cute. I wanted it to look slightly more awkward, with clear qualities of two different easily recognizable animals. So bunny bird it was! Also I felt that I could make the bunnies blue for some reason, and the birds could be yellow of course. Then Neither would be boldly green. It felt just right.
The colors in this book are gorgeous! What medium did you use to create it?
Oh, thank you! I used gouache, a super saturated an opaque watercolor. It reproduces nicely, doesn’t it? I like to sketch on regular ol’ printer paper and then use a light box to trace each drawing, with paint, onto watercolor paper. Then I put lots of layers of gouache on. Green is a tricky color to reproduce, though, especially Neither’s bright lime green coat. So the excellent people at my publisher suggested an extra ink in the printing process that would make that beautiful shade of green. I was thrilled by this news, and it turned out just delightfully.
What sort of feedback have you received about this story?
Oh, I have received the most wonderful messages about Neither, from people of many different ages and backgrounds. I recently received an email from a fifty-five year old gentleman who works in an LGBTQ community center in Florida, who said the book made him cry happy tears. I hear from parents of children who don’t feel they fit in, and they tell me how Neither is their favorite bedtime book. These messages mean the world to me — the thought of people sharing this story and having a lovely experience because of it is wonderful.
I heard a rumor that Neither is going to be made into a musical! Is this true???
Yes, oh my gosh!!! What a dream come true! Lifeline Theater in Chicago is producing Neither as a musical, to premier in the spring of 2020. Coincidentally/magically, the person writing the stage version has recently moved from Chicago to Princeton and works with mutual friends — so we get to share ideas over coffee!
What are you working on now?
I have two picture book sketches with my agent right now, one about the Easter Bunny and one about sea creatures. I’m also working on a graphic novel, which is a total passion project and has been shouting at me for years to be written. I’m finally listening!
And now it’s time for a FABULOUS book giveaway! We have 3 autographed copies of Neither (Little, Brown, 2017) to share! Just e-mail cotsenevents@princeton.edu with your name, and the initials of someone you think is unlike any other. We’ll put all the entries in a hat and draw 3 winners at random on Tuesday, July 2nd. Good luck!

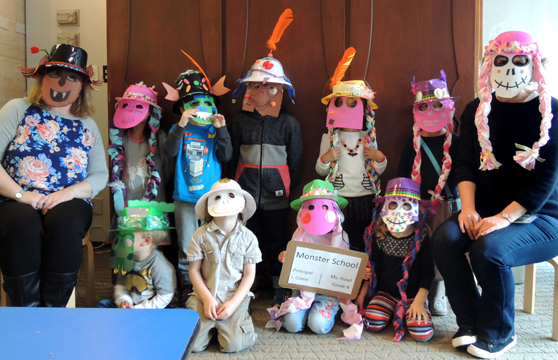
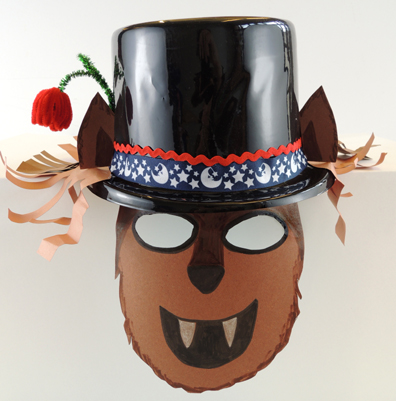 We offered 3 different types of hats, all purchased from Oriental Trading Company:
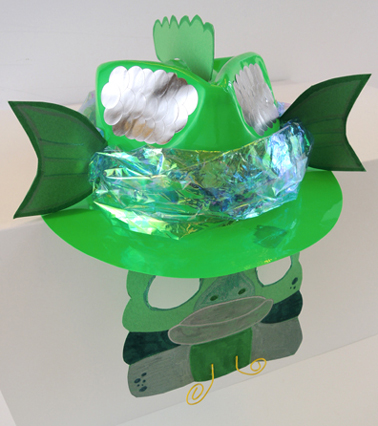 However! It’s best to decorate the mask before you attach it to the hat. Just make sure you leave some empty space at the top of the mask so it rests flat on the inside of the hat.
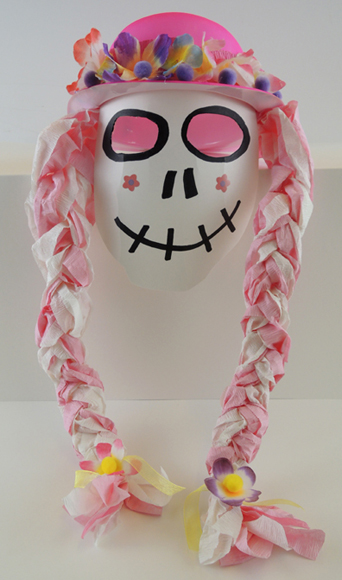 Once the transformation to monster students was complete, we gathered in the “classroom” to learn the monster alphabet. Basically, I created a
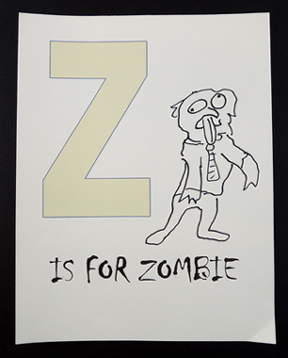
 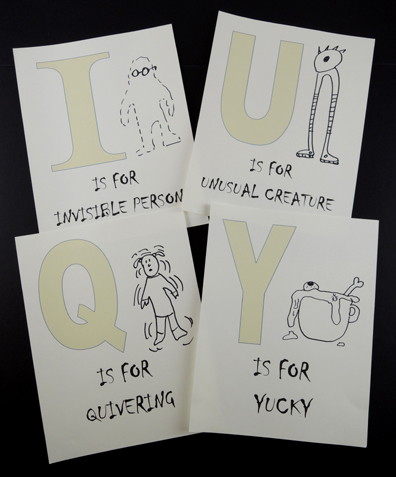 We also printed and stapled together a set of alphabet letters for kids to take home a illustrate themselves. And yes, Z is for ZOMBIE!
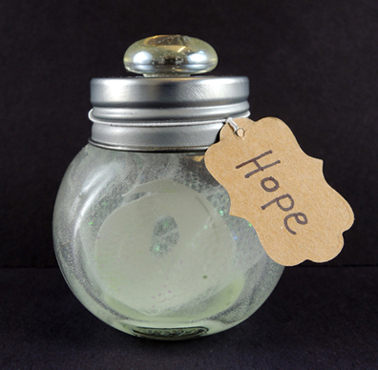
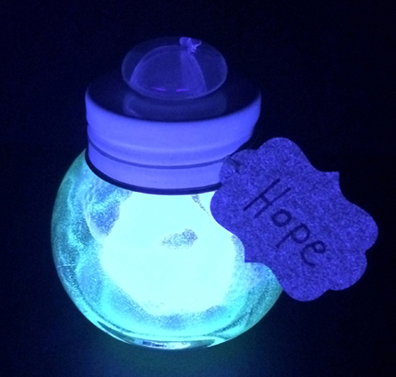 It’s a mysterious bottle filled with a unique, glowing essence. What could the essence be? Happiness? Triumph? Panache? The Thrill of Your First Ride on the Back of an Arachnimammoth? This radiant project was part of
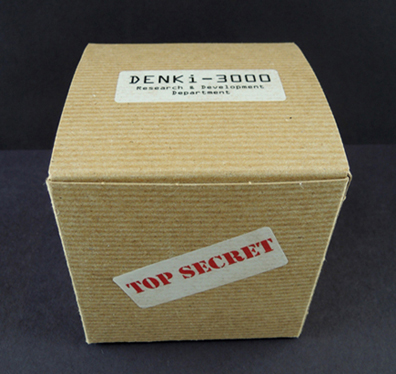
  But, because DENKi-3000’s research and development department is shrouded in secret, the entire project came as a take-home kit with strict instructions to NOT open the box until you get home.
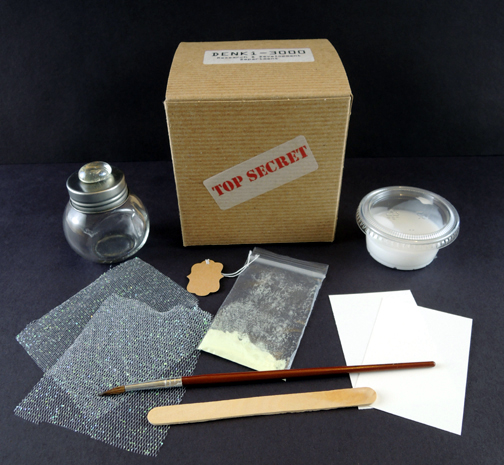
 You’ll need:
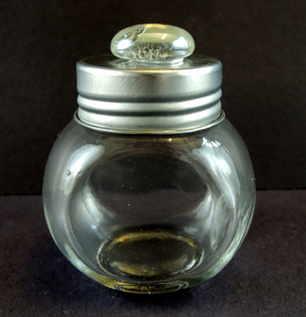
 First, the bottle! We used 2.25″ screw-top jars scored from the wedding section of Michaels craft store. 20 jars cost $21, but we had a 40% off coupon. Woot! To make it look less like a spice jar, we hot glued a clear
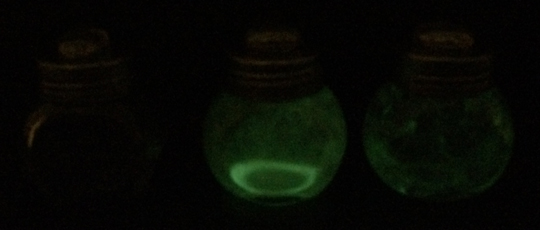
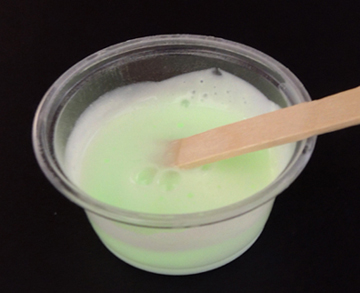 The glow glue goes on opaque, but as you can see below, it dries semi-transparent. Glow-in-the-dark paint (which we found in the t-shirt decorating section of Michaels) also dries transparent:
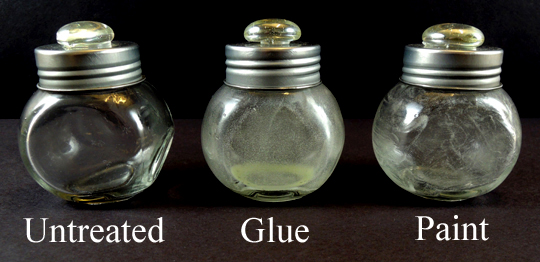 The glow glue, however, glows much stronger. Perhaps because you can control the ratio of pigment to glue? But the paint is glowing. And it requires a lot less measuring and mixing. So you can’t go wrong with either choice.
 It’s time to create your creature essence! This is basically a card stock shape wrapped in tulle. Since we wanted the bottles to also look pretty in daylight, we went with glitter tulle, which you can find in the ribbon section of Michaels.
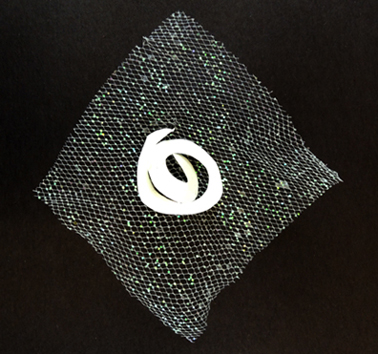 Once the bottle, the shape, and the tulle are dry, gently wrap the tulle around the shape and tuck it into the bottle. Screw the lid on, write the name of your essence on a label, and attach the label to the bottle. We used 1.25″ price tags with elastic strings, found it the beading section at Michaels. We found the plastic baggies for the pigment there too. Both of these things cost just a few bucks.
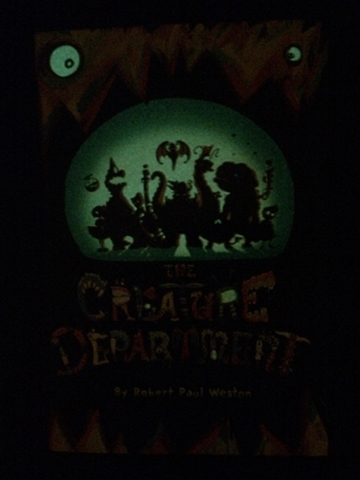 Every story time, without fail, the kids would ask to see the cover glow. No matter how many times we looked, they never lost their enthusiasm for it. In the video below, you can’t see the book, but you can definitely hear the kids reacting to its cover!