
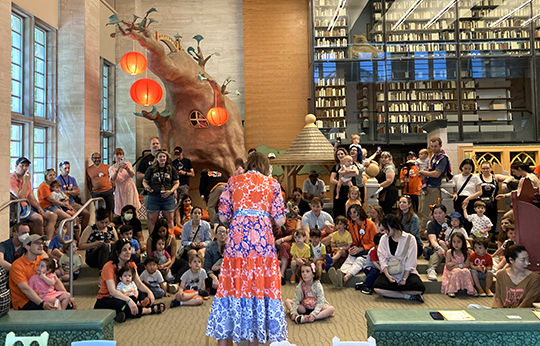
 Clap your hands, stamp your feet, and get ready to boogie woogie with Latte the dalmatian dog…it’s a massive parade down Broadway, and you’re invited! We were delighted to host author and illustrator Laura Ann Trimble Elbogen, who wowed the crowds with her energy and enthusiasm. And don’t miss our chat with her at the end of the post!
We read Latte’s Broadway Boogie Woogie by Laura Ann Trimble Elbogen (Laura Ann Studio, 2023). Latte the dalmatian and the girl in red have a special horse-drawn delivery for a wedding. But as they encounter more and more musicians, the entire endeavor turns into a lively parade of trombones, clarinets, drums, piano, and dancing New Yorkers. Based on snappy beats of boogie woogie music, this book will get you up and marching!
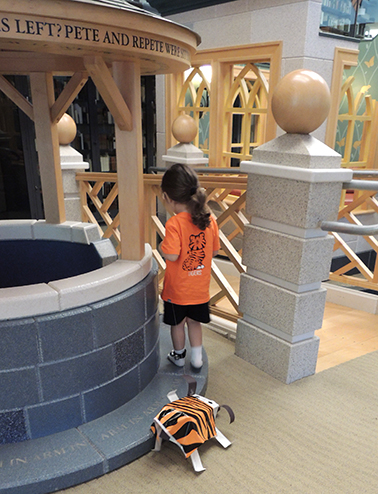
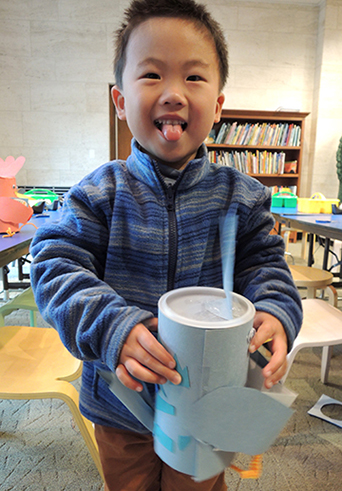
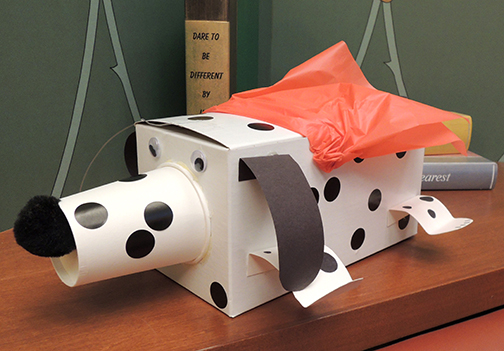 At the heart of the book is a sweet dog named Latte, so for our project we made box dogs kids could pull on a clear elastic strings. Instructions for that project can be found here. However, we also added a sassy little plastic cape to the pup, just like Latte in the story. We also wanted kids to be part of the musicality of the book, so we distributed jingle bell bracelets as well (though some quickly became anklets!).
 One of the interesting things about the book is that the illustrations are based on Dutch artist Piet Modrain’s painting “Broadway Boogie Woogie.” Laura brought a print of it with her, as well as examples of boogie woogie music. It was very lively!
 I caught up with Laura after story time to chat about her book, and the fabulous inspirations behind it!
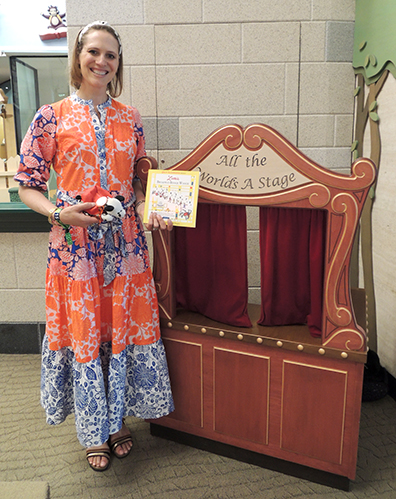 Hi Laura! Tell us a little about yourself!
I am a San Francisco based author-illustrator, artist founder of Laura Ann Studio, and mom of three. I studied art history and played tennis at Princeton. My husband and I are both Class of 2007 graduates. When we got married we led our own wedding parade from the Princeton University Chapel to T-Sweets ice cream.
At story time, you brought in a print of a painting that inspired your book’s artwork…can you tell us a little bit about it?
I fell in love with the painting “Broadway Boogie Woogie” (1942-43) by the Dutch artist Piet Mondrian on my lunch break when I was an intern at the Museum of Modern Art in New York. Mondrian moved to New York City from the Netherlands to escape World War II and he fell in love with American jazz. He painted in primary color squares and lines that in this painting are meant to evoke the bright lights and energy of the city, from the people and taxis to the jazz and Broadway theater district.
Can you also tell us about boogie woogie music and dance?
I used to boogie woogie swing dance with my grandparents who grew up with boogie woogie music and dance and it was so much fun! The term was coined by pianist Clarence “Pinetop” Smith in 1928, almost 100 years ago! His quick playing rhythmic piano blues style became so popular it evolved into the big band jazz and swing dancing era that Mondrian would have seen and heard in New York City when he painted “Broadway Boogie Woogie.” Maybe he heard Tommy Dorsey’s big band song “Boogie Woogie” when he was walking down Broadway?
We based our story time project on Latte, the little dalmatian dog in a red cape. Does this character have an origin story?
When I first moved to New York City after college it was like heaven for me! Born and raised in Indianapolis, I was a Midwest girl living the New York City dream working in fashion and the arts. On the weekends I really felt like I was living the dream if I could take a blanket to Central Park and camp out with a latte, the New York Times, and my sketch book. I also did a lot of Saturday morning sketching and latte drinking at a wonderful hole in the wall coffee shop called Arte Around the Corner on the upper west side where I would read, sketch, and people watch. I spotted a lot of great dogs in those days. Sadly I’m allergic to dogs, but of all the dogs I watched I loved Dalmatians the most for their curious, happy energy, the skip in their step, and the friendly wag of their tail.
Tell us more about New York City…how did the it inspire your writing and illustrations?
I love New York City so much! Much of my time there I spent living on the upper west side just behind Lincoln Center. One of my favorite things to do on a sunny summer evening was to walk home from work along Broadway through the great public parks and plazas. When I ran programs and organized a festival called Archtober, Architecture and Design Month in New York City, we ran “Building of the Day” tours all around the city. I was constantly observing, appreciating, and sketching the urban design and architecture of the city.
What other exciting projects are you working on?
Latte’s Broadway Boogie Woogie is the first story in the Latte and the Goldmatians series. Sequels are coming! I’m also excited about a commissioned watercolor painting series and product line that I’m working on that empowers women in politics. Stay tuned for when Laura Ann Studio turns 15 this fall!
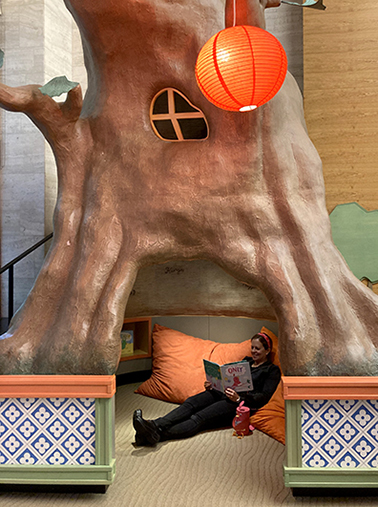 There’s lots of dancing, singing, chatting, and partying out there in the world, but what happens if you just want to be a little quiet and alone time? What if what you really need is a calm nest and a good book? And who is that in our library tree? Could it be…the author of today’s book? YES!
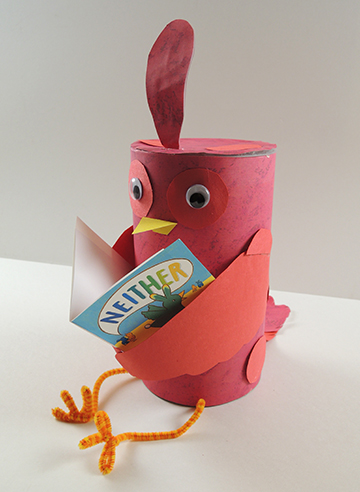

 To make these, you’ll need some self adhesive foam and two pipe cleaners. Lay two sheets of foam on top of one another, then cut a pair of circles and two strips (for a total of 4 circles and 2 strips). Peel the backing off one set and lay everything sticky side up. Place the strip on top of the two circles, then lay the two pipe cleaners along the length of the strip like so:
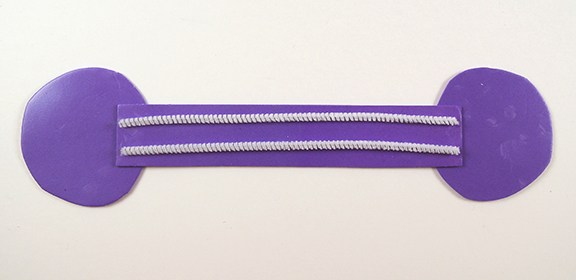
 I can’t recommend Airlie enough for a library visit. She is funny, engaging, wonderful with the kids, and jumps right into the craft project. In fact, this is the
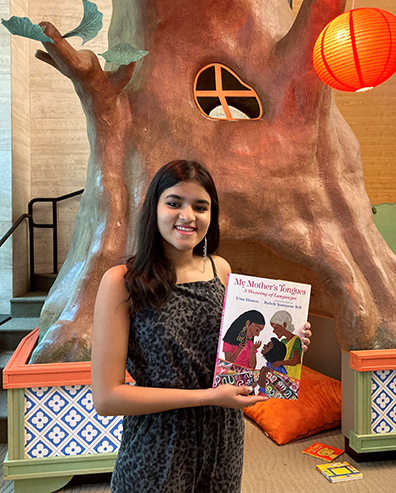
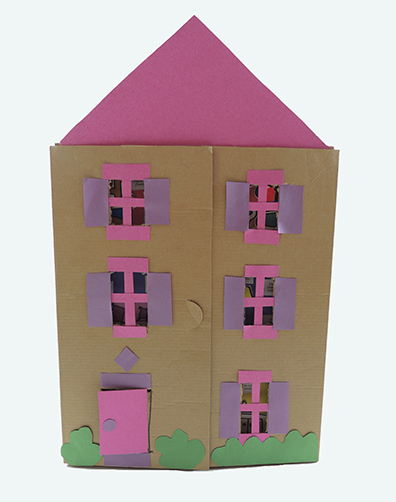 …that opens to reveal the names of everyday household items in all the languages mentioned in her book! Malayalam, Spanish, Hindi, French, and Tamil!
 We used some flat boxes we acquired from our library’s
  After story time, I caught up with Uma to ask her about her experiences writing her picture book, and what’s she’s planning to do next: