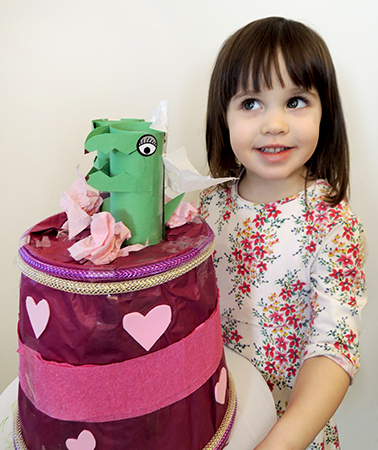
 It’s not June, but we’re already rolling out the fancy wedding cakes for romantic reptiles! This simple project was met with incredible enthusiasm with the story time kids, both with cake decorating, and well-dressed dinosaurs.
We read There’s a Dodo on the Wedding Cake by Wade Bradford, illustrated by Kevin Hawkes (Candlewick, 2021). When Mr. Snore, violinist for hire, arrives at the Sharemore Hotel for a wedding reception, he quickly discovers a dodo nibbling on the wedding cake. He shoos him away, but is soon accosted by two beavers who also want the cake. The situation escalates, with more and more creatures invading the room until FINALLY it’s a booming dinosaur. What’s Mr. Snore to do? Thankfully, the wedding planner explains that the animals are all guests (except the mischievous dodo). Apologies are made, and a delightful wedding reception ensues.
This book is HILARIOUS and so fun to read for a story time. Highly recommended!
You’ll need:
- A number of assorted boxes
- Cake decorating craft supplies
- 2 toilet paper tubes
- Construction paper
- Scissors, glue, and tape for construction
- Markers for decorating
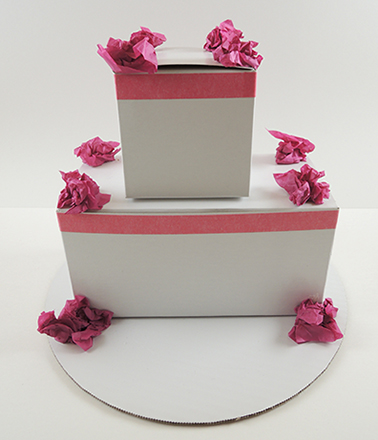
First, the cake! As you can below, the cake is very simple – just stack some boxes on top of one another and decorate. We offered tissue paper, color tape, stickers, cotton balls, pipe cleaners, self-adhesive foam, and crepe paper streamers. Kids were free to be as elaborate as they liked!
To make your dinosaur cake toppers, wrap 2 toilet paper tubes in green construction paper, then add mouths, eyes, wedding togs, and little arms.
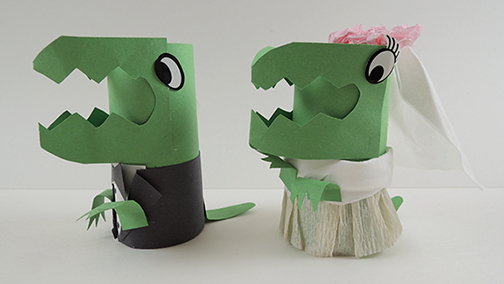
We had a number of different wedding topper combinations – including no wedding togs at all, just dinos running all over the tiers of the cake. It’s all good!

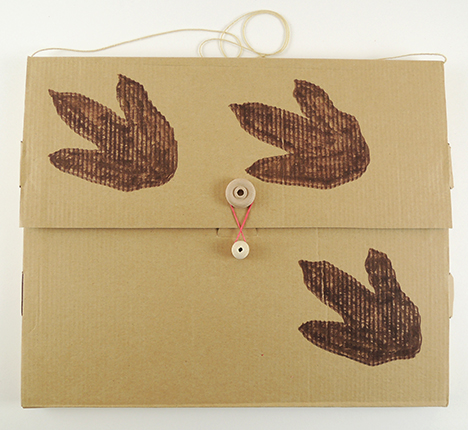
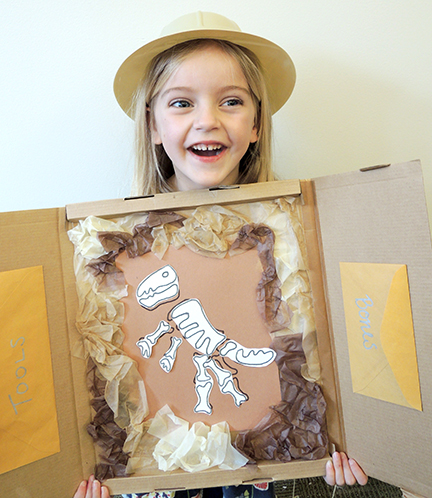 It begins as a simple brown briefcase, but unfolds into a magnetized dino dig! No briefcase? No worries! This Katie-designed masterpiece can be replicated with any box top or cardboard surface.
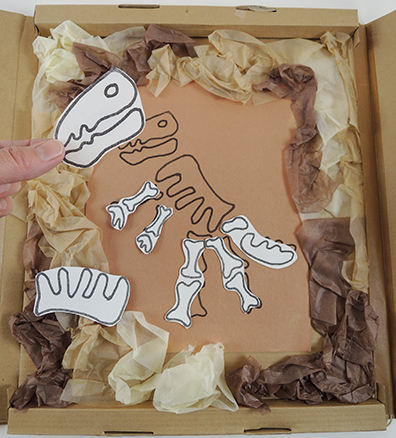
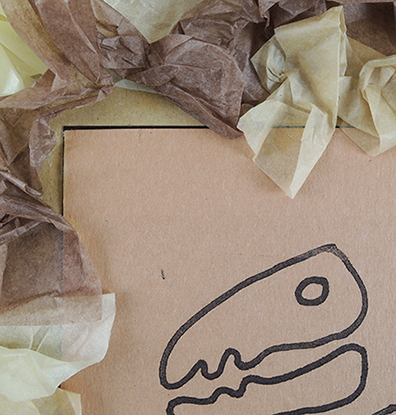 Now cut the dino bones from the template. Section the magnetic strip into pieces, then stick them onto the backs of the various bones. The bones will now connect to the dino template (and you can see we added a tissue paper border for extra fun)!
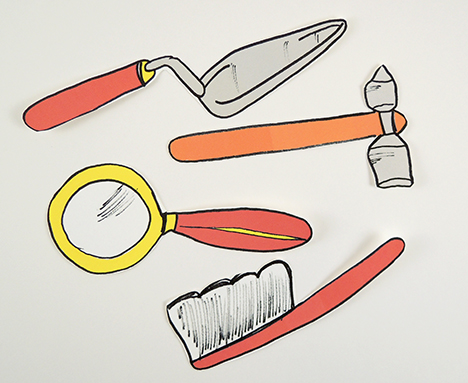
 Scatter the bones through a room and have your little paleontologists discover, dig, and collect them up using the paper tools from
  We had the good fortune of scoring some flat cardboard boxes with flaps through
 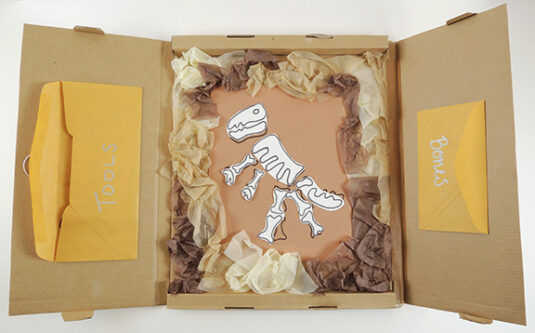 We added a string strap to turn in into a portable briefcase, complete with a wood bead and rubber band closure and
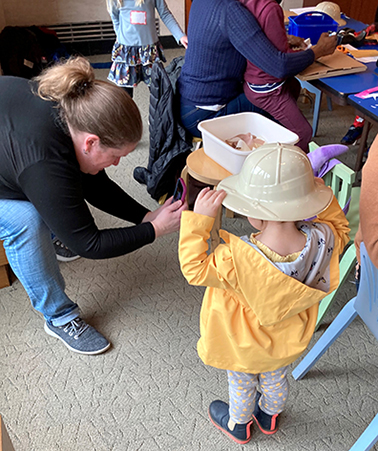
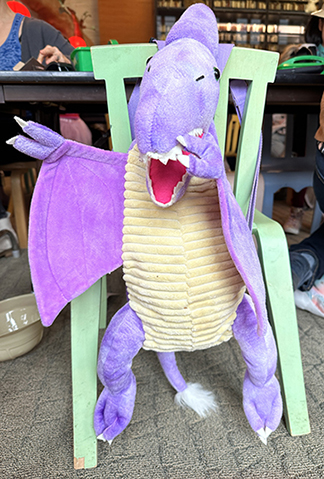 And I can’t resist adding this photo of Katie snagging the above photo whilst being carefully supervised by the dino bag’s owner. So sweet!
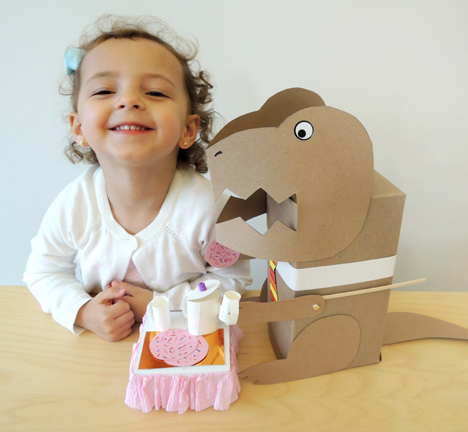 The cookies are served, the tea is steeping, and now it’s time to greet your guest…a very civilized T. Rex puppet that sips tea and nibbles delectables!
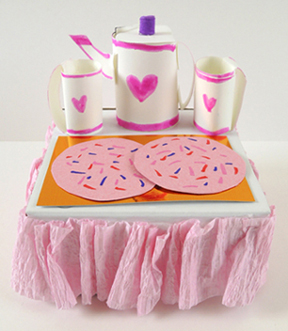
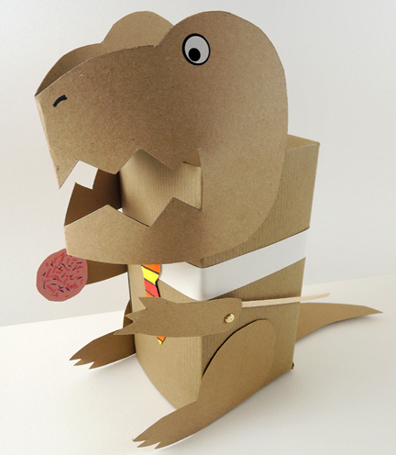 Our T. Rex puppet is a 4.5” X 4.5” x 9” craft box, but a large tissue box wrapped with construction paper works too! The head, legs, arms, and tail are made from brown poster board, and his collar and necktie are extra teapot template paper.