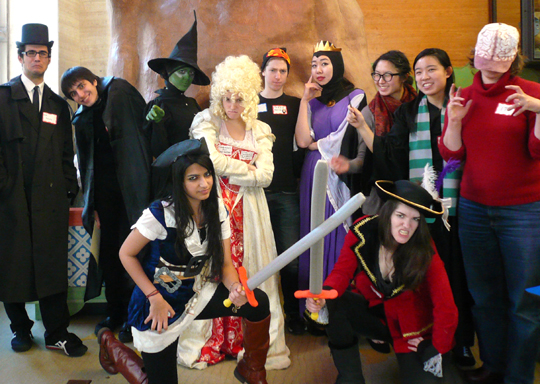
Happy Halloween everyone! October 31st is certainly about candy, yes. But here at the Cotsen Children’s Library, it’s also about COSTUMES. Over the years, we’ve had a number of costume connections to literary characters and events, and today we wanted to share our thirteen favorites on this oh-so-spooky holiday!
#1 EDGAR ALLAN POE
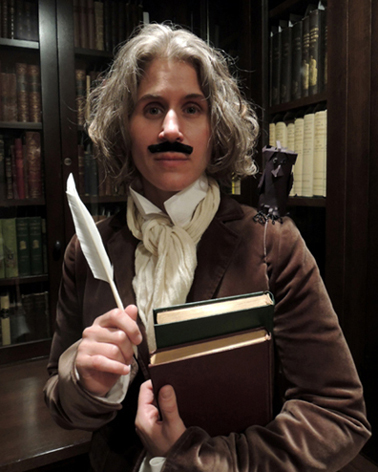 Starting the post off with the master of suspense himself, Mr. Edgar Allan Poe. This was a simple shoulder raven project, photographed in the gorgeous Scheide Library. Fun fact: Dr. Dana went to grad school at the University of Virginia, where Poe was enrolled in 1826!
#2 DOLORES UMBRIGDE, Et Al.
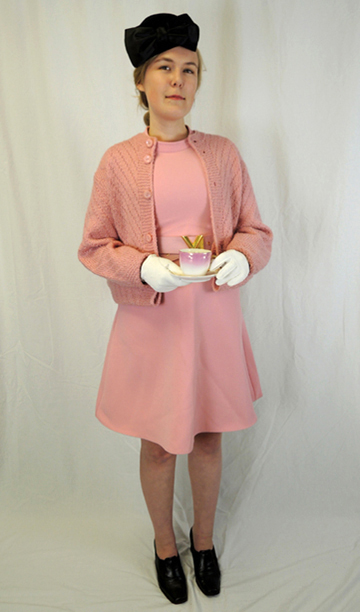
We challenged Princeton University student James Jared to put together as many literary characters as he could in 180 minutes…using only what he could find on the racks of a local thrift store! He did not disappoint! Check out all nine costumes here!
#3 GANDALF THE GREY
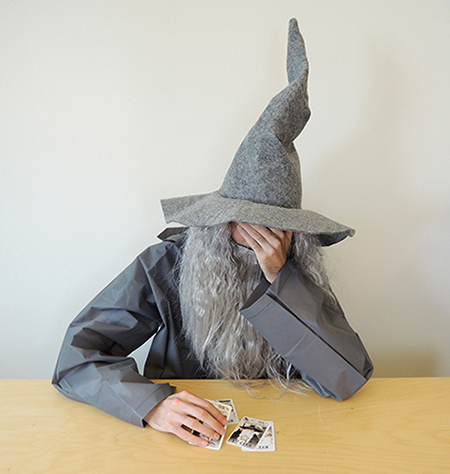 2023 summer intern Daniel Dias not only got to test a LOTR escape room…he also learned that no one enters the orbit of Cotsen Outreach without eventually wearing a costume! His turn as the iconic wizard has officially earned him the now-and-future title of “Dandolf.”
#4 ROBOT
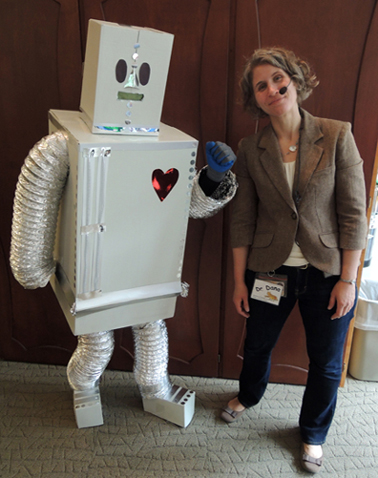 On the topic of being cajoled into costumes, we present Ian Dooley, Cotsen’s former Curatorial Assistant, who climbed into a robot costume to make a story time wish come true. Ian is now working on his Ph.D. at the University of London. There is a correlation in here somewhere.
#5 THE PIT CREW
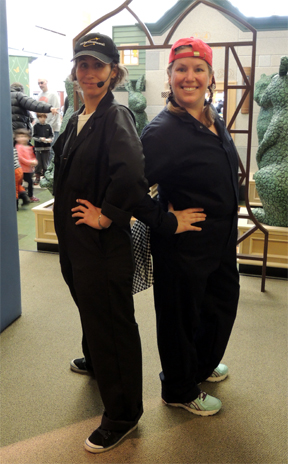 While these costumes might not seem terribly exciting, Katie and I both wanted to include them on the list. Our pit crew coveralls served as well at a Cars and Trucks and Things that Go creative event. We have worn a LOT of event costumes over the years, but these took the trophy for comfort and practicality on a very busy day!
#6 EPIC VILLAINS
 An entire event full of literary villains? YES. A team of Princeton University students gleefully taught children how to be nefarious, naughty, and nay-saying!
#7 FAIRY GODMOTHER
 Switching over to the forces of good, we have Princeton University student Sylvia Jacobson, who gamely stepped up to be a Literal Fairy Godmother for our children’s literary society. Here we see her sporting an old wedding dress I spruced up with some rainbow fabric. Sylvia the Sparkly granted wishes very specifically. Definitely check out the post for a good chuckle!
#8 STORY TIME ROYALTY
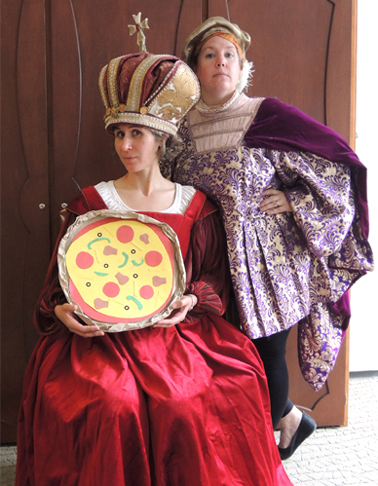
What could have been just an average story time seriously leveled up when Katie and I discovered these costumes at the Lewis Center for the Arts. Pizza was never so faaaaaancy!
#9 ELOISE & MYTHOLOGY

When our library re-opened after an extensive year-long renovation, we threw a big party and invited everyone to dress in literary costumes. Katie came as Eloise and I was the Dewey Decimal classification for Mythology. And yes, 291.13 was written on my arm!
#10 VICTORIAN LADIES
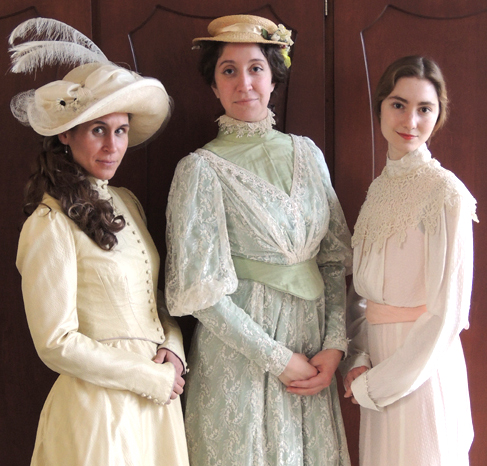 One of my favorite programs was a historic Victorian tea, complete with costumes, games, and a glorious tea time (blog readers might recognize our beloved Miss Marissa in the middle and Princeton University student Joani Etskovitz on the right). Some of the kids came dressed for tea too! I won’t divulge any more…definitely go check out the post!
#11 PIRATE & VIKING

A story time featuring Jared Chapman’s hilarious book Pirate, Viking & Scientist got all the kids giggling. But when two staff members at Little, Brown decided to wear our project at the publishing house’s annual Halloween party? We were THRILLED!
#12 STEAM PUNK SPELUNKERS
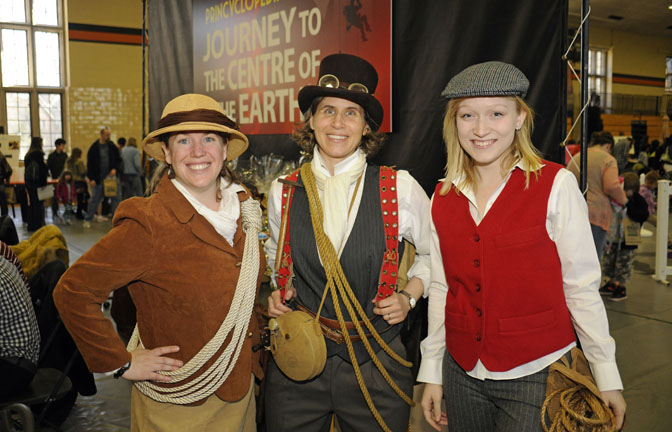 Here we have three Victorian spelunkers at a massive Journey to the Centre of the Earth event we hosted in 2013. On the right is Princeton University student Kim Freid. As you can see, we were ready to tackle anything the day threw at us, thanks to all the ancient camping equipment I scored on ebay!
#13 DOOMED HEIRESSES
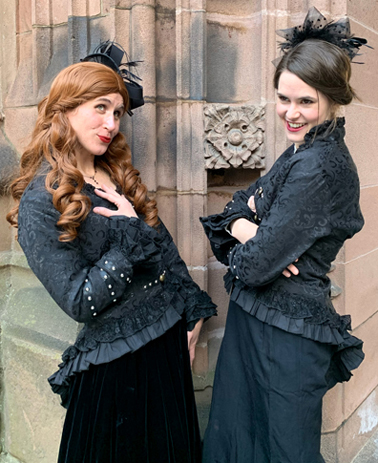 We started this post with Poe, and we’ll finish with the equally gothic Bram Stoker. Behold two kidnapped heiresses – myself and Special Collections Reference Professional Emma Sarconi. We’re preparing to scream and swoon our heart’s out in Katie’s masterful Dracula escape room. The jump scares were FABULOUS.
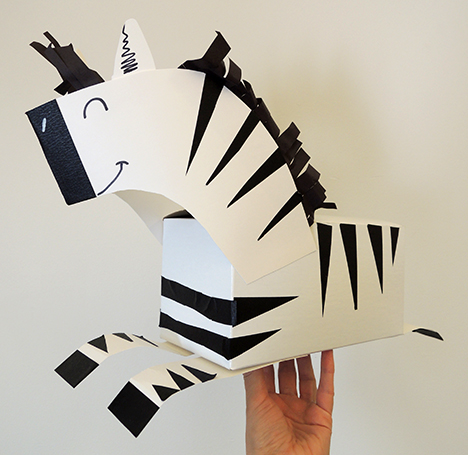
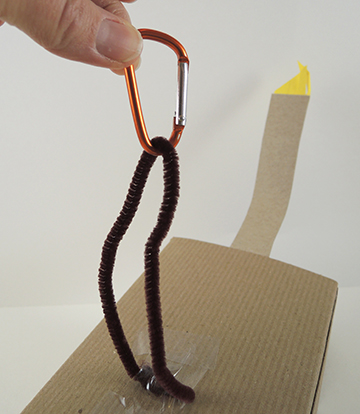
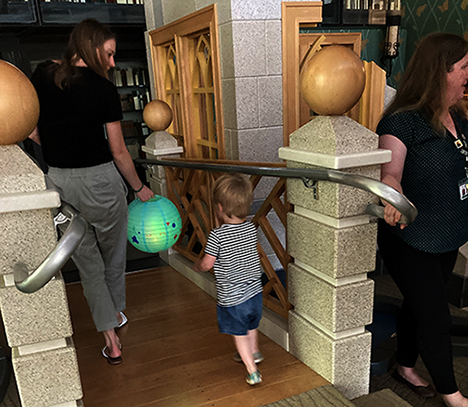
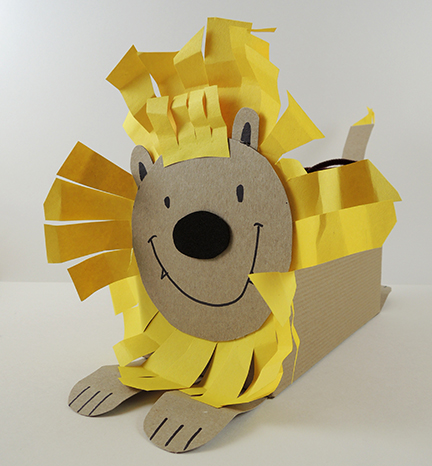 Once the box animals are complete, loop together a pipe cleaner, then tape it to the top of the box, right in the middle. At the top of the loop, either attach a large paperclip to form a hook, or use a carabiner (we had some leftover from this project).
 Your animals are ready to race! We set up two zip lines using coated wire. One end of each wire was stabilized on the ceiling of the library, and the other end was held by a volunteer, who could adjust the slope of the zip line to make the box animals go slower or faster. Each kid brought their box animals to the starting line, then scooted over to the finish line (which we marked on the floor with red masking tape). We clipped the boxes to the wire, counted to three, and the race was on!
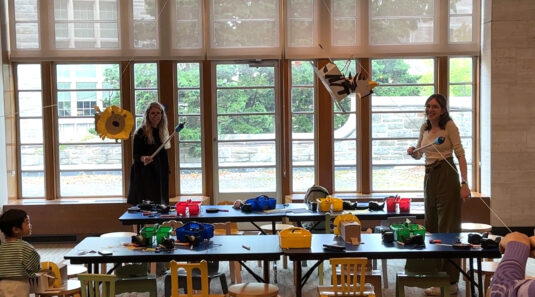
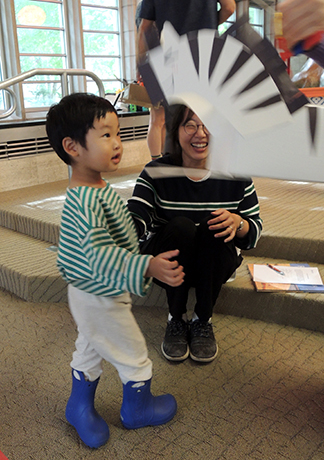

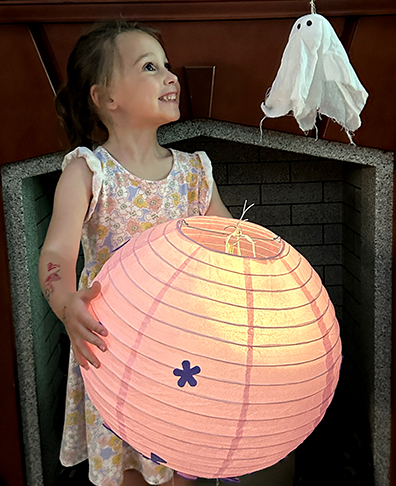
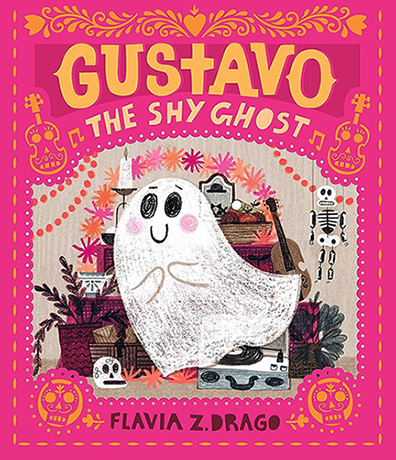 We read Gustavo the Shy Ghost, by Flavia Z. Drago (Candlewick, 2020 and read

 Starting the post off with the master of suspense himself, Mr. Edgar Allan Poe. This was a simple
 2023 summer intern Daniel Dias not only got to test a
  On the topic of being cajoled into costumes, we present Ian Dooley, Cotsen’s former Curatorial Assistant, who climbed into a robot costume to make a
  While these costumes might not seem terribly exciting, Katie and I both wanted to include them on the list. Our pit crew coveralls served as well at a Cars and Trucks and Things that Go creative
  Switching over to the forces of good, we have Princeton University student Sylvia Jacobson, who gamely stepped up to be a Literal Fairy Godmother for our children’s literary society. Here we see her sporting an old wedding dress I spruced up with some rainbow fabric. Sylvia the Sparkly granted wishes very specifically. Definitely

 One of my favorite programs was a historic Victorian tea, complete with costumes, games, and a glorious tea time (blog readers might recognize our beloved
 Here we have three Victorian spelunkers at a massive Journey to the Centre of the Earth event we hosted in 2013. On the right is Princeton University student Kim Freid. As you can see, we were ready to tackle anything the day threw at us, thanks to all the ancient camping equipment I scored on ebay!
 We started this post with Poe, and we’ll finish with the equally gothic