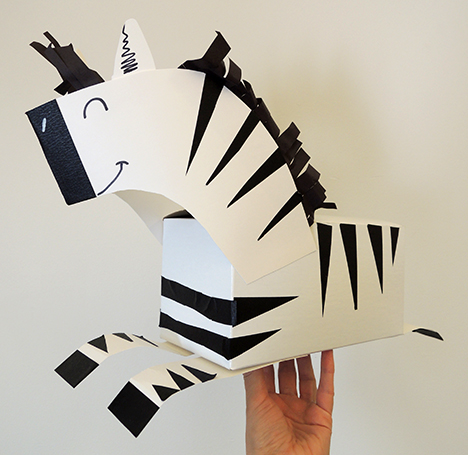
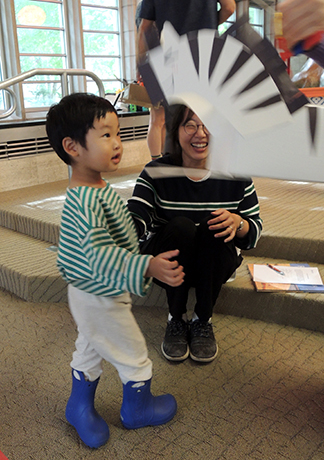
This zebra is so handsome and dashing…right down our story time zip line! But can he outrun the lion, who is also headed for the finish line?
We read Zebra on the Go, written by Jill Nogales, and illustrated by Lorraine Rocha (Peachtree Publishing Company, 2017). The circus is in full swing, but when Zebra accidentally steps on lion’s foot, a chase ensues through the fairgrounds, town, park, and pier! But when lion falls in the water, zebra is the first to lend a hand in the rescue. The squashed paw is forgiven, the chase is over, and all is well again!
You’ll need:
- Two large tissue boxes
- Construction paper
- 2 pipe cleaners
- 2 large paper clips
- Wire for zip line
- Scissors and tape for construction
- Markers for decorating
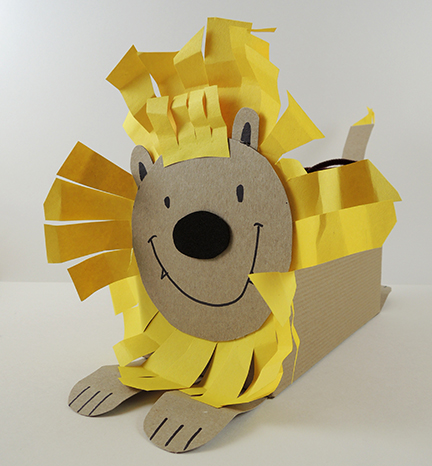
The lion and zebra for this project are basically two large tissue boxes decorated with construction paper and markers. You can see the zebra at the start of the post, but here is the lion box…
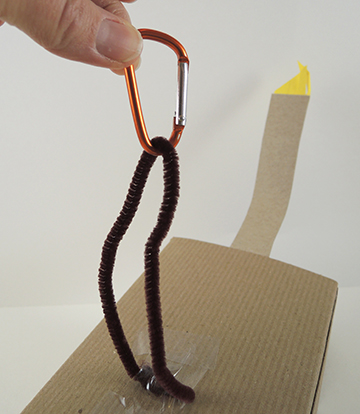
 Once the box animals are complete, loop together a pipe cleaner, then tape it to the top of the box, right in the middle. At the top of the loop, either attach a large paperclip to form a hook, or use a carabiner (we had some leftover from this project).
 Your animals are ready to race! We set up two zip lines using coated wire. One end of each wire was stabilized on the ceiling of the library, and the other end was held by a volunteer, who could adjust the slope of the zip line to make the box animals go slower or faster. Each kid brought their box animals to the starting line, then scooted over to the finish line (which we marked on the floor with red masking tape). We clipped the boxes to the wire, counted to three, and the race was on!
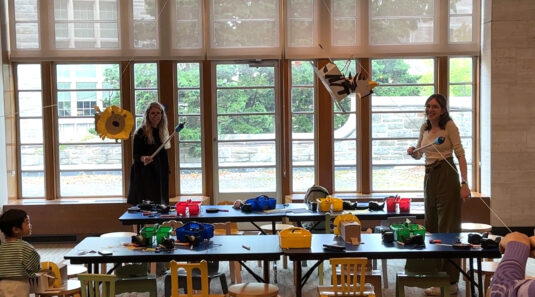
A zip line is a simple thing, and it took just a few second for each race, but seeing your newly created artwork zip down from the ceiling never fails to delight. Kids could have as many turns as they wanted, and could even race their friends’ animals!

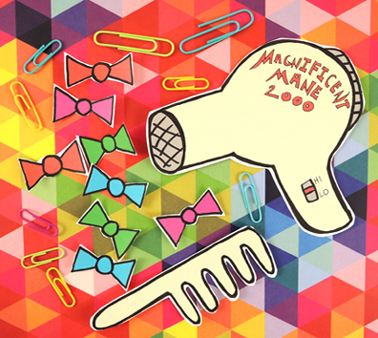
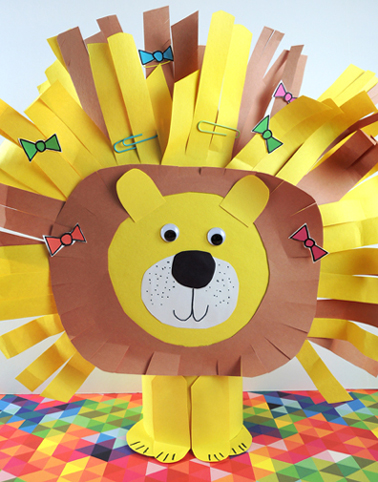 Is your mane getting a little wild and unruly? It might be time to tame those locks with a firm hand and LOTS of hair bows!
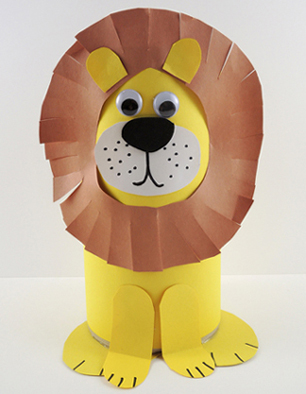 The lion is an oatmeal container decorated with construction paper and (optional) wiggle eyes. The original instructions can be found in our
 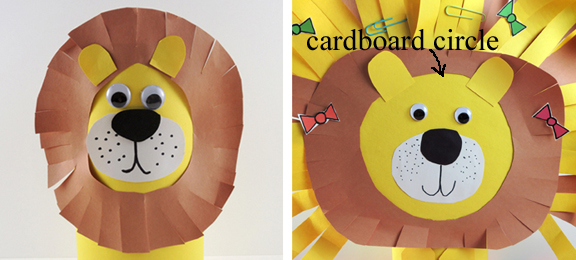 Glue a circle of yellow construction paper to a 7.5″ diameter corrugated cardboard circle (we used a
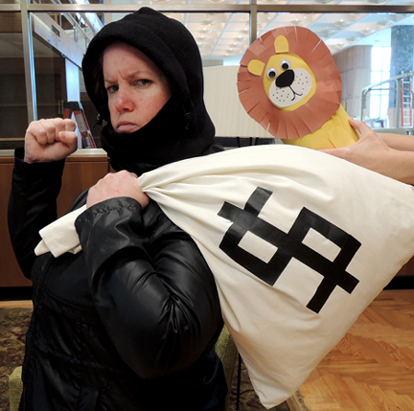 When a sneaky burglar strikes, it’s up to you and your lion companion to save the day! We made these simple oatmeal container lions, and then caught a story time crook.
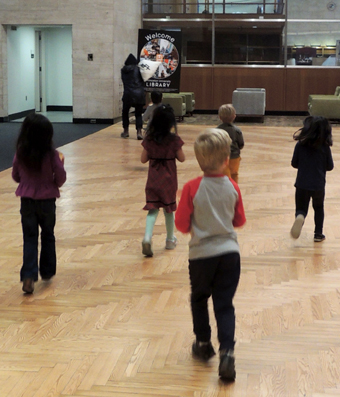 Eventually, she was cornered and tagged repeatedly by oatmeal container lions. Which, admittedly, was a first for her!
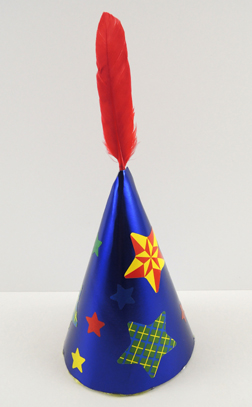
 After the triumphant capture of the burglar, the kids returned to the program area to make hats for their lions (which is the reward he asks for in the book). These were cone party hats, cut down to 5″. The kids decorated them with stickers and a duck quill. Very snazzy.