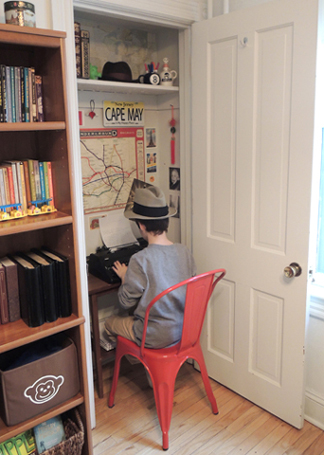
 This April Fool’s day, I decided to transform a tiny, unremarkable closet in my house into what my kids and I have dubbed THE MYSTERY CLOSET. The challenge was to create it for under $20. My friends, the grand total was $19.30. Details below!
The ultimate goal for THE MYSTERY CLOSET was that it be a place for writing. While we each have a desk in our bedroom, and while there is an art project table in the kitchen, I felt there also needed to be a dedicated space for our household typewriter. It had been sitting on a buffet table in the dining room, but the height and location of the buffet meant you had to stand to type. The results were just a few sentences here and there. I theorized that if I lowered the height of the typewriter, and allowed space for a chair to be pulled up, it would result in longer stories. I was way right.
There were 2 major limitations to this project: size and budget. The closet is very tiny. A mere 12″ deep and 43″ across. Luckily, I had an old table in the attic that fit. There’s just enough space on the table for the typewriter and a metal basket with blank paper underneath. Scoot a chair over from the dining table, and you have yourself a desk!
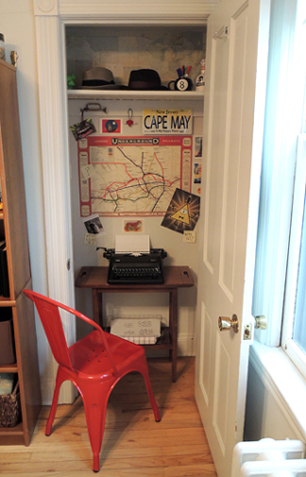 Budget was the other concern. I solved it by using items already in the house – xmas ornaments, halloween decorations, hats from the costume bin, a red tassel I found in my nightstand, a rediscovered world map, a…uh…green glow-in-the-dark pig that oinks when you squeeze it, etc.
I papered the upper shelf with the world map, but the London Underground map you see on the back wall is actually wrapping paper from a local bookstore! I also bought a dozen postcards. The final purchase was a Magic 8 Ball mug, deeply discounted, from Target.
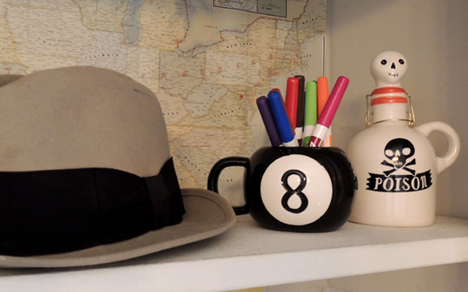 And for you eagle eyes who spotted Bill Cipher, the question mark Post-it note, and the 8 Ball…yes, we are huge Gravity Falls fans. Fun fact: the first sentence I left the kids on THE MYSTERY CLOSET typewriter was “Stan is not what he seems.” #teamwaddles
And speaking of ciphers, the new installation did include a coded message. I dropped 2 copies of the pigpen cipher in the metal basket, and left a Post-it message to the kids nearby:
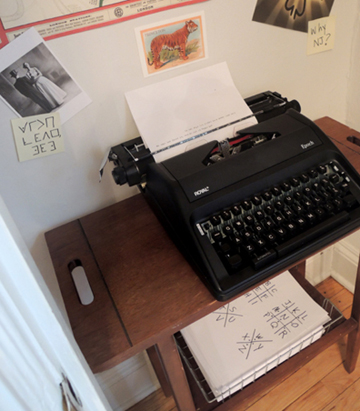 The grand finale? This closet is wired with overhead LIGHTS! There’s no electrical outlet, so I used battery-operated LED string light stars from IKEA (a leftover xmas stocking stuffer). The battery box is taped to the interior door frame, within easy reach.
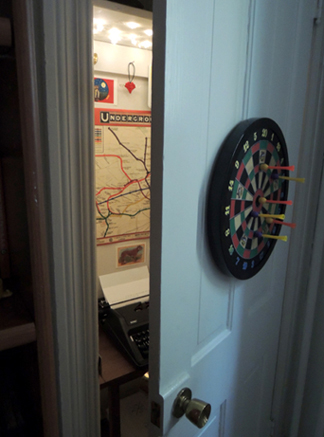
The London Underground wrapping paper cost $4.50, The Magic 8 Ball mug was $2.80, and the postcards cost $12. Project total: $19.30. Reaction from my kids? Priceless.
That morning, I didn’t say anything about the closet. I just waited until my daughter asked “Hey, where’s the typewriter?” A cryptic reply, a house-wide search, and the closet was soon discovered! They were soooo excited. Especially my 10 year-old son. I’m happy to report THE MYSTERY CLOSET has been in steady use by both kids ever since. The typewriter goes at all hours, which is truly music to this mom’s ears. Success!

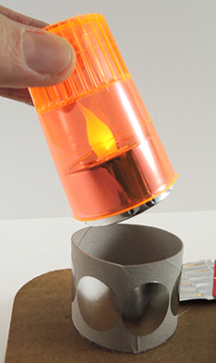
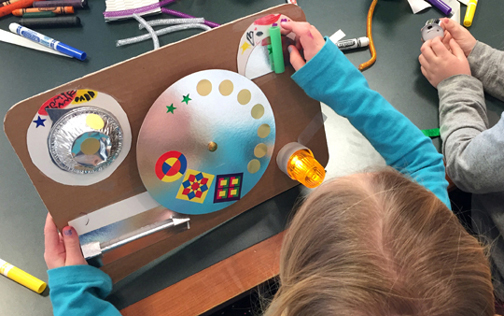
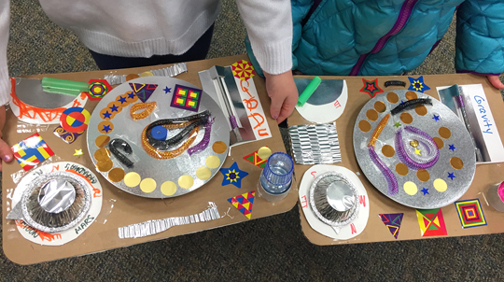
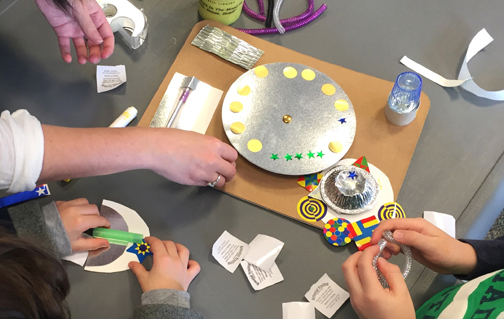
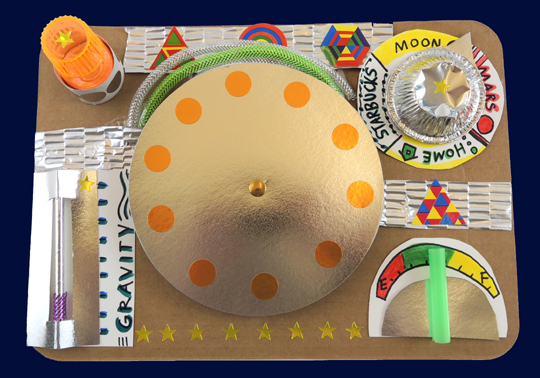 Three, two, one…blast off! We head to the moon using this rocket ship dashboard, which includes a custom steering wheel, fuel gauge, gravity level, destination dial, and flashing light. This was a special story time for the
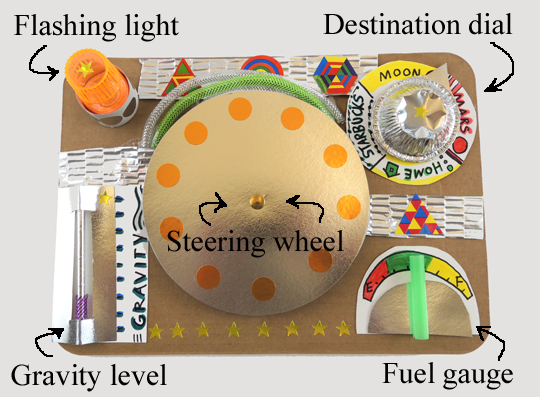
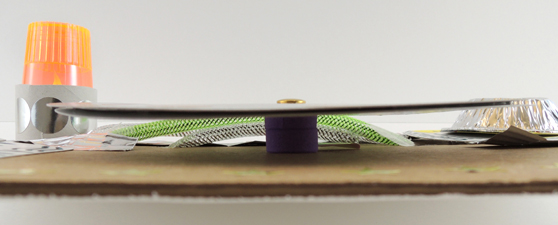
 The steering wheel is 2 silver circles hot glued together and then attached to the dashboard with a longer, 1.5″ brass fastener (or use a bit of
  We also had markers, silver foil paper, mesh tubing, foil star stickers and geometric stickers on hand for decorating. The geometric stickers are “Funky Geometric Shapes Rolls of Stickers” from Oriental Trading Company (6 rolls of 900 stickers are $10).
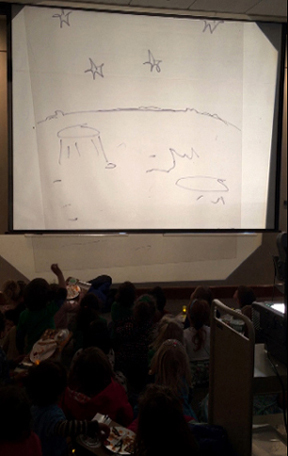
 Once the decorating was done, we fired up ye
  This story time was hosted by the public library in Bernardsville, New Jersey. Look at their charming children’s section, which was the gift of Estella and Jay Parsons:
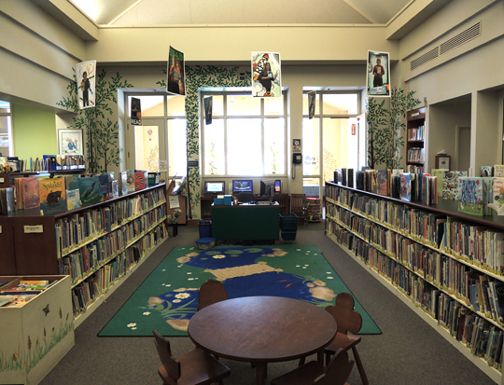 It’s full of beautiful hand-painted trees, botanical touches, and forest animals. Look at the deer standing next to the little wicker chair in the corner!
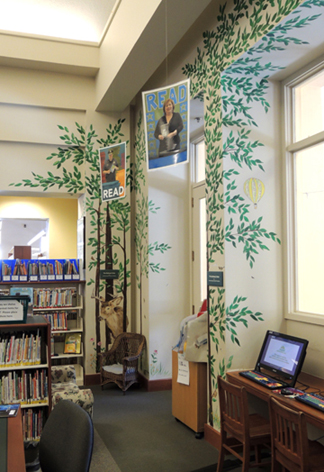 This little singing bird is Katie’s favorite:
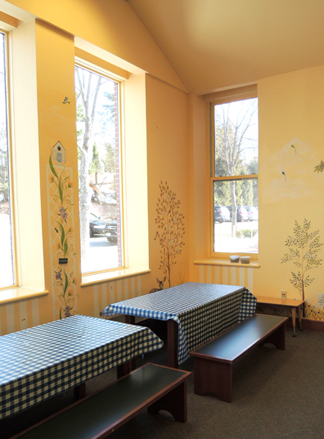
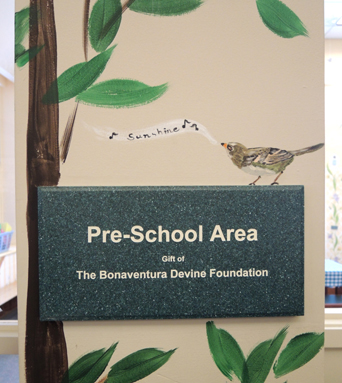 The preschool area (a gift of the Bonaventura Devine Foundation) continues the outdoor theme with picnic-style activity tables with cute gingham covers and buttery sunshine-colored walls.
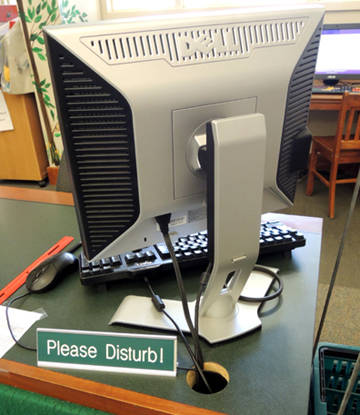
 Here’s my favorite touch, however. The “Please Disturb” sign on the reference desk!
 Today, I will address an issue that affects anyone who coordinates programs with children – be it in a library, children’s museum, or activity room. Like silent pack animals they wait, blocking doors, tracking mud, and leaving behind a smatterings of Cheerios. The issue of which I speak, of course, is strollers.
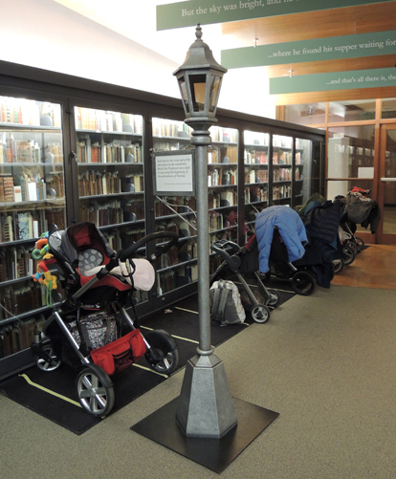
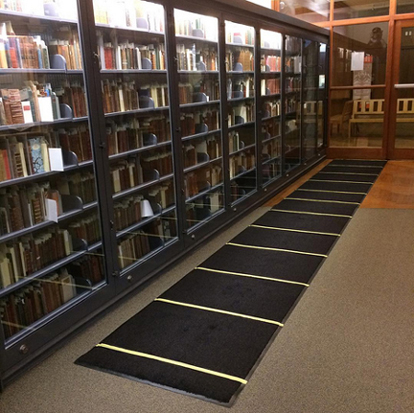 Well, it worked like magic. Immediately, strollers started parking in tidy little lines at the front of our gallery. And it’s still going strong! Since stroller parking started over a year ago, we haven’t had any strollers wandering into the gallery. Here’s a shot on a busy Monday morning, all parked and proper.
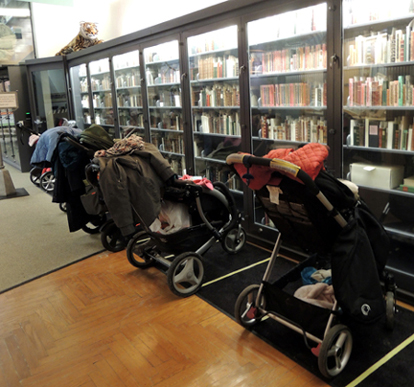 Every once in a while a masking tape line gets ripped and we have to replace it. Otherwise, this little parking lot takes care of itself! Mind you, we still have a sign up. I think you need both the rug and the sign to get this to work. Recently, we re-purposed an old gallery element as a new sign post:
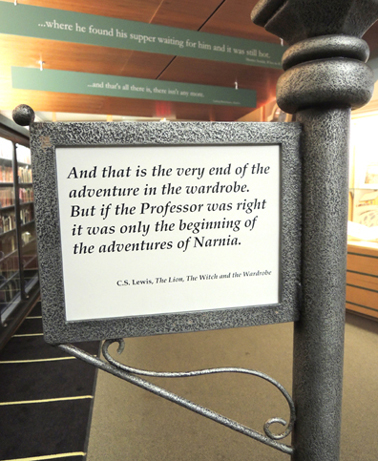
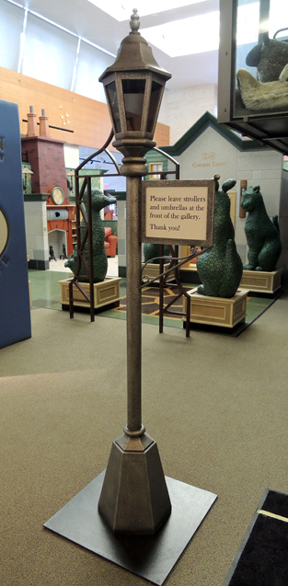 Best of all, the lamp’s sign holder is open on both sides. So as you’re exiting the gallery, you can read the final sentences from The Lion, the Witch, and the Wardrobe: