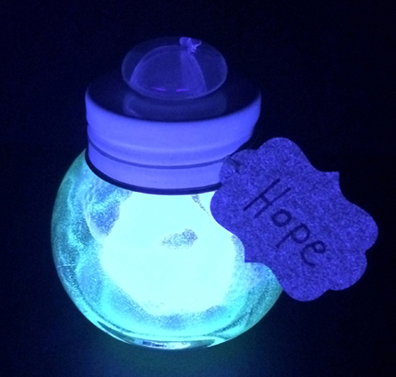
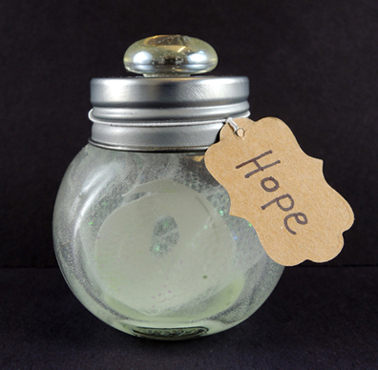
 It’s a mysterious bottle filled with a unique, glowing essence. What could the essence be? Happiness? Triumph? Panache? The Thrill of Your First Ride on the Back of an Arachnimammoth? This radiant project was part of To Be Continued, our chapter book story time for 6-8 year-olds.
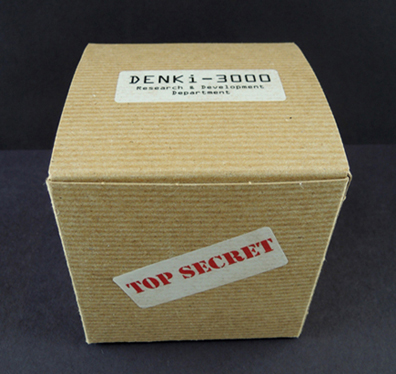
We read The Creature Department by Robert Paul Weston (Razorbill, 2013). Elliot von Doppler is thrilled when his uncle Archie invites him to his workplace for a tour. Uncle Archie works in the top secret Research and Development Department at DENKi-3000, a company known for its amazing inventions. Elliot and his new friend Leslie soon learn that Uncle Archie’s secret department is staffed by creatures – bog nymphs, fairy-bats, knucklecrumplers, and bombastadons (to name a few). But DENKi-3000 is also in trouble. If the Creature Department doesn’t come up with a ground-breaking new invention in a few days, the company will be taken over by the relentless Quazicom Corporation. But, like DENKi-3000, Quazicom isn’t quite what it seems…
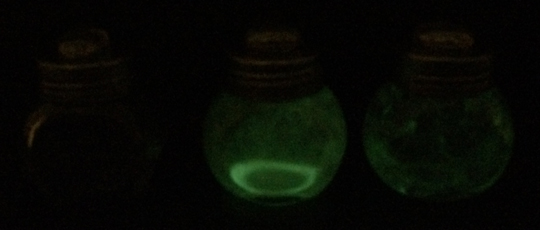
In my favorite part of the book, Elliot and Leslie visit “The Abstractory,” an enormous library/pantry that houses millions of bottles. Inside each bottle are different creature essences – namely, the special feelings, thoughts, and emotions that power creature inventions. Some essences are simple, like “Justice.” Others are more complicated, like “The Overwhelming Suspicion Something Big and Hungry is Hiding Under Your Bed.” Depending on their contents, the bottles glow, vibrate, flash, shimmer, and rattle. We wanted to capture a little of that fun with this project. Hence, a glow-in-the-dark bottle that contains an essence of your own making, complete with label.
 But, because DENKi-3000’s research and development department is shrouded in secret, the entire project came as a take-home kit with strict instructions to NOT open the box until you get home.
 You’ll need:
- 1 small glass bottle with lid
- 1 rectangle of white card stock (ours was 2.25″ x 2.75″)
- Glow-in-the-dark pigment or paint (more on this later)
- 1 paintbrush
- 1 square of glitter tulle (ours was 3.5″ x 3.5″)
- 1 small bottle label with string
- 1 wooden stirrer (we used a 4.5″ craft stick)
- Scissors and white glue for construction
- Pen
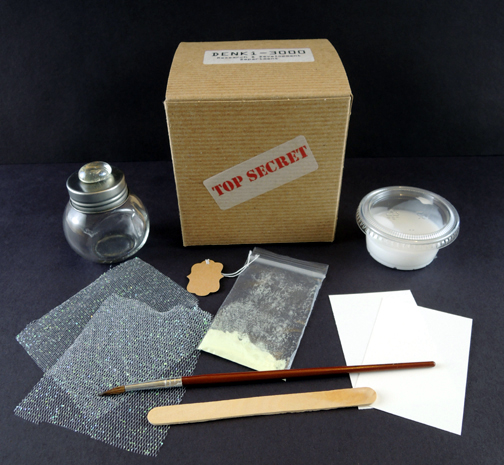
Below you can see the contents of the kit. There’s a glass bottle, a container of white glue, a plastic bag of glow-in-the-dark pigment, a wooden stirrer, a paintbrush, a rectangle of white card stock, a square of glitter tulle, and a small label with an elastic string. We gave the kids 1 extra piece of card stock and 1 extra piece of glitter tulle, just in case they messed up. Not pictured in the photo – a set of kit instructions.
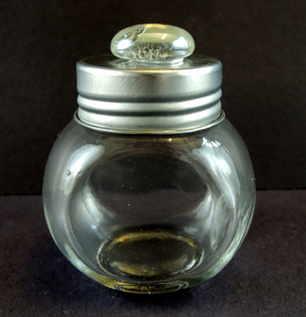
 First, the bottle! We used 2.25″ screw-top jars scored from the wedding section of Michaels craft store. 20 jars cost $21, but we had a 40% off coupon. Woot! To make it look less like a spice jar, we hot glued a clear flat glass marble on top of the lid.
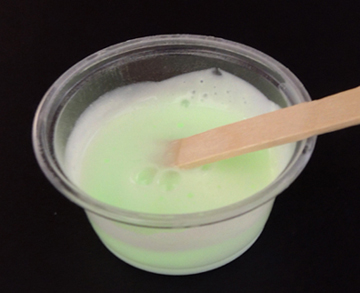
Use the paintbrush to paint the inside of the bottle with glow-in-the-dark glue or paint. We used non-toxic glow-in-the-dark pigment (read about it here) mixed with white glue. Why? We wanted the kids to feel like little alchemists – pouring the pigment into the glue, stirring it with a wooden stick, and watching it transform into glowing goo.
 The glow glue goes on opaque, but as you can see below, it dries semi-transparent. Glow-in-the-dark paint (which we found in the t-shirt decorating section of Michaels) also dries transparent:
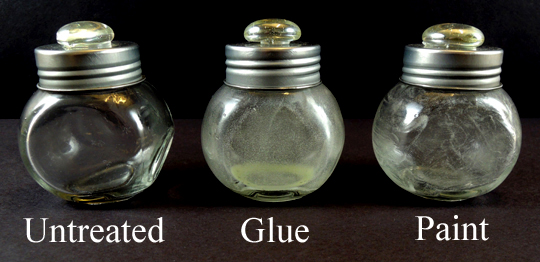 The glow glue, however, glows much stronger. Perhaps because you can control the ratio of pigment to glue? But the paint is glowing. And it requires a lot less measuring and mixing. So you can’t go wrong with either choice.
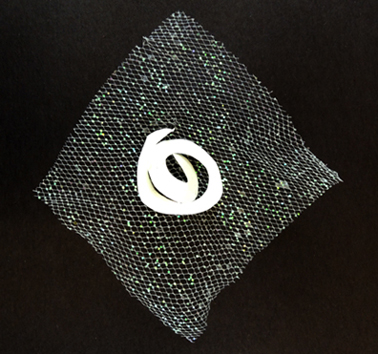
 It’s time to create your creature essence! This is basically a card stock shape wrapped in tulle. Since we wanted the bottles to also look pretty in daylight, we went with glitter tulle, which you can find in the ribbon section of Michaels.
Cut the card stock into your desired shape (we went with a spiral). Make sure the shape fits in the bottle! Then, paint both sides of the shape and the tulle with glow-in-the-dark glue or paint (we recommend doing this on top of wax paper or parchment paper). It might seem like the glue or paint isn’t sticking to the tulle, but we assure you, it is! Here’s the finished painted tulle and card stock spiral:
 Once the bottle, the shape, and the tulle are dry, gently wrap the tulle around the shape and tuck it into the bottle. Screw the lid on, write the name of your essence on a label, and attach the label to the bottle. We used 1.25″ price tags with elastic strings, found it the beading section at Michaels. We found the plastic baggies for the pigment there too. Both of these things cost just a few bucks.
You’re done! Charge up the bottle, take it to a dark room (or hold it next to a black light) and watch your creature essence illuminate! I love how the tulle makes the card stock shape look like it’s suspended in fog.
There was another reason I was so keen to do a glow-in-the-dark project for The Creature Department. The book’s cover GLOWS IN THE DARK!
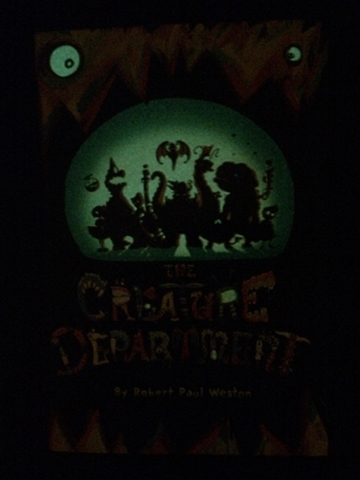 Every story time, without fail, the kids would ask to see the cover glow. No matter how many times we looked, they never lost their enthusiasm for it. In the video below, you can’t see the book, but you can definitely hear the kids reacting to its cover!

 If you’d like to see the event map,
  Or this really cool Victorian visual toy called a thaumatrope
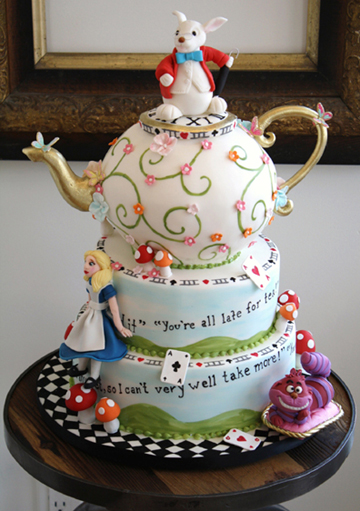
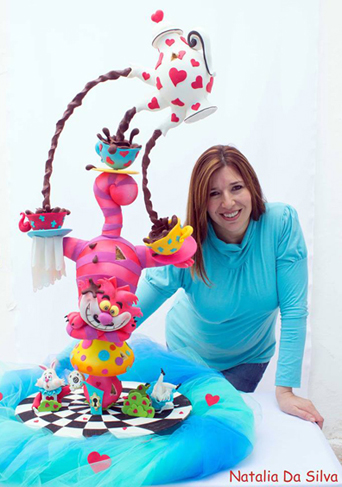
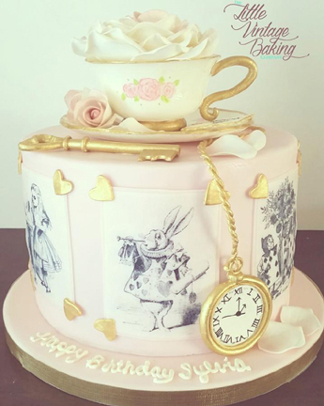
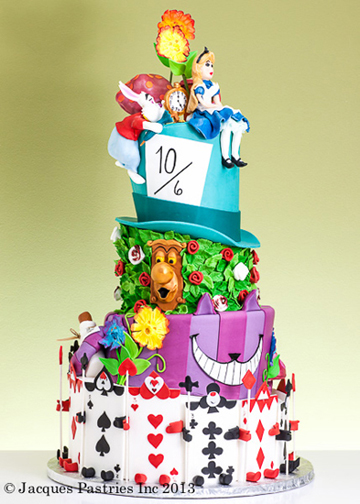
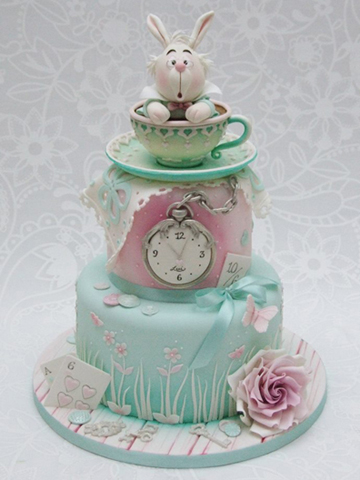
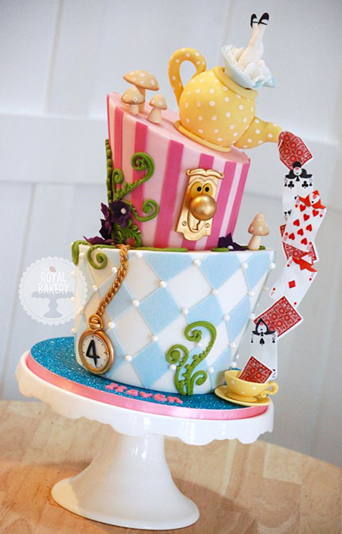
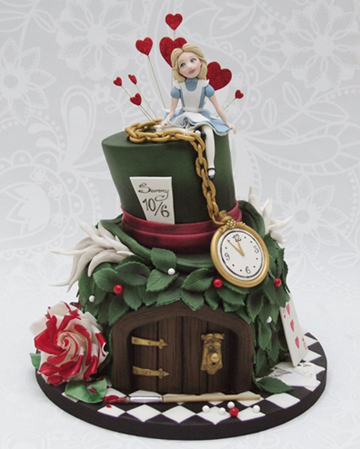
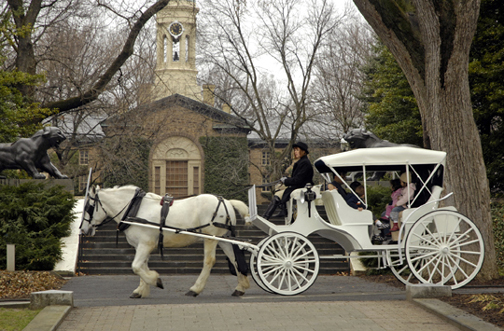
 And what about tea? 2016 was the 150th anniversary of the publication of Alice’s Adventures in Wonderland, and we put together an elaborate Victorian
 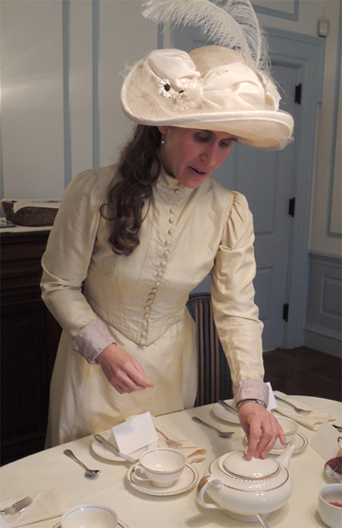 The Library of Congress went all out for the 150th anniversary as well. In
 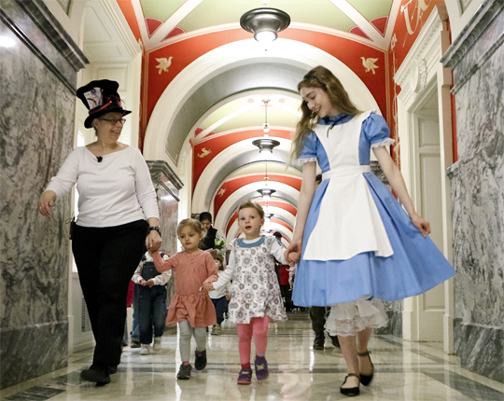 However, the award for the most whimsical Alice connection goes to the Mazza Museum of International Art from Picture Books (which I blogged about
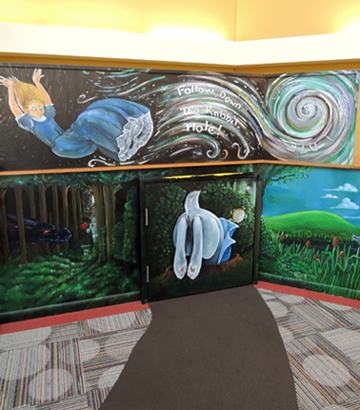
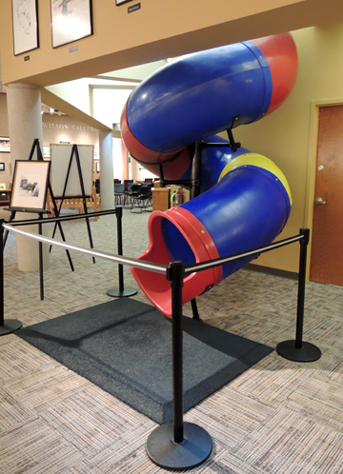 Dang. I want a twisty slide in my place of employment.
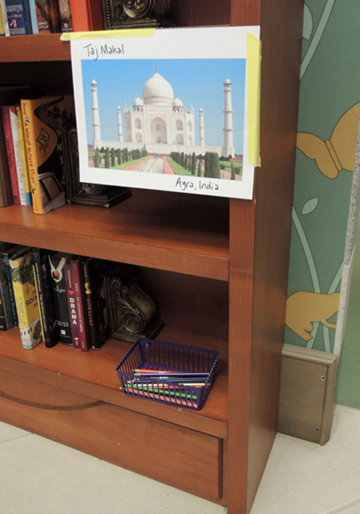
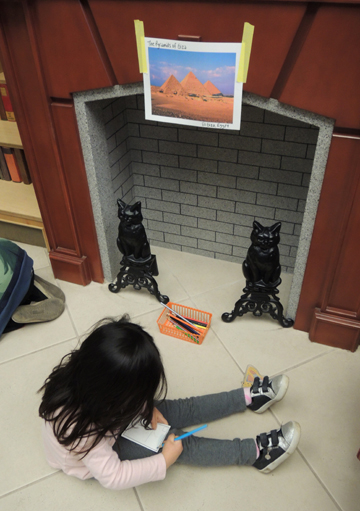
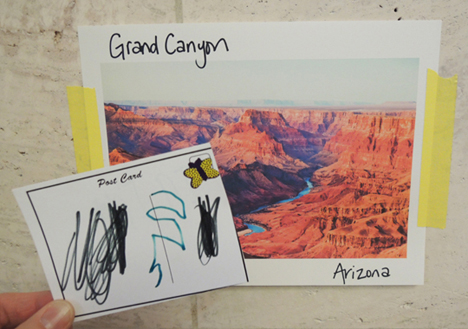
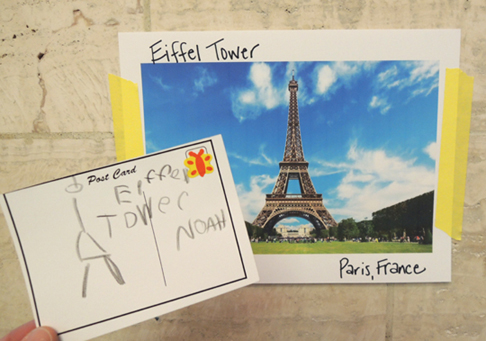 It’s the ultimate global adventure that ends with custom postcards in your very own mailbox! We made classic blue mailboxes, then visited locations around the globe to create postcards to send home. And don’t forget the stamp!
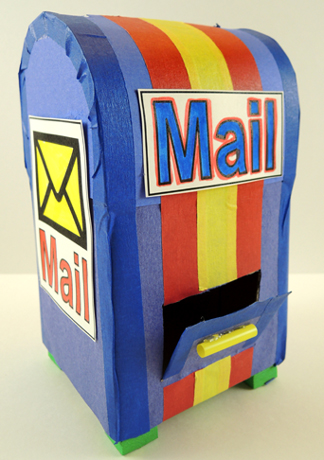 To make a mailbox, cut the top off a small tissue box. Use a box cutter to cut a little door at the bottom of the box. The postcards are 3″ wide, so make sure your door is 3″ or wider.
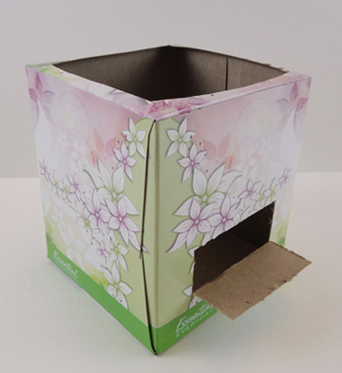 Wrap the box with blue construction paper, then use the box cutter (or scissors) to re-establish the little door.
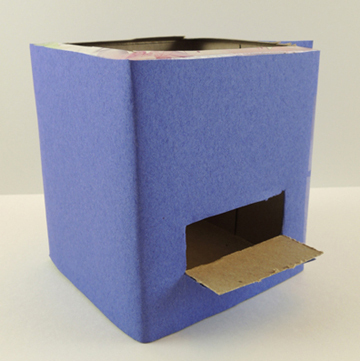 The rounded sides of the mailbox are 2 pieces of blue poster board (ours were approximately 4.25″ wide, and 3.25″ tall). Secure them in place with tape.
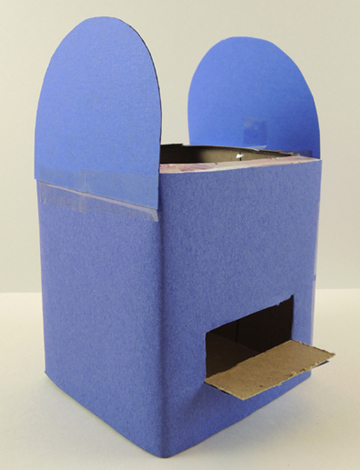 To make the top of the mailbox, cut a 3.5″ mail slot in the center of a 4.5″ x 9″ rectangle of blue poster board. Gently curl the poster board over the rounded sides of the mailbox, then tape in place. The curling and taping is definitely the toughest part of the project. Keep in mind that it doesn’t need to be perfect!
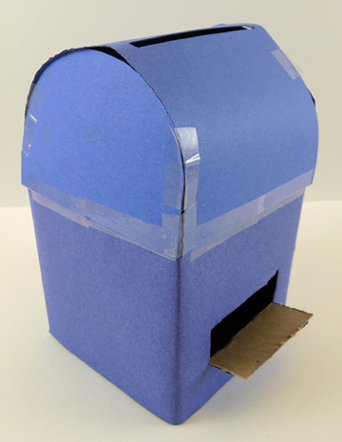 Next, use colored masking tape to reinforce the edges of the mailbox, and to decorate it. Color and cut the mailbox signs from the template and tape (or hot glue) in place.
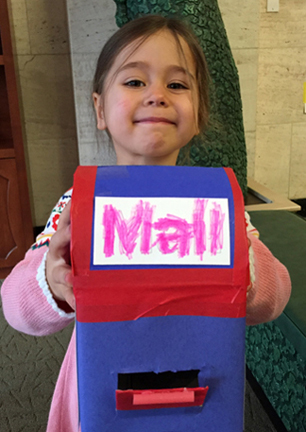

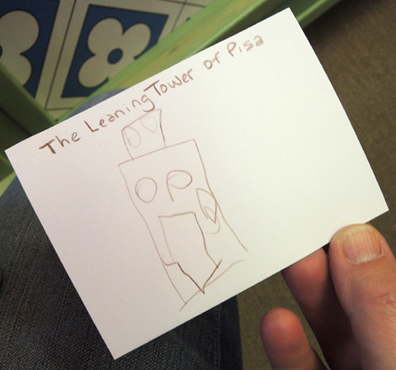
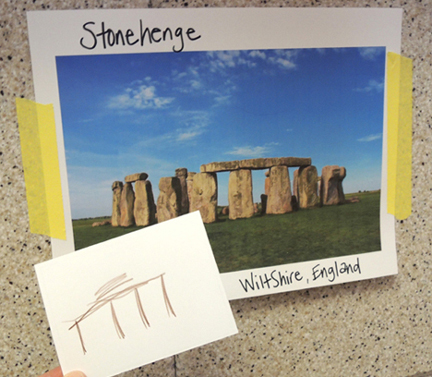
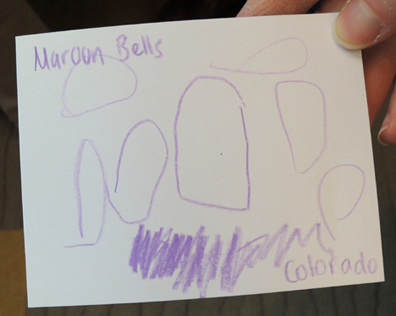
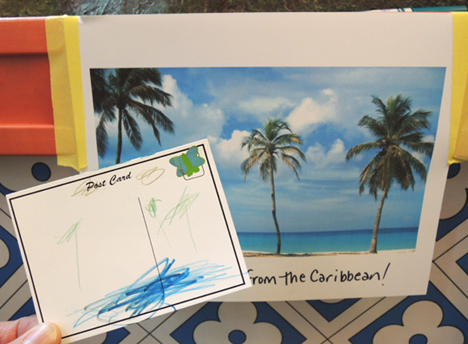 We even got postcards from places we didn’t include! Here’s a postcard from the Amazon, even though it wasn’t one of our photo locations. I think that’s a person on top of a giant tree with a ladder? Cool.
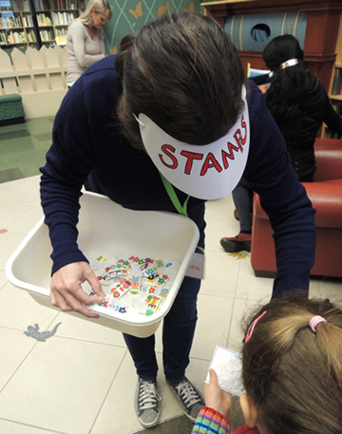
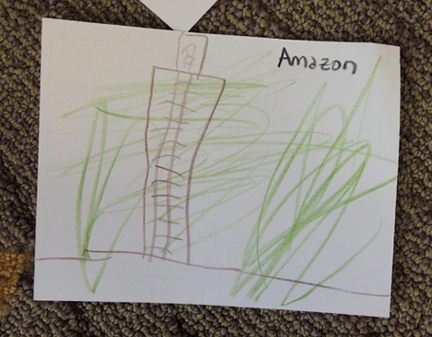 To make the postcard activity official, Miss Melinda donned a stamp-selling visor and circulated the gallery, “selling” stamps that were actually cute little stickers.