 Katie is once again off on wild adventures. Remember that time she spent a year in Europe? Or how about when she dropped by Antiques Roadshow? This time, Katie journeyed to the Franklin Institute for a veeeeeery special Harry Potter event. Take it away, Katie!
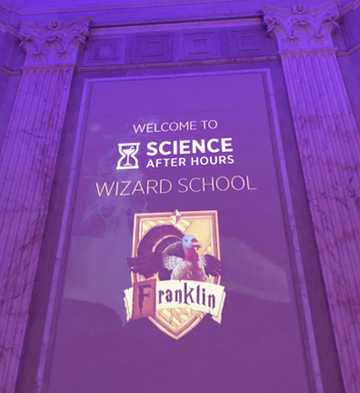
It’s universally understood the Harry Potter series has captured the hearts of children, but adults are just as passionate about Harry and his adventures at Hogwarts. I count myself as one of those adults who is a Harry Potter fanatic, so naturally I leapt at the opportunity to attend Wizard School, an after-hours adult only program held at the Franklin Institute in Philadelphia.
 The Franklin Institute is one of the oldest museums in the United States dedicated to science education and research, and it is absolutely one of my favorite places to take my son when we have a free day. Named after Benjamin Franklin, the Franklin Institute has four floors of amazing science exhibitions, a planetarium, IMAX theatre, and even a telescope observatory on the roof.
Science After Hours is a series of events the Franklin Institute holds for adults 21+ and is designed around a specific theme, like Wizard School, with demonstrations, live speakers, music and dancing, activities, a chance to explore the entire museum at night, and…a cash bar.
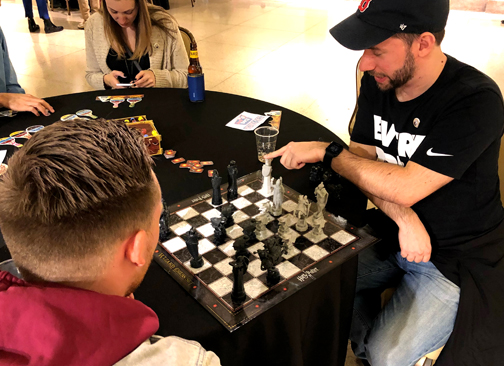
As soon as I arrived, I snagged a cup of Butter Beer and started wandering through the museum to various activity tables. Wizard’s Chess anyone?
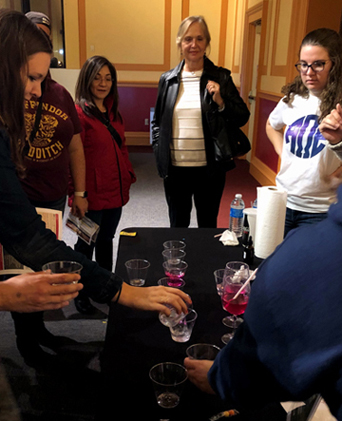
 In the Giant Heart exhibit, I tested to see if I was a pure blood by pouring a glass of clear liquid into a second glass of clear liquid. If the mixture turned red, you were a pure blood. If it didn’t, you were a Muggle. The magic is a pH indicator, phenolphthalein, being mixed with water and reacting to sodium carbonate, which is present in the second glass. The sodium carbonate and phenolphthalein react and turn the liquid red. If one glass didn’t have the chemical, the liquid remained clear. My glass turned red – I’m a pure blood witch!
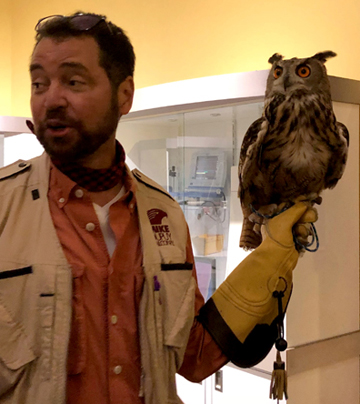
 I made my way past a very long line of people waiting to make a magical amulet so I could watch part of the Raptores Maximus show. Mike Dupuy, a local falconer and educator, introduced several of his birds of prey. Including Mr. Big Owl, a Eurasian owl who had the most stunning orange eyes.
 Next, I journeyed on to Pepper Hall, where I was greeted by 2 very long lines: 1) Make your own wand; and 2) Visit the Slimy Serpent, Critter, and Creature Magic Supply Shoppe. The Supply Shoppe was a tremendous display of potions ingredients and various critters you may discover as a student at Hogwarts, including snakes, spiders, frogs and even a jar of leeches. But I opted for wand making because I was curious to see how the Franklin Institute would handle a wand craft for well over a thousand people after our experience with our much smaller Wand Works event.
The wand craft was impressively simple, but quite impactful. As you approached the front of the line, you selected a colored light bulb with wire legs (identical to the bulbs we tested in the Circuit Clay kit). You moved forward and were given a small button cell battery and a paper straw that had been cut on one end to provide a slit for the battery to rest. Volunteers demonstrated how to slide the two legs of the bulb onto each side of the battery, illuminating the bulb, and then gave you two pieces of tape to secure the bulb onto the battery and secure the battery into the slit at the top of your straw.
The final step was a wood clothespin, which is where you insert the paper straw. The clothespin is wrapped with more tape to keep the straw from falling out and becomes the handle of the wand. After the wand is complete, there were tables with markers, star stickers and tiny jewels to bedazzle your wand. No two wands were alike!
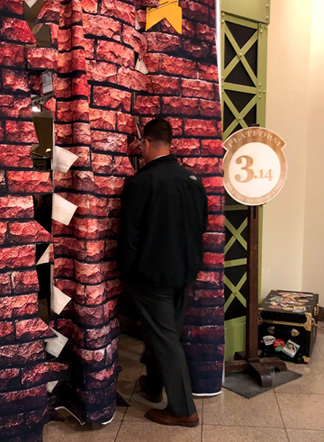
 I tried to attend a presentation called The Absolutely True Fake Story of the Philosopher’s Stone. I should have used an Apparition spell to get me to the theater faster because the seats were full by the time I arrived. Not deterred, I walked through Platform 3.14 to see the Hogwarts Express (cleverly disguised as a Baldwin 60000 locomotive engine, which is on permanent display in the Train Factory exhibit).
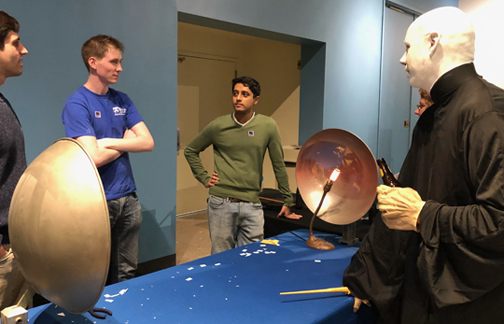
 Many of the demonstration tables had student volunteers from nearby colleges, including Drexel University, Temple University, and the University of Pennsylvania. The students were enthusiastically full of scientific information – such as the possibility of real-life invisibility cloaks (i.e. lasers and thermal imaging cameras). They were ready to be peppered with questions from everyone. Including Voldemort.
 The OwlCapella group from Temple University was serenading those in the ticketing atrium who had paused to rest their feet or have a snack, and I got a good laugh when I noticed Harry Potter conducting, unbeknownst to the choir. Total Potterbomb.
 The grand finale was held in the Franklin Memorial Hall, in front of a giant statue of Benjamin Franklin. Everyone was asked to raise their newly made wands and chant the Incendio spell. The result was a mighty green fireball explosion, courtesy of about a dozen large balloons filled with hydrogen. Very cool.
And just in case you’re wondering, Dr. Dana has ignited giant fireballs in the name of wizardry as well. You’ll find that here.
Wizard School was so popular, the Franklin Institute added a second date at the end of November! Dr. Dana and I are eagerly awaiting the Science After Hours schedule for 2019 with hopes there will be another literary related evening for us to enjoy. Stay tuned!


 I couldn’t resist busting out a little Oliver! at the end of the shoot. If you look closely, you can see that I truly got into character by smearing mud all over my London orphan face.
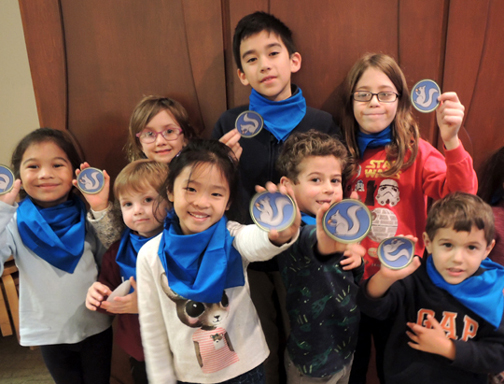
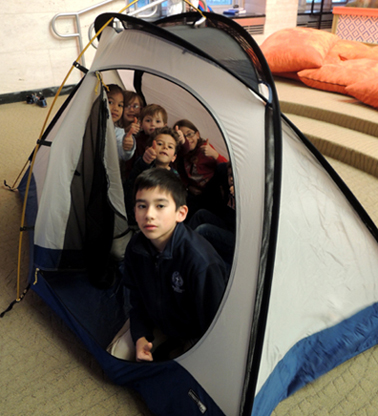 After “night fell” (i.e. I turned off all the overhead lights), individual campers journeyed to our
 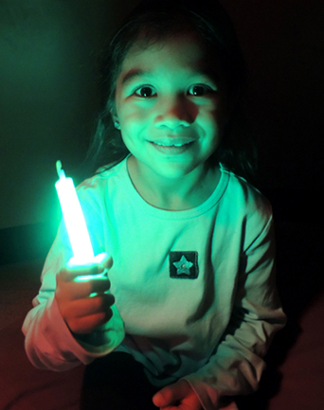 The final activity was making a water compass using a sewing needle, a
 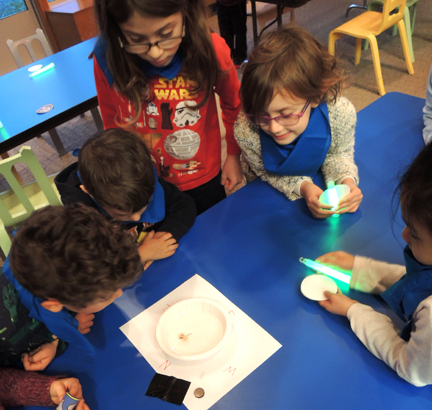 In the book, Rangers earn patches for each level of accomplishment, and Squirrel is the first level. So, after completing the creature quiz, snaplight trial, and learning about compasses, campers were awarded a blue neckerchief (purchased for $2 each in the t-shirt decorating section of Michaels Craft store) and a a Squirrel patch (you can print your own set
 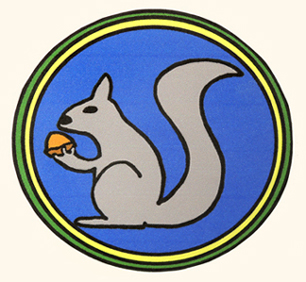 Arlo Finch in the Valley of Fire was massively popular with the kids in our program – it’s scary, suspenseful, and also very funny. I was delighted to learn that the sequel, Arlo Finch in the Lake of the Moon will be released February 2019. YES!