
 Last Halloween season we took a stroll through our special collections pumpkin patch. Today, we’re looking for ghosts! And we found them in this amazing optical illusion book titled Spectropia; or, Surprising Spectral Illusions. Showing ghosts everywhere, and of any color. Published by J.H. Brown in London in 1864, the book teaches the concept of “the persistency of impressions, and the production of complementary colours on, the retina.”
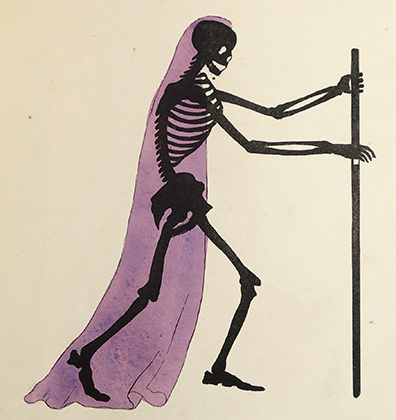
The illusion is very simple. In the image above, stare at the small black dot by the ghost’s neck for 20-30 seconds. Then look away at a white wall or ceiling. Her ghostly image will appear in your vision, except in different colors (in this case green wreath, blue ghost)!

Scientifically speaking, this is called an afterimage. The color receptors in your eyes work in pairs (red/green, blue/yellow, etc.). When you stare at the drawing and one color fatigues your receptors, the other receptor will step in and dominate for a bit.
The book has a very lengthy description of this concept, as well as viewing instructions that include having the “gaslight turned low.”

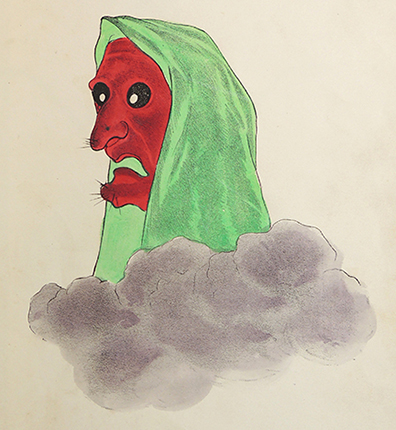
Spectropia also has a disclaimer at the beginning: “As an apology for the apparent disregard of taste and fine art in the plates, such figures are selected as best serve the purpose for which they are intended.”
I wish they might have reprinted the disclaimer before THIS image, which honestly is going to haunt me clear through December:
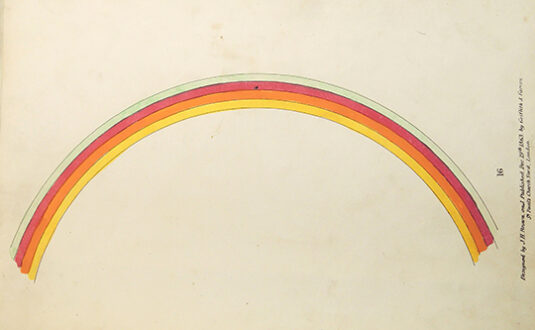
 The book concludes with a grand finale image that is not a ghost, but a rainbow! Definitely try this one, because it is so cool to see the colors flip in the afterimage!
Looking more more optical spooky fun? Try making our tabletop Pepper’s Ghost illusion!
Images from Spectropia; or, Surprising Spectral Illusions. Showing ghosts everywhere, and of any color. J.H. Brown, London. Griffith and Farran.1864. Cotsen Children’s Library, Department of Special Collections, Princeton University Library.
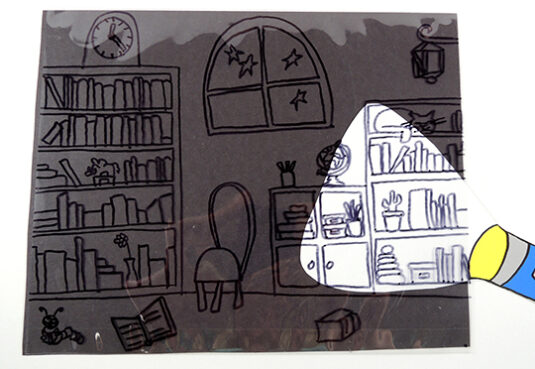
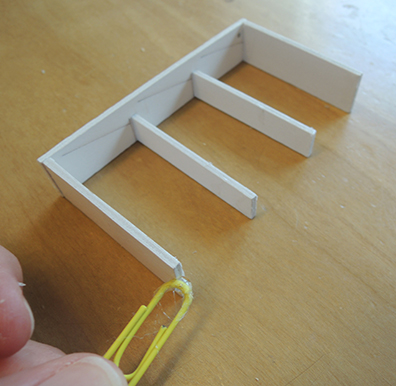
 Replace the paper library template with a piece of black construction paper. Tape the corners of the black construction paper to a tabletop, then tape the corners of the plastic to the tabletop as well. Really to explore the library? Slide the flashlight’s light beam between the construction paper and plastic to “illuminate” the scene!
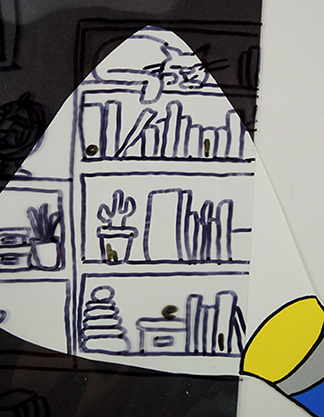
 Readers might recall the
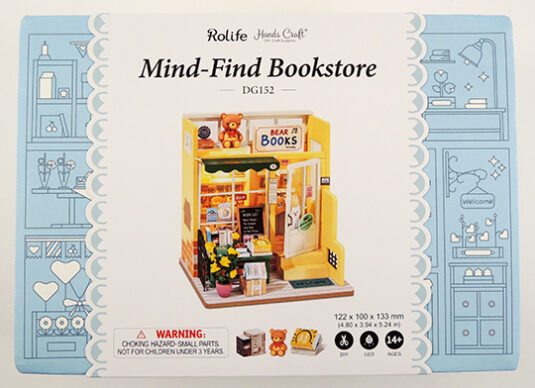
 The advertised completion time for the kit is 3.5 hours. Well, it took me 5 hours and lots of complaining, squinting, moaning, and muttering quiet curses. At one point, I sent Katie a photo of my messy progress and bemoaned how crazy the kit was making me. She simply sent back this:
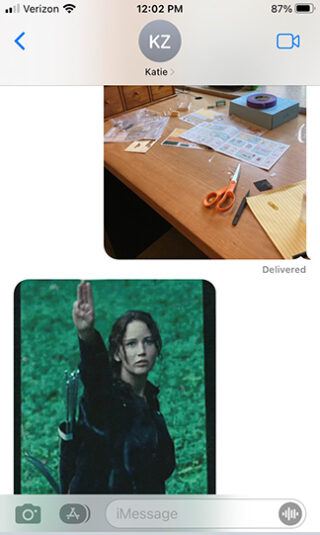
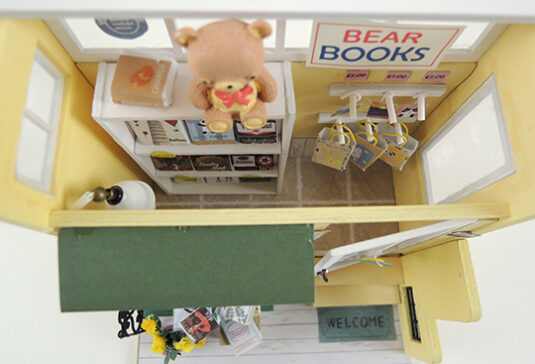
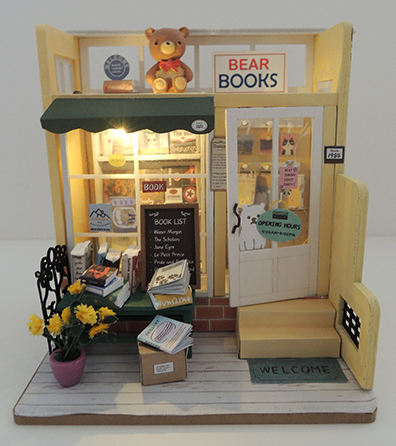 I would say the Mind-Find Bookstore kit by Rolife Hands Craft is mid-range in difficulty. If you are working on this with a kid, plan for lots of extra time and patience as most of the pieces are from scratch, the paper signs are small, and the instructions are a little vague. Ultimately, the results were cute, and this cheerful little bookstore will brighten any room or shelf!