
 Announcing the winners of our annual 350 for 50 writing contest! Young writers were challenged to compose a short, 350-word story that included the sentence, “The directions were unclear.” Winners from our four age categories enjoyed a $50 shopping spree on Amazon. Congratulations to all!
Illustrations by Aliisa Lee
WOW, THE FUTURE REALLY IS A SHOCK
by Scarlett Gong, age 10
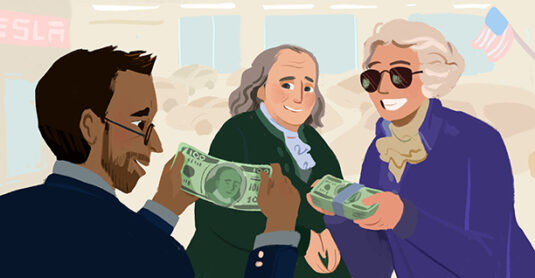
Benjamin Franklin and Alexander Hamilton handed the Tesla dealer a stack of $100 bills and said, “Sir, we would like to buy a car.” The dealer seemed quite puzzled when he saw both Franklin’s face and the $100 bills! Franklin quickly excused himself.
“Your grandpa looks so much like Franklin on the $100 bill!” The dealer whispered to Hamilton.
Hamilton coughed nervously. “Err, does he? Sir, I just came from the Caribbean and don’t know much. May I ask what people usually bring when they leave their house? ”
“A smart phone, of course!” Pleased with the sale, the dealer started chatting nonstop with Hamilton.
Franklin and Hamilton finally regrouped. “This world is really a shock compared to 1777. My time machine works!” Franklin said. He began to research the new Tesla. He tapped Tesla’s touch screen with his quill. After some reading, he informed Hamilton, “The directions were unclear. Oh this garage is dark!” He took out a match and a magnifying glass from his pocket, “We must investigate this car further if we want to bring it back to Washington.”
Before he could light up his match, Hamilton stopped him and turned on the flashlight of a phone, “Mr. Franklin, I have something better!”
“Dear lord, what is this? Much better than my match! The light seems like the electricity I captured on my rod.” Franklin cried.
Hamilton grinned and showed him the phone. “It’s a phone. The car dealer sold me this. Look at this messaging App. You don’t have to use horses to send messages anymore! Also, a website here called Google can answer all your questions! ”
Franklin’s eyes were wide with shock. He scratched his head. “Wait,” he said slowly. “What if we use this so-called Google to find out the ending of the American Revolution? We can see if we won! ”
Hamilton’s mouth stretched into a grin. “Should we? I’m very firm we will win, even though the current winter in Valley Forge is harsh. Besides, Mr. Franklin, do you see any British flags in this future world?”
LOST IN A TRAIL
by By Emily Tang, age 11
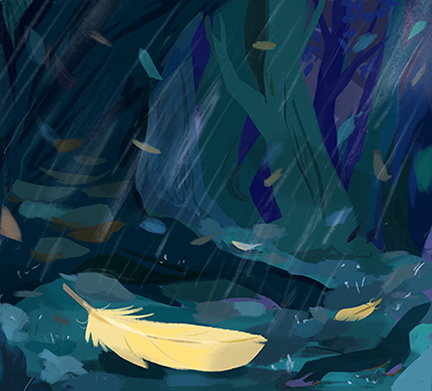
Towering trees swayed and creaked in protest as the raging storm lashed the forest with pounding rain and fierce winds. My siblings and I huddled together in our nest, our feathers fluffed against the chill, as my mother impatiently waited for the storm to pass.
“ I have to get you guys food before you starve to death! “ She cried over the roaring wind. And then without hesitation, she spread her wings and launched into the stormy sky. I watched as she started to become a tiny dot in the distance. The thought of my mom being gone made me anxious, but worms sounded good to my stomach.
As the storm started to clear up, I really began to worry. It had been past an hour but my mom still hadn’t come back. The things that could’ve happened ran through my mind. Then, determined to find her, I mustered my courage and spread my wings for the first time, ready to venture into the unknown.
The forest was a chaotic mess. There were tree branches and muddy puddles at every corner of my eye. Suddenly, I spotted a bright yellow feather that lay on the ground next to a knocked down tree. And then I saw another. Then another. I thought they were a trail leading to my mom, but they weren’t. The directions were unclear. The feathers were all over the place, like they were scattered. I called to her but only the echo of my own voice responded. It was then when I gave up. I flew to the nearest tree branch and let the drizzle of rain sink into my feathers.
While I sat on the edge of a tree branch, I heard a sudden rustle behind me. I thought it was a squirrel but when I turned around, my heart leapt with joy as I spotted my mother’s familiar form perched on a branch. She was safe, but her feathers were ruffled, and she looked exhausted.
“ Mom! “ I tweeted loudly. Then I flew faster than I ever could and sat next to her.
MESSAGE NOT DELIVERED
by Emma Peppler, age 14
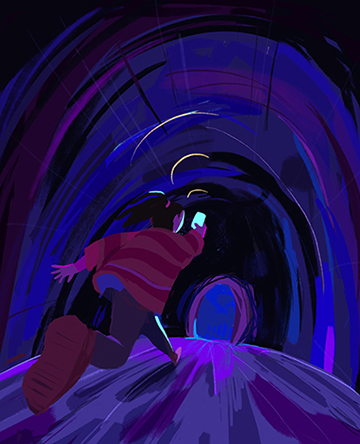
It was probably a dumb idea to agree to meet my friends in the middle of the woods at an unholy hour of the day. But here I am, making a left at the collapsed shed and a right at the fork in the road. Once I reach the tree that fell down during some tornado, I’ll make a right and be with my friends.
The directions were unclear. They didn’t specify which of the thousands of fallen trees to turn at! My friends’ voices surround me as I walk and my feet, that are stuffed into wedge sandals a size too small, ache. My hair whips my face as wind rustles the trees and frogs noisily croak in the distance. My feet start to feel numb, which gives me relief from the excruciating pain of the sandals.
I turn, hearing Mari’s voice, my oldest friend, sharp and clear like pristine water on a tropical beach. Knowing she has to be close, I run off the path through a stone archway covered in moss. On the other side sits weeping trees and mannequins on a rusty bench. A little merry-go-round statue stands by the bench with zebras and tigers on it. Creepy.
Another narrow and tunnel-like archway isn’t too far off in the distance and so I run into it, convinced that my friends are just on the other side. Halfway through, I collide with something in front of me. Glass? I wonder. I run back to the beginning of the archway, but another pane of glass appears. Other than the throbbing of my heart, all I hear are two words repeatedly running through my brain: I’m trapped, I’m trapped, I’m trapped. A quiet ping brings me back to reality- a text from Mari.
Girly, u here?
Freaking out, I quickly text Mari back, no attention to punctuation or capitalization.
i dont know where i am
I sink into the cold ground, the pressure of a menacing nonexistent hand pushing me down. A little red exclamation mark and three dreaded words pop up on my screen:
Message Not Delivered
WHAT THE WATER GAVE HER
by Anjali Harish, age 15
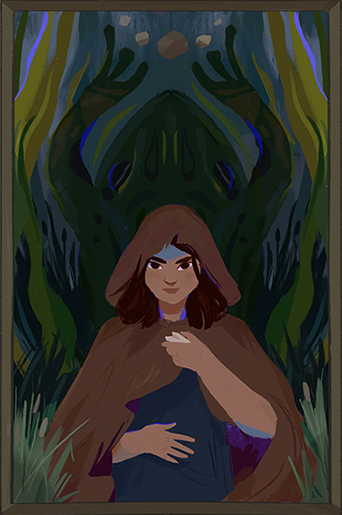
The witch was a small man, but otherwise rather ordinary. He had white hair— like snow, not silver—, kind eyes, and a fondness for darjeeling tea. He called himself Mother.
The directions were unclear. But it was unwise to question a witch so she paid that as little mind as she could. The slip of paper bearing the directions crumples in the tight clutch of her fist, the writing surely too smudged and sweat soaked to be of any use to her now. She is glad that she had the sense to commit it all to memory before she began the journey.
Again, she thinks. Go over it again.
1. If you ever had a name, forget it. It is no use to you now.
2. When the bullfrog croaks for the third time, wade into the river until you see him.
3. He will give you a choice. Despite what he may tell you, it is a choice. Choose.
The river is a gaping maw when she reaches it. The reeds and rocks that line the bank form a fiendish grin. The water itself is the color of ink spilled across parchment and it blots out even the moon. It laps at her toes, gentle freezing nips, like snowfall, like delicate daggers.
A fat, bulbous frog lunges for the rock beside her, and croaks once.
Twice.
Three times.
She doesn’t breathe until the water goes over her head.
She doesn’t have to wait long. In fact, when he arrives, she wonders for a moment if she is dreaming it, because nothing has changed. Like he’s been with her the whole time. With a shudder, she realizes that he has. He stares at her, all bones and sharp shoulders, all artless boyhood and innocence, all nursery rhymes and ghost stories, and she sees him for who he is: the child she came here to destroy.
I shall consume you, her wicked unborn son sneers. It is decided.
He opens his mouth. A baby’s cry. A hyena’s cackle. Wide as the river.
She beats him to it.
No. It isn’t.
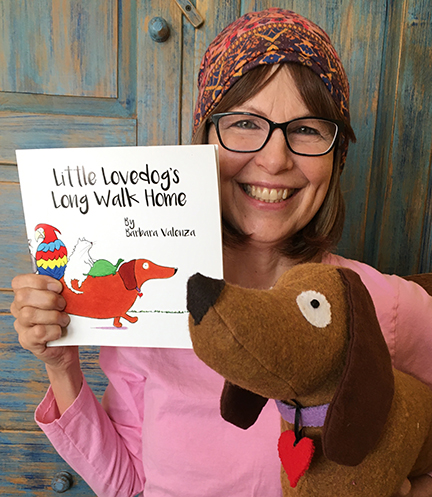
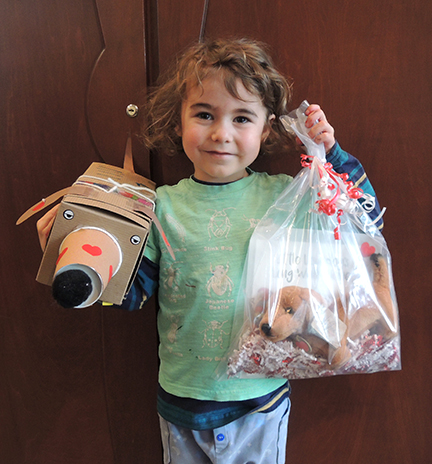
 However! Since Little Lovedog is a story about a dachshund, we nested one box inside another to create an expanding pup that can carry lots of friends on its back!
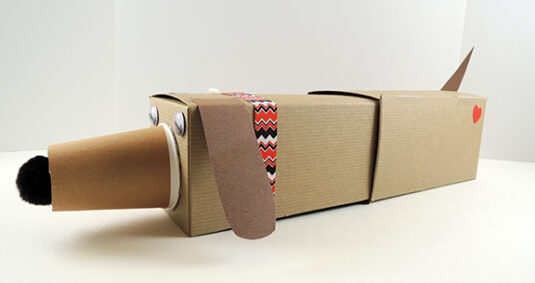 Next, we made five friends with various little cups and construction paper. We also added some snippets of self-adhesive foam to the sides of the cups to prevents them from sliding off the dog’s back.
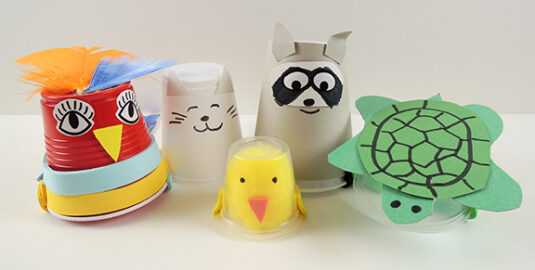
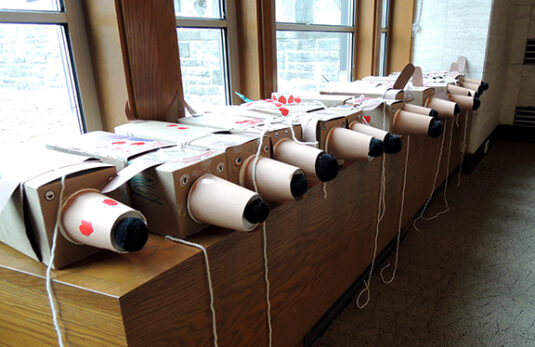 Kids then placed their animal cups around the gallery and took a walk with their dogs, picking up friends as they went! The journey ended at the Lovedog family’s mailbox, where Barbara was waiting to hand out heart erasers and special bookmarks!
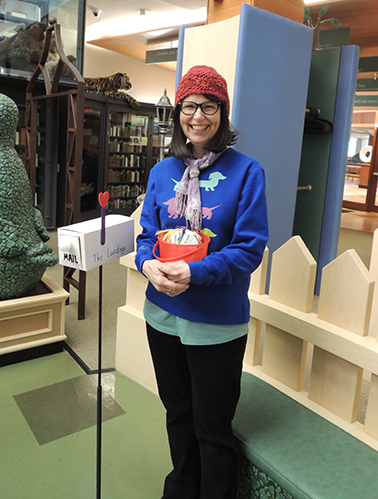
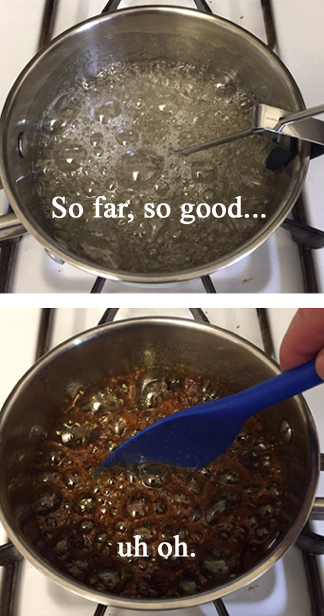
 Our first fail comes from the kitchen of Katie, where a
 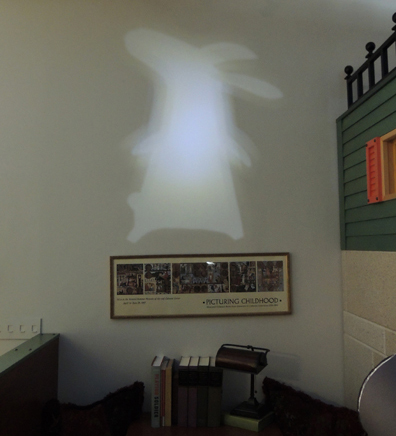 ALWAYS test your light source. Not all beams are created equal! As we quickly discovered when our oatmeal container projector resulted in an unfocused, blobby
  Learned this one the hard way – and so did our carpets and clothing. Erasable
 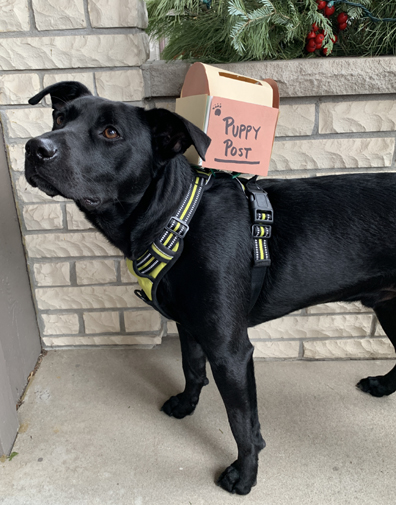 It took SIX tries to get Katie’s pup Finley to simply walk down the hallway with a
  Our program at a local
 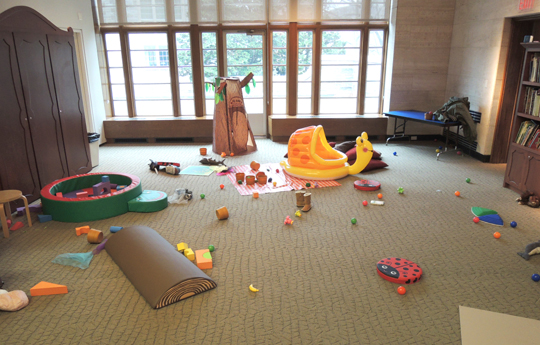 What started as a lovely bucolic
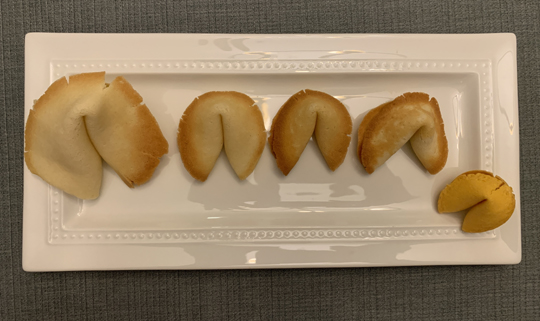
 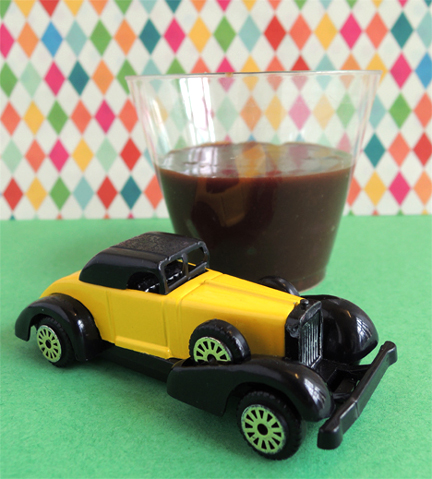 Yes. That is fudge in a CUP. One of Pop’s most classic fails, Katie learned how woefully temperamental
  Otherwise know as the day I turned my bathtub and hand pink. It was supposed to be a
 While doing research for a Willy Wonka