
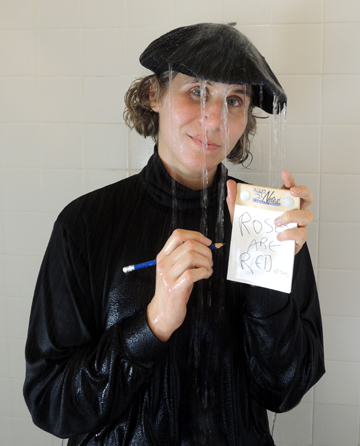
 It all started when Marissa ask me if I wanted a shower notepad. Whaaaat? It turns out that, yes, there is a writing device specifically designed for the shower. Intrigued, I donned my black beret and turtleneck and headed to the bathroom to pen some poetry on the Aqua Notes Waterproof Notepad.
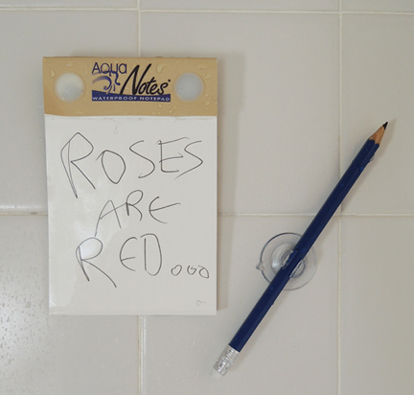
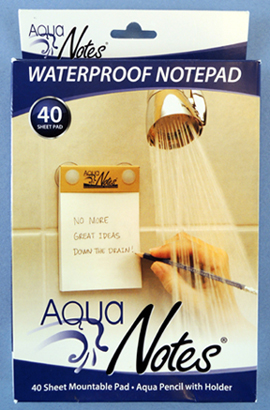 Aqua Notes retails on Amazon for $8. The set includes a 40 sheet pad that’s perforated for easy tearing, and an “aqua pencil.” The pad (which is 3.5″ x 5.25″) has two suction cups on the back. The pencil has a suction cup holder as well.
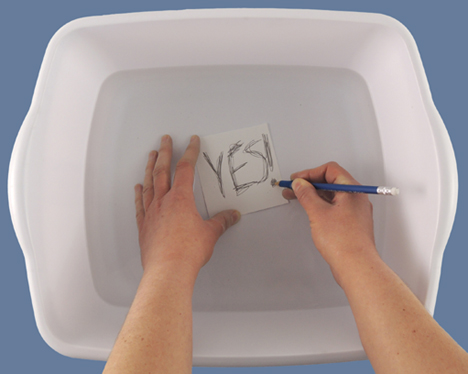
I expected the paper to feel a little waxy or stiff. Nope. It just seemed a little thicker and smoother than your typical computer printer paper. There was no indication that it was waterproof at all. The notepads are recyclable and non-toxic, with soy based ink and wind energy fueling the printing process. Which is really cool. But does it work? YES IT DOES.
As you can see, I was able to write with no trouble. The pencil and the notepad magically deflected all water, and the lettering was sharp and crisp with no smudging.
 Ripping the pages off the notepad, however, was considerably more difficult than a regular pad. You had to line up the perforation just right. Unintentional bonus for those of you composing long poems – the wet pages stuck to the walls of the shower like a felt board. They stayed up there too! Pages stuck to my shower wall at 1pm were still going strong at 9pm. I removed them, noting that they peeled off easily and left no marks.
One problem I did notice was that after its initial use, the pad stays damp and the pages clump together. You really have to pull them apart. You can remedy this by taking the pad out of the shower for a day to dry out. But I will say this – even soaking wet and clumped together, the pad still worked!
The aqua pencil has an eraser, so we tested that too (writing in the shower is funny, but editing in the shower really gave me a chuckle). When erasing, the writing first appears to liquefy like ink. A quick brush of the hand or a spray of the shower nozzle, and it’s gone!
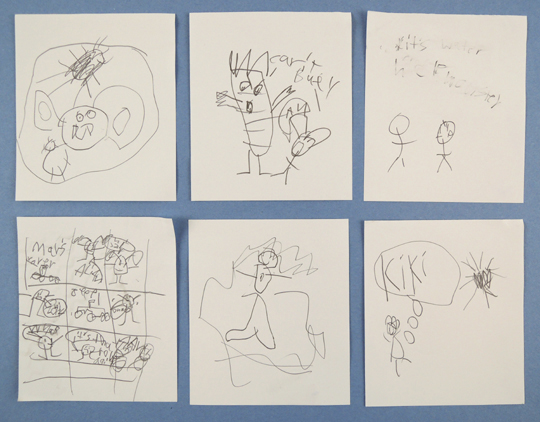
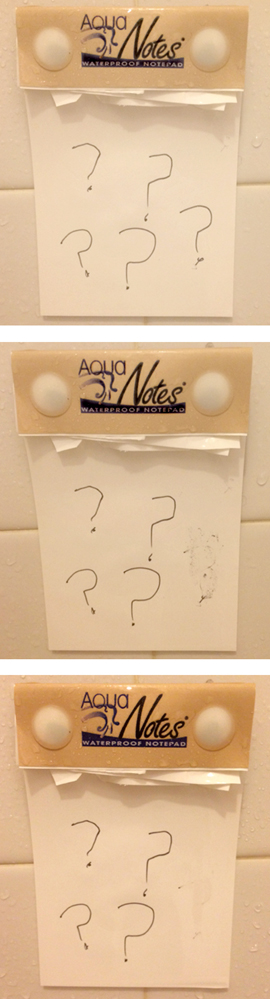 In terms of hardware, the suction cups held up well. For two weeks, the notepad clung to the wall, even after my kids discovered it and were sliding it, pulling it, and enthusiastically illustrating on it. Their testing efforts also revealed that once an individual page is removed from the shower, it takes about 45 minutes to completely dry.
 And just in case you are wondering:
- Does the aqua pencil write and erase on regular paper?
YES, very well!
- Can the special paper handle ballpoint, gel, permanent, and washable marker ink?
YES! However, the washable marker went on smudgy and took longer to dry. - If you submerge the pad in a tub filled with several inches of water, does it still work?
The product test was a success, but would you actually use this in the shower? That’s totally up to you, but I will say that Katie found an online review in which a husband and wife used the notepad to jot down potential baby names. Eventually, one of those shower-inspired names became the baby’s name.
I defy you to find a cuter use of the Aqua Notes Waterproof Notepad.
 It’s a mysterious bottle filled with a unique, glowing essence. What could the essence be? Happiness? Triumph? Panache? The Thrill of Your First Ride on the Back of an Arachnimammoth? This radiant project was part of
 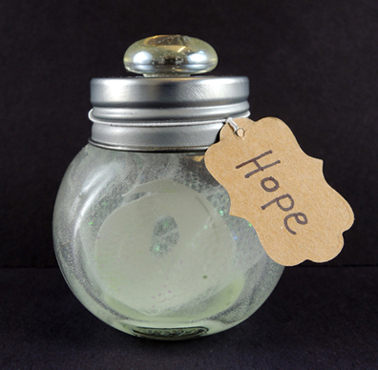 But, because DENKi-3000’s research and development department is shrouded in secret, the entire project came as a take-home kit with strict instructions to NOT open the box until you get home.
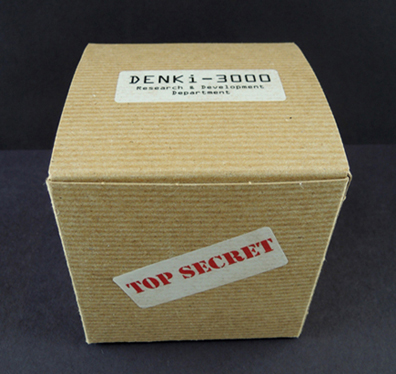 You’ll need:
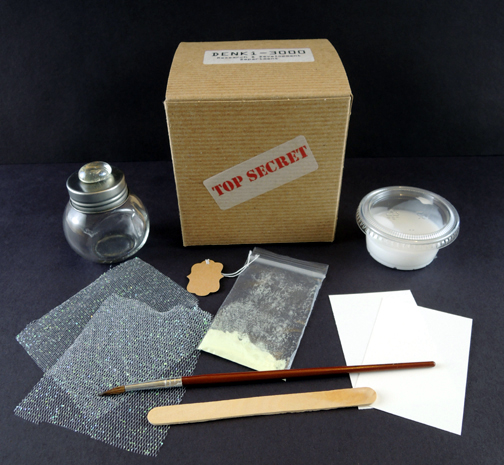 First, the bottle! We used 2.25″ screw-top jars scored from the wedding section of Michaels craft store. 20 jars cost $21, but we had a 40% off coupon. Woot! To make it look less like a spice jar, we hot glued a clear
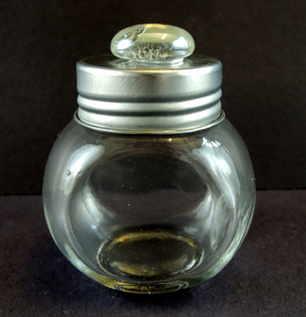
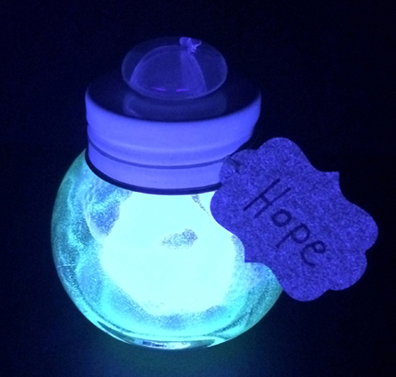
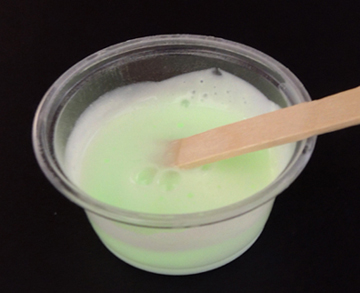 The glow glue goes on opaque, but as you can see below, it dries semi-transparent. Glow-in-the-dark paint (which we found in the t-shirt decorating section of Michaels) also dries transparent:
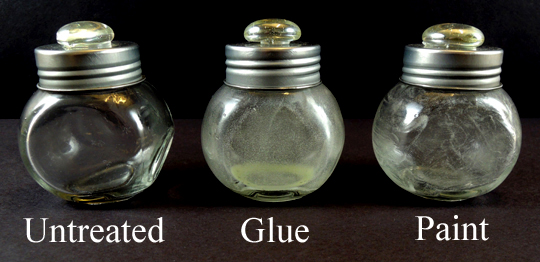 The glow glue, however, glows much stronger. Perhaps because you can control the ratio of pigment to glue? But the paint is glowing. And it requires a lot less measuring and mixing. So you can’t go wrong with either choice.
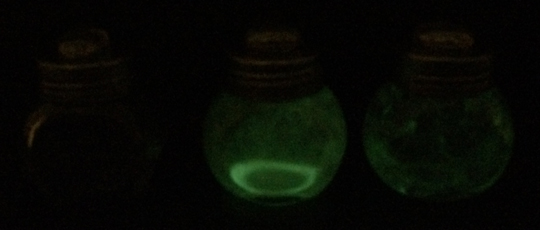 It’s time to create your creature essence! This is basically a card stock shape wrapped in tulle. Since we wanted the bottles to also look pretty in daylight, we went with glitter tulle, which you can find in the ribbon section of Michaels.
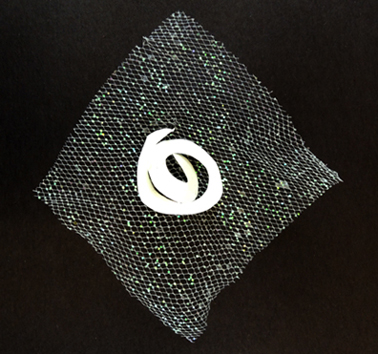 Once the bottle, the shape, and the tulle are dry, gently wrap the tulle around the shape and tuck it into the bottle. Screw the lid on, write the name of your essence on a label, and attach the label to the bottle. We used 1.25″ price tags with elastic strings, found it the beading section at Michaels. We found the plastic baggies for the pigment there too. Both of these things cost just a few bucks.
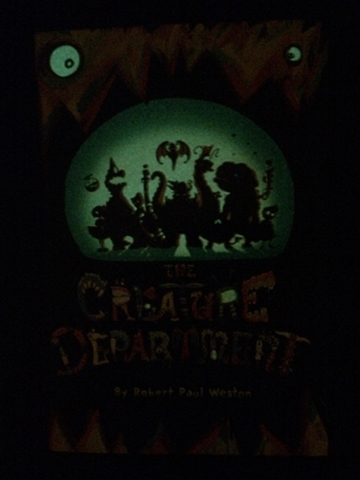 Every story time, without fail, the kids would ask to see the cover glow. No matter how many times we looked, they never lost their enthusiasm for it. In the video below, you can’t see the book, but you can definitely hear the kids reacting to its cover!

 If you’d like to see the event map,
  Or this really cool Victorian visual toy called a thaumatrope
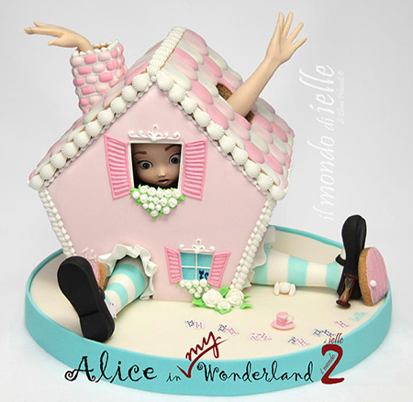
 And what about tea? 2016 was the 150th anniversary of the publication of Alice’s Adventures in Wonderland, and we put together an elaborate Victorian
 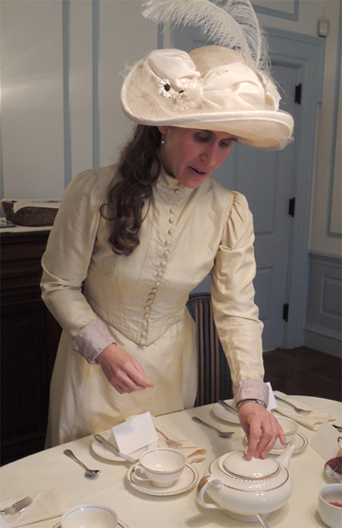 The Library of Congress went all out for the 150th anniversary as well. In
 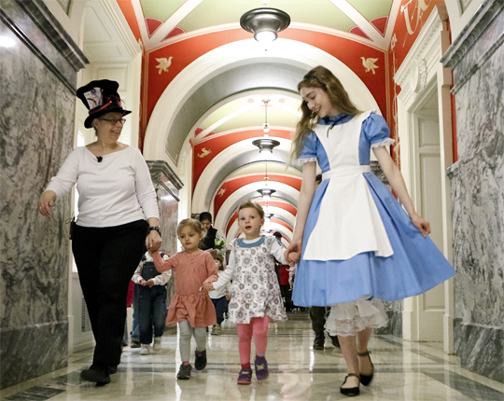 However, the award for the most whimsical Alice connection goes to the Mazza Museum of International Art from Picture Books (which I blogged about
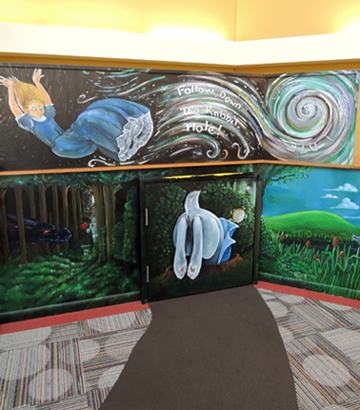
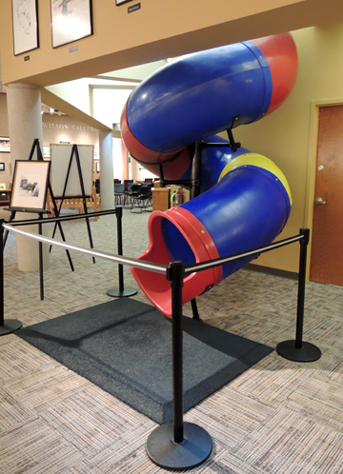 Dang. I want a twisty slide in my place of employment.