
 While archaeology can’t always be fedoras, bullwhips, and jaunty theme music, it is a fascinating field of study. Plus, you get to dig really, really big holes! In 2013, my library had a large-scale Journey to the Centre of the Earth event, and archeology seemed just the thing to include. But we needed to be realistic about what we could do. I mean, we couldn’t set up a dig site on the event floor…or could we?
Today, I’m going to share how Katie and I built a portable archeological dig site. It has it all – grids, brushes, artifacts, scientific sketches, field notes, and a clipboard activity that got kids thinking about how all the artifacts were connected. The dig was hosted by the Historical Society of Princeton, who put their own fantastic twist on things (I’ll share what that is at the end of the post!).
Katie and I created the dig in the pre-blog days, so you’ll have to excuse me if there aren’t as many detailed process photos!
Our dig consisted of 4 different “sites.” Each site was a group of 6 corrugated cardboard boxes and a clipboard. I ordered the boxes from Uline (model S-16746). They are 15″ x 15″ x 3″. Originally, the boxes had attached lids, but we cut those off. We connected the boxes with tons of hot glue, then ran brown packing tape around the outside as well.
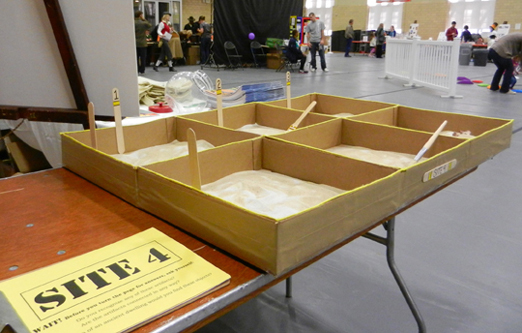 Archeologists use string to divide their sites into grids. We replicated this by hot gluing yarn along the tops of the boxes. We color-coordinated the sites as well. Site 4, for example, had yellow yarn, yellow stripes on the markers, and a yellow cover sheet on the clipboard. The other site colors were green, orange and red.
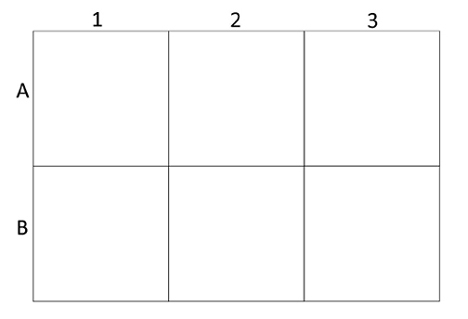
Since the artifacts would later be matched to a site map, we hot glued wooden craft sticks markers around the grid as well. Here’s how each site was marked:
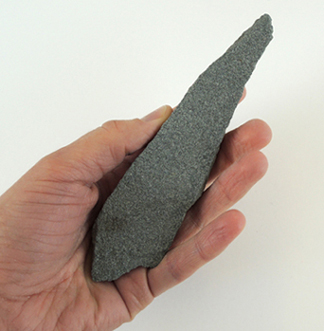
 The next step was to find artifacts to put in the boxes. We had a lot of fun with this! Among other things, we used old metal jewelry, non-plastic beads, and owl pellet bones. We used air dry clay to make cups, plates, bowls, and spoons (a couple of which we intentionally shattered and used as shards). A library contractor donated some small deer antlers, and I snagged a “stone knife” from a broken piece of paving tile.
 Each of the 4 sites had its own theme: 1) Fire Pit; 2) Pantry; 3) Treasury; and 4) Armory. We sorted the artifacts under the different themes, and then arranged them in the appropriate boxes. Because we needed the artifacts to match the site map, we hot glued them inside the boxes. And we really, really hot glued them. We even had an emergency hot glue gun at the event in case an over-eager archeologist yanked an artifact out of the box.
Next came the dirt! Except, for sanitation reasons, we used playground sand purchased from Lowe’s. Specifically, we mixed white and yellow playground sand together to give it more texture.

Original image source, the Nassau Literary Review
To keep the mess at a minimum, we added 1″ of sand to the boxes. It was just enough to cover most of the objects, but still left a few sticking out in a tantalizing way. Each individual box got 4 cups of sand, which meant each site used 24 cups of sand. In the end, we used 50lbs of sand for the whole dig site. For obvious reasons, we transported the prepped boxes to the event and THEN filled them with sand.
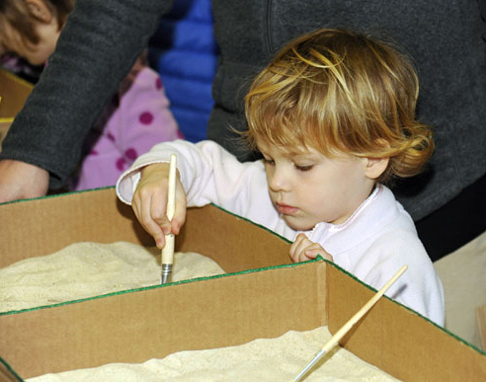
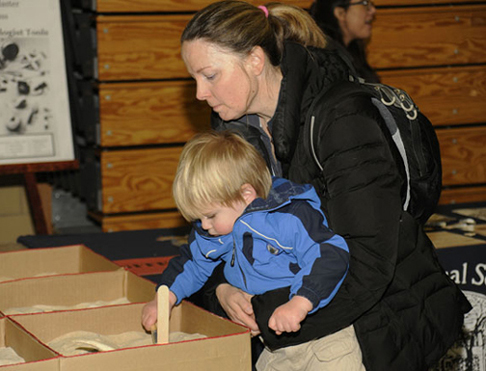
At the event, young archeologists used paintbrushes to uncover the artifacts. They were natural bristle brushes with wooden handles in assorted sizes (the widest being 2″). There were at least 4 brushes per site so multiple kids could work at once.
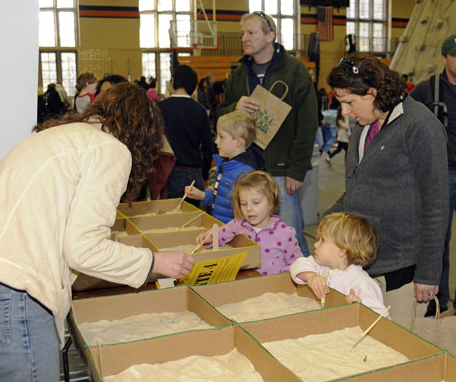 Remember the clip boards by each site? The clipboards contained a site map of where all the objects were buried. But before kids looked at the map, we asked them to think about what they had just uncovered. So the cover sheets for the clipboards looked like this:
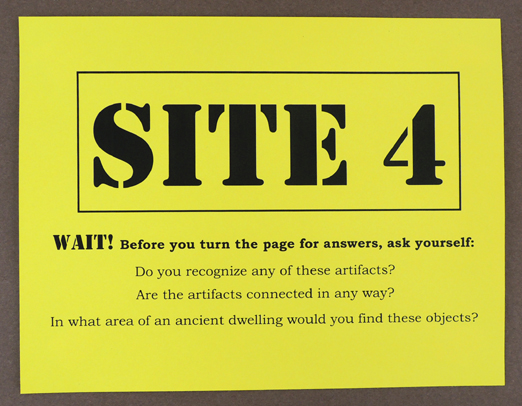
Kids would talk about what the artifacts looked like (“That looks like a spoon!”), how some artifacts were located close together (“I saw a plate and a spoon together…”), and then make guesses as to what dwelling the artifacts were used for (“I think someone was eating here. A kitchen maybe?”).
Flip up the cover sheet, and there was the site map with the artifacts. If kids hadn’t found an artifact, they could use the grid markers to locate it. The map also had the title of the site, so kids could confirm their hunches as to how the artifacts were connected. If they excavated all the sites, they would also see how those were related (the Pantry was located next to the Fire Pit, the Armory was located next to the Treasury).
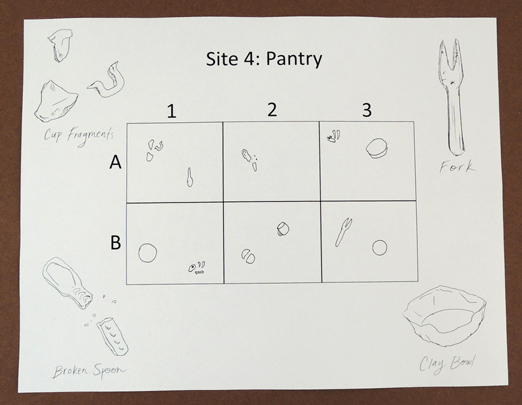 Bordering each site map were cool “field sketches” identifying some of the objects on the site. These were drawn by the awesome Aliisa Lee.
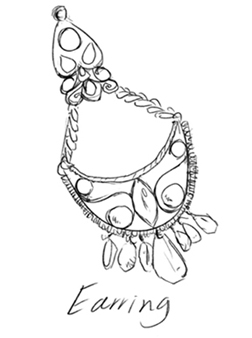 Aliisa even added cool little notes to some of the sketches…
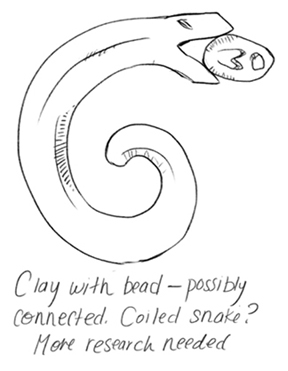 You might have noticed that we didn’t label everything on the site map. That was intentional. Many of the objects were obvious (beads, spoons, a bracelet), but we left a few mysteries to show that, sometimes, you don’t get all the answers right away. It might take a little more research and consultation with your colleagues.
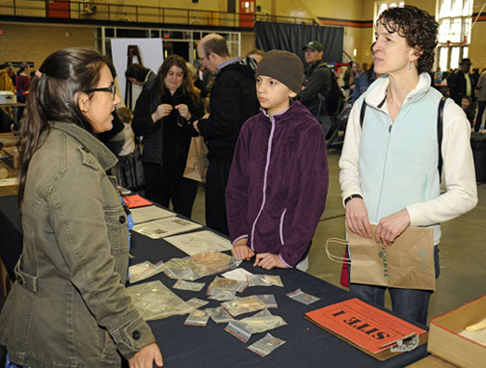
I mentioned that the Historical Society of Princeton added their own special twist to the archeology activity. YES! They displayed, and in some cases let kids handle, a multitude of artifacts that had been discovered and excavated from actual dig sites in Princeton! Some of the artifacts included broken dishware, glass piece, the base of a flowerpot, arrowheads, and a stone ax.
 The two Princeton excavation sites were the Houdibras Tavern and the Updike Farmstead (where the Historical Society now houses its headquarters). They had this fantastic photo on display too. Kids at the Houdibras Tavern dig in 1969. It was the PERFECT archeology and history connection. So cool.
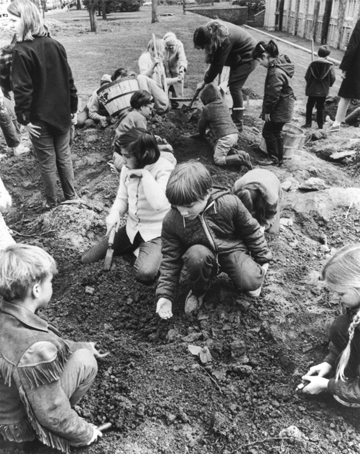
Photographer Warren E. Kruse of the Trenton Times, from the Collection of the Historical Society of Princeton
And there you have it! An archeological dig site to spark the imaginations of budding young archeologists (with their dedicated research assistants offering a boost when needed).
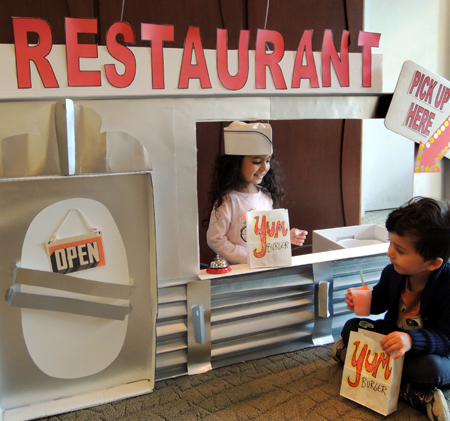 Get your piping hot hamburger, crispy crinkle fries, and ice cold soda served over the counter of this awesome 1950s diner! The cook is taking orders, and our fun matching game insures that your customers will get exactly what they like.
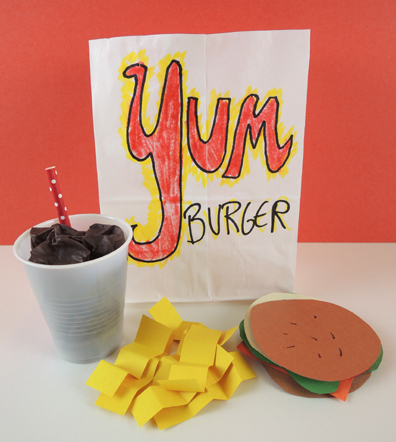 This project consists of 3 paper bags, 3 sodas, 3 sets of fries, 3 burgers, and 3 “customer cards.” First, cut the paper bags down to 7″, then decorate the fronts with your restaurant’s logo. To make the soda, squish three, 9″ x 13″ pieces of tissue paper into 3 small plastic cups. Add a half of a drinking straw to each cup (our straws were 4′ long). For the fries, accordion fold 1″ x 3″ pieces of yellow construction paper. We’ll get to the burgers in just a moment.
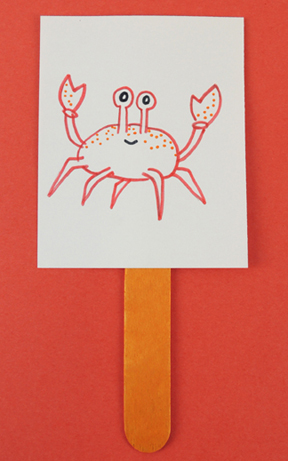 Now for the matching burger! Each burger consists of 6 pieces of construction paper: 2 brown buns, 1 slice of cheese, 1 lettuce leaf, 1 tan burger patty, and 1 tomato slice. Since you’re making 3 burgers, you’ll need 3 sets of those 6 pieces.
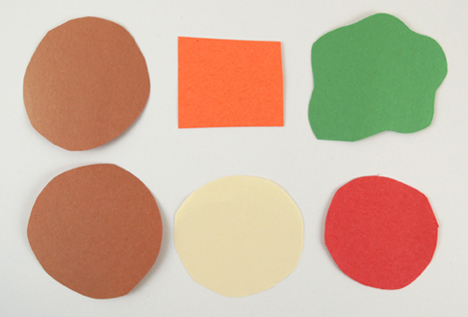 To customize the 3 burger patties, draw what each creature eats on a patty. For example, one of our creatures is a crab. Among other things, crabs eat fish parts and algae. So we drew them on the burger patty (here’s a
 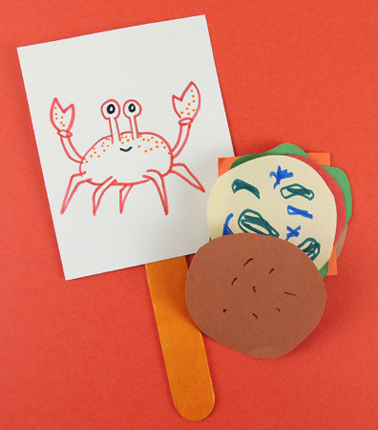 Use
Use 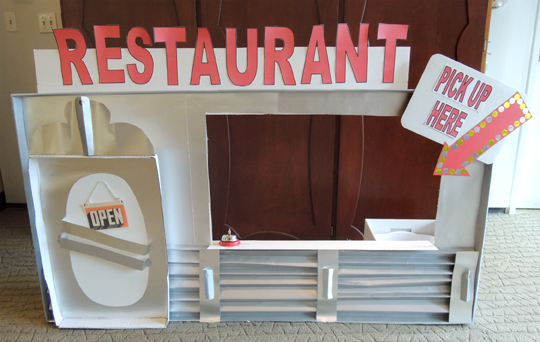 This diner is Marissa in all her awesomeness. The front is a recycled box lid (first used for this
 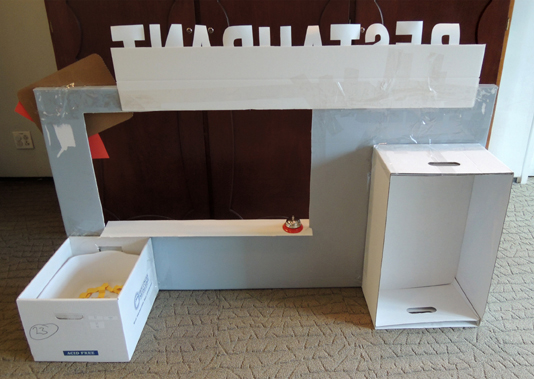 If you don’t have time to make a diner, no worries. Use a tabletop, small desk, or even an overturned box! However, I do recommend including a counter bell (in the past, I’ve borrowed the bell from the library’s circulation desk). Since our bell was going to get repeatedly slammed by kids, I taped it to the counter. You might want to do the same.
 Kids matched the customer to the appropriate burger, took a drink order (we offered cola, lemonade, or orange pop), and grabbed a generous serving of crinkle fries.
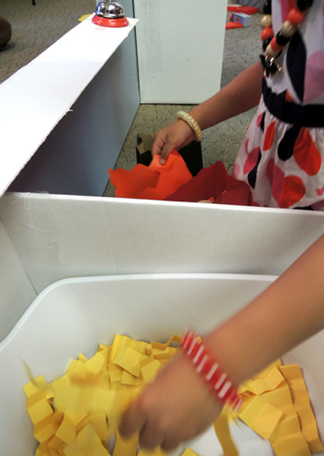 They bagged everything, briskly dinged the bell, and shouted “Order up!” Once that customer had left, it was on to the next customer until every creature had been matched to a burger. Did we have fun? Oh yeah! In fact, we left the diner up for 20 minutes after story time for repeat customers. There was lots of enthusiastic bell dinging and BIG smiles!
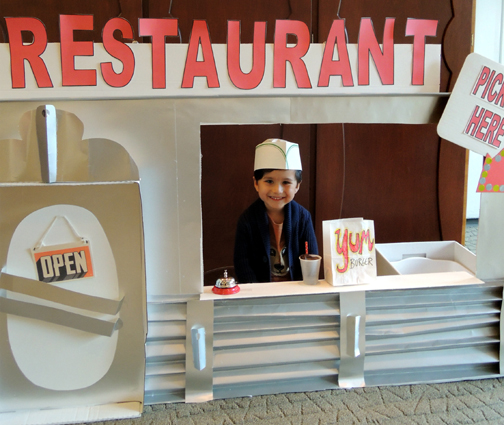 Want to supersize that? Check out these
 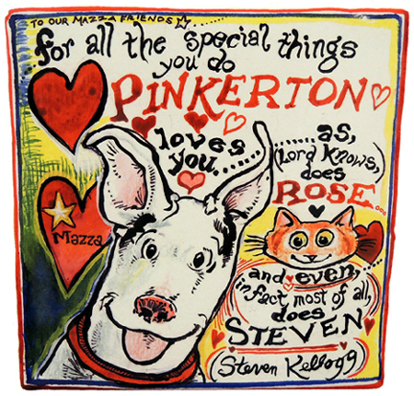 Even though winter is almost here, I’d like harken back to the golden days of July and share a trip I made to Findlay, Ohio this summer. The purpose? To teach two creative workshops at The Mazza Museum of International Art from Picture Books’ summer conference.
 The main gallery is absolutely packed, almost from floor to ceiling, with children’s book illustrations.
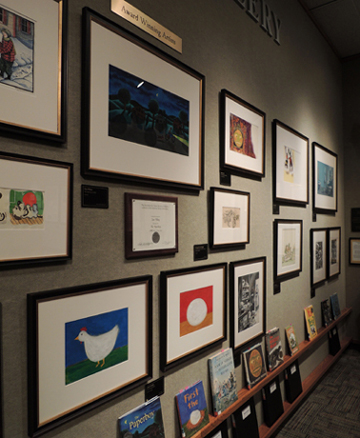 Notice the little black binders near the floor? That’s information about the different authors on display, along with reading copies of the book. Such a terrific idea.
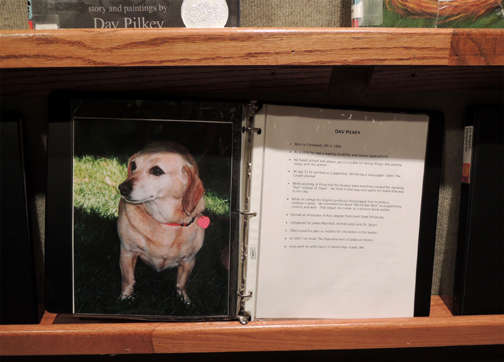 My favorite display, however, was a small side gallery containing displays of pop-up books.
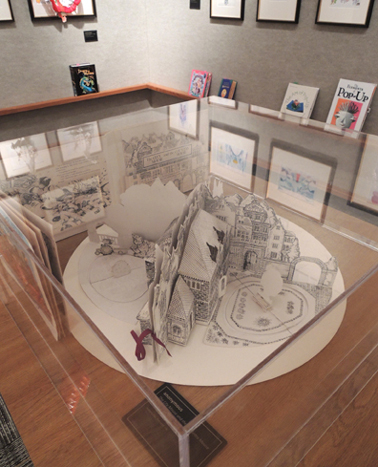 Like the main gallery, there were plenty of reading copies on hand. Here’s the Young Naturalists Pop-Up Handbook of Butterflies by Matthew Reinhart and Robert Sabuda (Hyperion, 2001).
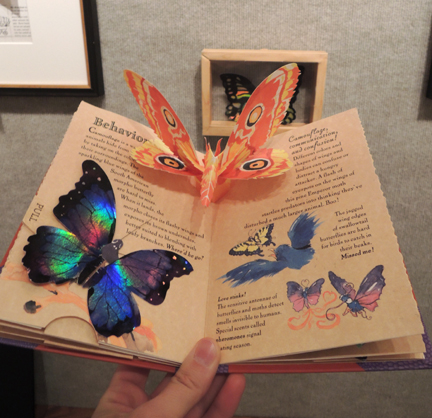 Back in the main gallery, there are some terrific whimsical touches. Like this Mother Goose flying from the ceiling:
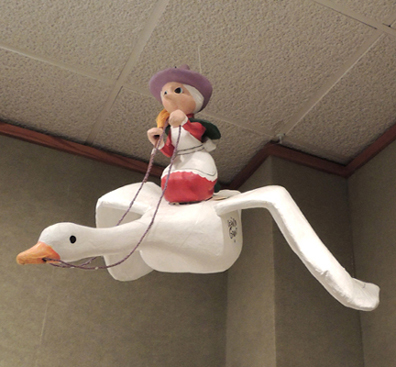 And an Owl and the Pussycat sailboat docked on the gallery floor!
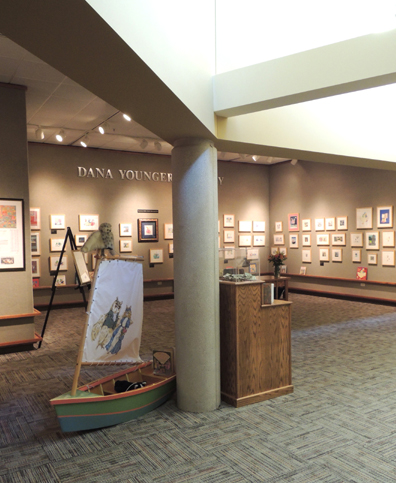 Did you notice the natural light filtering down in the above image? The central gallery has a large skylight that is partially blocked by an extensive loft area. Inside that light-filled loft is the MOST AWESOME PLACE EVER…a children’s space!
 Here, you’ll find plenty of comfy, kid-sized seating and a number of hands-on activities.
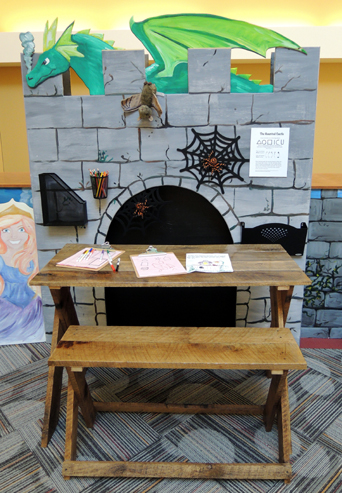 There’s a building table, a wall of gears, word games, drawing activities, some felt boards…and do you recognize this iconic library with the lions?
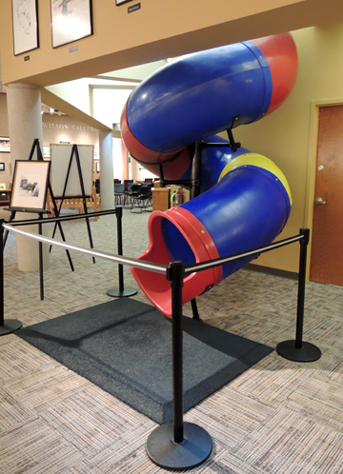
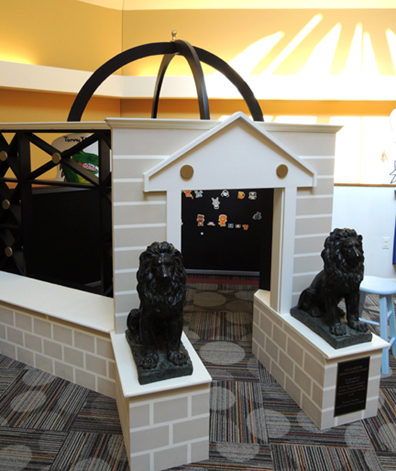 To exit the loft, you could take the stairs back down. Or, you could nip into the rabbit hole…
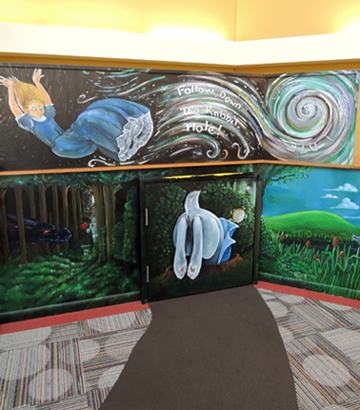
 Elsewhere in the building is an art studio for kids, a teacher resource center, multiple display of children’s artwork, and a gift shop with a big central area that encourages extensive browsing.
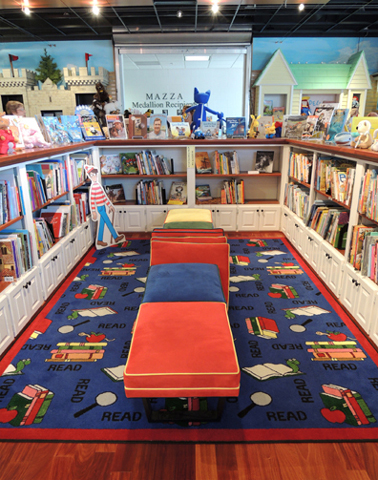 In the gift shop, I found a book so ingenious, I swear we have to do this for the
 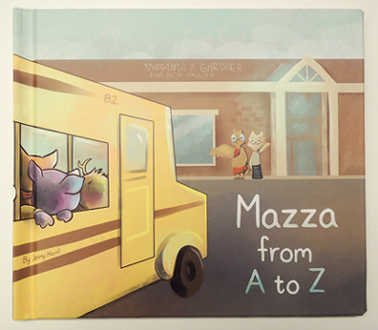 A class of adorable animals visit the museum and makes their way through the ABCs of visiting. Guess what the letter S is?
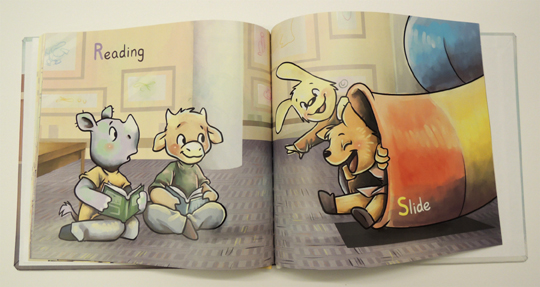 But the very best Mazza treasure I saved for last. Deep within the staff offices is a conference room filled with original illustrations, sketches, and notes from children’s book authors and illustrators.
 Every inch of the wall is covered. It’s amazing to think of the talent that has stood in this very room, Sharpie in hand, sketching on the wall.