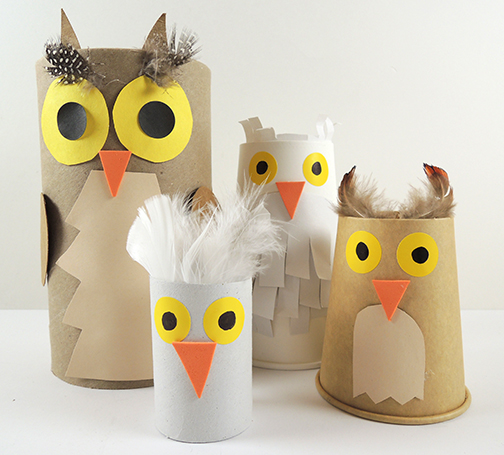
 It’s a simple craft, but oh-so-dynamic when this owl family reveals itself to be a set of charming nesting dolls!
We read Owl Babies, written by Martin Waddell, and illustrated by Patrick Benson (Candlewick Press, 1992). Owl Mother is gone from the nest, and her three baby owls anxiously puzzle out where she could be. It’s not long before Mother returns, with much flapping, dancing, bouncing, and celebrating from her dear owlettes. A sweet tale of connection and family, this was one of Katie’s son’s favorites when he was a little guy. Now he’s a massive freshman at the University of Oklahoma. Just like owls, time flies!
You’ll need:
- One small oatmeal container
- One 14oz paper cup
- One 8oz paper cup
- One toilet paper tube
- Construction paper
- Scissors, tape, and glue for construction
- Markers for decorating
- Optional: feathers
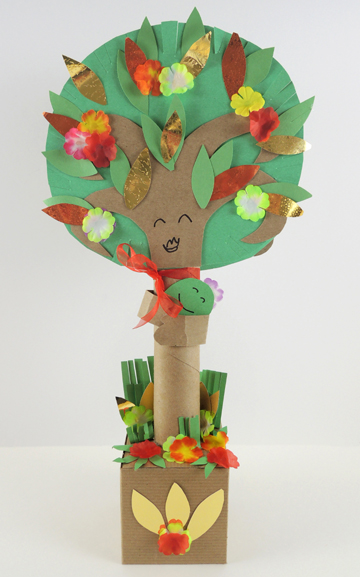
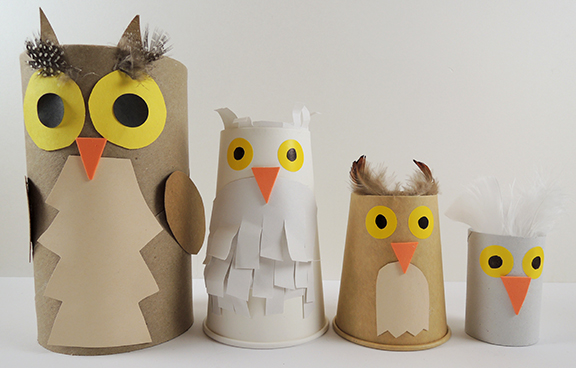 As you can see, we did different combinations of construction paper, textures, and feathers to make each owl unique, but also to keep them visually cohesive as a family. If you can, we highly recommend brown AND white cups, just to give the nesting doll reveal a fun color-change.
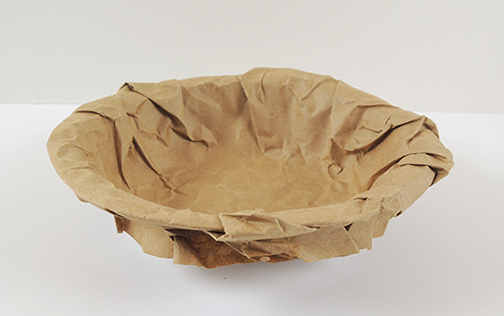
For safely transporting their owl family home, we also gave a kids a “nest.” As you can see, it’s a paper bowl covered in brown paper. We made sure the paper was firmly flattened and glued in the bed of the bowl, so there would be no wobbly owl babies!
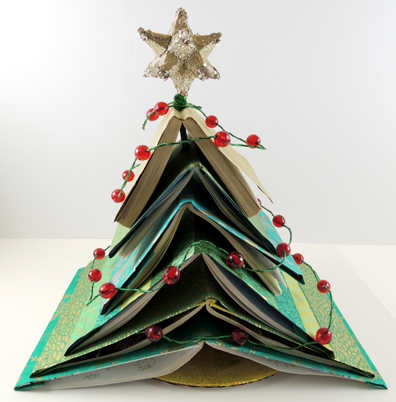
 Let me start by saying that Katie selected six OLD books for this project…retired editions that had torn pages, faded covers, and ripped bindings. Because otherwise we would have been cringing during the first step of the project…drilling holes in the spines of the books! Katie used the largest drill bit in the set – a 5/16″ bit to be exact – to drill holes in the center of the books’ spines.
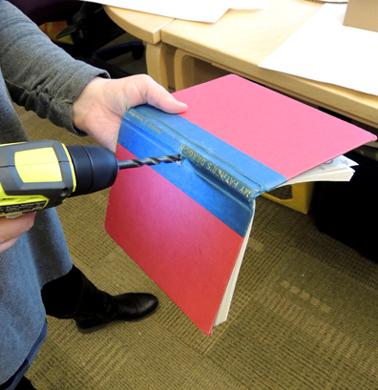 Next, she used a bottle of Mod Podge and a foam paint brush to glue wrapping paper onto the covers of the books. We went all schmancy and bought our wrapping paper from Paper Source.
 While the book covers were drying, Katie construct the tree base. She glued together two, 12″ cake pads, then glued wrapping paper on the top circle. She again drilled a hole in the center of the base, then threaded a cake support rod upwards, through the hole.
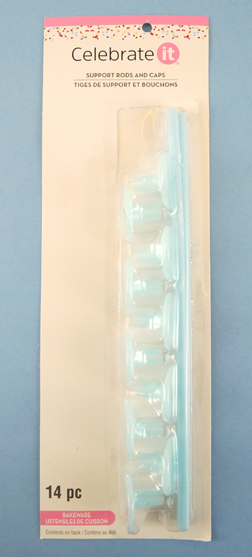 Annnnd here’s the finished base, ready to support some books!
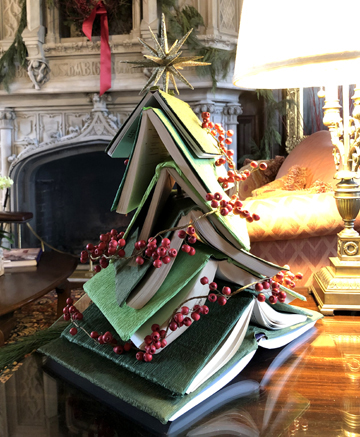
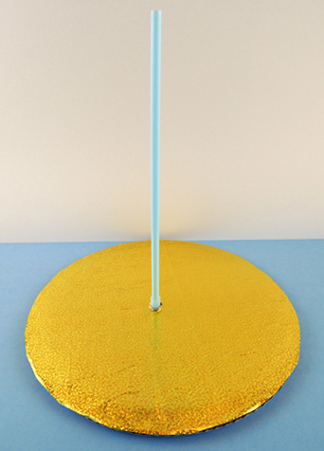 Since the initial holes Katie drilled in the books were covered with wrapping paper, she carefully re-drilled them. Then she threaded the books onto the support rod. Almost immediately, she noticed a problem. The books sagged down the smooth rod and flattening out! Katie quickly fixed the problem by wrapping rubber bands around the rod to brace each book.
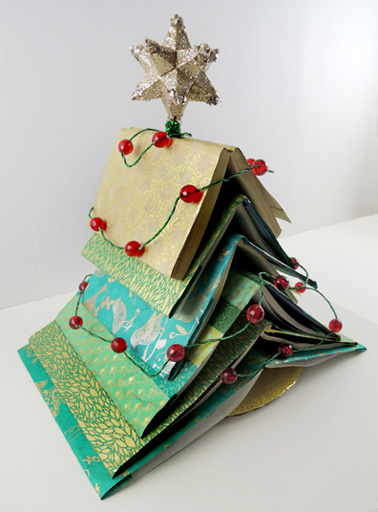
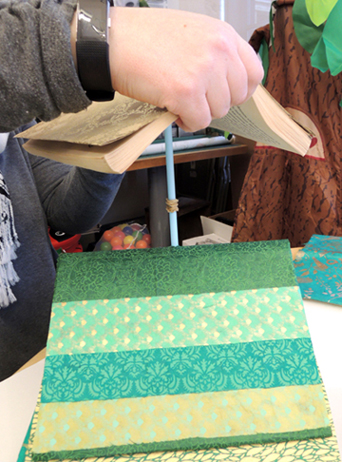 When the books were stacked, Katie added a star to the top. This was a cheap ornament with a sparkle stem wrapped around the ornament’s loop. The sparkle stem was threaded inside the cake support rod, then the star/rod connection was reinforced by a second sparkle stem. Add a strand of lights and you are done!