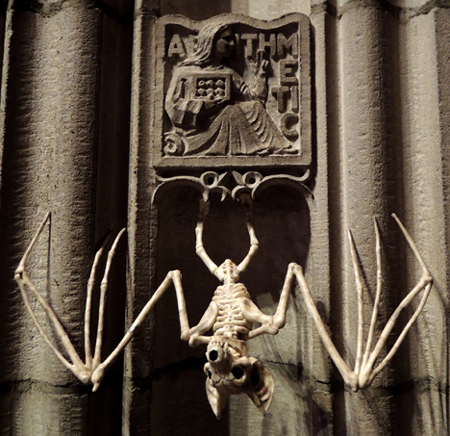
 You had a shadowy sneak peek here. Today, we’ll be sharing all the details of our oh-so-Gothic Dracula escape room, which was designed by Katie, who is now officially dubbed “Queen of Escape Rooms.”
The room premise was this…American heiress Adeline Eastman (affectionately know as “Addie” to her family) is missing. Her famous father wants to keep the kidnapping out of papers, so instead of calling the police, he hires you, a team of private investigators, to find her. However, the more you uncover about her disappearance, the odder and more supernatural the crime seems. Your sources lead you to a remote room on an estate, which you suspect is a trap. It turns out it IS a trap. The door locks behind you the minute you enter the room. Your only hope is to solve the puzzles before the monstrous criminals return to permanently end your investigation!
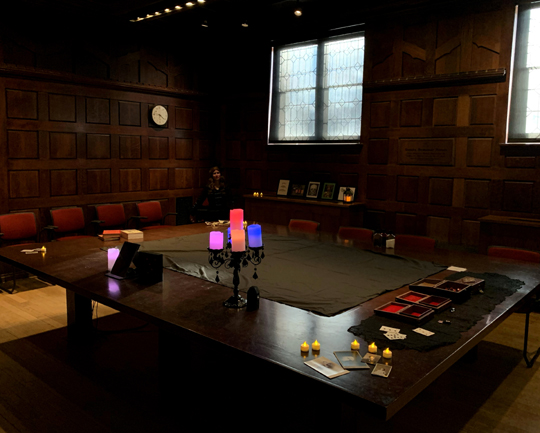
Like our two previous escape rooms (details here and here), we ran multiple rooms every half hour. This year we ran 2 rooms, 8 kids per room, all ages 9-13. We also advertised the event with this disclaimer: “While the escape room contains no jump scares, it is suspenseful with spooky elements. Please consider this when deciding to register your child.” Oh yes, we went suspenseful, spooky, atmospheric indeed. AND we included live actresses playing the kidnapped heiress, Adeline Eastman!
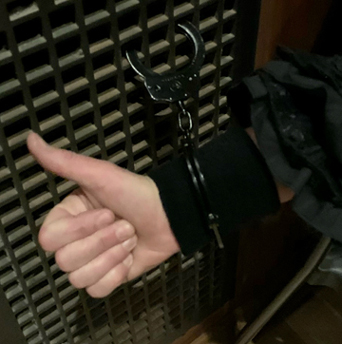
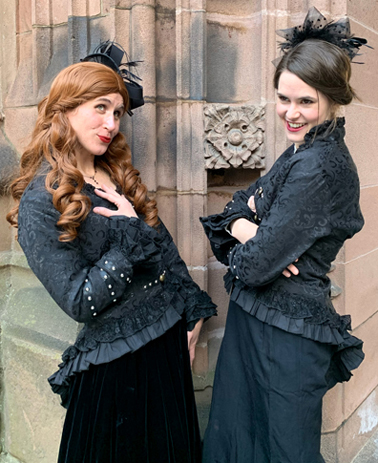 That’s me and Special Collections Reference Professional Emma Sarconi, who also rocks a background in theater. We spent the day handcuffed to a radiator grates, swooning, muttering, and begging to be released. It really added an amazing edge to the room.
When the kids entered my room, I was quietly turned towards the wall, completely still. I would wait until the door closed, do a slow count to 10, then turn and start begging them to help. They were SHOCKED to find the kidnapped heiress actually in the room! It was awesome!
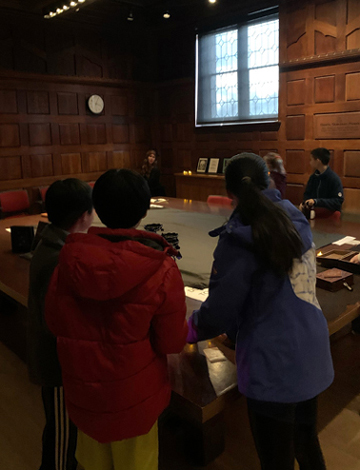 The kids quickly realized they had to find the key to my handcuffs to solve the room, and so the game began! Here’s Katie’s masterful escape room, with all the solutions.
For starters, there were 4 boxes on the table, 3 wood and 1 metal…
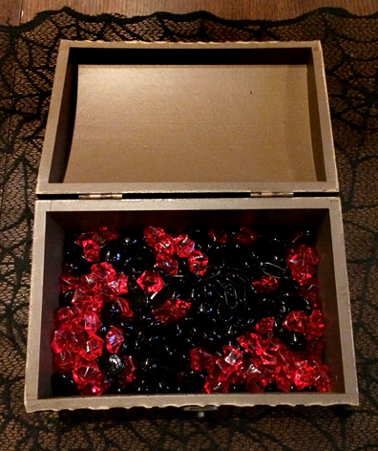
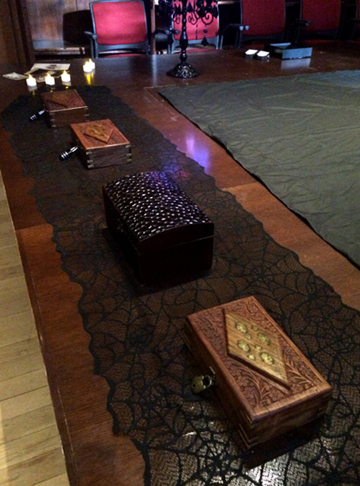 The metal box was unlocked, and buried under some glass beads was a key…
 The key opened a padlock on 1 of the wood boxes. Inside was a playing card marked with a Roman numeral (there were 7 playing cards altogether).
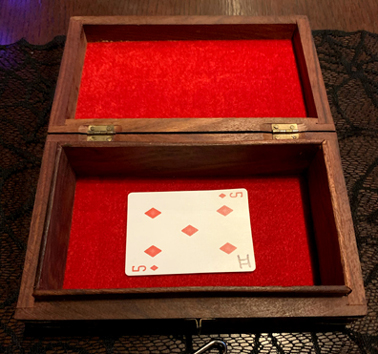 Elsewhere in the room were 3 more playing cards:
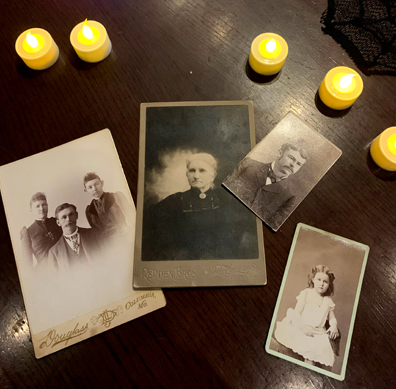
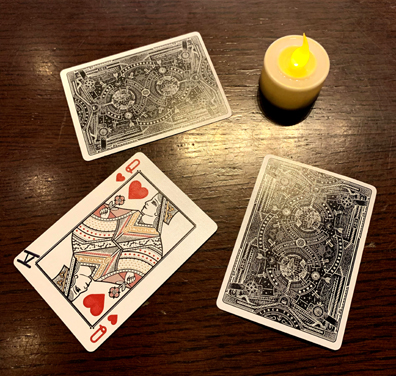 And 1 playing card was taped to the back of a vintage photo:
To find the 6th card, kids had to solve a bat clue. Namely, matching the bats in a frame with a color code inside a little coffin, which we subtly placed in another part of the room.
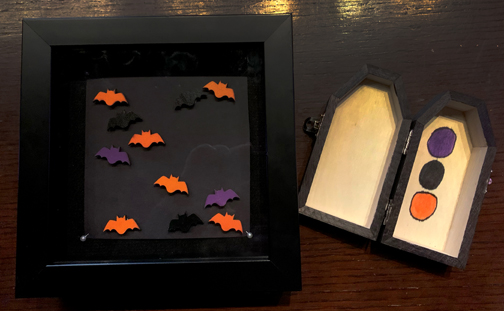
That 3 digit combination unlocked the wooden box with the 6th card. The final card clue was among these framed optical illusions and old illustrations…
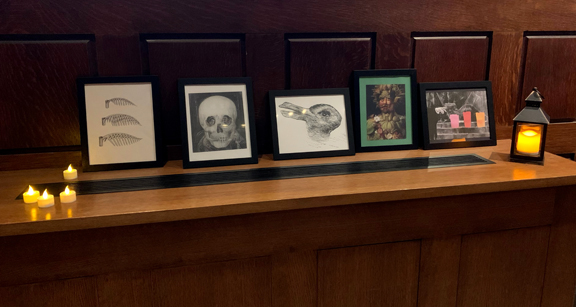 Specifically, this image of Dracula’s hand pointing to 3 color candles…
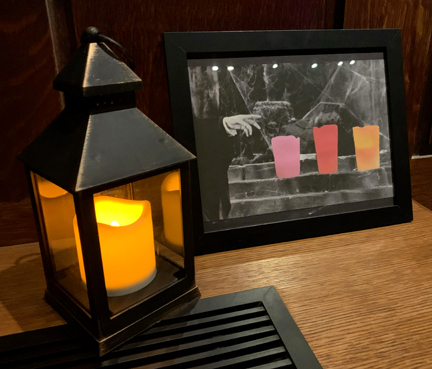
This corresponded to a creepy candelabra with flickering color candles…
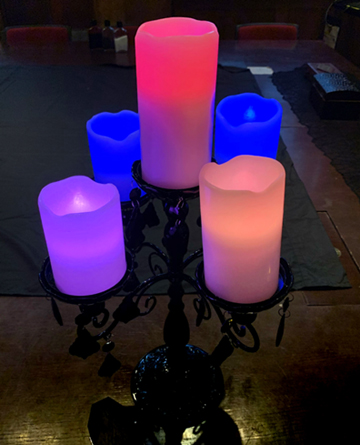 Kids had to make the connection to the image, get the colors in the right order, and then find the numbers taped to the bottom of the candles. That combination opened the wooden box with the 7th, and final, playing card.
All this time, I had been alternatively wailing, begging, and panicking in the corner, but at times I would start swooning and repeatedly muttering “There were 7 bells…but only 1 face…then 4 candles, but they went out.” If the kids were paying attention, they would discover that the code 714 allowed them to unlock this way cool safe disguised as a book!
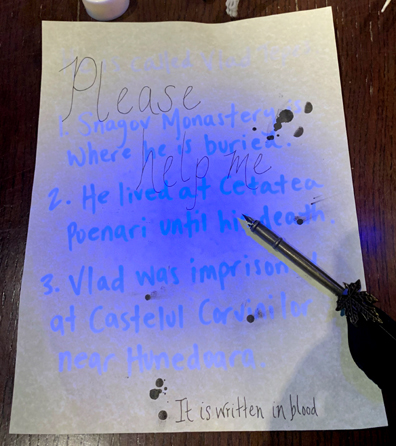
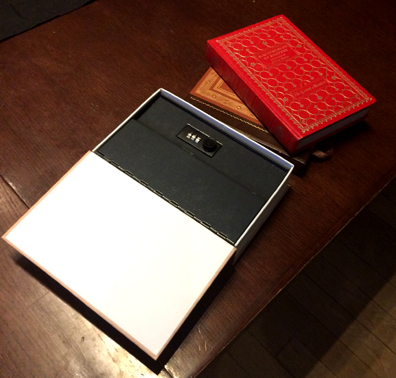 And inside the book safe? A UV flashlight. Which they needed to shine on the “Please help me” letter below. If they needed a little hint to find it, I started swooning again and muttering “It is written in blood…it is written in blood…”
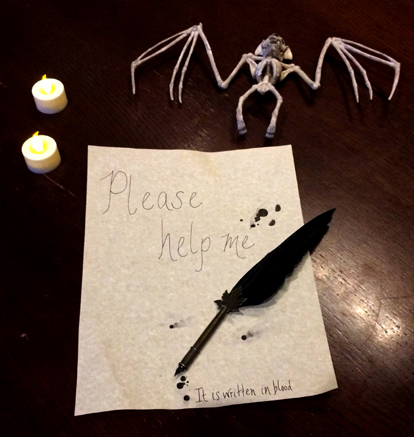 The UV light revealed this:
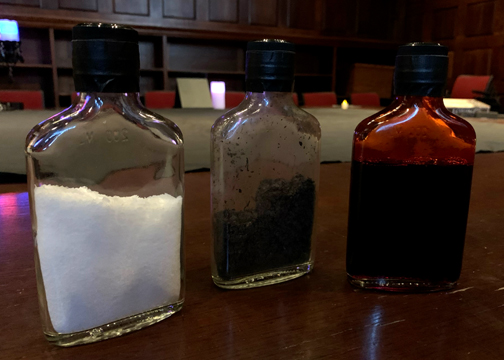
 An additional clue was on a bottle of (fake) blood, which sat next to a bottle of salt and a bottle of dirt.
 The UV light revealed this clue:
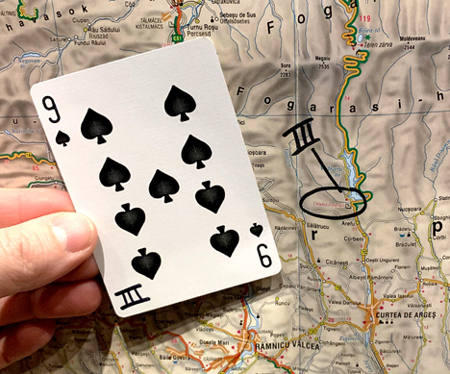
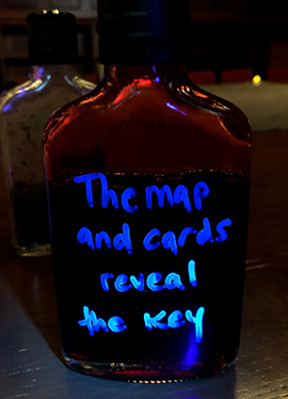 This sent kids running over to a large map of Transylvania. There were 7 locations highlighted on the map, each labeled with Roman numerals.
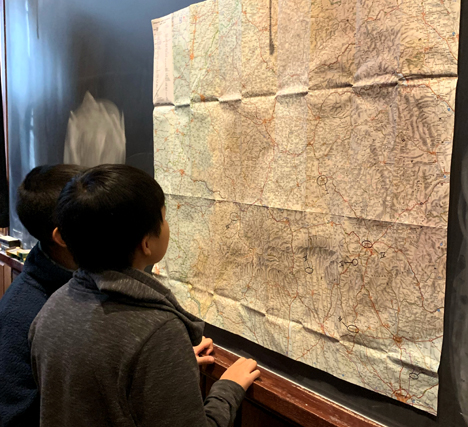 Using the numbered list on the “Help Me” letter, kids found the corresponding locations on the map, then matched the Roman numeral to the playing card, and THEN used the regular number on the playing card to string together a 3 digit code.
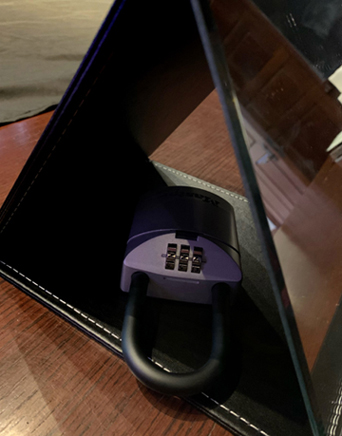
 That code unlocked a big master lock hidden behind a folding mirror on the table. The master lock contained the key to my handcuffs.
BUT WAIT! Even once I was freed, the room wasn’t over! I told the kids I wouldn’t leave with them because I didn’t know if I could trust them. They could, after all, be part of the kidnapping plan. How did I know if my family really sent them?
So the kids had to think alllll the way back to the escape room introduction, when Katie offhandedly mentioned that my family affectionately refers to me as “Addie.” If they remembered my family nickname, I would leave the room with them and they WON!
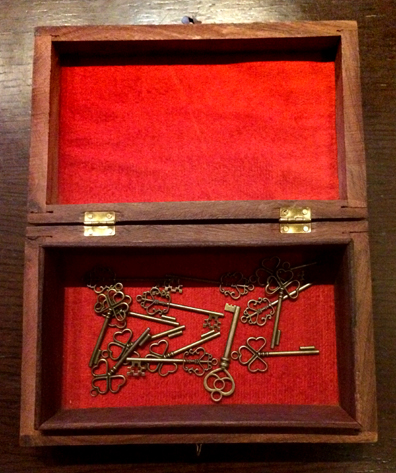
Our awesome game masters, library assistant Jess Landis and Princeton University student Amy Cho dropped hints and assisted kids in the room. And this year’s parting gift was a cool Gothic key.
I also made sure I fist-bumped all the kids and talked to them normally, so they wouldn’t think I was really that upset and panicky. I was just acting.
This escape room was FUN. I think it might have even been our BEST EVER. And even though it was Dracula-themed, you can see that we were very careful to keep it PG. There were no fangs, neck bites, or maniacal laughter. There was blood, but it was in a bottle.
The room was darkened though, and we brought in a bunch of electric votives to add to the feeling of creepiness. And having a live actress REALLY added to the thrill. Especially when I would bolt upwards and wail things like “Did you hear that? I think they’re coming! We have to escape!” Heh heh heh.
GENERAL HINTS
- Our room was designed for ages 9-13. A maximum of 8 kids participated per room.
- Make sure participants arrive at least 10 minutes before the game begins. We were very clear in all promotional and registration material that late arrivals would not be admitted.
- Have a waiting area for participants, and try to keep it away from the the actual escape room so no one overhears the puzzles being solved.
- Make sure all clues are printed. Not all kids can read cursive.
- Test everything in advance! Make sure the locks slide into the objects they’re supposed to lock.
- Make sure the game masters know the game. We ran them through the room once, and we gave them cheat sheets on event day.
- Bring cell phone chargers. Our 20 minute game timers were our cell phones.
SPECIFIC-TO-THE-ROOM HINTS
- Make sure your actress knows how to read the room, and dial back on the hysterics if things are getting too overwhelming.
- Hot glue AND tape the bottles of blood, salt, and dirt. Kids kept trying to open them, thinking the clues were inside.
- Using a black light flashlight? Bring extra batteries!
AND TWO MAJOR ONES…!
We found that the handcuffs cut into our wrists, so please provide a fuzzy wrist band to the actress to keep her comfy.
 The color candles we used were Candle Waves multi-color remote control candles (yup, you can use a remote to change the color…hilarious). They were a $2 thrift store score.
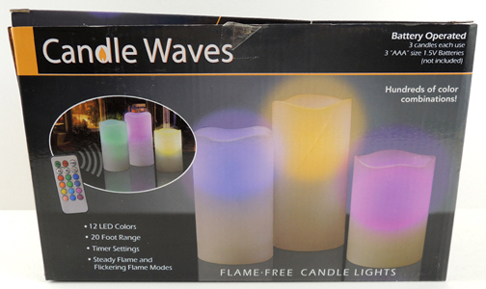 Unfortunately, the candles sometimes switched color when the kids banged them down on the table, which ruined the clue. So if you’re going to include this puzzle, buy candles with flames that stay ONE color, or candles with color pillars.
If you have any specific questions, or want to know where we found/ bought our items, or if you just want to tell Katie how awesome she is, you can e-mail her: zondlo@princeton.edu
Many thanks to Emma Sarconi for her star run as Addie Eastman. And to Jess Landis and Amy Cho for helping kids navigate the room with smiles on their faces. And to Katie…QUEEN OF ESCAPE ROOMS! Long may you reign!

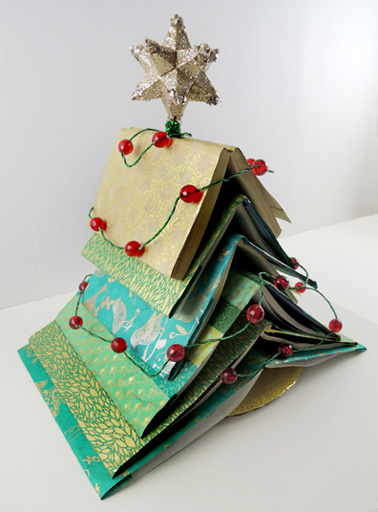
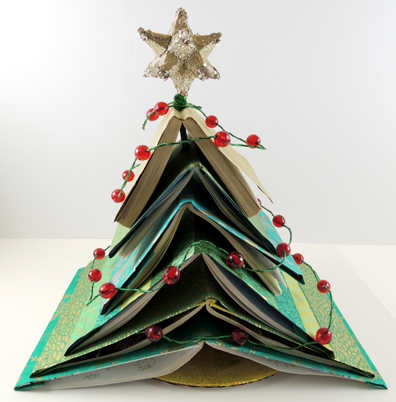
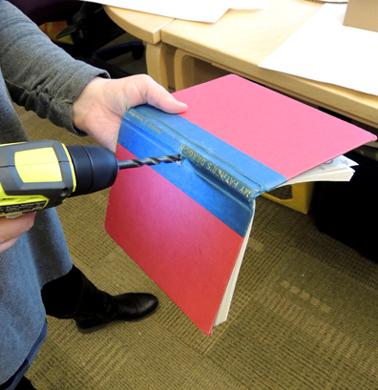
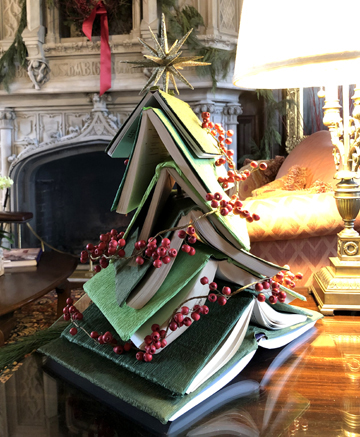 Let me start by saying that Katie selected six OLD books for this project…retired editions that had torn pages, faded covers, and ripped bindings. Because otherwise we would have been cringing during the first step of the project…drilling holes in the spines of the books! Katie used the largest drill bit in the set – a 5/16″ bit to be exact – to drill holes in the center of the books’ spines.
 Next, she used a bottle of Mod Podge and a foam paint brush to glue wrapping paper onto the covers of the books. We went all schmancy and bought our wrapping paper from Paper Source.
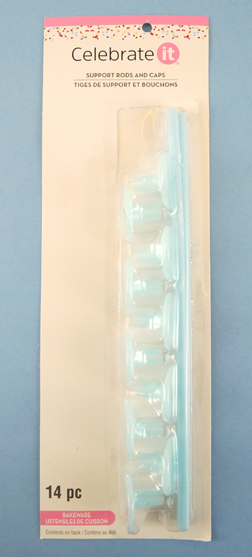
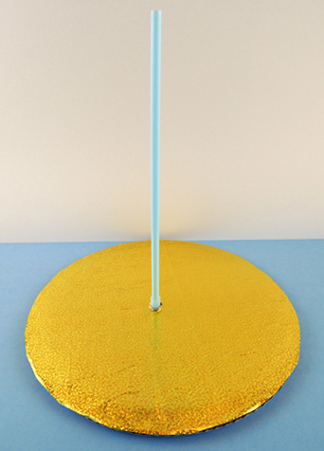
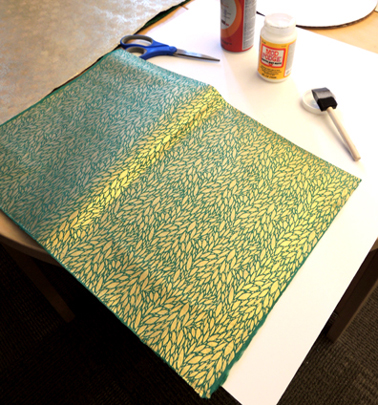 While the book covers were drying, Katie construct the tree base. She glued together two, 12″ cake pads, then glued wrapping paper on the top circle. She again drilled a hole in the center of the base, then threaded a cake support rod upwards, through the hole.
 Annnnd here’s the finished base, ready to support some books!
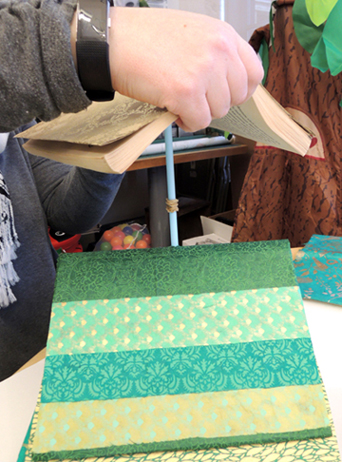
 Since the initial holes Katie drilled in the books were covered with wrapping paper, she carefully re-drilled them. Then she threaded the books onto the support rod. Almost immediately, she noticed a problem. The books sagged down the smooth rod and flattening out! Katie quickly fixed the problem by wrapping rubber bands around the rod to brace each book.
 When the books were stacked, Katie added a star to the top. This was a cheap ornament with a sparkle stem wrapped around the ornament’s loop. The sparkle stem was threaded inside the cake support rod, then the star/rod connection was reinforced by a second sparkle stem. Add a strand of lights and you are done!