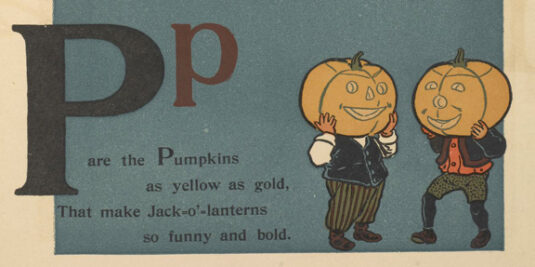
Denslow’s ABC Book. Denslow, W. W. New York : G.W. Dillingham Co., 1903. Cotsen Children’s Library, Princeton University Library
Halloween is just around the corner, which means it’s time to head to the pumpkin patch for your favorite festive gourd! Katie and I thought it would be fun to venture into the Cotsen Children’s Library’s special collections vaults and pull a few pumpkin treasures. Enjoy some historic pumpkins from 1900-1990!
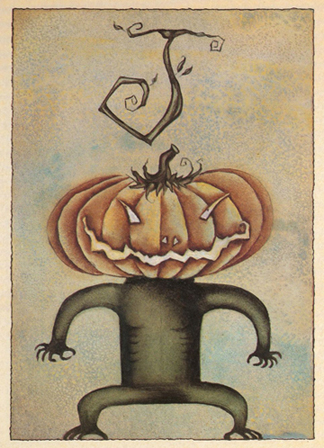
Halloween ABC, poems by Eve Merriam ; illustrations by Lane Smith. New York : Macmillan, c1987. Cotsen Children’s Library, Princeton University Library
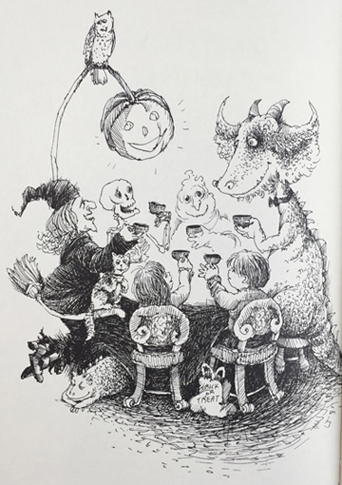
See My Lovely Poison Ivy : and Other Verses About Witches, Ghosts, and Things. By Lilian Moore, pictures by Diane Dawson.New York : Atheneum, c1975. Cotsen Children’s Library, Princeton University Library
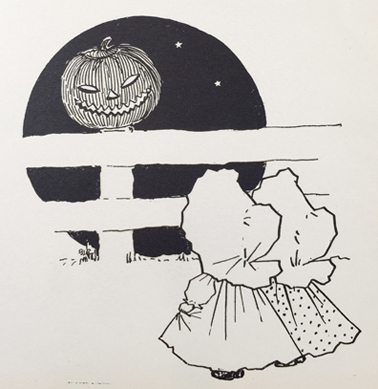
The Sun-Bonnet Babies. by Bertha L. Corbett. Minneapolis, Minnesota (no publisher given). c1900. Cotsen Children’s Library, Princeton University Library
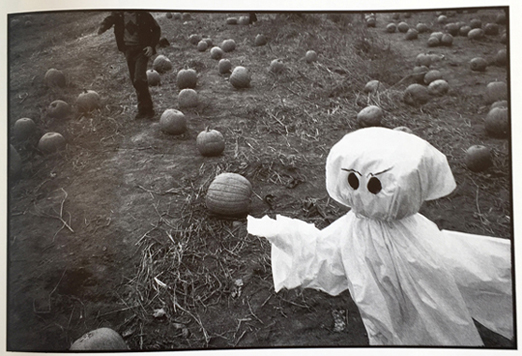
Halloween. Written and with photographs selected by Katherine Leiner. New York : Atheneum, c1993. Cotsen Children’s Library, Princeton University Library. Photograph by Sylvia Plachy.
One quick note about the pumpkin patch photographed above. It’s from a book titled Halloween (Atheneum, 1993). Written and with photographs selected by Katherine Leiner, it features amazing photographers like Sylvia Plachy, William Wegman, Sally Mann, and Phyllis Galembo. All the royalties and profits were donated to the Pediatric AIDS Foundation. There is a touching introduction to the work of the Pediatric AIDS Foundation by Francesca DeLaurentis, age 10. The book is an incredible collaboration on so many levels.
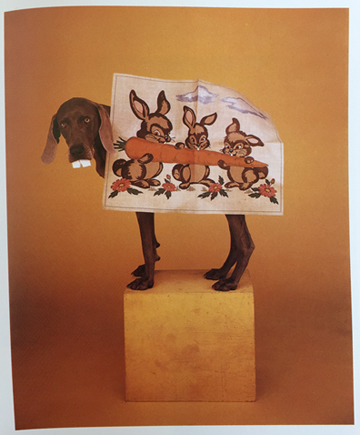
Halloween. Written and with photographs selected by Katherine Leiner. New York : Atheneum, c1993. Cotsen Children’s Library, Princeton University Library. Photograph by William Wegman.
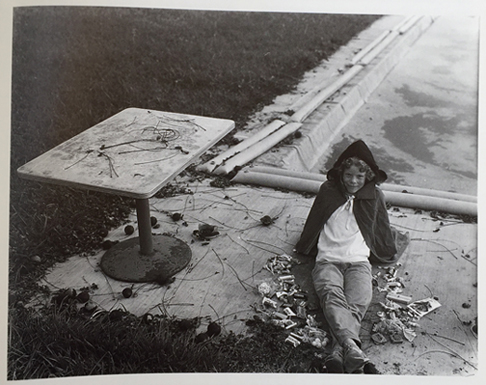
Halloween. Written and with photographs selected by Katherine Leiner. New York : Atheneum, c1993. Cotsen Children’s Library, Princeton University Library. Photograph by Sally Mann.
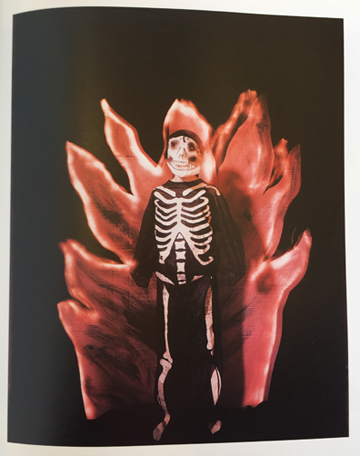
Halloween. Written and with photographs selected by Katherine Leiner. New York : Atheneum, c1993. Cotsen Children’s Library, Princeton University Library. Photograph by Phyllis Galembo.
Images may be subject to copyright. Please contact danas@princeton.edu if you are the author of one or more of images used here and have objection in such a use.

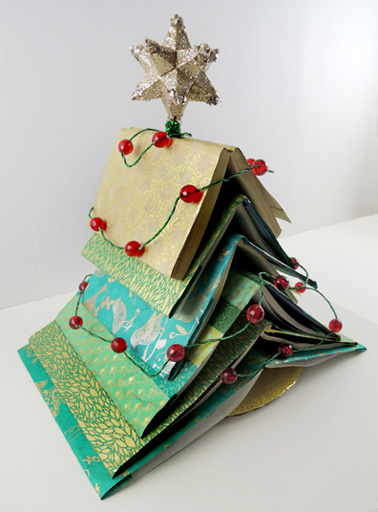
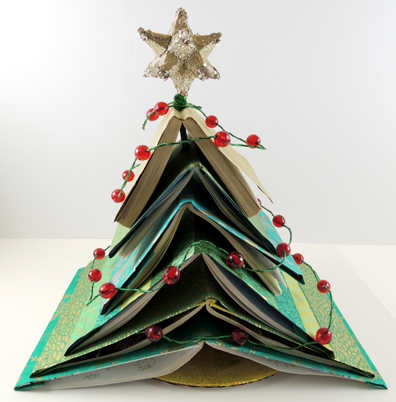
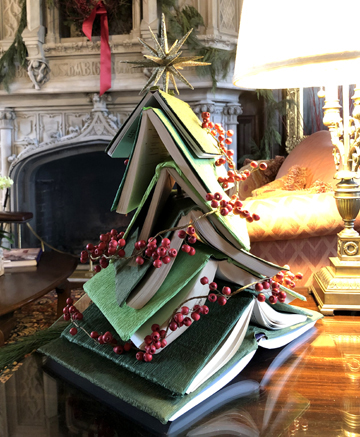 Let me start by saying that Katie selected six OLD books for this project…retired editions that had torn pages, faded covers, and ripped bindings. Because otherwise we would have been cringing during the first step of the project…drilling holes in the spines of the books! Katie used the largest drill bit in the set – a 5/16″ bit to be exact – to drill holes in the center of the books’ spines.
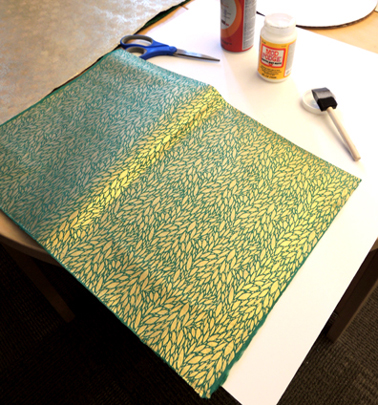
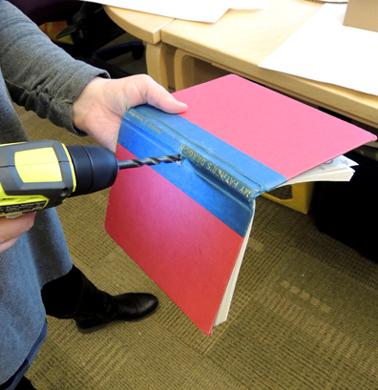 Next, she used a bottle of Mod Podge and a foam paint brush to glue wrapping paper onto the covers of the books. We went all schmancy and bought our wrapping paper from Paper Source.
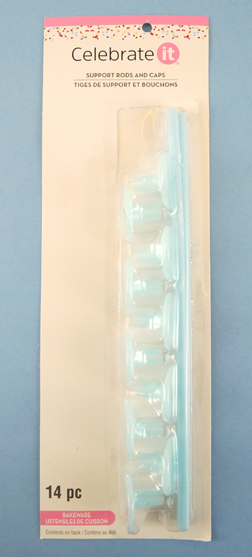
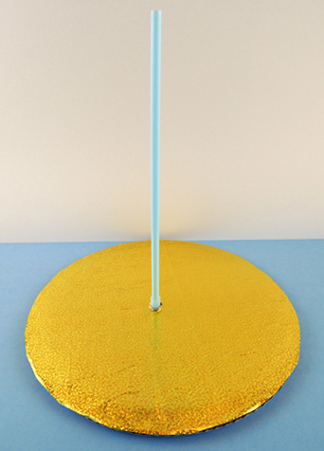
 While the book covers were drying, Katie construct the tree base. She glued together two, 12″ cake pads, then glued wrapping paper on the top circle. She again drilled a hole in the center of the base, then threaded a cake support rod upwards, through the hole.
 Annnnd here’s the finished base, ready to support some books!
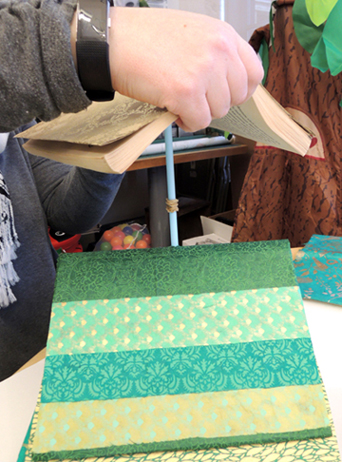
 Since the initial holes Katie drilled in the books were covered with wrapping paper, she carefully re-drilled them. Then she threaded the books onto the support rod. Almost immediately, she noticed a problem. The books sagged down the smooth rod and flattening out! Katie quickly fixed the problem by wrapping rubber bands around the rod to brace each book.
 When the books were stacked, Katie added a star to the top. This was a cheap ornament with a sparkle stem wrapped around the ornament’s loop. The sparkle stem was threaded inside the cake support rod, then the star/rod connection was reinforced by a second sparkle stem. Add a strand of lights and you are done!