It’s a story line, an illustration exercise, and an optical illusion all wrapped into one simple project! “One Two Books” is an activity I like to do with kids during illustration and art programs. It’s quick, easy, and fun!
You’ll need:
- 1 piece of paper
- Markers and/or pens
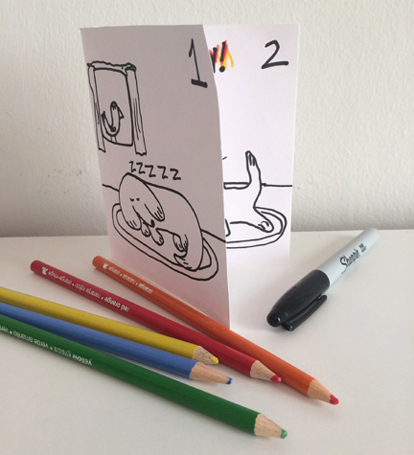
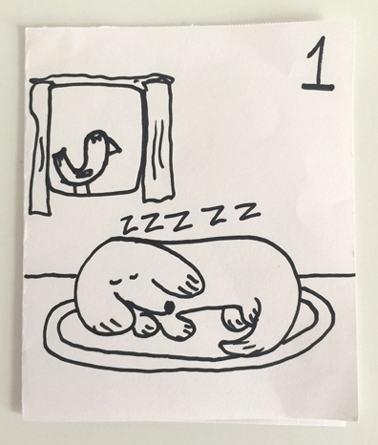
To begin, fold a piece of paper in half like a card (I use the heavier stock 9″ x 6″ paper from the inexpensive sketch books Target sells in their office supply section). Label the front of the card with a number 1:

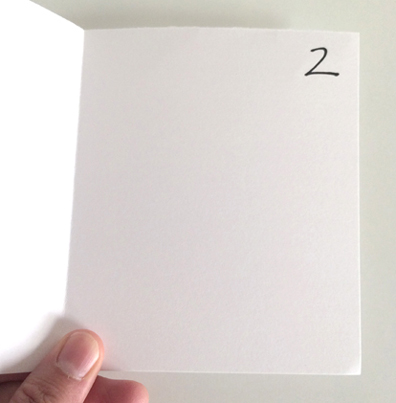
Then open the card and, in the exact same position in the interior, label it with a number 2:
Now decide the story you want to tell. One Two Books only have 2 pages, so I encourage kids to think about a simple action, reaction, or scenario. The younger the artist, the simpler it should be. So here we have a sleeping dog and a grumpy bird on a window sill…hmmm…
Flip open the card for the action…a shouting bird and a shocked, no longer sleeping dog!

One Two Books are a great way to think sequentially, but they are also a terrific way to teach you to think logically and visually. For example, in order for the image to work, the window, rug, and floor line need to occur in the same place on both pages. If color is used, it needs to be consistent between pages. Your characters need to be in somewhat similar orientations or the story won’t make sense. And for the older kids, I show how dialogue or emotive lines adds to the scene (example: the “zzzzz” for the dog on page 1, and its surprised reaction lines on page 2).
The books are also optical illusions! Flip them quickly open and shut to see your characters in motion. Here’s the bird dog story:
And here’s a goldfish story I did with another young illustrator…
The visual action of One Two Books are similar to thaumatropes, which are fantastic optical toys from the Victorian era. Check out this post, which features our awesome Alice in Wonderland thaumatrope project, complete with instructions and printable templates!

Unlike thaumatropes, however, One Two Books allow you more space to create. You can have several action sequences happening on the page at once, for example. Or more elaborate backgrounds. You can have dialogue between two characters as well.
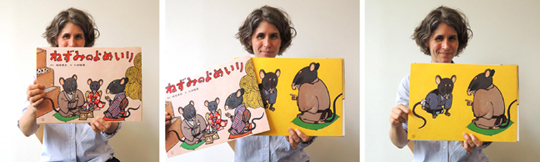
Another interesting storytelling form to try is kamishibai, which originated in Japan. You can find more information about its history and instructions on how to illustrate stories here.
There’s also a Japanese version of thaumatropes called tachi-e puppets. You’ll find instructions for those here!
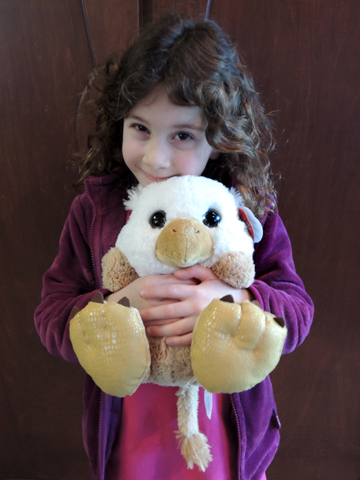
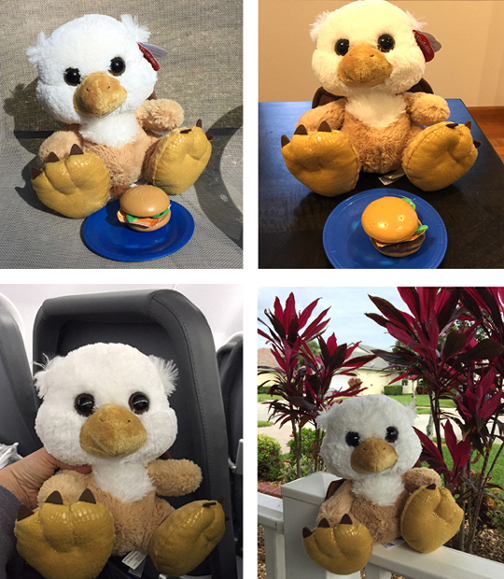
 Once all the feathers were located, the kids were awarded with stuffed baby griffins (purchased on Amazon)! Hoo boy, the kids were surprised and WAY excited! The loving attachment began immediately, and one little boy sent me multiple photos of his griffin Scorp, who, like another griffin in the book, had a serious hamburger addiction. Scorp also flew with him to Florida!