

This hibernating bear will have the sweetest of slumbers, thanks to the amazingly cozy shelter you’ve crafted!
We read Brave Bitsy and the Bear, written by Angela McAllister, and illustrated by Tiphanie Beeke (Clarion Books, 2006). When Bitsy the purple bunny gets lost in the woods, she tries to stay brave, even when confronted by a big bear. Fortunately, the bear is very friendly, and offers to take her home. The problem is, it’s close to winter and the bear is very sleepy. Bitsy finally gets home, but worries her new friend won’t make it back to his cave. She ventures out to discover that yes, bear has fallen asleep in the middle of the woods! Fortunately, Bitsy and her forest friends chip in to build bear a cozy winter shelter, and he wakes up in the spring happy, well rested, and very grateful!
You’ll need:
- 1 large tissue box
- 1 toilet paper tube
- A selection of construction paper, including brown
- 1 corrugated cardboard base (ours was 7″ x 10″)
- Scissors, tape and glue for construction
- Markers for decorating
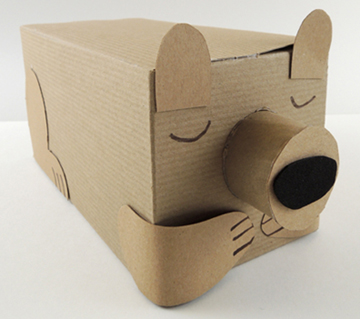
First, the bear! We used a 4.5” X 4.5” x 9” brown craft box, but you can also wrap a large tissue box with brown construction paper. Add a tail, front legs, back legs, and ears. The nose is a toilet paper tube cut down to 1.75″ with an oval of self-adhesive foam on the end (but black construction paper works too!). Next up, the shelter…
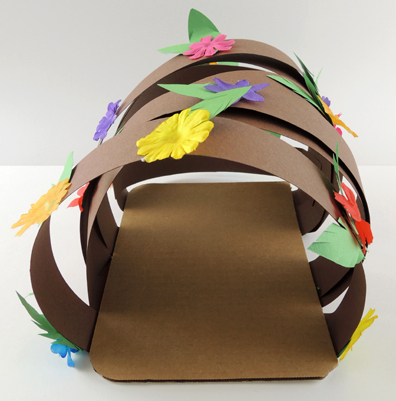 Here’s the shot from the front. The shelter is basically 1.5″ x 22″ strips of brown poster board arched over a corrugated cardboard base and secured to the underside with tape (but brown construction paper works too). Place the bear on the base while crafting to insure your arches are tall enough! We added green construction paper leaves and s (but you can craft the flowers out of construction paper or skip them entirely).
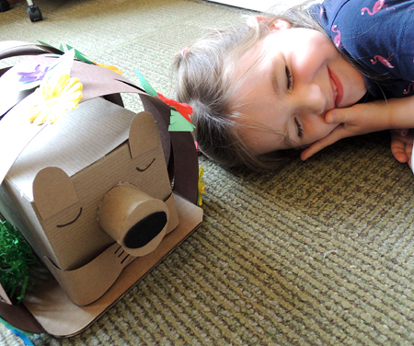
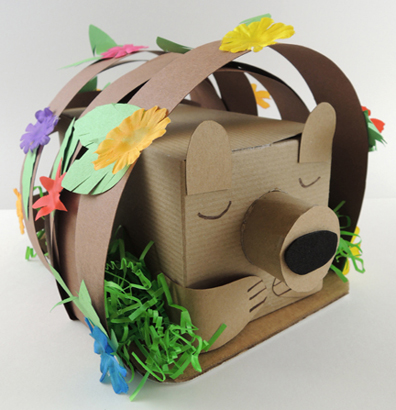 When the shelter is done, tuck some (optional) green paper crinkle to make things extra snug. Then, feel free to cozy up with your bear for a nap!
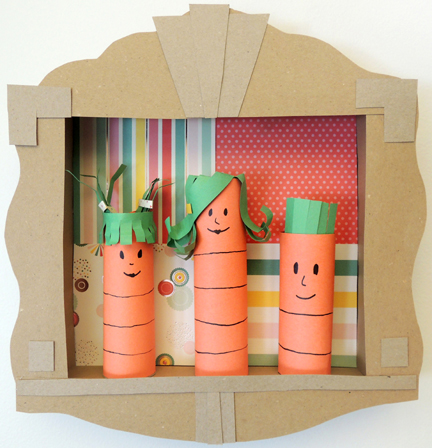 This handsomely framed three-dimensional portrait is a must for any home. And if you want to portray your sweet little family as carrots, well why not?
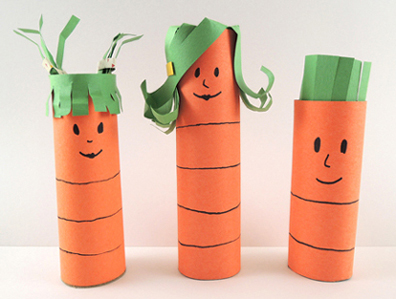 The frame is a box cut down to 2″ deep. We decorated the back of our frame with patterned paper (but you can also have kids draw the background on with markers). Next, we offered different brown poster board shapes to glue around the edges of the box:
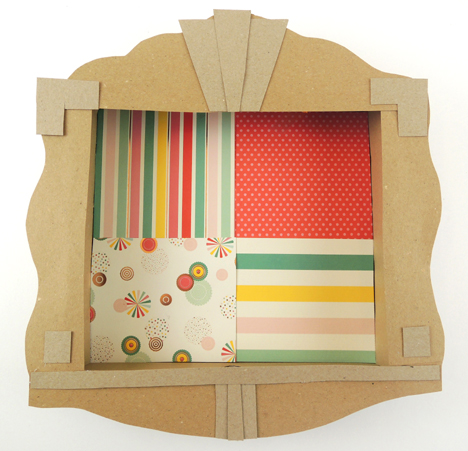 To hang the frame, twist a pipe cleaner into a loop, then attach it to the top of the box with tape. Want to make it extra secure? Cut a slit in the top of the box, thread the pipe cleaner ends through the slit, then tape them to the interior top of the frame. Here’s a shot of our frame from the back, hanging loop in place:
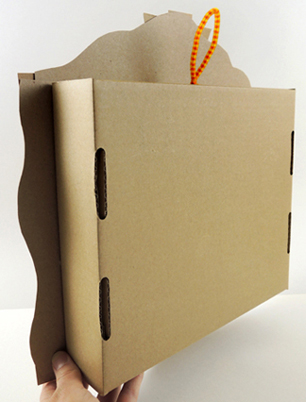 Hang your frame in your favorite room of the house, place your little family inside it, and feel the love!
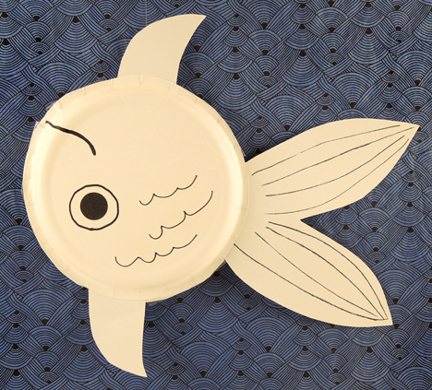 After spotting the fabulous upside down goldfish ghost
 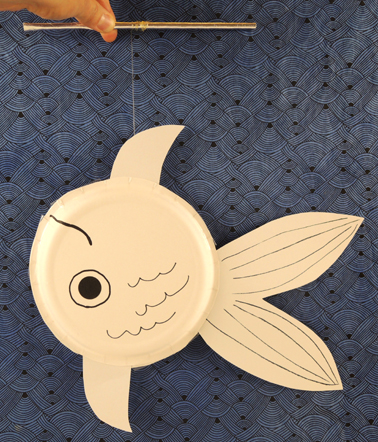 To make the marionette, trim the outside perimeters off 2 paper plates. Use marker to draw eyes, a mouth, and scales on the plates.Next, tape a white construction paper tail and fins to the inside of 1 plate.