Sweet Snoozer

sweet snoozer

This hibernating bear will have the sweetest of slumbers, thanks to the amazingly cozy shelter you’ve crafted!

We read Brave Bitsy and the Bear, written by Angela McAllister, and illustrated by Tiphanie Beeke (Clarion Books, 2006). When Bitsy the purple bunny gets lost in the woods, she tries to stay brave, even when confronted by a big bear. Fortunately, the bear is very friendly, and offers to take her home. The problem is, it’s close to winter and the bear is very sleepy. Bitsy finally gets home, but worries her new friend won’t make it back to his cave. She ventures out to discover that yes, bear has fallen asleep in the middle of the woods! Fortunately, Bitsy and her forest friends chip in to build bear a cozy winter shelter, and he wakes up in the spring happy, well rested, and very grateful!

You’ll need:

  • 1 large tissue box
  • 1 toilet paper tube
  • A selection of construction paper, including brown
  • 1 corrugated cardboard base (ours was 7″ x 10″)
  • Scissors, tape and glue for construction
  • Markers for decorating

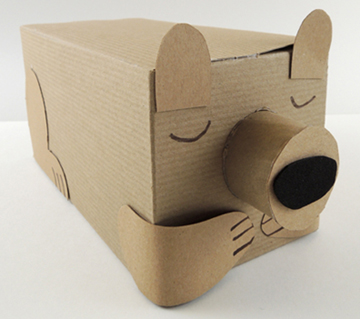
finished snoozing bear

First, the bear! We used a 4.5” X 4.5” x 9” brown craft box, but you can also wrap a large tissue box with brown construction paper. Add a tail, front legs, back legs, and ears. The nose is a toilet paper tube cut down to 1.75″ with an oval of self-adhesive foam on the end (but black construction paper works too!). Next up, the shelter…
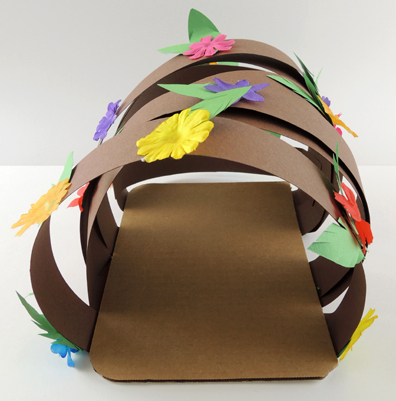
finished bear shelterHere’s the shot from the front. The shelter is basically 1.5″ x 22″ strips of brown poster board arched over a corrugated cardboard base and secured to the underside with tape (but brown construction paper works too). Place the bear on the base while crafting to insure your arches are tall enough! We added green construction paper leaves and s (but you can craft the flowers out of construction paper or skip them entirely).
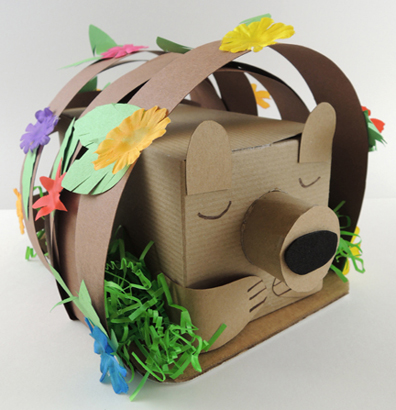
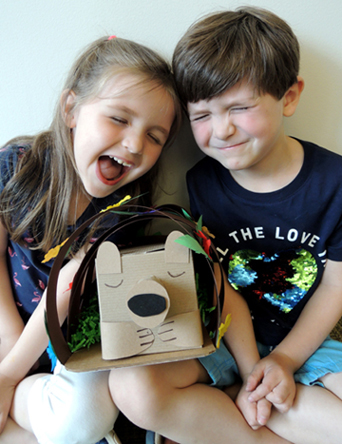
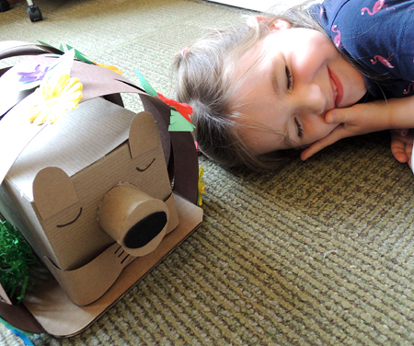
finished bear in shelterWhen the shelter is done, tuck some (optional) green paper crinkle to make things extra snug. Then, feel free to cozy up with your bear for a nap!
bear nap

See You on the Flip Side

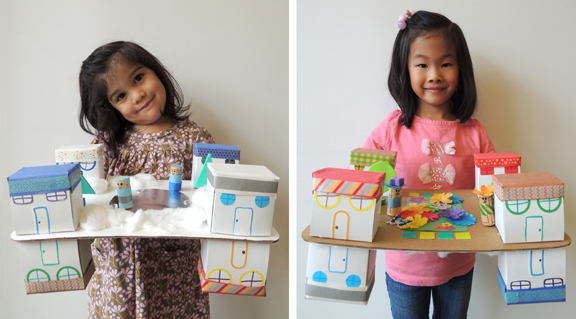
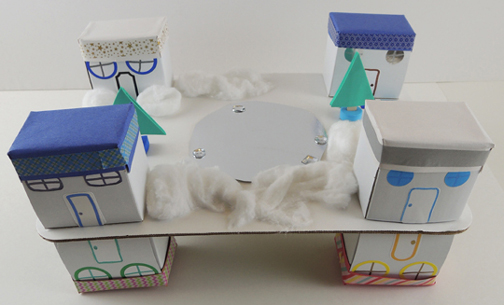
see you on the flip sideIt’s flip-a-riffic! This sweet little set flips over to display two landscapes that look very different, but are definitely part of the same big, beautiful world.
We read Up Above and Down Below by Paloma Valdivia (Owlkids Books, 2011). There are different kinds of people in the world, different kinds of weather, different seasons, and different ways of doing things. But everyone dreams, loves, and celebrates, regardless of where they are and what direction they’re facing. Bonus – flip this book upside down while reading, and your story time kids can enjoy a second set of illustrations!

You’ll need:

  • 8 small boxes, all the same height
  • 1 corrugated cardboard base (I used a 9.75″ x 13.75″ cake pad)
  • House and landscape decorating supplies (more on those below!)
  • box cutter
  • 2 craft sticks (ours were 4.5″)
  • 4 foam beads
  • 8 pieces of green self-adhesive foam
  • 4 wine corks
  • Scissors, tape, and glue for construction
  • Markers for decorating
  • Hot glue

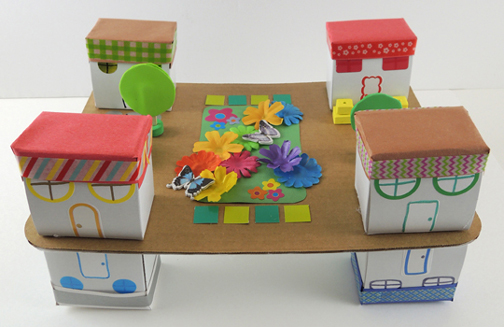
First, decorate 8 small boxes like houses (we used construction paper, patterned tape, old address labels, and dot stickers, but markers work too!). The most important thing is to keep the roofs flat. Otherwise, your project will wobble. Hot glue the houses to both side of a corrugated cardboard base, then fill in your landscapes! The summer landscape had fabric blossoms, flower and butterfly stickers, and construction paper pieces.

summer landscape

The winter landscape had a frozen lake made out of a silver mirror board with a few flat glass marbles hot glued to the edges. Finish the look with fluffy drifts of cotton ball snow.

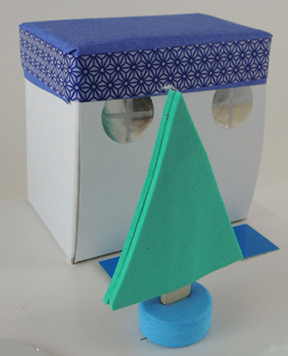
winter landscapeWant to add some trees? Use a box cutter to make a slit in the cardboard base, then insert a craft stick halfway into the slit. Push a foam bead down the craft stick to keep it steady, then press 2 triangular pieces of self-adhesive foam together to make an evergreen tree.
winter tree

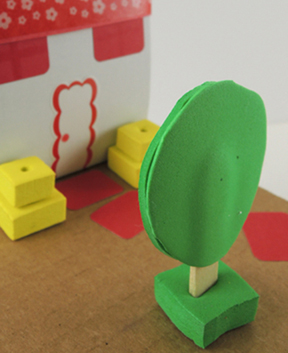
Flip the project over, slide a second foam bead down the stick, and press two circular pieces of self-adhesive foam together to create a leafy summer tree.

summer tree

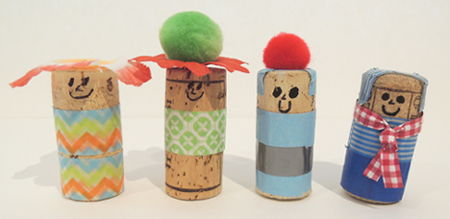
The final touch? People! We used wine corks, patterned tape, and some craft odds and ends to make 4 cheerful members of the general populace. Here’s the gang, so happy together:

cork people

OK…all together now…1…2…3…

IT’S A SMALL WORLD AFTER ALL! IT’S A SMALL WORLD AFTER ALL! IT’S A SMALL WORLD AFTER ALL! IT’S A SMALL, SMALL, WOOOOOOORLD!

Tree of Love

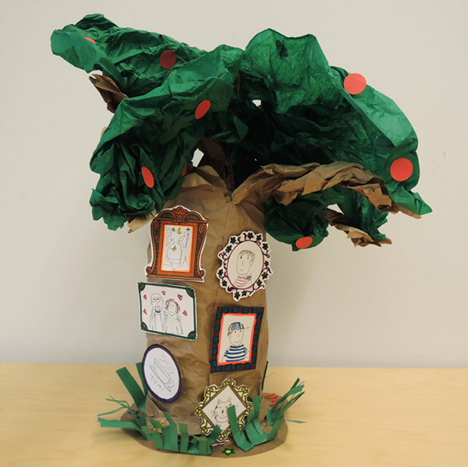
treeIt’s a tree…that, when rotated, reveals a gallery of the things you dearly love!

tree picture galleryWe read We Planted a Tree by Diane Muldrow, illustrated by Bob Staake (Golden Books, 2010). In this poetic book, families in various parts of the world plant a tree and watch as the tree changes with the seasons, helps the earth, and grows with the families. I wanted to capture some of that love, growing, and giving with this project!

You’ll need:

  • 1 piece of tagboard for tree base
  • 1 small oatmeal container
  • 1 canned good
  • Hot glue
  • Brown craft paper (my piece was 21.5″ x 64″ – a paper grocery bag works too)
  • Green tissue paper
  • Strips of green construction paper
  • 1 oval of black self-adhesive foam (optional)
  • Red, yellow, or orange dot stickers (optional)
  • 1 tree frames template, printed on 8.5″ x 11″ card stock
  • Tape, stapler, scissors for construction
  • Markers for decoration

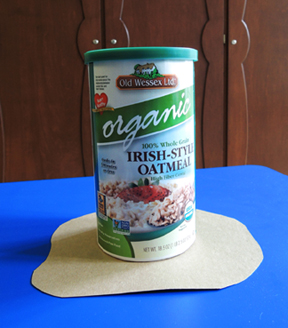
Begin by cutting a tagboard base for your tree. I made mine semi-circular with irregular curves, but a plain old circle will do. The most important thing is making sure that kids don’t cut their bases SMALLER than the oatmeal container (it happens!). Hot glue the oatmeal container to the base.

oatmeal container baseSince the branches and foliage can make the tree unsteady, I dropped a canned good “anchor” inside the oatmeal container and then taped the lid shut. Now for the tree! For weeks, I had been hording brown packing paper I snagged from my department’s recycling bin:

paperThree cheers for reducing, reusing and recycling, eh? But if you don’t have packing paper handy, you can also use a roll of brown craft paper or paper grocery bags.

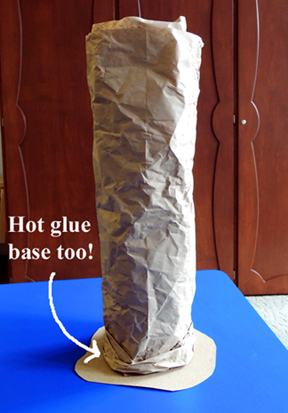
Tape one end of the piece of paper to the oatmeal container, and then wrap the paper multiple times around the container. The more paper you wrap around the container, the better (and more plentiful) the branches will be. When you’re finished wrapping, hot glue the end of the paper securely to the trunk. You’ll also want to push the paper “trunk tube” down onto the tagboard base and secure it with hot glue. Otherwise, your trunk tube might slide off later!

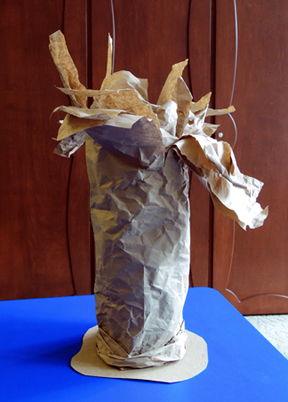
tree trunk 1Cut fringes in the trunk tube, starting at the top of the paper and ending a little above the oatmeal container lid:

tree trunk 2Then bunch and twist the paper fringes together to create branches.

tree trunk 3I used this branch twisting technique on a larger scale for this project. With the branches complete, it’s time to add the foliage! I provided three different sizes of green tissue paper for the “foliage frenzy.”

tissue paper sizes

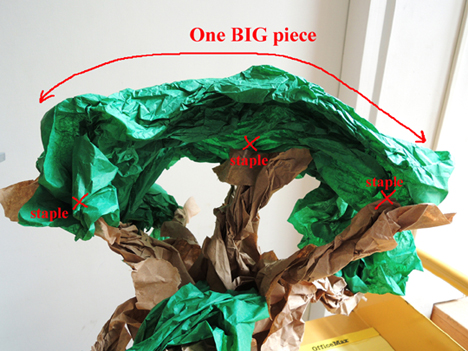
Crumble up the tissue paper and then staple it to the various branches. One hint: for the foliage at the top of the tree, staple a single piece of tissue paper to several different branches. It keeps the top of the tree looking full and fluffy, and the floppy branches secure.

foliageYour tree is now complete! Time to decorate! We adorned the base with fringes of green construction paper “grass,” and I used hot glue to attach small plastic snakes and lizards I found lurking in the art supply cabinet. We added flower stickers as well, but you can draw critters and flowers on with markers.

The hole in the tree was created with a black oval of self-adhesive foam, and I hot glued a small toy butterfly to the edge of it. Yellow, orange, or red dot stickers can be used to add lemons, oranges, or apples to the tree foliage.

treeThe tree is happy and growing…now for the gallery of things you love! Use markers to color and fill in the frames of the template. Then cut them out and tape (or hot glue) each frame to the back of the tree.

tree picture galleryMy favorite thing about this project was using a canned good as the anchor. At story time, I suggested to parents that when their kids were done playing with their trees, the canned good could be removed and donated to a local food bank. They really liked that! A true giving tree!