Join a big blue whale on an ocean of adventures, and don’t forget to stop by your adorable lighthouse island to play in some waves, chill on the beach, and collect shells!
We read Beachy and Me by Bob Staake ( Random House, 2016). Pixie Picklespeare is the only child living on a very tiny lighthouse island. She is BORED. But after rescuing a beached blue whale, the new friends spend a whole summer playing games, riding waves, and exploring the ocean. But when Beachy the whale hears the call of migration, Pixie is alone and bored AGAIN. But what’s that she hears? Her whale friend, coming back to visit, just like he promised.
You’ll need:
- 1 corrugated cardboard base
- 1 small box
- 1 small oatmeal container
- 1 plastic cocktail cup
- 1 wine cork
- Construction paper
- Scissors, tape, and glue for construction
- Markers for decorating
- Hot glue
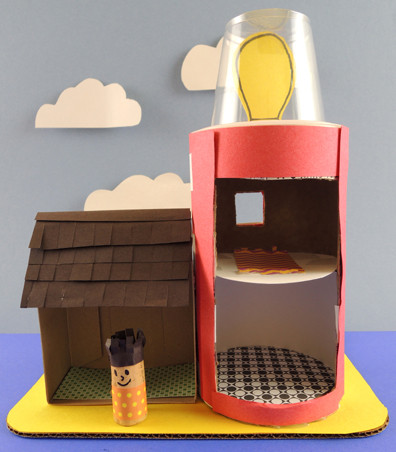
The lighthouse island is basically a small oatmeal container and small box, hot glued to the top of a corrugated cardboard base. The light is a plastic cocktail cup flipped upside down and placed on top of the oatmeal container (we left it unattached so the construction paper light bulb taped inside can rotate).
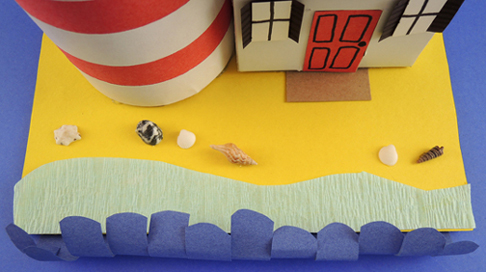
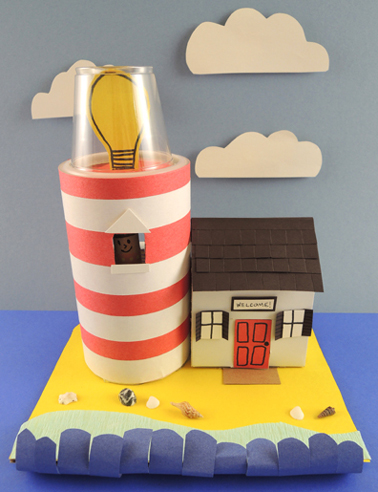 Our “ocean” consists of a curved, light blue crepe paper streamer and a fringe of dark blue construction paper waves. We had mini shells handy for the beach, but you can use images of shells, or just have the kids draw the shells on the beach with markers.
 We also decided to cut the backs out of the box and the oatmeal container to create a dollhouse. Use a circle of white card stock to create the second floor of the lighthouse, then decorate the walls and floors with paper. Need furniture and some framed artwork? You’ll find templates and instructions in this post.
You can see our cork person creation in the photo as well:
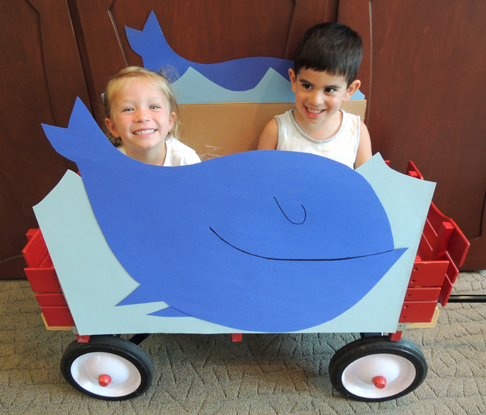
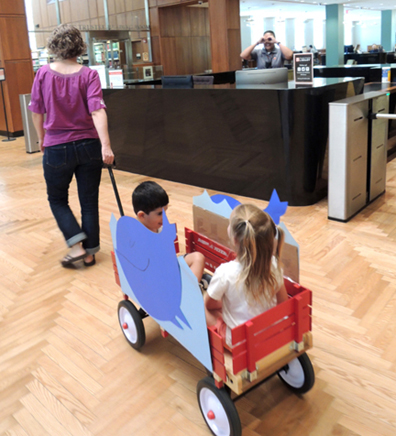
 When the lighthouse islands were done, we announced that a whale had been spotted in the library’s main lobby. This was a red wagon with a whale facades taped to both sides. Kids took turns getting rides and smiling at local whale watchers!

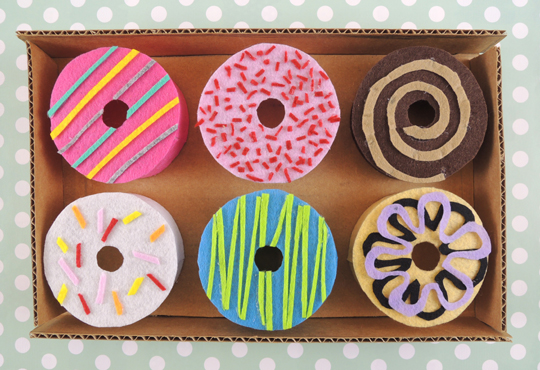
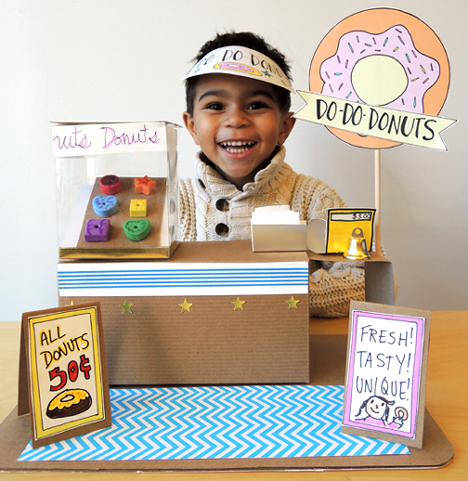 We couldn’t let this holiday pass without mention! Donuts are the life blood in our office (as is espresso, cupcakes, and whatever chocolate Katie brings back from her travels to
 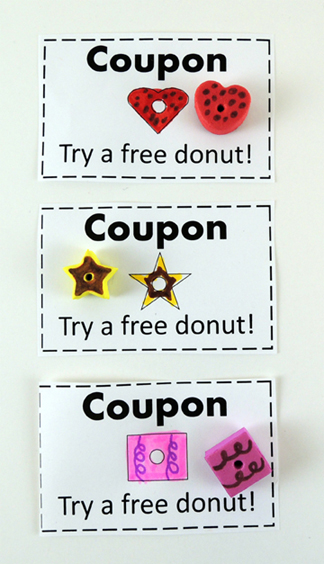 If you’re looking for something a little simpler, we highly recommend Marissa’s felted
 OF COURSE we had to conclude this post by traipsing down to House of Cupcakes (winner of Cupcake Wars!) to enjoy a couple of their fresh, house-made donuts.

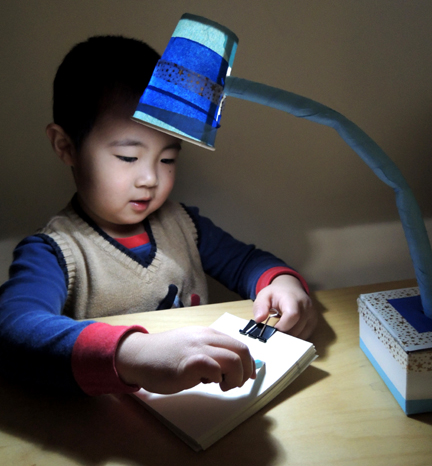
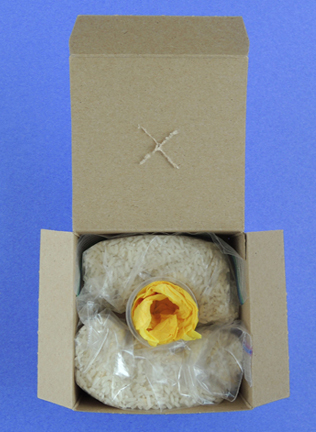
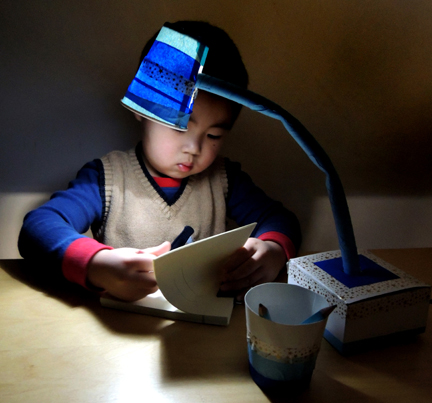
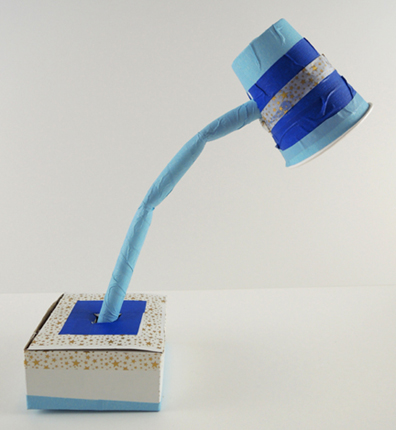
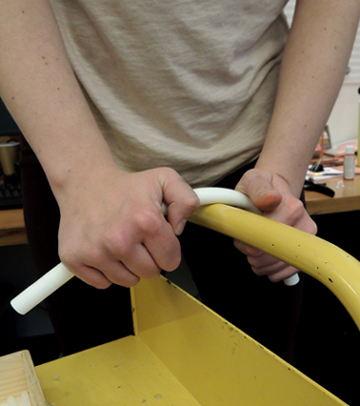 Also! The PVC won’t curve gracefully (you need a heat gun for that). But it will bend into 3 sections that approximate a curve. Once the PVC is bent, wrap it with color masking tape. Hot glue a button magnet on one end of the pipe, then push the non-magnet end through the X in the lid of the box.
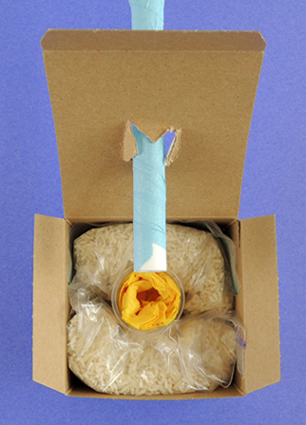
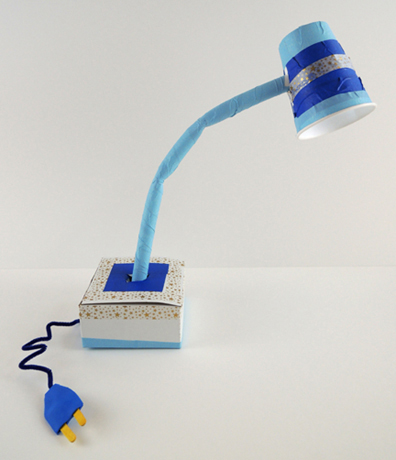
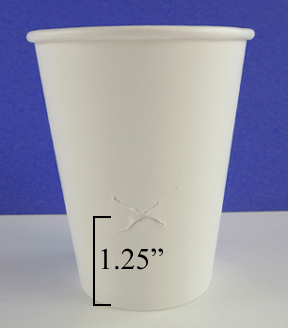 Leaving plenty of room around the X, decorate the cup with patterned tape and/or color masking tape (or just markers). Then push the neck of the lamp through the X. Your lamp will now look like this:
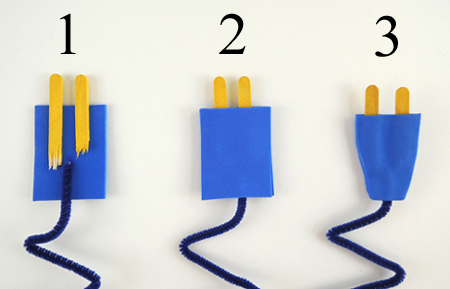
 To make the cord, snap a mini craft stick in two, then place the pieces on the back of a 1.25″ x 1.5″ rectangle of self-adhesive foam. Place a pipe cleaner at the bottom the the rectangle as well, then press a matching rectangle of self-adhesive foam on top. Trim the sides down into a plug shape, then tape the plug to the bottom of the lamp’s base.
 Finally, the light bulb! We wanted these lamps to shed light, but we didn’t want to mess with…oh…electricity. We also wanted kids to be able to switch the lamps on and off. LED votive candles flickered too much, and glow sticks eventually fade. But then I found these submersible LED lights in the floral section of Michaels Craft!
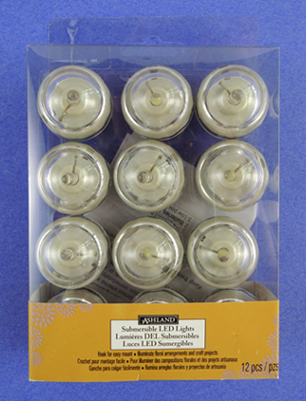 To turn the light on, you simply twist the clear dome clockwise. The LEDS also come in different colors! Woo! However, a pack of 12 costs $20, so make sure you go armed with a 40% coupon. We hot glued a button magnet to the back of each LED light, then connected it with the magnet at the end of the PVC pipe neck. Here’s a shot of the two connected pieces inside the lamp’s shade:
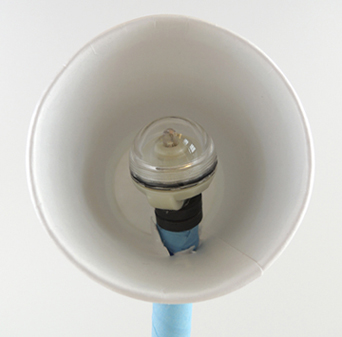 To operate the lamp, simply reach inside the shade, disconnect the magnets, and twist the LED light on. Then reconnected the illuminated LED to the magnet inside the lamp. Kids didn’t even need to peer inside the lampshade to do this – the magnets found each other quite easily.