Spend a peaceful afternoon in the fields, enjoying the beautiful flowers and warm sunshine. Gentle cow and cork trees included!
We read The Story of Ferdinand, written by by Munro Leaf, and illustrated Robert Lawson (Viking, 1936). This literary classic tells the tale of Ferdinand, a bull who would rather sit and smell the flowers than fuss and fight. When he is mistakenly put in the bull ring, Ferdinand stays true to his peaceful nature and refuses to charge. It’s the ultimate tale of staying true to yourself and being happier for it.
You’ll need:
- 1 large tissue box
- 1 flower coloring template, printed on 8.5″ x 11″ card stock
- Construction paper
- Assorted pipe cleaners
- Scissors and tape for construction
- Markers for decorating
This project is basically an alternative version of the flower boxes we made for this butterfly garden story time. We just used large tissue boxes instead of box tops.
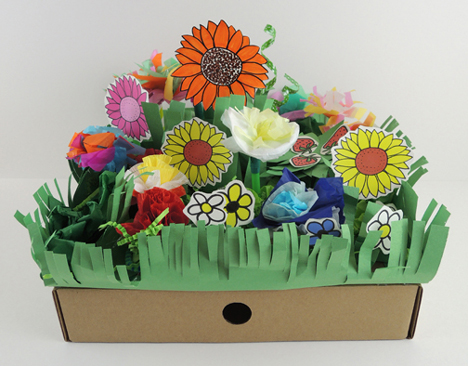 In additional to using the flowers on the template, you can also use tissue paper to make lovely flowers, and use drinking straws and sparkle stems to add some texture!
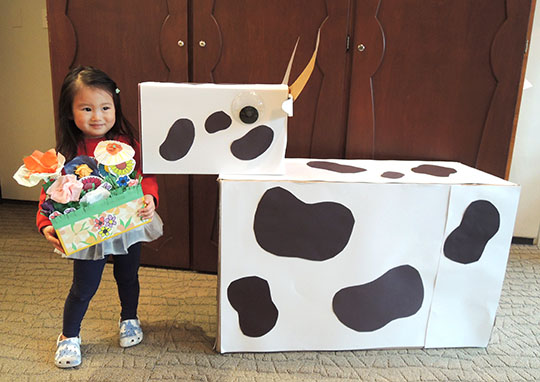
Once the flowers were done, we headed out to the fields to meet Ferdinand the bull! I made him out of a couple shipping boxes. The back of the head was open so I could reach in, and I also cut a hole at the bottom of the head as a “mouth.” During story time, the kids offered their flowers to Ferdinand for sniffing. I had a little air pump inside the head that would puff air out and make the flowers tremble.
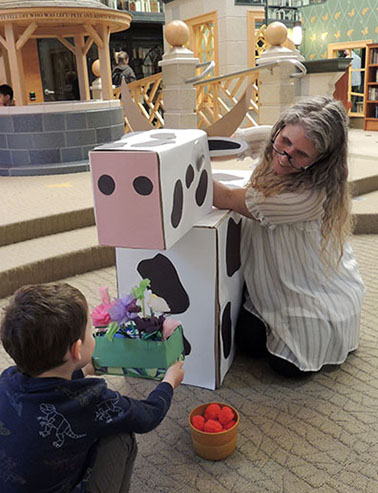 I have to say, the air puffs freaked a few kids out. But we also had a basket of red pom pom apples nearby to feed Ferdinand, and that was a massively popular activity. He ate apples for a solid 15 minutes!
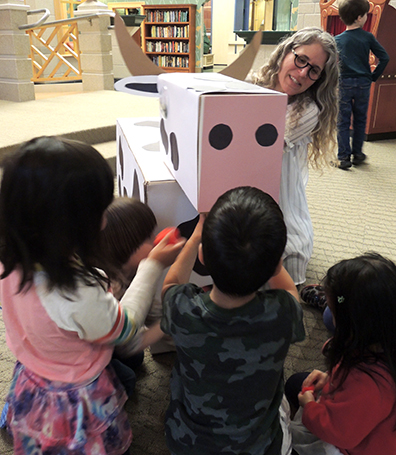
This this isn’t the first time Ferdinand has appeared on the blog. You can see him enjoying the spring buds here (as well as a really cool wildflower identification website), and he gets a mention in our International Children’s Book Day list here. We love you Ferdinand!

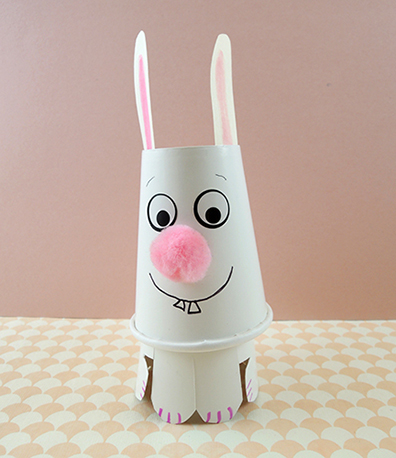
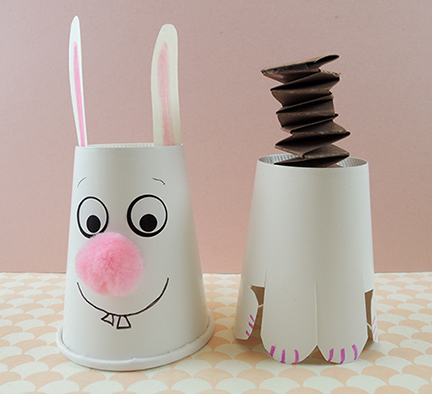 This project is essentially two cups stacked on top of one another with a paper spring in the middle. To begin, flip both cups upside down, then use markers to draw a face on the first cup. Add some paper ears (and an optional pom-pom nose if you desire!). Use scissors to cut bunny legs on the second cup.
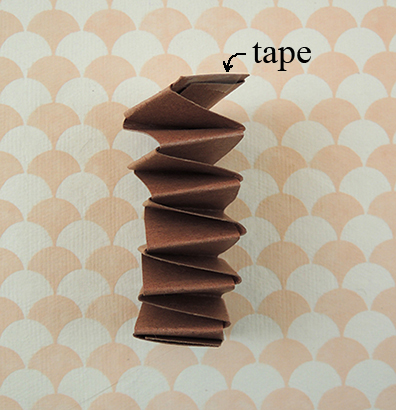
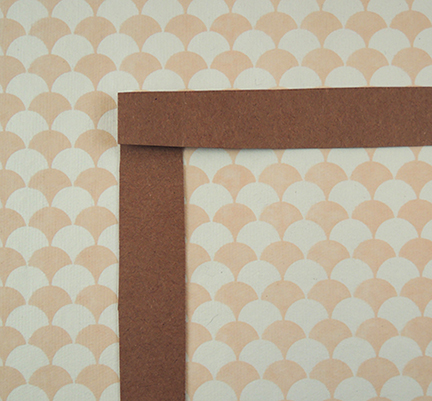 Keeping the corners together, alternately fold each strip up towards you. Continue until the strips are completely folded into an accordion spring. Tape the end sections together for more stability.
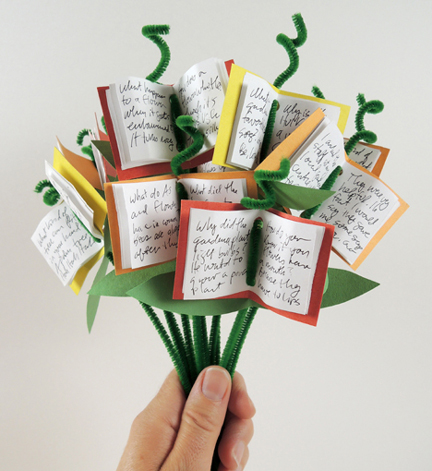 The countdown to spring has begun, and we wanted to usher in the flowers with this awesome bouquet project! With outdoor festivals in the future, this is a great little project to host at your library’s next special event, or just to brighten up your bookshelves at home.
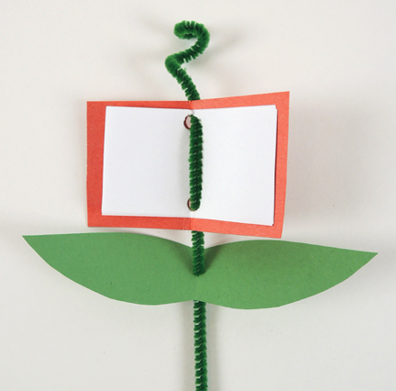
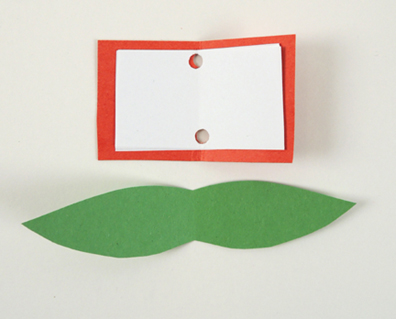 In the above photos you’ll also notice the book flower’s leaves. Those are a piece of green construction paper I folded and cut to create two matching sides. Punch a craft stem through the middle of the leaves, then thread the craft stem upwards through the bottom hole of the book, then downwards through the top hole. Extend the pipe cleaner stem 1-2″ from the top of the book, and curl the end with a pen or pencil.