 I don’t know about ya’ll, but the Brood X cicada noises sound like someone is trying to remateralize on my street via a Star Trek transporter. Every day. Alllll day. Very LOUDLY. Katie, feeling similarly inspired (or perhaps crazed), put together today’s blog post featuring cicada connections and some of our awesome bug story times and projects!. Take it away, Katie!
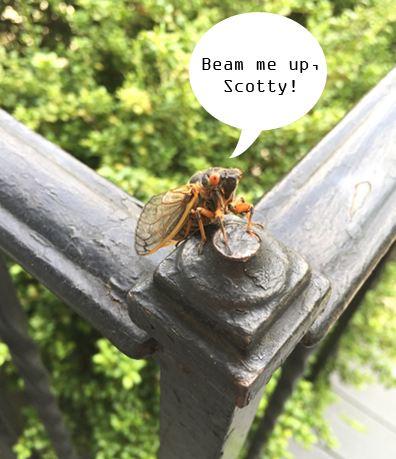
Calling all entomologists! The Brood X cicadas (magicicada septendecim), the largest of the periodical cicadas that are endemic to the eastern United States, have awakened from their 17-year slumber. The swarm will spend the next month in the foliage, singing and mating before they bury themselves back in the ground, not to be seen again until 2038. It truly is a spectacle that is enjoyed by many (but feared by some!). Cicadas may be scary looking, but they are absolutely harmless to humans.
There is a fun musical connection to Princeton University and the 1970 Brood X cicadas, which were the inspiration for the tune “Day of the Locusts” by Bob Dylan. Dylan wrote the song to describe his experience receiving an honorary degree from Princeton. He was on campus for commencement and the cicadas were so loud, he could not hear his name being announced during the ceremony. April Armstrong, Deputy AUL for Special Collections, wrote more about Dylan and his degree on the excellent Mudd Manuscript Library blog.

Bob Dylan (center) at Princeton University, June 9, 1970. Historical Photograph Collection (AC112), Box AD31, Folder 23.
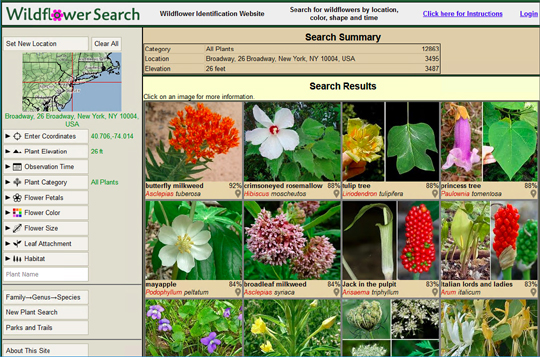
Scientist and naturalist Benjamin Banneker (1731-1806) is often regarded as one of the first people to document the 17-year cycle of the Brood X cicadas. He wrote and published a scientific almanac, where he specifically said about the cicadas: “Their periodical return is 17 years, but they, like the Comets, make but a short stay with us…” Learn more about Banneker, along with four other famous scientists, by visiting our virtual escape room, The Discovery Museum.

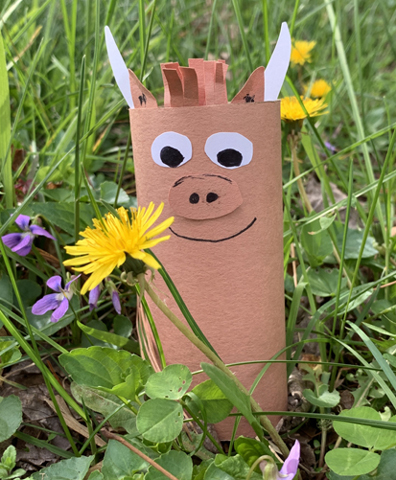
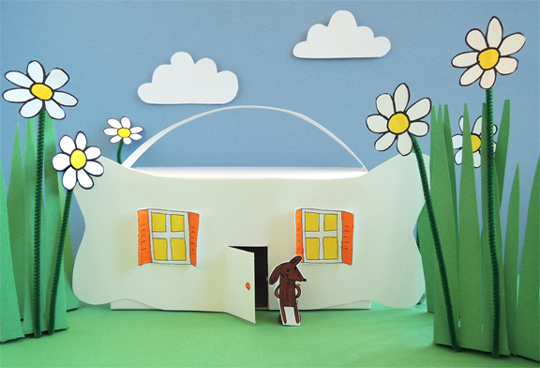
And! for more buggy connections, try these fun projects…starting with the sweetest story about teamwork you’ll ever read with Horsefly and Honeybee

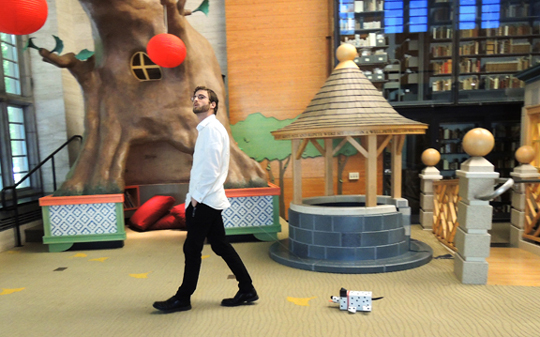
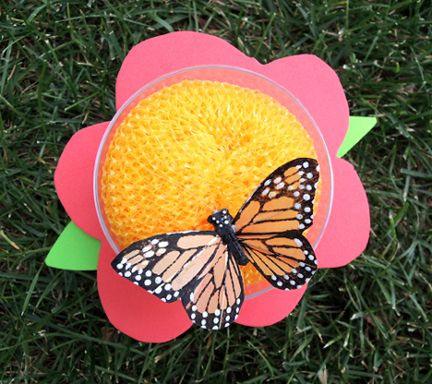
An easy-to-make butterfly feeder from our Secret Garden event (and speaking of butterflies, you might also like this STEAM butterfly project/ magic trick).
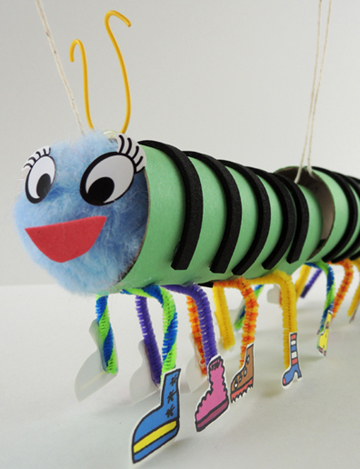
A simple to assemble centipede puppet AND shoe store activity? Oh yeah!
 Budding young entomologists create a bug and tell our story time film crew about it here

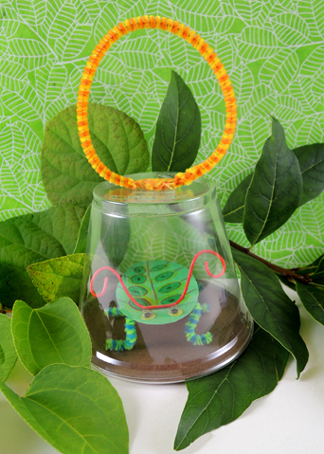
Create a simple beetle and carrier with every day household items
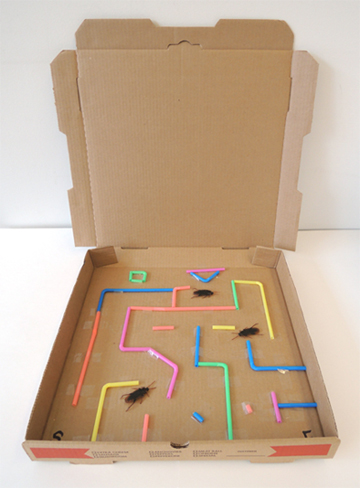
 Annnnd a magnetic fake cockroach maze. Yes, you read that right…
Finally, award-winning author Shaun Tan wrote and illustrated a beautiful and touching picture book titled Cicada. We talked to Shaun about Cicada (Arthur A. Levine Books, 2019) and his other amazing work during our interview for The BiblioFiles.