 Tyger Tyger burning bright! Make it past the teeth, and you’ll be all right!
We recommend reading Beware of Tigers by Dave Horowitz (G.P. Putnam’s Sons, 2006). Feathered friends Chirp and Birp are laughingly incredulous that a tiger is in their city, despite warnings from others. Well, there IS a tiger, and he is more than happy to entertain two tasty little birds. As his smile grows wider and wider, Chirp and Birp realize that perhaps cuddling up with a tiger isn’t such a great idea. Good thing they have a friend with even bigger teeth!
You’ll need:
- 1 large tissue box
- Construction paper
- Scissors, tape, and/or glue for construction
- Markers for decorating (optional)
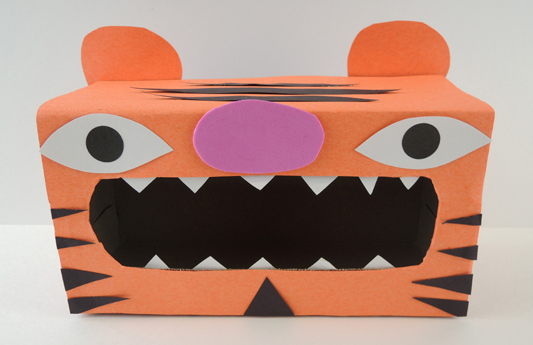
This project is a modification of a Valentine’s box I pinned and swore I would find a use for. Yes! Begin by covering a large tissue box with orange construction paper. Next, use more construction paper to add a nose, eyes, and stripes (or draw them on with markers). The teeth are construction paper too.
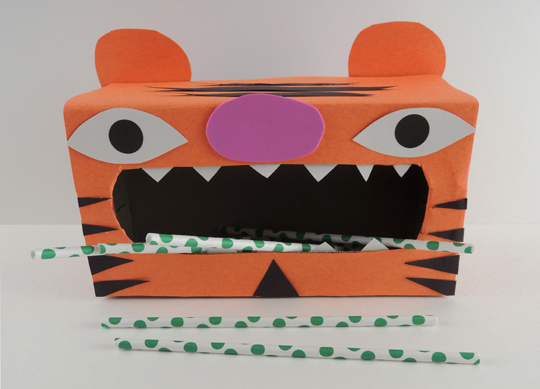
To play the game, place several objects in the tiger’s mouth. Then challenge kids to gently reach in, and – without moving, tapping, or knocking over the tiger – remove the objects. The objects can be anything. For younger kids, it might be best to use something that stick out past the mouth like drinking straws. For older kids, smaller objects like jingle bells, foam beads, or pom-poms work!
Believe it or not, we have more chomping creature projects on the blog. Check out our cookie-consuming cow here, and our monster food chain here. Need some dental assistance? We have your crocodile care kit right here.
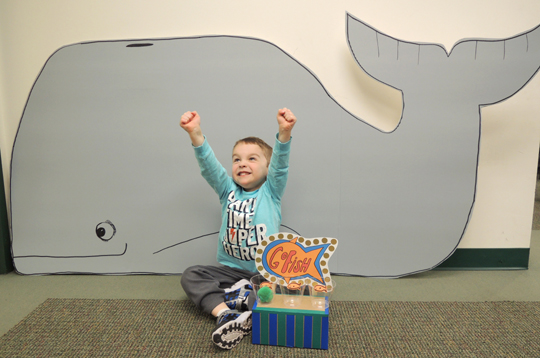
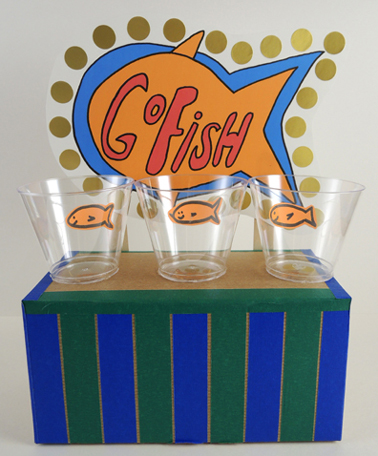
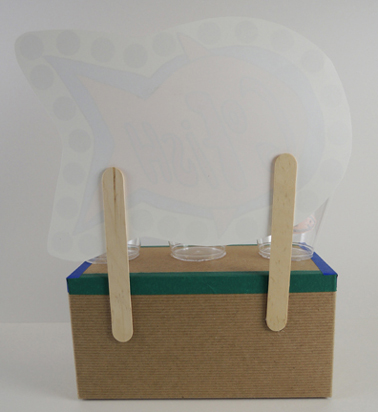 The “ball” for the game was a jumbo pom-pom, but ping pong balls or crumbled paper works too! To play the game, toss the ball into the cup. But what do you win? A WHALE!
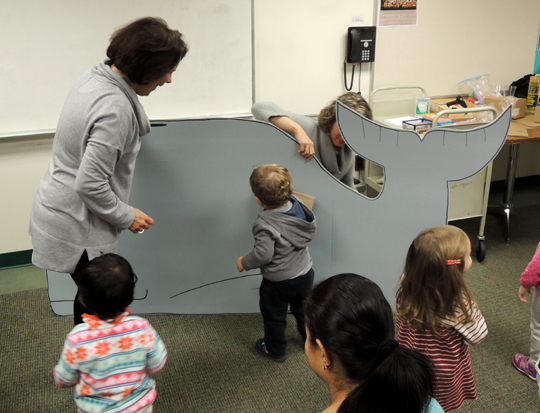 We snagged a big flat of grey cardboard from library recycling, and Katie turned it into a fantastic whale. Like the book, kids were expected to take care of the whale. They took it on a little walk, wiped it clean with a cloth, and scooped its poop (i.e. brown jumbo pom-poms)! This part of the program was great for building physical skills – balancing, circular hand motions, scooping. Check out this pro at work:
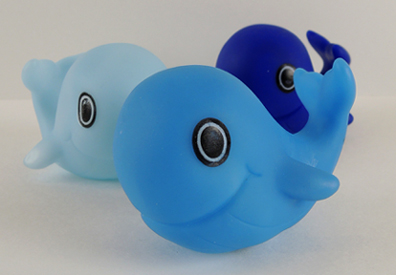 If you’re wondering why our story time area doesn’t look quite the same as
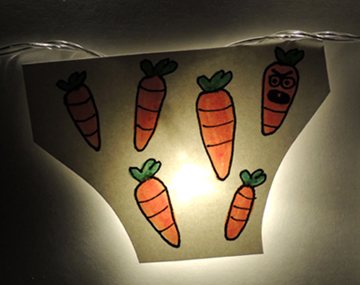
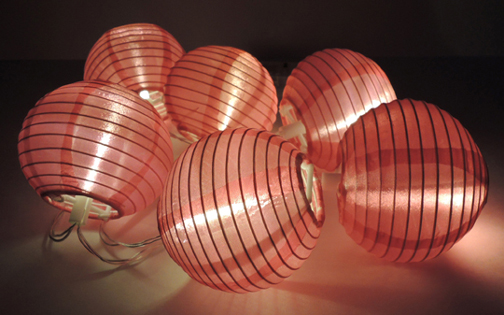 To make your illuminated underpants, cut underpants shapes from white card stock, then decorate with markers. Tape the underpants to the string lights, and let them glow!