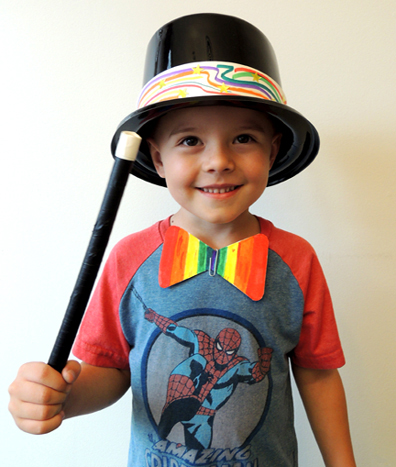
Hat, wand, and rabbit ready? Then…it’s showtime! Prepare yourself for a magical extravaganza extraordinaire with a top hat packed with mind-boggling magic tricks!
We read Life is Magic by Meg McLaren (Clarion Books, 2016). Not every rabbit is the right fit for a magic show assistant. But Houdini the rabbit? He’s a natural! However, when a stage trick turns the magician into a rabbit himself, it’s up to Houdini to keep the show running until he can figure a way to get his human back!
You’ll need:
- 1 plastic top hat
- 1 strip of white poster board (approximately 2″ x 28″)
- Black poster board
- 1 square of plastic tablecloth (approximately 6.5″ x 6.5″)
- 1 magic rabbits template, printed on 8.5″ x 11″ card stock
- 1 piece of string (approximately 27″)
- 1 snippet of plastic straw (approximately 1.75″)
- 1 piece of PVC pipe (approximately 10.5″)
- A selection of color masking tape
- Scissors and tape for construction
- Markers for decorating
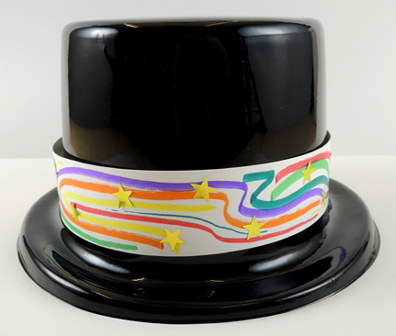
First, use markers to decorate a 2″ x 28″ strip of white poster board (we offered foil star stickers as well!). Wrap the hatband around the outside of a plastic top hat. We bought our hats from Oriental Trading Company (item #70/1284) for $8 a dozen. INSIDE the hat is where the magic happens…
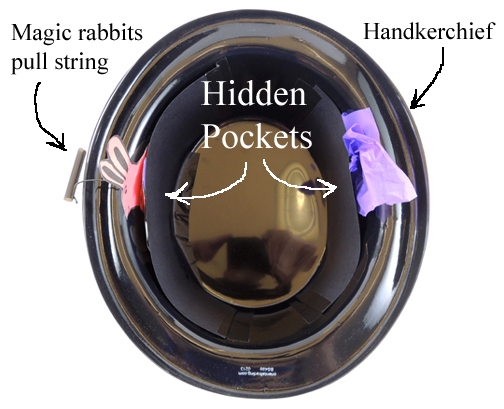 As you can see, the interior of the hat has two hidden pockets. These are made from 2 rectangles of black poster board taped inside the hat. After some testing, we learned that the pockets need to be fairly large (4.25″ x 9.5″) in order for the tricks to works successfully.
First, stuff a 6.5″ x 6.5″ piece of plastic tablecloth inside the right pocket of the hat.This is your magical “handkerchief.” Meanwhile, on the left side of the hat, notice the little 1.75″ snippet of plastic drinking straw? That’s the beginning of the pull string for a long line of magic rabbits…
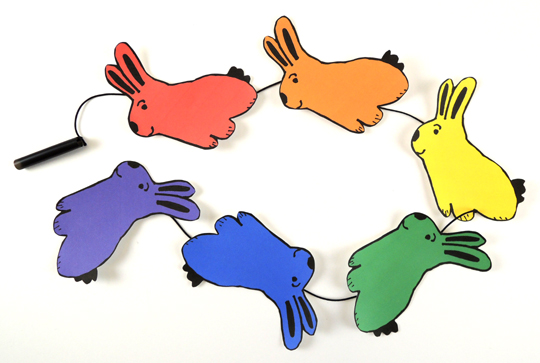 We gave the kids white rabbits to color, but if you want to print them in rainbow, you’ll find that template here. Knot a piece of string around the drinking straw snippet, then tape the rabbits to the dangling string. Bunch the rabbits up and slip them into the left pocket of the hat. However, leave the drinking straw snippet dangling outside the pocket so your fingers can find it later when you’re performing your trick.
Ready for the magic? Trick #1: First, show your audience that the inside of the hat is “empty.” Then, sneeze into your hat dramatically. While you are sneezing, pull the plastic handkerchief from the hidden pocket and say “Ta da!” Trick #2: Again, show the inside of your hat is empty. Then find the dangling drinking straw snippet with your fingers. Shout “Abracadabra!” and yank the line of rabbits out of your hat!
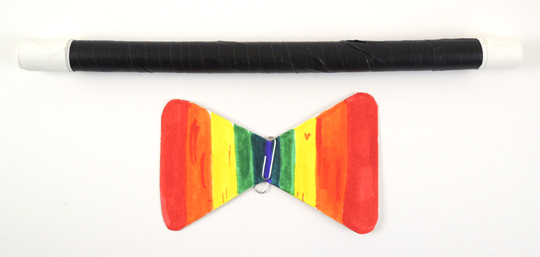
We also made classic wands by wrapping a 10.5″ piece of PVC pipe with color masking tape. And who can resist a poster board bow tie that attaches to your collar with a small paperclip?
 If you’d like a add a third trick to your magic show, we highly recommend the “sticky wand” trick. You’ll find it, and other awesome tricks, in this “Incredible Illusions” post, but I’ve modified the instructions slightly below.
First, run your hand around the rim of your hat, announcing that it is giving you “magic magnetic powers.” Next, hold the wand in your “magnified” hand. Say “Observe my stupendous magnetic powers!” Extend your arm across your body and out to your side, still grasping the wand. Wrap your free hand around the wrist of your wand hand. Slowly and dramatically, lift each finger from the wand until you no longer appear to be holding it.
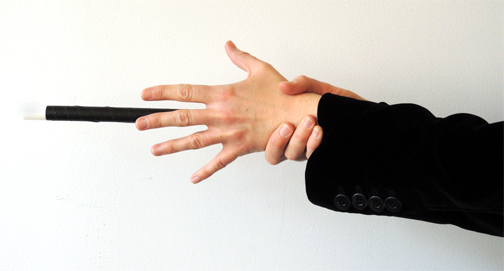
But you are holding it of course. Because when you grab your wrist, you sneak a finger behind your wand hand and hold the wand like this:
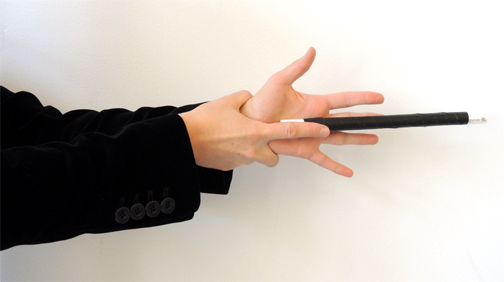 Tell the audience they have magic abilities too. On the count of three, have them audience clap once to “demagnetize” the wand. When you hear the clap, lift your finger to release the wand, and let it fall dramatically to the floor. Then take a big bow!

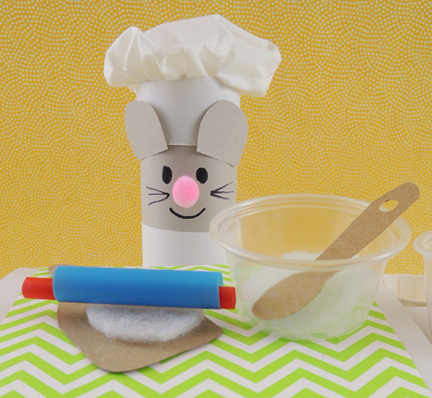 Let this Sous Chef Souris help you make delicious pies! Your miniature kitchen has everything you need for creative baking – mixing bowls, wooden spoons, cutting board, rolling pin, pie pans, fresh felt ingredients, and, of course, matching chef hats!
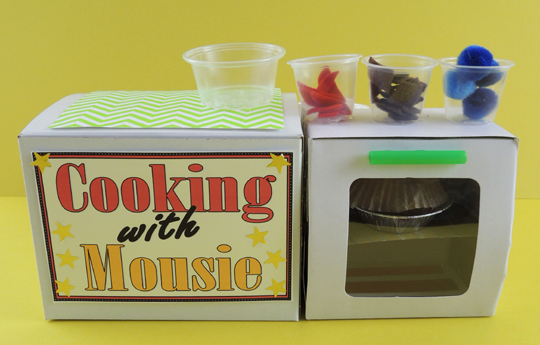
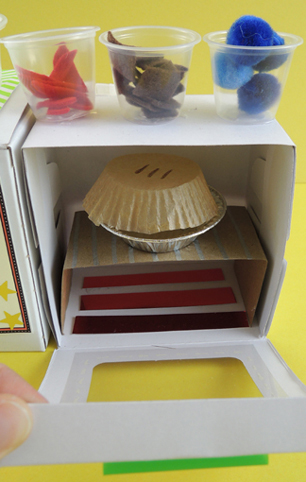 On top of the cooking counter is some
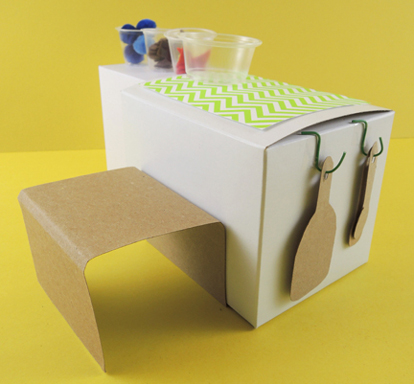
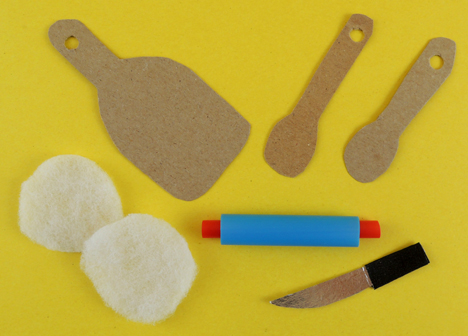 The cutting board and wooden spoons are tagboard. The knife is a little piece of silver mirror board with a black masking tape handle. Those two white circles are polyester batting “pie dough” for the mixing bowl, and the rolling pin is a 2.25″ snippet of bubble tea straw with a 3″ piece of drinking straw threaded into it.
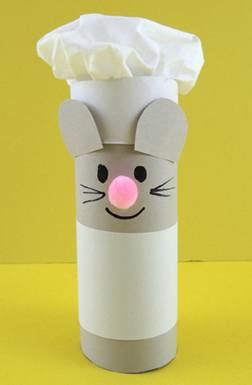
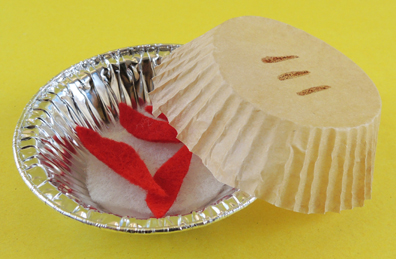 The toilet paper tube mouse is sporting a chef hat made from construction paper and a bunched up facial tissue.
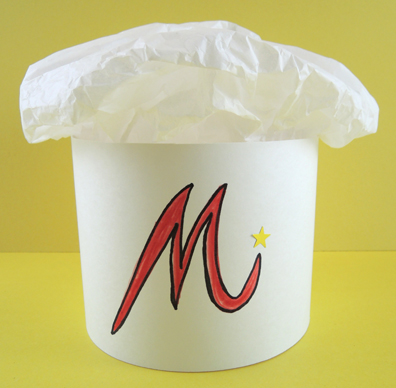
 Your chef hat is made out of cardboard and white tissue paper. Instructions for making it can be found in
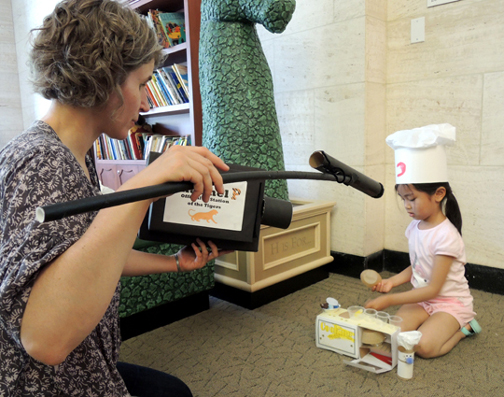
  When the kitchens were finished and the chefs were ready, we brought out our camera equipment (learn how to construct it
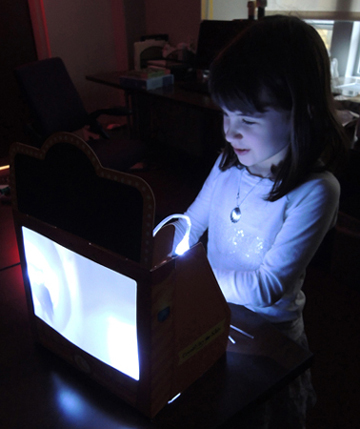
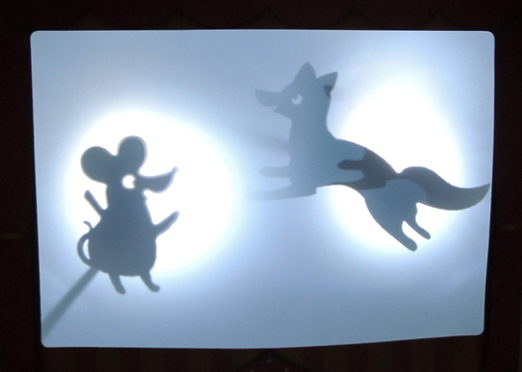 Teachers, parents, and librarians, lend me your ears! Today, I present Shadow Puppets Theater by Creativity for Kids, the one stop shop for hours of imaginative narration and story building. Get thee hence and acquire one!
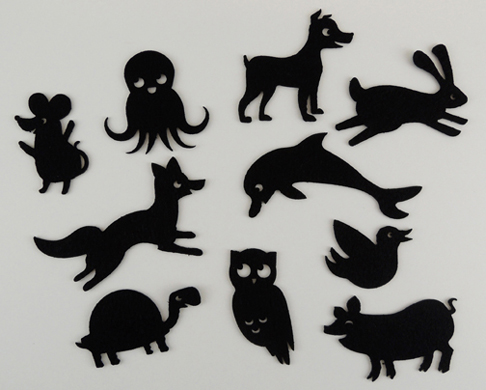
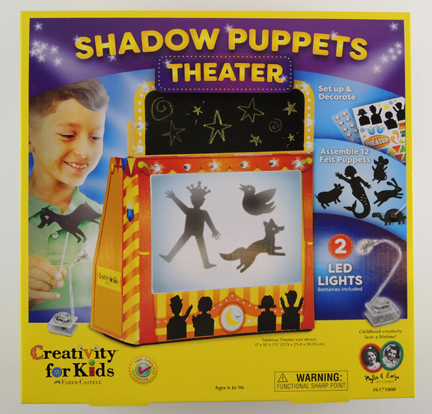 The kit retails for around $20, and is intended for ages “6 to 96.” It contains a theater, a detachable chalkboard marquee, 1 piece of yellow chalk, stickers, rhinestones, 10 felt animal puppets, 2 felt people puppets with accessories, 15 metal brads for the jointed puppets, 12 puppet holders, 8 puppet sticks, and 2 LED lights (batteries included!).
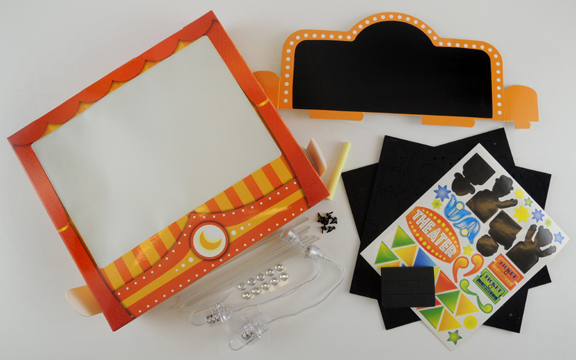 One of the frustrating things about toy puppet theaters is how flimsy the stage is, and how the slightest nudge will send it tumbling. Not this one! It’s made out of very sturdy cardboard. A few basic folds, and the stage is ready to go, anchored in place with some very helpful velcro fasteners.
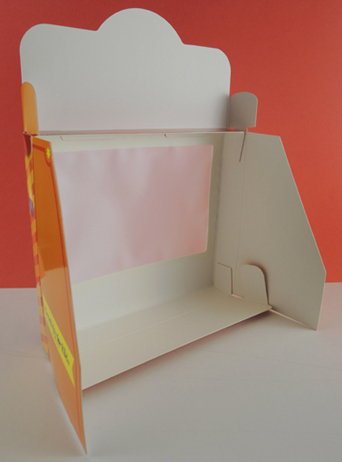 There’s also a detachable chalkboard marquee for the top, which is super cute. Also, unlike some of the cheaper cardboard chalkboards, the chalk wipes off cleanly and easily with a dry paper towel.
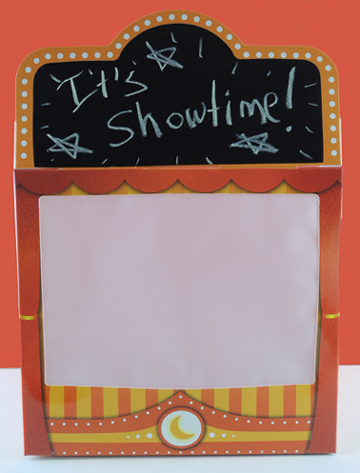 Also included are some terrific stickers and clear rhinestones (yes!) to decorate the front of the theater. They are easily removable, so you can change your theater’s look. The stage’s screen is thick, high quality, and securely mounted (because there’s nothing sadder then your screen buckling, tearing or falling off during a performance).
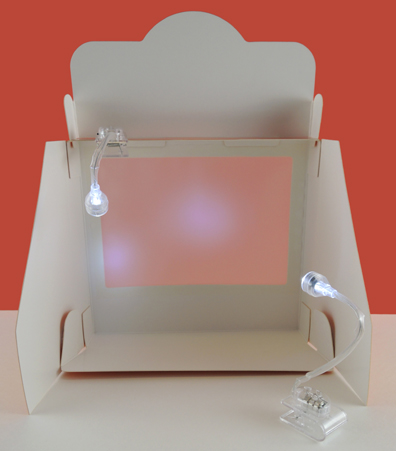 Their illumination power is fantastic. No matter what configuration we put the lights in, we got great shadows and and a well-lit screen.
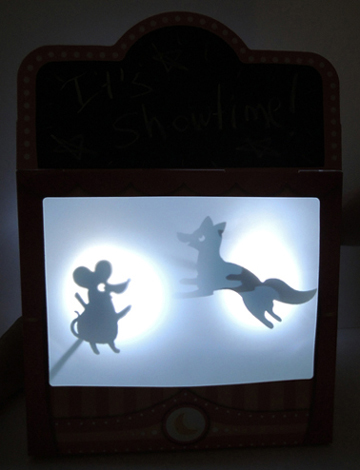 The puppets? They totally rock. Look at them! The mouse! The owl! The happy pig!
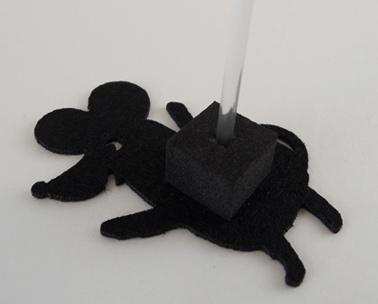
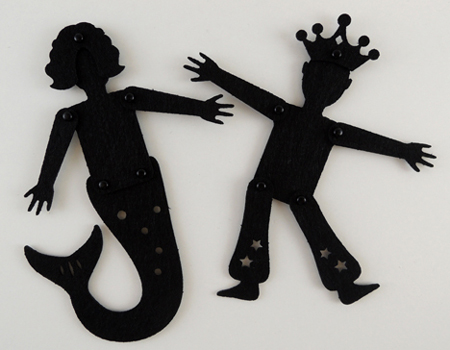 I only have one quibble with this puppet theater kit. There are 12 puppets in the kit, but only 8 sticks! The instructions say to swap out the sticks during the show, but that somewhat breaks the flow. I made a couple extra out of a