 Storms can be very scary, but this story time project lets YOU be in charge of the clouds, rain, and lightning!
We read Stormy Night by Salina Yoon (Bloomsbury, 2015). A storm is booming, and Bear can’t sleep – and neither can his stuffed bunny Floppy, his Mama, or his Papa! But a sweet song, kiss on the nose, a tickle on the ear, and good book can do wonders, and the family rides the storm out together.
You’ll need:
- 2 corrugated cardboard rectangles
- A box cutter
- 2 strips of poster board
- 2 paper towel tubes
- Construction paper
- 1 small box
- 4 jumbo craft sticks
- Scissors, tape and glue for construction
- Markers for decorating
- Hot glue
This theater is divided into two pieces: the back and the front, which are later hot glued together to create a free-standing theater. Here’s the back piece…
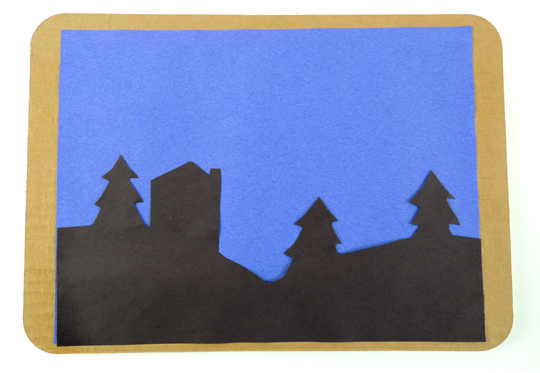 First, glue a piece of blue construction paper to a corrugated cardboard rectangle (we used 9.75″ x 13.75″ cake pads). Next, cut a silhouettes from black construction paper and glue it down as well. Definitely make sure to glue these down tight, so the edges don’t snag on your puppets later. Here’s the front piece…
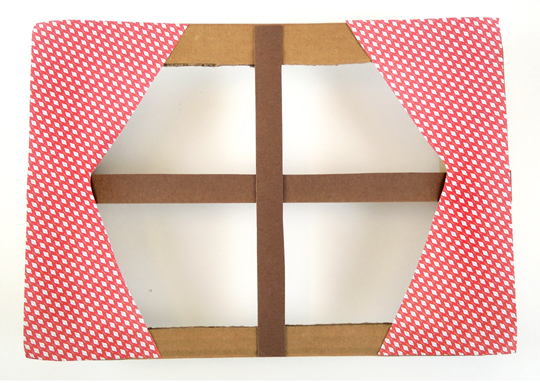 Use a box cutter to cake a window in the second corrugated cardboard rectangle. Then glue or tape 2 strips of poster board to the front of the window (definitely use poster board, construction paper is a little too saggy). Add a pair of optional window curtains. Then flip the front piece over…
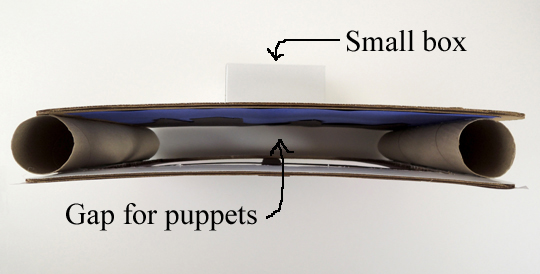
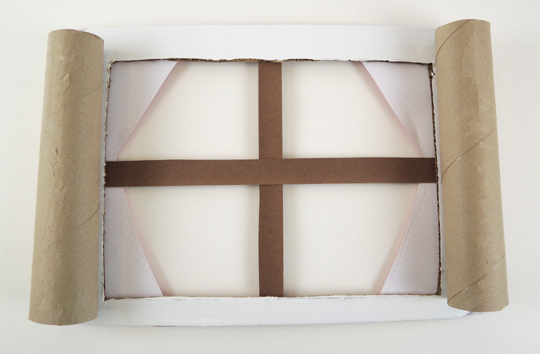 Shorten 2 paper towel tubes so they fit inside the sides of the window, then hot glue them firmly in place (we reinforced the connection with tape as well). Hot glue the tubes to the back piece of the theater. Now there is a gap between the front and back of the theater. This is where you drop your stick puppets! We also hot glued a small box to the very back of the theater to keep it more steady (our box was white, sorry, it’s a little hard to see in the photo!).
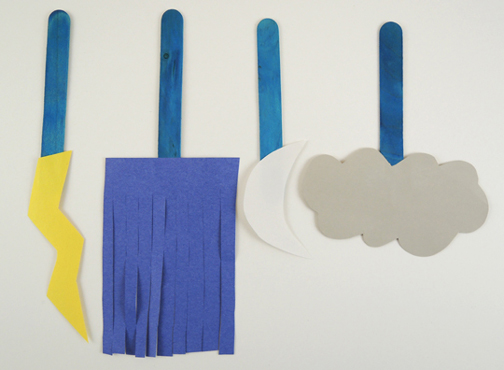
 To make the stick puppets, cut a lightning bolt, fringe of rain, crescent moon, and storm cloud from construction paper, then glue or tape them to the bottom of a jumbo craft stick (ours were 8″ long).
 To operate the theater, simply drop the puppets into the gap and narrate the story as storm clouds move in, rain comes, lightning strikes, and the skies finally clear to reveal the moon!
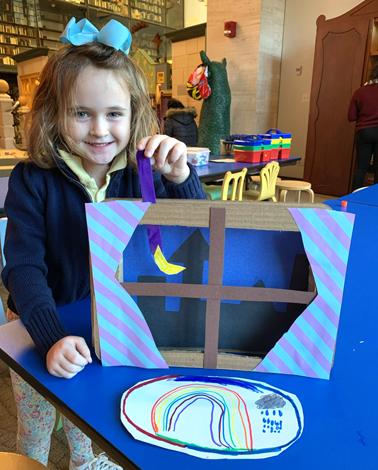
We also gave kids the option of creating cozy rugs with markers and ovals of white construction paper. Love the rainbow and storm cloud in the one above!

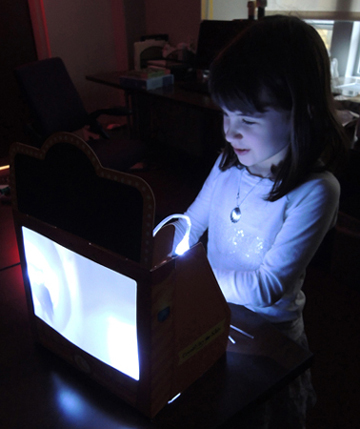
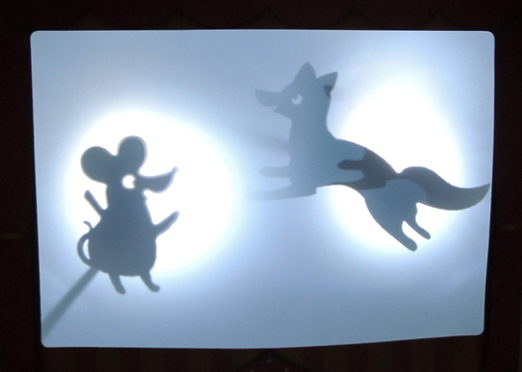 Teachers, parents, and librarians, lend me your ears! Today, I present Shadow Puppets Theater by Creativity for Kids, the one stop shop for hours of imaginative narration and story building. Get thee hence and acquire one!
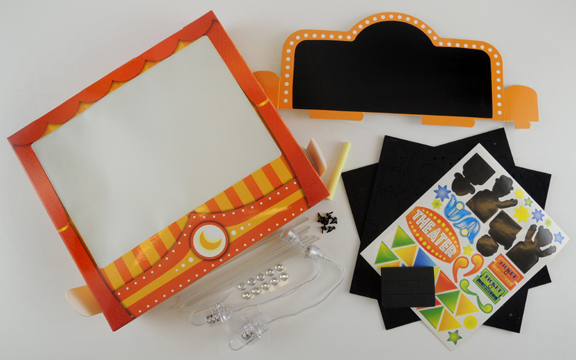
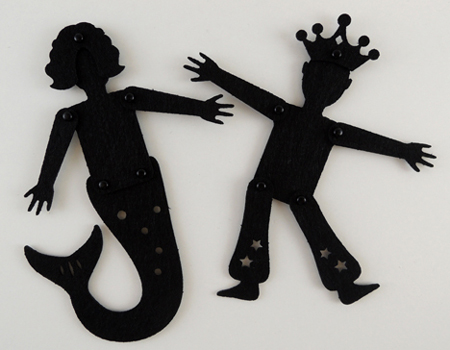
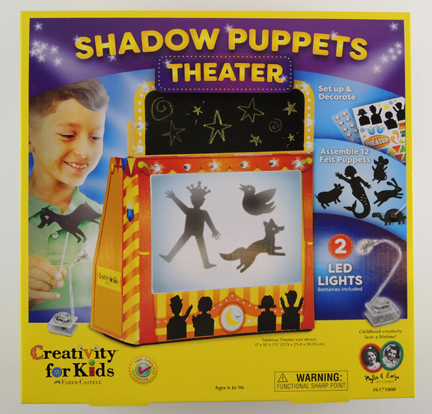 The kit retails for around $20, and is intended for ages “6 to 96.” It contains a theater, a detachable chalkboard marquee, 1 piece of yellow chalk, stickers, rhinestones, 10 felt animal puppets, 2 felt people puppets with accessories, 15 metal brads for the jointed puppets, 12 puppet holders, 8 puppet sticks, and 2 LED lights (batteries included!).
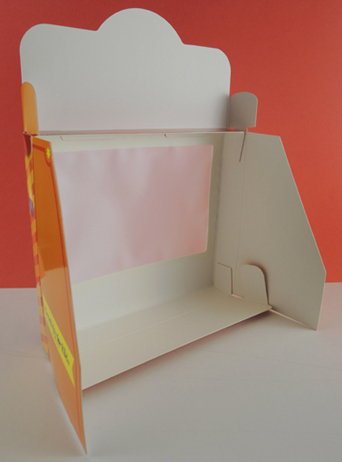
 One of the frustrating things about toy puppet theaters is how flimsy the stage is, and how the slightest nudge will send it tumbling. Not this one! It’s made out of very sturdy cardboard. A few basic folds, and the stage is ready to go, anchored in place with some very helpful velcro fasteners.
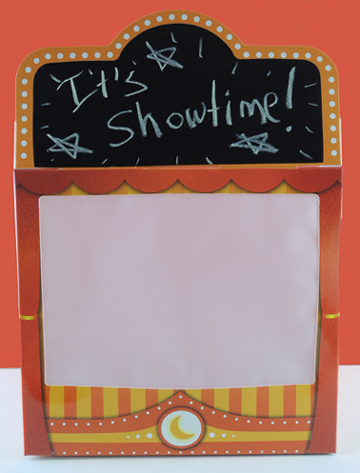
 There’s also a detachable chalkboard marquee for the top, which is super cute. Also, unlike some of the cheaper cardboard chalkboards, the chalk wipes off cleanly and easily with a dry paper towel.
 Also included are some terrific stickers and clear rhinestones (yes!) to decorate the front of the theater. They are easily removable, so you can change your theater’s look. The stage’s screen is thick, high quality, and securely mounted (because there’s nothing sadder then your screen buckling, tearing or falling off during a performance).
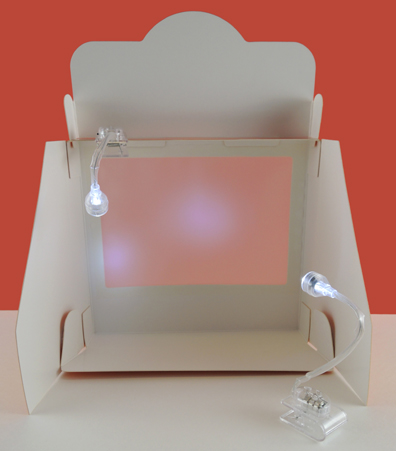 Their illumination power is fantastic. No matter what configuration we put the lights in, we got great shadows and and a well-lit screen.
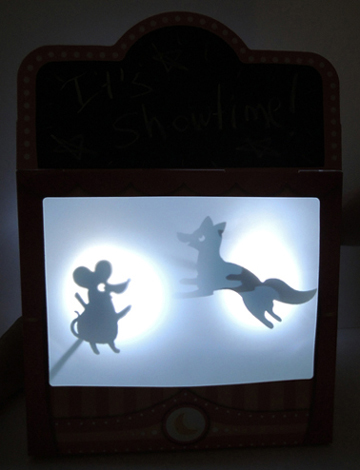 The puppets? They totally rock. Look at them! The mouse! The owl! The happy pig!
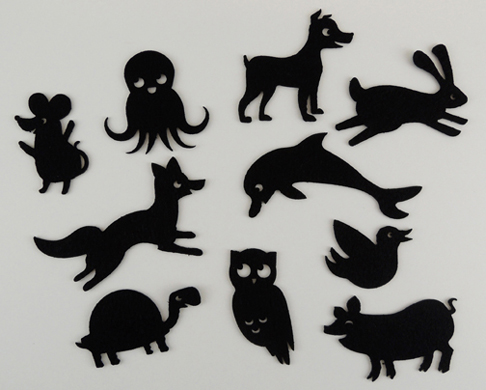
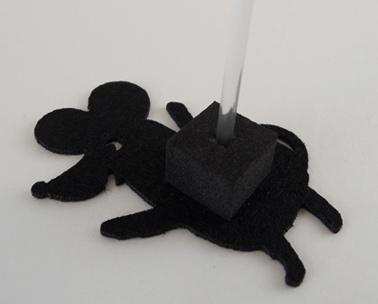
 I only have one quibble with this puppet theater kit. There are 12 puppets in the kit, but only 8 sticks! The instructions say to swap out the sticks during the show, but that somewhat breaks the flow. I made a couple extra out of a
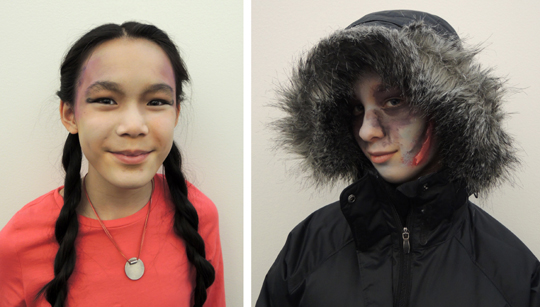 Get into character with a little bit of stage magic! This winter, we hosted a fantastic hands-on (or arguably, a face-on) workshop about how actors use makeup to transform themselves into a character. The workshop was expertly and enthusiastically taught by Jenny Scudder from
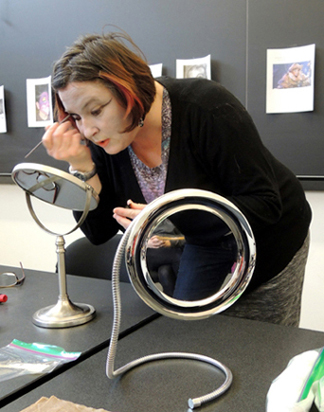
 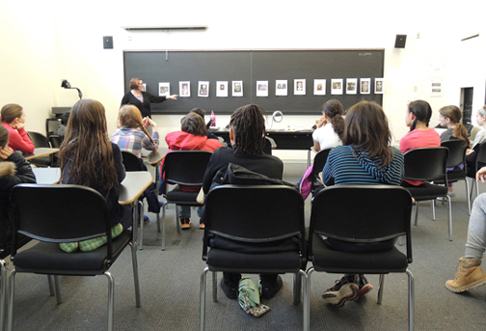 Next, Jenny discussed how, in addition to makeup, actors can also use their voices, gestures, costumes, props, and sets to bring their characters to life. She described what stage makeup is (big, bold, and expressive) and what it isn’t (it’s not meant for close-up photography like a fashion shoot). As she was lecturing, Jenny was effortlessly applying her own stage makeup, which was Grizabella from Cats.
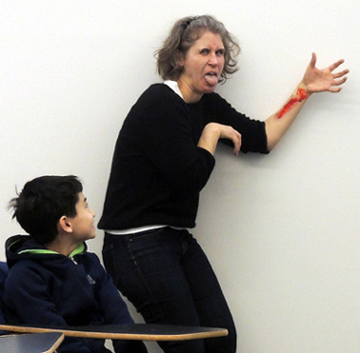
 Jenny also talked about the names of the different brushes, and techniques for application. Finally, she brought out some latex scars and gashes she had prepared in advance. My forearm became the test subject for a massive latex scar, some red base makeup, a loaded stipple brush, and some fake blood. Here I am, modeling the finished product in my usual subtle way.
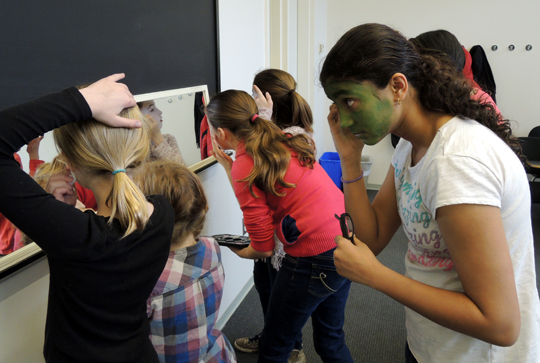
 Finally, it was time to turn the artists loose on the makeup! There was plenty of it. Jars, palettes, sponges, pencils, brushes…the works!
 Jenny divided the kids into pairs so each pair would have someone to assist with the application of his/her makeup. I really liked this because it meant that the kids weren’t sitting passively, having their faces done by adults. They were actively involved in the whole process.
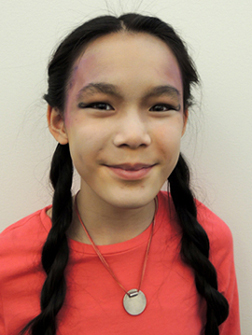
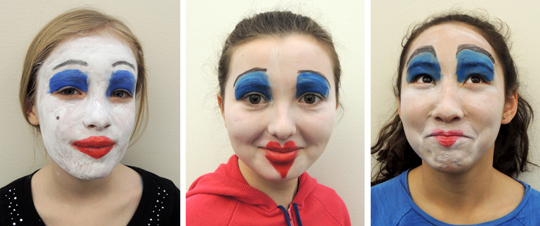
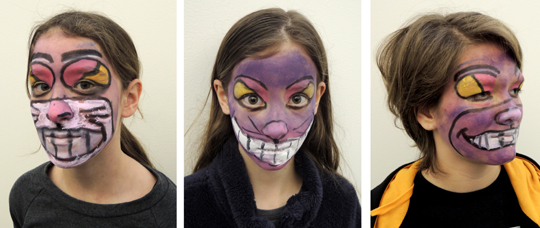
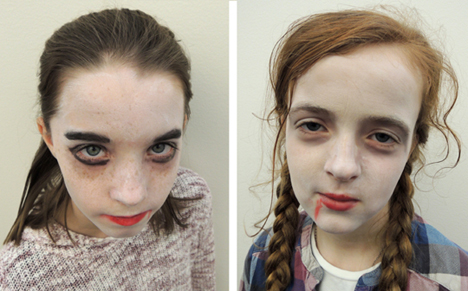
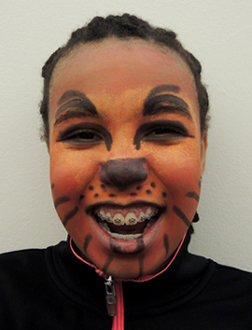
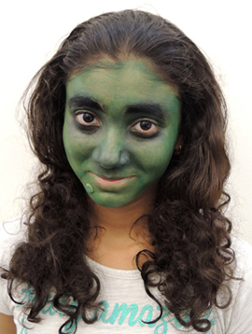
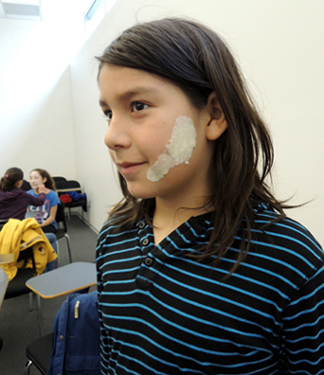 Ready to see some results? Even though there was quite a bit of smiling and laughing, I did encourage the kids to try to stay “in character” while I was photographing them. I’ll begin with Arwen, who you saw at the beginning of the post:
 The Wicked Witch of the West…
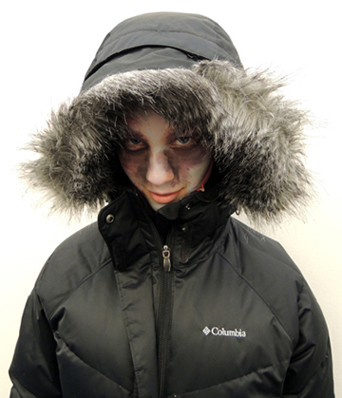
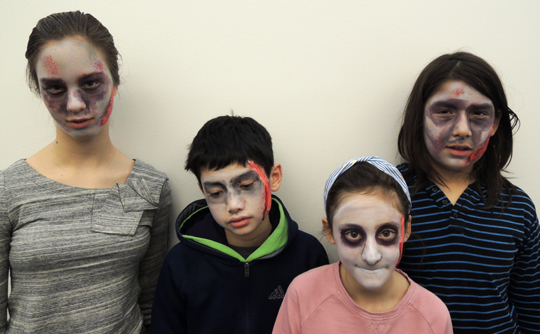 Do you recognize the zombie on the far left from the beginning of the blog? The funny thing was, we never planned to photograph her with her hood up. As it turned out, she had to walk home from the program in full makeup. In order to not freak anyone out, she pulled her hood up. It looked so fantastic, I had to take a photograph!