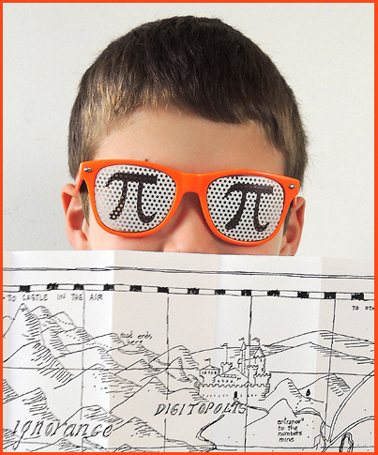
 We’ve all wanted to jump into books. Who doesn’t, for example, want to go to Diagon Alley and hit the shops? Join Hazel for stories in the Honeycomb? Explore Babilonium with Candy Quackenbush? Or sail the skies with Matt Cruise on the Aurora? Part of my job at the Cotsen Children’s Library is to bring these places to life for kids, and this month, we headed to The Lands Beyond to visit Digitopolis, the mathematical kingdom in The Phantom Tollbooth.
The math event was intended for children ages 4-10, and my goal was to make it full of exploration, demonstrations, games, challenges, and unexpected connections. And by the four million eight hundred and twenty-seven thousand six hundred fifty-nine hairs on my head, I think we did it!
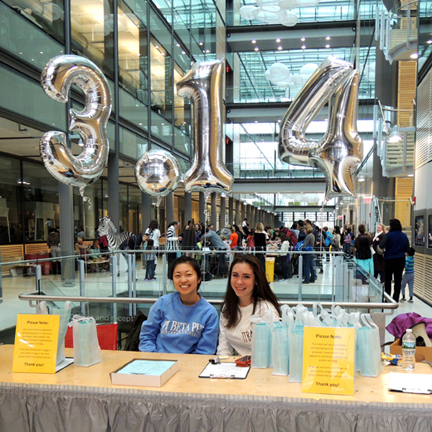
A Day in Digitopolis took place in the atrium of Princeton University’s Frick Chemistry Laboratory, a soaring, three-story structure of glass and metalwork. Here’s our welcome desk with two student volunteers and Pi balloons.
 But before I get started on all the details, I’d like to introduce our event collaborator, Bedtime Math. Founded by Laura Overdeck, Bedtime Math is a NJ-based nonprofit organization that provides playful, zany math problems for parents to do with their kids everyday. In addition to sharing their content through their books, e-mail, and free app, they created Crazy 8s, an after-school math club that has been launched in over 6,000 locations nationwide. These guys know, and love, math.
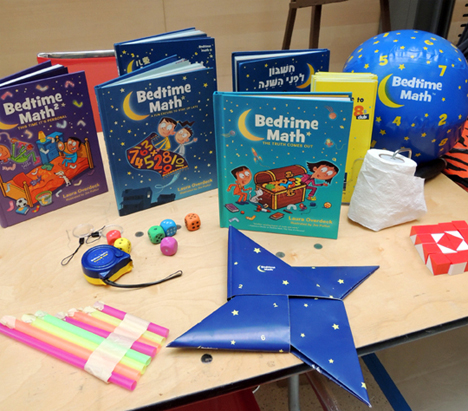 Bedtime Math brought 3 fantastic activities to the event: Spy Training, Beach Ball Party, and Glow-in-the-Dark Geometry. Here’s Spy Training, which was all about codes and ciphers…
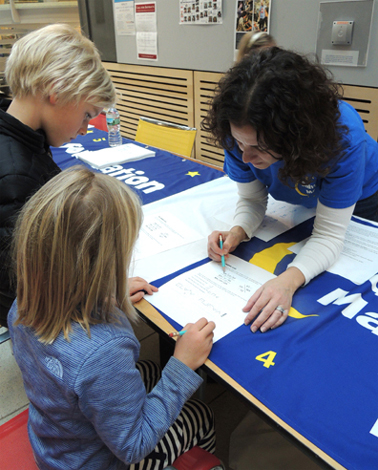 And here’s Beach Ball Party, which involved counting, stacking, and chasing beach balls determined to make a break for it.
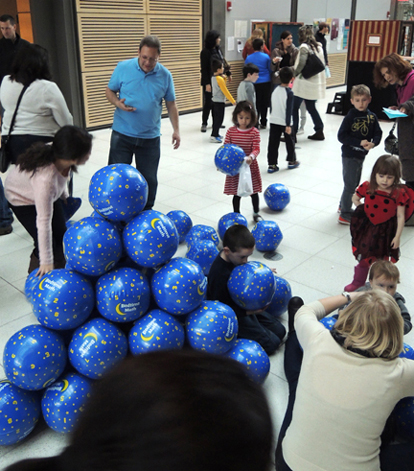 It also involved Ellen Williams (who you last spotted being pelted with marshmallows in this post) inflating dozens and dozens of beach balls for kids at the event. That’s her in the lower right corner of the photo, hard at work. Very impressive lungs has our Ellen (did I mention she sings in multiple choirs?).
But the total show stopper was Bedtime Math’s Glow-in-the-Dark Geometry. This took place in a darkened classroom off the main event floor. Here, kids could build illuminated structures with glow stick bracelets and styrofoam balls. The results were totally amazing.
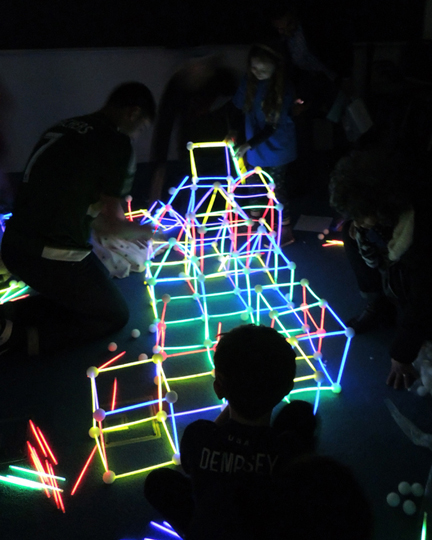 Some kids decided to use the original plastic connectors that came with the bracelets to make unique geometric creations. Here’s one of my favorites. A series of loops that, when spun, becomes a sphere!
Bedtime Math was recently invited to the White House to take part in an early STEM learning summit. Seriously. When it comes to amazing math connections for kids, Bedtime Math has it down!
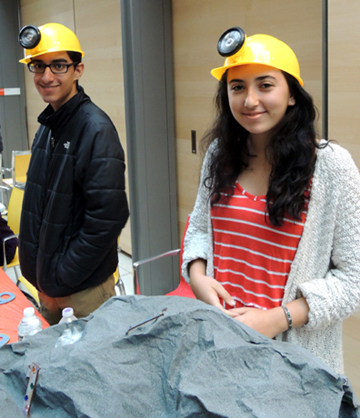
Moving to a different section of the event floor, we find the fabled number mines of Digitopolis. In the book, Milo, Tock, and the Humbug learn that numbers are, in fact, excavated out of the earth, much like jewels and precious stones. The talented Maria Evans from the Arts Council of Princeton built the mine you see below, but we built another one for a later event. You can find the step-by-step instructions here.
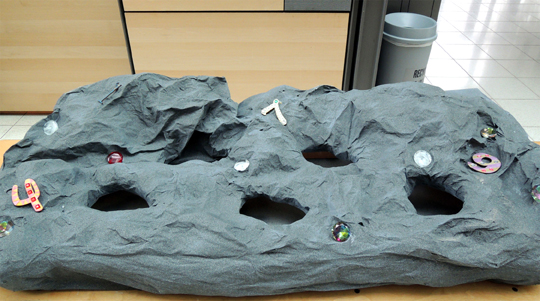 The mines were stocked with an assortment of wooden numbers. I used 4″ numbers I found online at Woodcrafter. If you’d like a cheaper option, I recommend printing paper numbers on card stock.
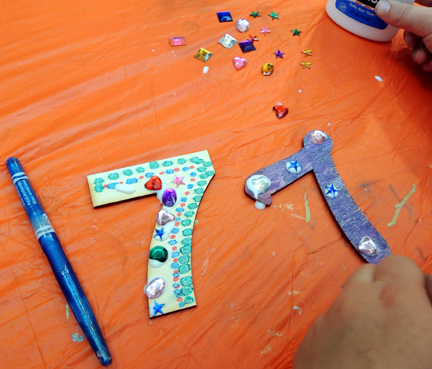
At the event table, kids reached into the mine, extracted a number, and then decorated it with a combination of metallic markers and glitter markers. We also had plastic gems and glue on hand for some additional bling.
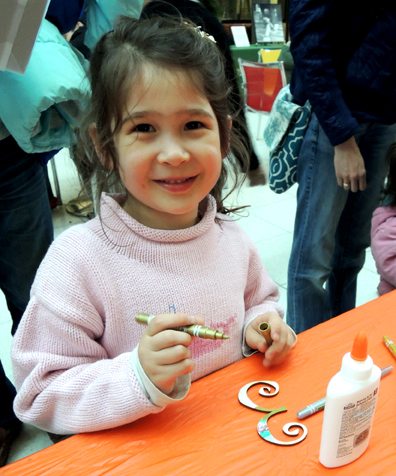
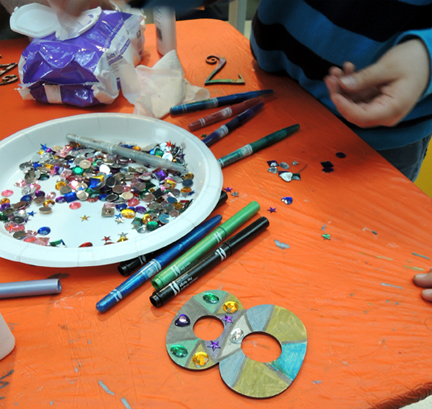 The mines were staffed by high school volunteers from the Arts Council, who were suitably decked out in miner helmets.
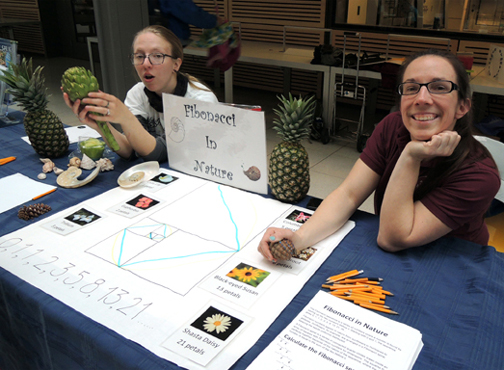
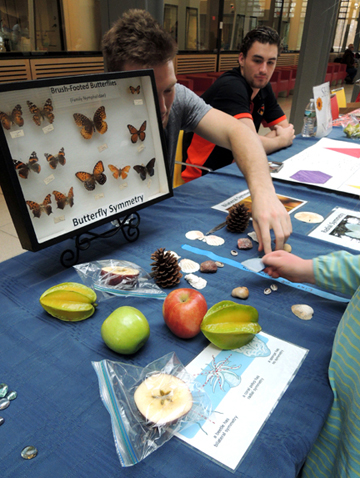
 Elsewhere in Digitopolis was the “Fibonacci Forest,” hosted by the Stony Brook-Millstone Watershed Association. This table focused on math in nature. Specifically, symmetry, shapes (like spheres, hexagons, spirals), fractals, and Fibonacci numbers. The Watershed brought a ton of items for kids to touch, connect with, and explore (including my personal favorite, a gorgeous nautilus shell).
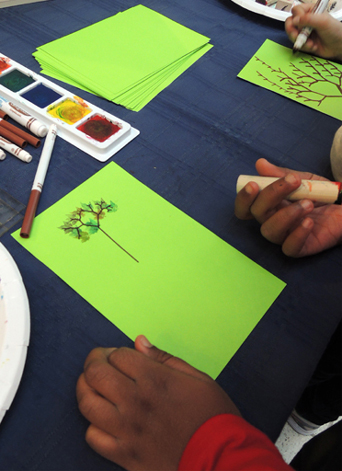
 The Watershed also did a cool fractal tree project. It involved a half-sheet of green paper, brown markers, and rulers (here are the instructions if you’d like to see them).
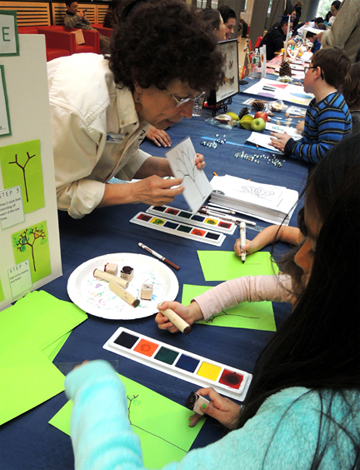 We decorated the finished fractal trees with bird and leaf stamps, but you can also just use markers or color pencils.
 And speaking of wildlife, how about some zebra math? We were delighted to be joined by Princeton University Professor Dan Rubenstein from the Department of Ecology and Evolutionary Biology. Among other things, Dan does field work with African zebras.
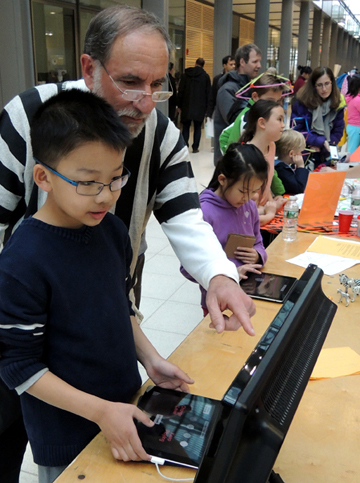 Some researchers believe that zebra stripes exist to confuse predators. So Dan and his constituents developed “Dazzle Confusion,” an iPad game in which kids “become the lion” and tried to tap black, white, or striped moving targets to determine which one is most difficult to hit.
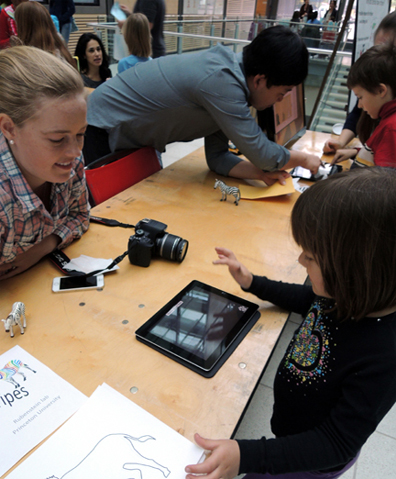 At the end of the game, the program tabulated the kids’ results and displayed them on a large screen. As the event progressed, the results continued to accrue. This lead to conversations about data collection, measurement, central tendencies, and averages.
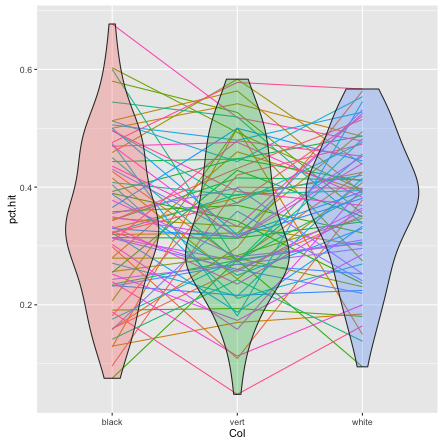 It’s worth noting that although there was much variation on kids’ “strikes” on the targets, there was a strong trend (p < .08) showing that the striped targets were hardest to hit! How’s that for some real world math?
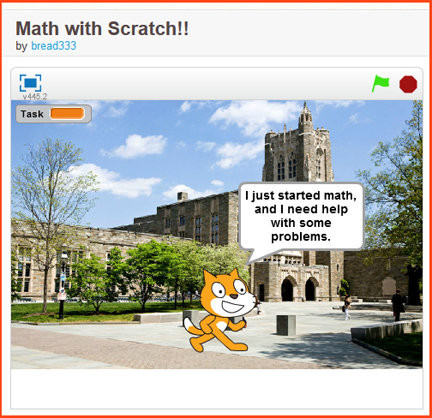
Continuing with the technology theme, the Princeton Women in Computer Science designed an original math game for kids using Scratch, a visual programming language developed by MIT.
 Here’s a screen shot of the game, which was created by sophmore Lucy Lin. If you’d like to test drive the game yourself, here’s the link.
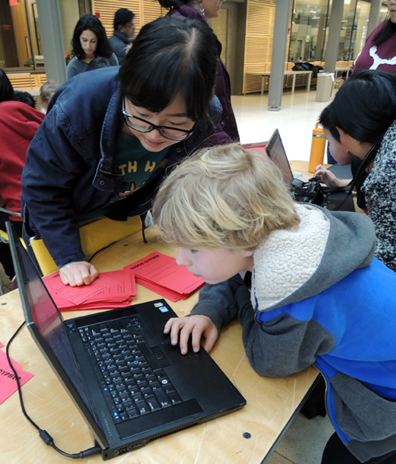
 The game was cool, but even cooler was the fact that there was another laptop running tandem to the gaming laptops that showed all the algorithms behind the Scratch program. And volunteers were on hand to answer any and all questions about computing. They also had a couple of encryption puzzles for kids to crack.
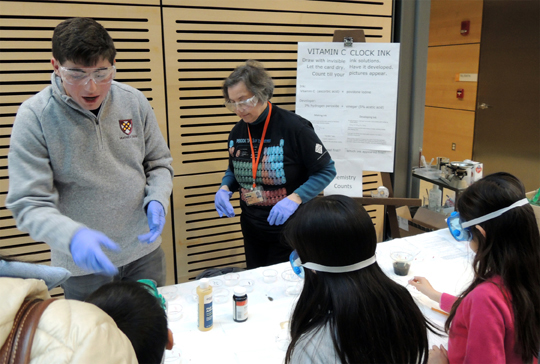
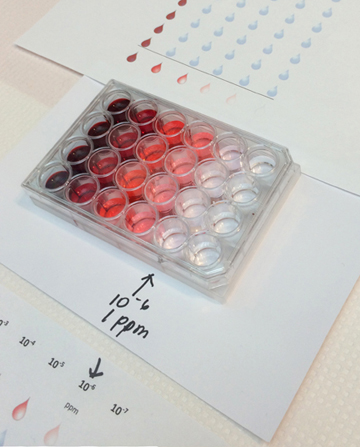
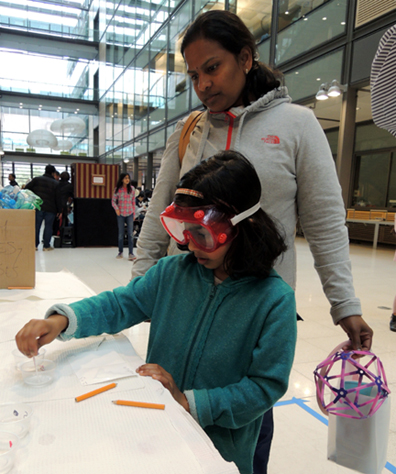
Meanwhile, the Princeton Chemistry Outreach Program (we’ve exploded things with these guys before) was busy making awesome math / science connections with kids. Dr. Wagner and her students ran hands-on experiments with parts per million, vitamin c clocks, and timed invisible ink.
 For those who prefer their math undiluted, the Princeton University Mathematics Club came out en force to host a “Playful Problems” table. Here, kids found a plethora of logic puzzles, word problems, visual puzzles, calculator tricks, the works!
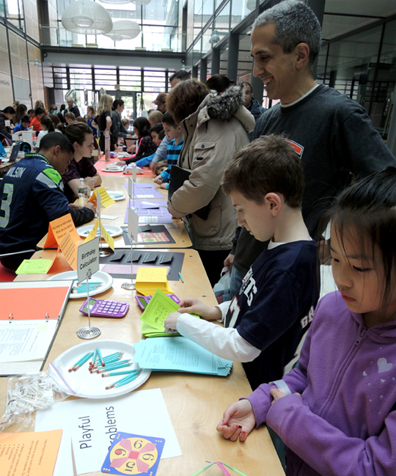
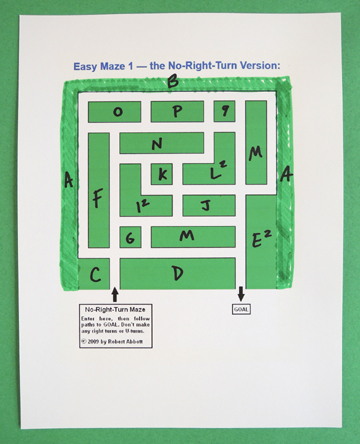
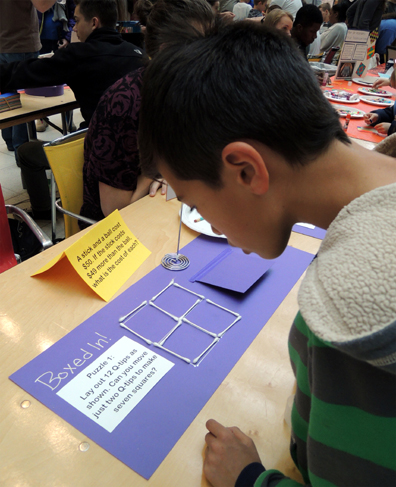 There were 12 different activities for children ages 4-10. The activities ranged from easy to moderately difficult. Here’s an example of our simplest puzzle, which was created by Casandra Monroe (whom you first met here). Here’s the template if you’d like it.
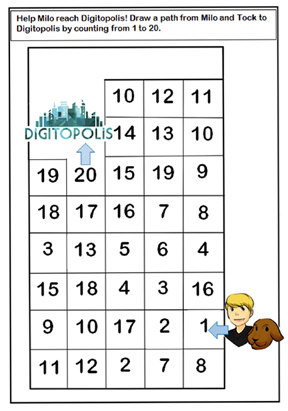 Below is a list of what we offered at the event table. In addition to using Google to find some of these puzzles, Math Wizardry for Kids (Barron’s, 1995) and How to be a Math Genius (DK Children, 2012) were terrific resources.
- Suduko
- Lattice multiplication
- Logic grid puzzle
- Matchstick puzzles (we used Q-tips instead of matchsticks)
- Milo number grid maze (see above)
- 24 Game
- Multiplying by 9 finger trick
- Make a paper star with only 1 cut
- Superimposed shapes puzzle
- Visual sequencing puzzle
- Word problems
- Birthday calculator trick
Important! If you put together your own Playful Problems table, make sure you provide an answer sheet for each problem. That way, parents and kids can check their answers or get a little hint. Also important! No matter how easy the puzzle, provide an answer sheet (you don’t want younger kids to think that their puzzle was too “easy” for a solution sheet).
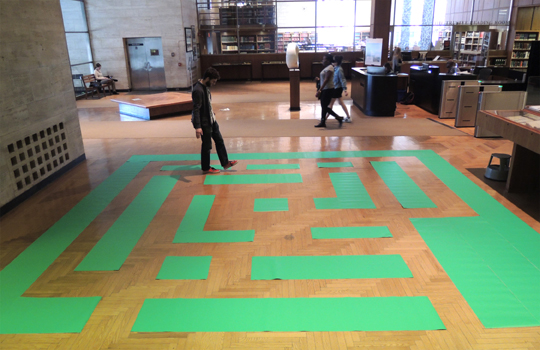
For those wanting a bit a exercise with their mathematics, we had a giant 16′ x 16′ floor maze (building instructions for it are in this post). Kids had to get from start to finish in the maze – without making a single right-hand turn. If you got stuck, the solution was posted on some glass doors opposite the entry to the maze.
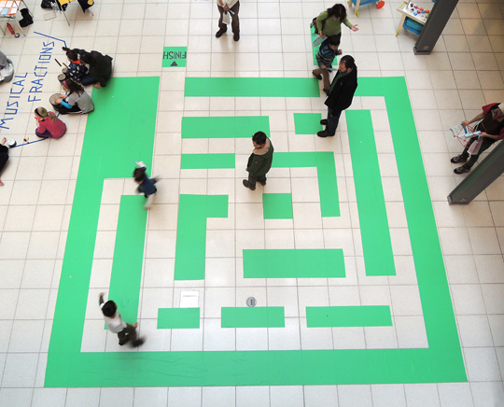 By the way, did you notice the cute play cart parked in the upper right corner of the above image? That’s one of our “Trio of Treats.”
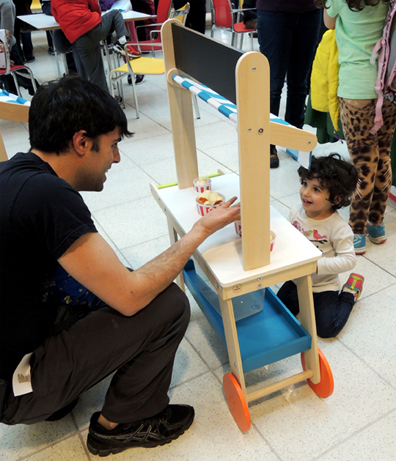
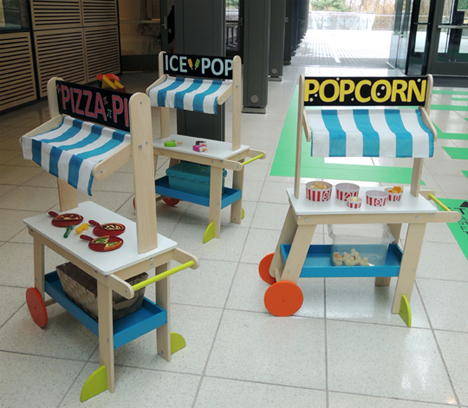 I always try to include something for the littlest patrons, so I bought 3 adorable food carts and stocked them with math play sets. The food carts are by KidKraft (Sweet & Sunny Lemonade Stand) and the play sets are by Learning Resources. We used Piece-A-Pizza Fractions, Number Pops, and Count ‘Em Up Popcorn.
And, because little kids love to take things in and out of containers, I bought a fabric basket for the pizza cart, a plastic box with a hinged lid for the ice pop cart, and a clear container for the popcorn cart. After the event, we donated the carts and math sets to a local non-profit preschool.
 One of the most popular event tables, however, was “Visit the 4th Dimension.” It was hosted by scienceSeeds (whom you first met here, and then again here).
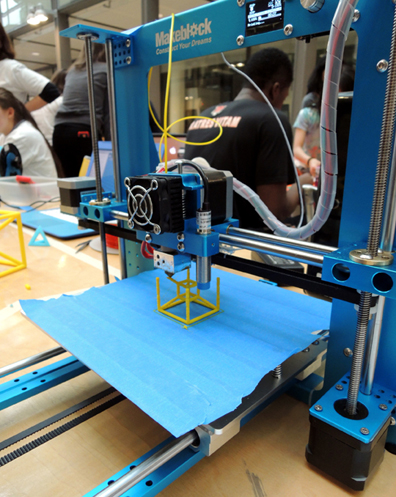
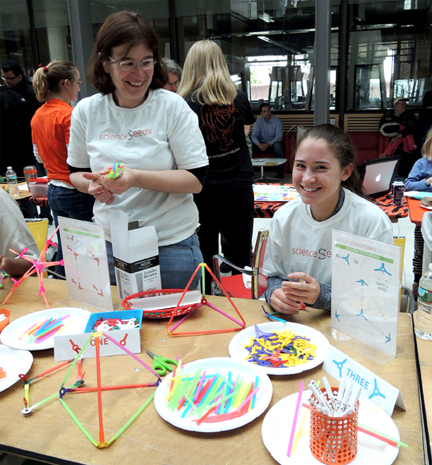 At the event table, kids learned about the different dimensions (1st is a line, 2nd is a square, 3rd is a cube, 4th is a tesseract). ScienceSeeds brought their 3D printers to the event and made models. You can see a tesseract in progress below. Awesome.
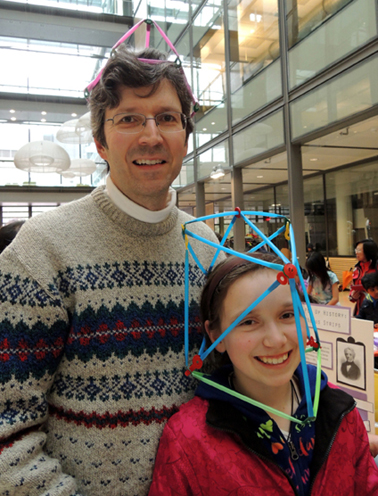
 Kids could also make 3D models of their own using drinking straws and plastic connectors. You can buy the plastic connectors online (from Strawbees). However, scienceSeeds has a die cut machine and was able to purchase the die cuts (from Accucut) and make their own connectors from plastic sheets (from Grafix).
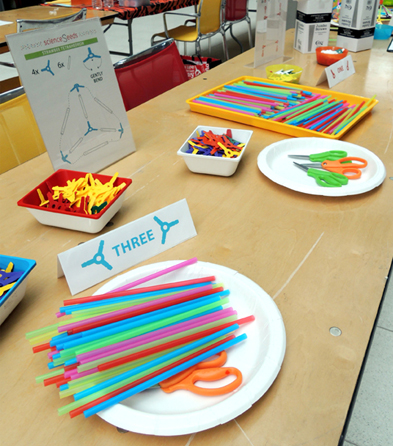 Like I said, their table was hopping – they estimate they went through at least 3,500 straws!
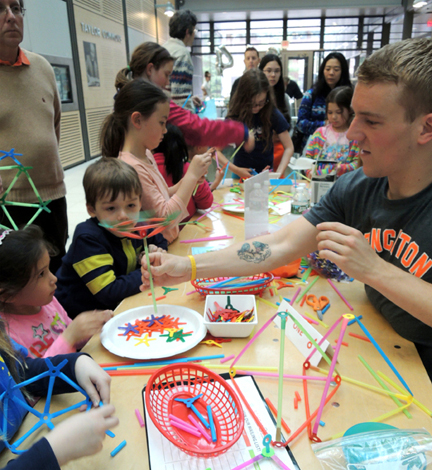 The thing I liked most about the project is that there was no limit to the shape, size, or intended use of the 3D models.

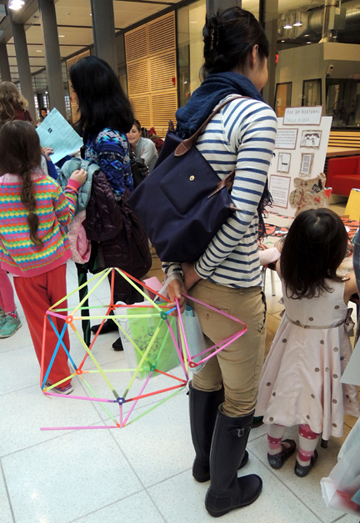
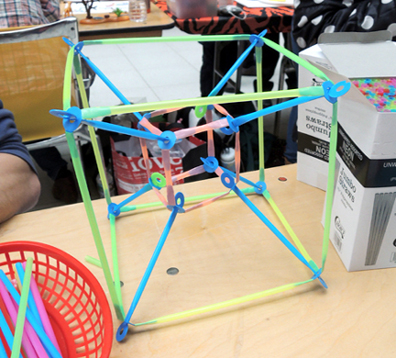
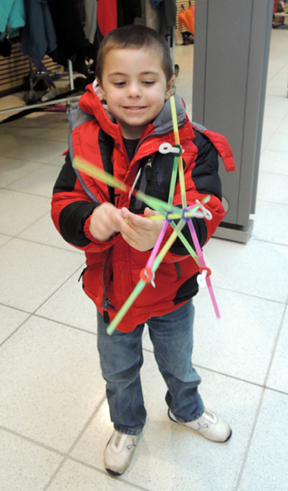
If plastic connectors are not in your budget, I’ve seen similar activities that used straws and pipe cleaner pieces (like this one), or sculptures that that involved cutting and sliding the ends of bendy straws into one another (like this one). I’ve also seen toothpick and marshmallow, (or toothpick and gum drop) geometric structures. But I tend to avoid those because of food allergies.
Whew! Believe it or not, I’m only halfway through all the event activities! You can check out Part II here…prepare to meet Digitopolis’ famous celebrities, get a bit of hands-on history, listen to some musical fractions, and view some truly stunning representations of infinity…

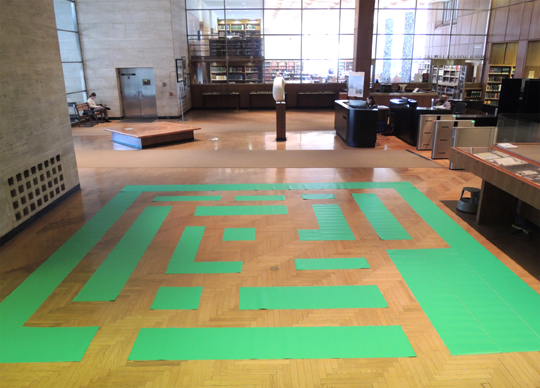 Today, we offer an exclusive first look at something big on our horizon. This month, my library is hosting a major math event. It’s called A Day at Digitopolis (named, of course, after the famed city in The Phantom Tollbooth). Today, you’re going to get a sneak peek at one of the activities – a giant 16′ x 16′ floor maze. But this is no ordinary maze! You have to get from start to finish without taking a single right-hand turn. Want to build one of your own? Read on!
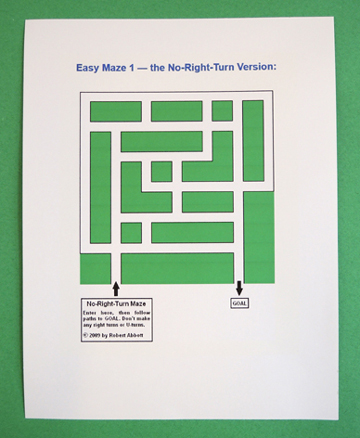
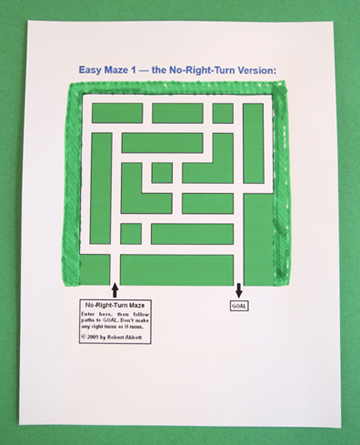 Once I finalized the maze design and decided that it was going to be 16′ x 16′, I had to calculate how much contact paper we needed. The rolls I found on Amazon were a standard width of 18″, so I just had to determine the length. I work best with models, so I crafted a little maze, in which 1″ = 1 foot.
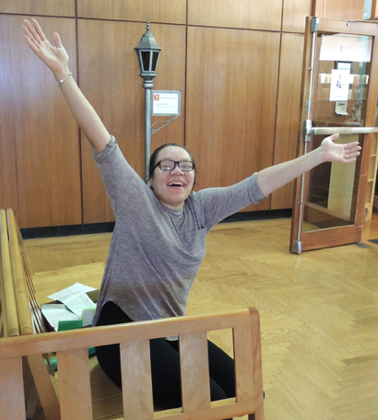
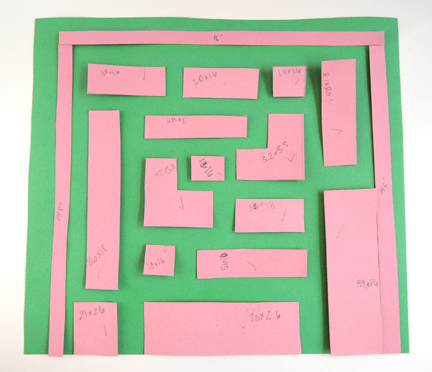 Once I added up the lengths of all the pink pieces, I had a rough estimate of how much contact paper we would need (112.25′). I ordered two, 75′ rolls, which left plenty of extra paper for mistakes. The task of actually building the maze fell on Marissa and Casandra Monroe. Casandra is a Princeton University student and super math whiz!
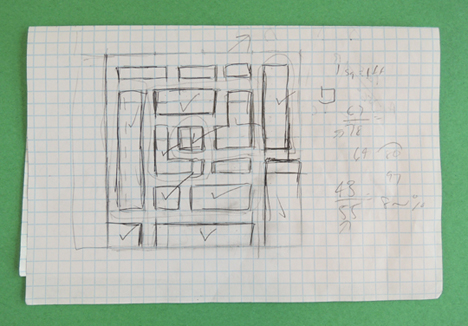
 Casandra sketched the maze on graph paper, in which 1 square = 1 square foot. Then she drew a 16 x 16 square and sketched the various pieces inside it. To make the calculations nice and simple, she made path through the maze 1′ wide.
 Then, Marissa and Casandra headed to the library’s cavernous main lobby and started building. They laid down the outer walls of the maze first:
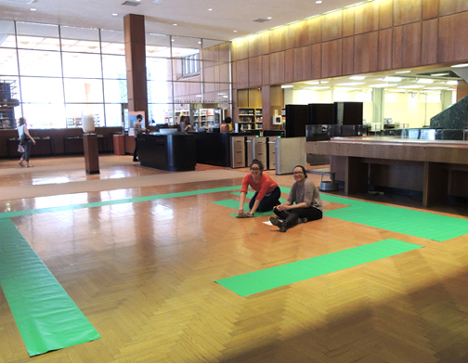 And then cut and placed the internal pieces of the maze.
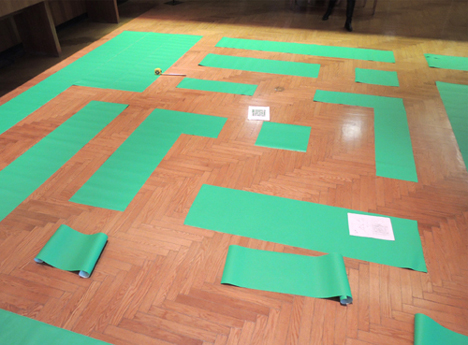 While they were filling in the pieces, they used a measuring tape to keep the path as close to 1′ as possible (even though there were some areas where the path was wider).
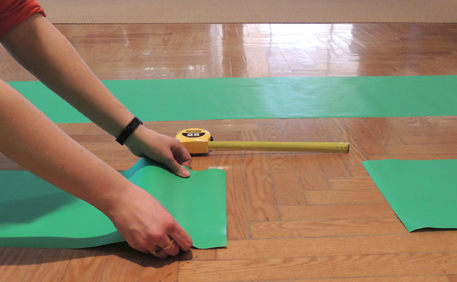 Marissa and Casandra kept the backing on the contact paper. But to keep the pieces from curling up, they used masking tape loops to temporarily adhere it to the floor.
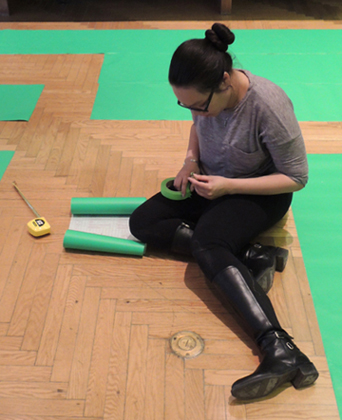 They also used permanent marker to label the backs of all the pieces and match them to a diagram of the maze.
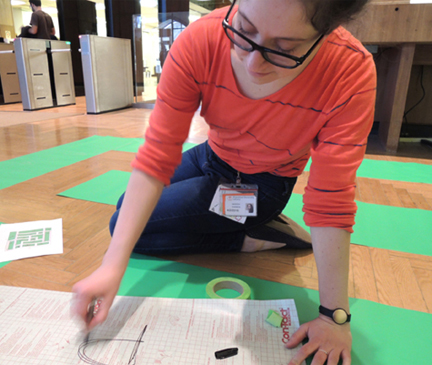 The morning of the event, we’ll be able to glance at the diagram, check the backs of the pieces, and peel and stick the maze quickly (we’ll have a measuring tape on hand to remeasure the pathways too).
 All in all, the maze took about 3 hours to put together. Cue “Eye of the Tiger!”
 Three important things: 1) Don’t forget to mark the start and finish of your maze (we’re using extra pieces of contact paper with “start” and “finish” written on them in permanent marker); 2) At the event, make sure to have the
  The real test, of course, will be at the