Pop’s Top 13: Halloween Edition

school for scoundrels

Happy Halloween everyone! October 31st is certainly about candy, yes. But here at the Cotsen Children’s Library, it’s also about COSTUMES. Over the years, we’ve had a number of costume connections to literary characters and events, and today we wanted to share our thirteen favorites on this oh-so-spooky holiday!


#1 EDGAR ALLAN POE
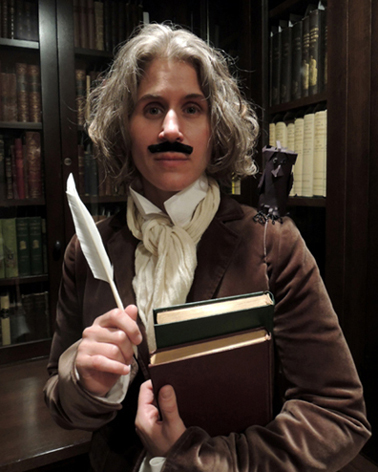
dr. dana as poeStarting the post off with the master of suspense himself, Mr. Edgar Allan Poe. This was a simple shoulder raven project, photographed in the gorgeous Scheide Library. Fun fact: Dr. Dana went to grad school at the University of Virginia, where Poe was enrolled in 1826!


#2 DOLORES UMBRIGDE, Et Al.
dolores-umbridge-costume

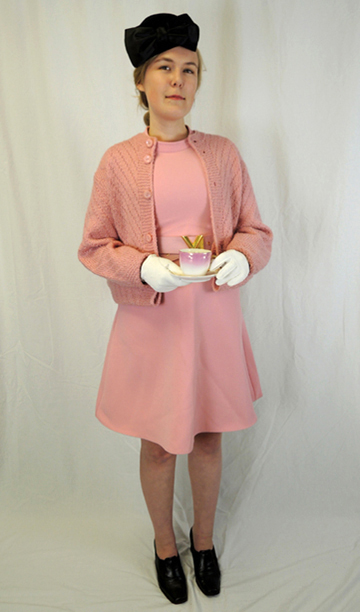
We challenged Princeton University student James Jared to put together as many literary characters as he could in 180 minutes…using only what he could find on the racks of a local thrift store! He did not disappoint! Check out all nine costumes here!


#3 GANDALF THE GREY
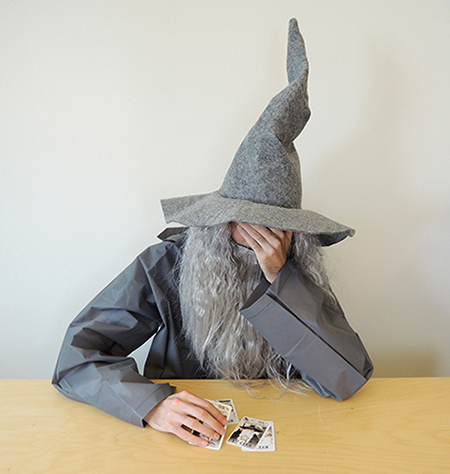
gandalf headache 2_4 2023 summer intern Daniel Dias not only got to test a LOTR escape room…he also learned that no one enters the orbit of Cotsen Outreach without eventually wearing a costume! His turn as the iconic wizard has officially earned him the now-and-future title of “Dandolf.”


#4 ROBOT
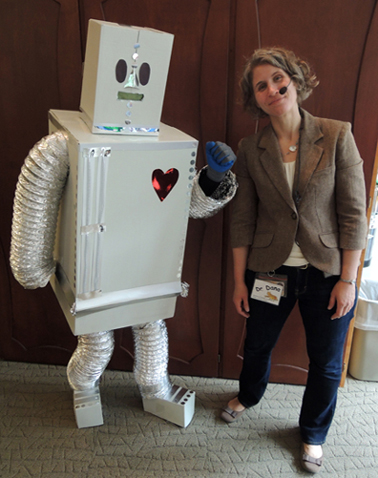
i heart robotOn the topic of being cajoled into costumes, we present Ian Dooley, Cotsen’s former Curatorial Assistant, who climbed into a robot costume to make a story time wish come true. Ian is now working on his Ph.D. at the University of London. There is a correlation in here somewhere.


#5 THE PIT CREW
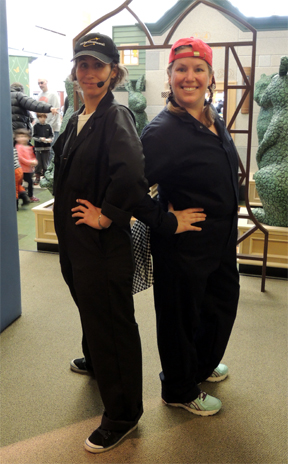
team coverallWhile these costumes might not seem terribly exciting, Katie and I both wanted to include them on the list. Our pit crew coveralls served as well at a Cars and Trucks and Things that Go creative event. We have worn a LOT of event costumes over the years, but these took the trophy for comfort and practicality on a very busy day!


#6 EPIC VILLAINS

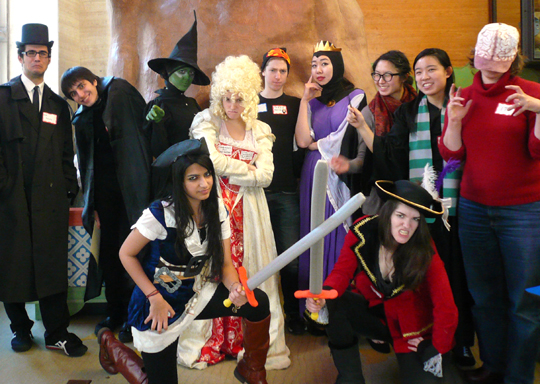
school for scoundrelsAn entire event full of literary villains? YES. A team of Princeton University students  gleefully taught children how to be nefarious, naughty, and nay-saying!


#7 FAIRY GODMOTHER
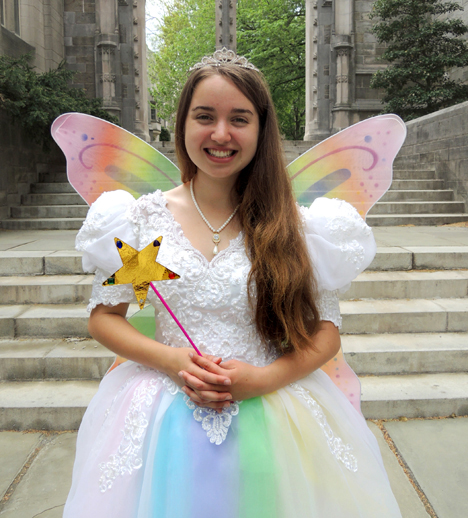
fairy godmotherSwitching over to the forces of good, we have Princeton University student Sylvia Jacobson, who gamely stepped up to be a Literal Fairy Godmother for our children’s literary society. Here we see her sporting an old wedding dress I spruced up with some rainbow fabric. Sylvia the Sparkly granted wishes very specifically. Definitely check out the post for a good chuckle!


#8 STORY TIME ROYALTY
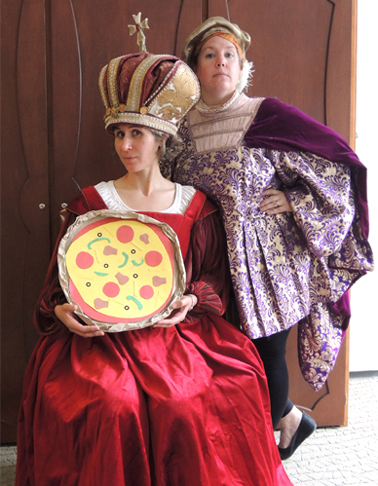
royal pie

What could have been just an average story time seriously leveled up when Katie and I discovered these costumes at the Lewis Center for the Arts. Pizza was never so faaaaaancy!


#9 ELOISE & MYTHOLOGY
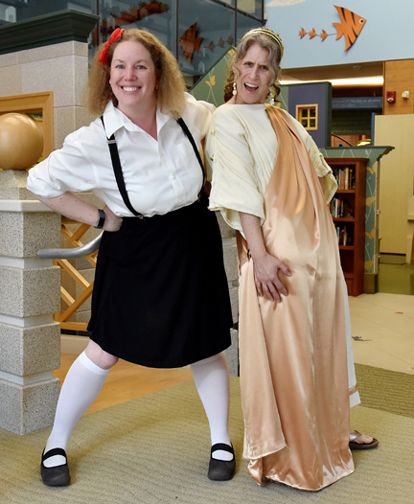
dana and katie 3

When our library re-opened after an extensive year-long renovation, we threw a big party and invited everyone to dress in literary costumes. Katie came as Eloise and I was the Dewey Decimal classification for Mythology. And yes, 291.13 was written on my arm!


#10 VICTORIAN LADIES
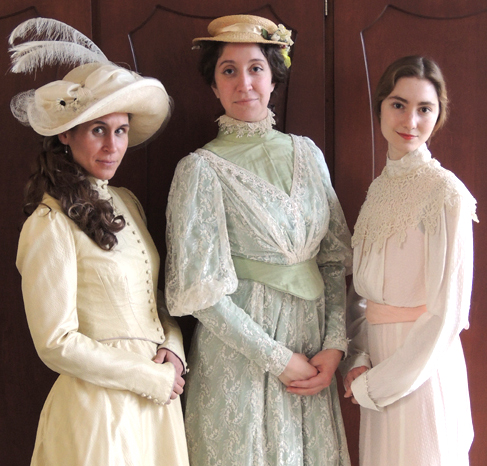
ladies of the manorOne of my favorite programs was a historic Victorian tea, complete with costumes, games, and a glorious tea time (blog readers might recognize our beloved Miss Marissa in the middle and Princeton University student Joani Etskovitz on the right). Some of the kids came dressed for tea too! I won’t divulge any more…definitely go check out the post!


#11 PIRATE & VIKING
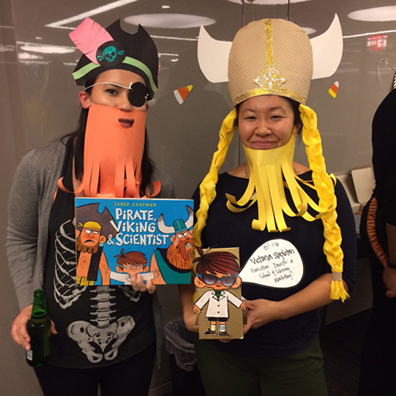
IMG_3941

A story time featuring Jared Chapman’s hilarious book Pirate, Viking & Scientist got all the kids giggling. But when two staff members at Little, Brown decided to wear our project at the publishing house’s annual Halloween party? We were THRILLED!


#12 STEAM PUNK SPELUNKERS
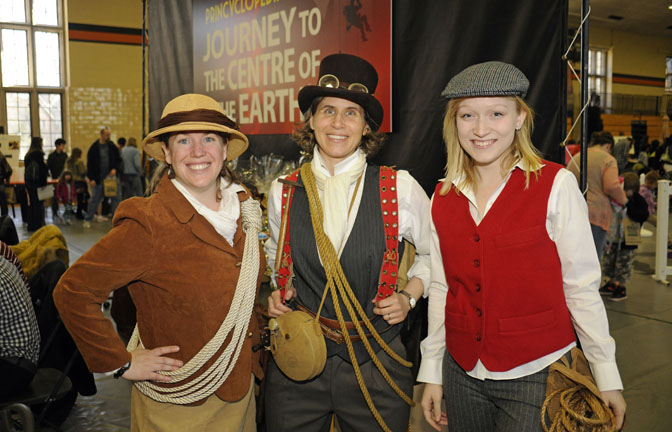
Here we have three Victorian spelunkers at a massive Journey to the Centre of the Earth event we hosted in 2013. On the right is Princeton University student Kim Freid. As you can see, we were ready to tackle anything the day threw at us, thanks to all the ancient camping equipment I scored on ebay!


#13 DOOMED HEIRESSES
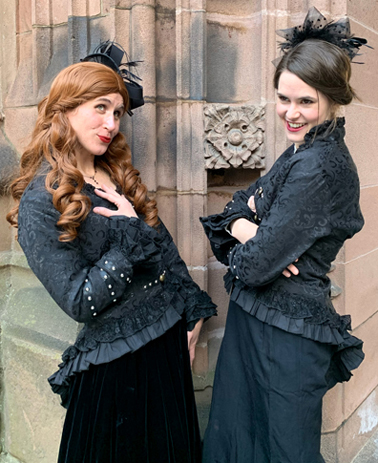
dracula actresses 3We started this post with Poe, and we’ll finish with the equally gothic Bram Stoker. Behold two kidnapped heiresses – myself and Special Collections Reference Professional Emma Sarconi. We’re preparing to scream and swoon our heart’s out in Katie’s masterful Dracula escape room. The jump scares were FABULOUS.

Camping? Nom Nom Nom

camping nom nom nom

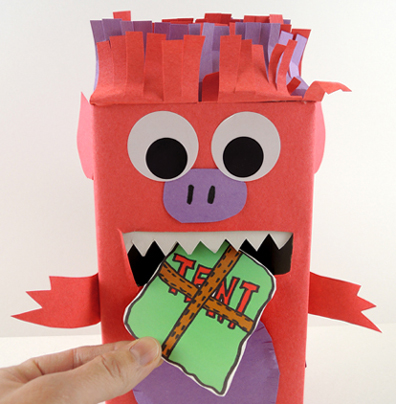
Pack your tents and hit the great outdoors with your friends Monster and Mouse. But keep an eye on Monster…he tends to eat the equipment!

We read Monster and Mouse Go Camping, written by Deborah Underwood, and illustrated by Jared Chapman (Houghton Mifflin Harcourt, 2018). Mouse is very excited to camp, but Monster is reluctant…camping seems a little scary. However, with the promise of food, Monster is happy to try. Except that he eats the lantern, sleeping bags, and tent. Another problem? Mouse forgets to pack the ACTUAL food. Now the two friends are quite cold and hungry. Then they spot another campsite. Polite inquiries are made…only to get a unexpected reaction that makes this one of the FUNNIEST read-alouds, ever. Highly recommended!

You’ll need:

  • 1 large tissue box
  • 1 box cutter
  • A selection of construction paper
  • 1 manila file folder
  • 1 toilet paper tube
  • 1 monster camping equipment template on 8.5″ x 11″ card stock
  • Scissors, tape, and glue for construction
  • Markers for decorating

front of camping monster

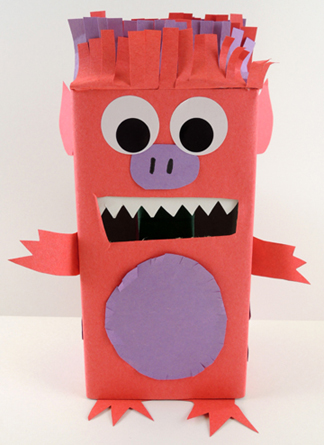
First, the monster! Use a box cutter to create a mouth in a large tissue box. Then decorate the box with construction paper (we also offered large eye stickers). While you are decorating, make sure to leave the tissue box hole hole open in the back. This will allow you to retrieve your camping food later.

back of camping monster

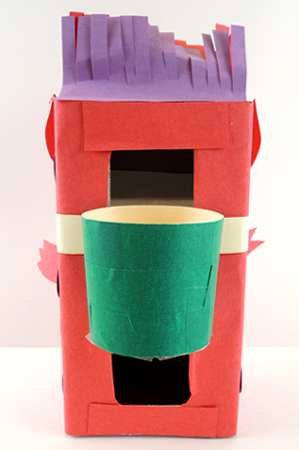
As you can see in the above photo, our monster is also sporting a backpack. Ours was fashioned from an old manila file folder using this template. Curl the wings of the template around the circle, then secure everything in place with tape to create a “cup” backpack (we used color masking tape to decorate the backpacks too).

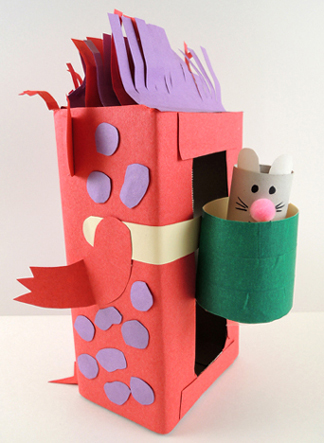
Attach the cup to an extra strip of manila paper, then tape or glue it to your monster box. Add a toilet paper tube mouse if you’d like:

side view of monster backpack

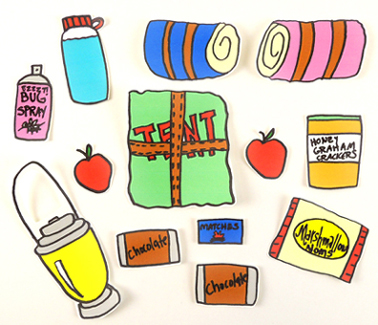
Now for the equipment! Color and cut the items from the template, then feed each item into the monster’s mouth. Retrieve the items using the hole in the back of your monster box. And yes, we did make sure to include all the fixings for s’mores in the set:

monster edible camping equipment

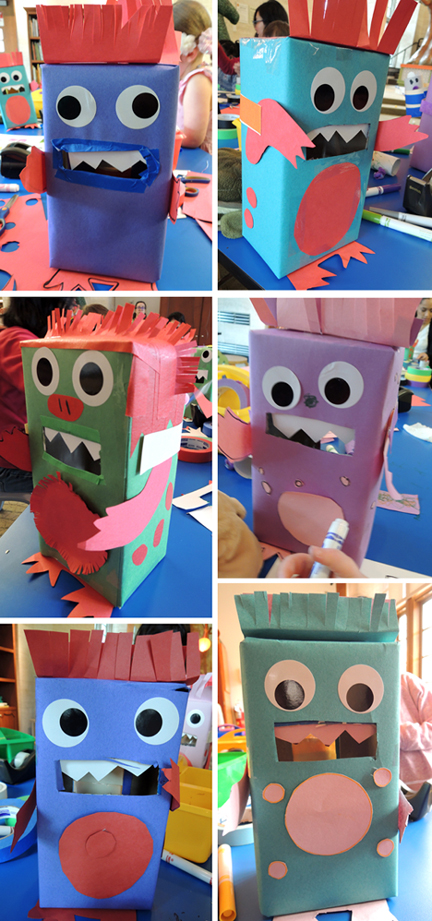
One things I love about the simple and open-ended decoration projects is the styles and color combinations kids come up with. Here are just a few from story time!

Pirate vs. Viking

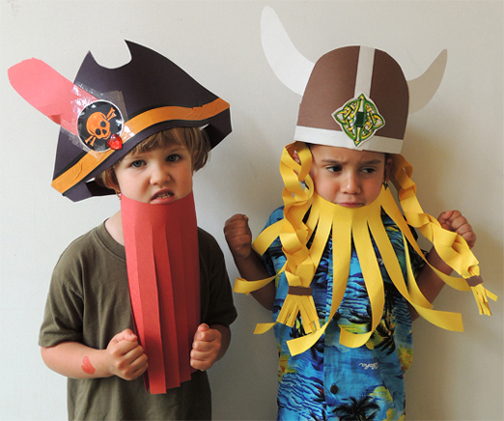
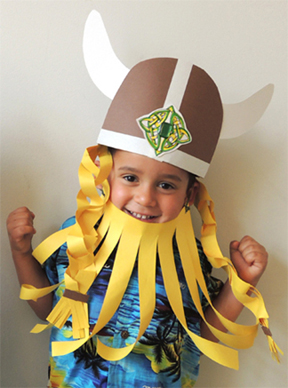
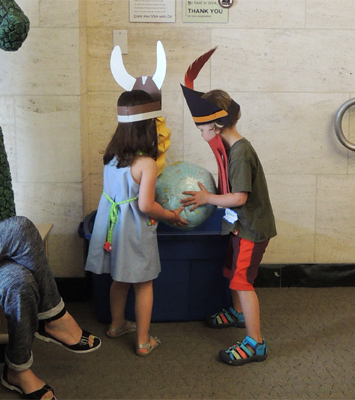
pirate vs vikingCan’t we all just get along? Apparently not if you’re a pirate or a viking. We gave kids the choice of being a pirate or a viking, and then played cooperative games to show that yes, even pirates and vikings can learn to work together! I love this photo. I asked the kids to “make a mean face” and they still managed to look completely adorable.

We read Pirate, Viking & Scientist by Jared Chapman (Little, Brown, 2014).
Pirate and Viking are friends with young Scientist…but NOT one another. Things come to a head at Scientist’s birthday party. Instead of doing the right thing and getting along, Pirate and Viking erupt in a nasty, full-out, cake-throwing brawl. Putting the scientific method to work, Scientist tries to systematically solve the problem. After a few failed attempts, he finally hits on the solution – that Pirate and Viking both love boats, swords, pillaging, and plundering. Success! With these common bonds between them, the party is saved, and Pirate and Viking are now the best of friends.

For a pirate hat, you’ll need:

  • 1 pirate hat template, printed on 11″ x 17″ paper
  • 1 rectangle of black poster board (approximately 9″ x 17″)
  • A selection of color masking tape
  • 1 pirate hat emblem template, printed on 8.5″ x 11″ white card stock
  • 1 large gemstone (optional)
  • 1 piece of construction paper for your “feather” (approximately 4″ x 12″)
  • 1 piece of construction paper for your “beard” (approximately 8.25″ x 12″)
  • 2 rubber bands
  • Hole punch
  • Scissors, glue, and stapler for construction
  • Markers for decorating

For a viking hat: you’ll need:

  • 1 viking hat template, printed on 11″ x 17″ paper
  • A piece of brown poster board (approximately 9″ x 22″)
  • A selection of color masking tape
  • 1 viking hat emblem template, printed on 8.5″ x 11″ white card stock
  • 1 large gemstone (optional)
  • 2 rectangles of white poster board (approximately 4.25″ x 7.5″)
  • 6 strips of construction paper for your “braids” (approximately .75″ x 18″)
  • 1 piece of construction paper for your “beard”
  • 2 rubber bands
  • Hole punch
  • Scissors, glue, and stapler for construction
  • Markers for decorating
  • Hot glue

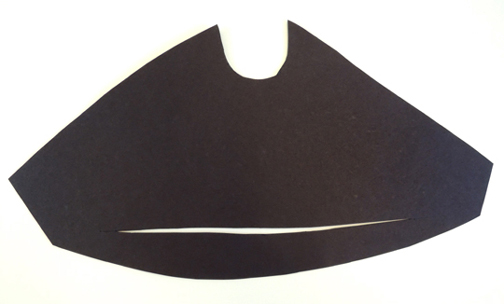
To make a pirate hat, begin by tracing the hat template on a piece of black poster board. Next, make a 12″ slit close to the bottom of the hat (this is where your head will go through later). Set the hat aside for a moment.

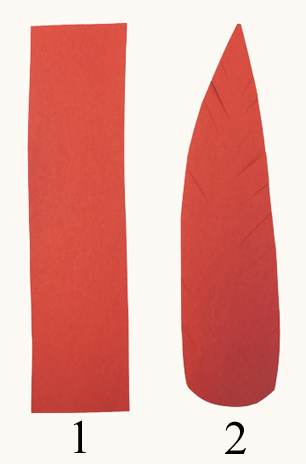
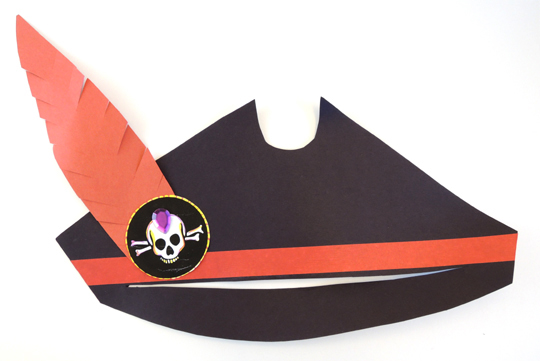
pirate hat cutCut a 4″ x 12″ piece of construction paper (any color) into a feather shape and fringe the ends to give it some texture.

pirate hat featherUse color masking tape to add a hatband to the hat, and markers to color a pirate hat emblem. Hot glue (or tape or staple) the feather to the hat. Cover the bottom of the feather with the emblem, and hot glue (or tape or staple) it in place. If you’d like, attach a large gemstone with hot glue.

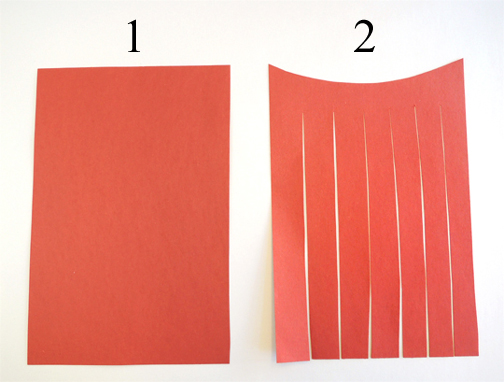
finished pirate hatTo make a beard, cut a shallow scoop in the top of a 8.25″ x 12″ piece construction paper. Then fringe it.

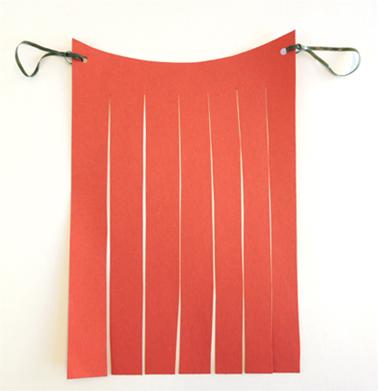
beard steps 1 and 2Punch holes at either end, and thread a rubber band through each hole.

finished beardYou can leave the beard straight, or curl it around a pencil or marker to give it some body. When you’re satisfied with the way it looks, press the beard to your chin and loop the rubber bands over your ears. Done!


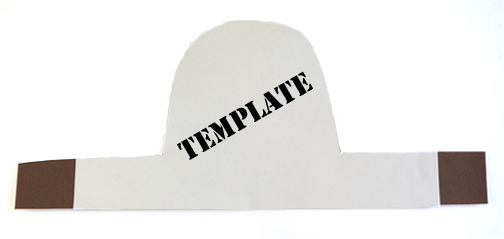
To make a viking hat, trace the hat template onto a 9″ x 22″ piece of brown poster board. Your template will be shorter than the piece of poster board. No worries! I had to fit the template onto an 11″ x 17″ piece of paper, and couldn’t include the last couple inches of the hat band. Just keep cutting past the template until you reach the ends of the poster board. Here’s an image of the template resting on top of a hat. You can see a couple inches of brown hat band sticking out:

template with extra edgesFold the top of the hat downwards over the hat band, and hot glue it in place (you can also staple it in place, but might want to cover the staples with tape so they don’t scratch anyone’s forehead).

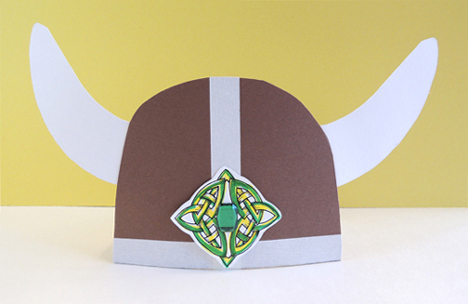
viking hat fold downUse color (or regular) masking tape to add some details to the hat, then shape a pair of horns out of white poster board and attach with hot glue (or tape). Color a viking hat emblem from the template, then hot glue (or tape) in place. Add a large gemstone if you’d like. Finally, circle the hat band around your head and staple it closed.

finished viking hatWant braids? Staple the top of 3 long strips of paper together. I found that looser braids hung better (tighter braids tended to kink and bunch up). When you get to the bottom of the braided strips, staple them together. Cover the staple with a construction paper “thong” if you’d like. Repeat the above steps to make a second braid, then staple both braids to your helmet, close to your ears. Check these braids out!

viking braidsIf you’d like to make a viking beard, follow the exact same steps for the pirate beard.

You’re suited up, now it’s time for the cooperative games! We separated the kids into two groups: Pirates and Vikings. For each game, we paired a pirate and a viking together, and ran the game until all the teams had a turn.

GAME 1: BEACH BALL BLISS

beach ball blissTeam members had to carry a ball across the room together, then deposit it into a bin. If they dropped it (or one of them grabbed it and ran with it), they had to start over again.

GAME 2: COIN CLAIM

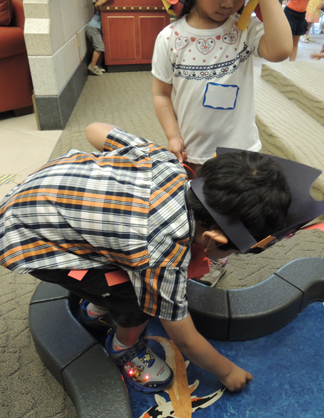
coin claimTeams had to carry a bucket across the room together, “dive” into a pond, and claim 2 treasure coins – all while still sharing the bucket handle. Then, still sharing the bucket, the team walked back to the finish line. We have a “koi pond” in our gallery, but a blue sheet on the floor works too!

The coins were interesting-looking pieces of foreign currency we requested through our recyclable program. But you could use regular old quarters, plastic coins, or shiny circles of paper and achieve the same effect. We made sure both coins in the pond matched, and refreshed the stock as each new team approached. Otherwise, there might have been a brawl over the “prettier” or “shinier” coin.

GAME 3: FRIENDSHIP TATTOOS

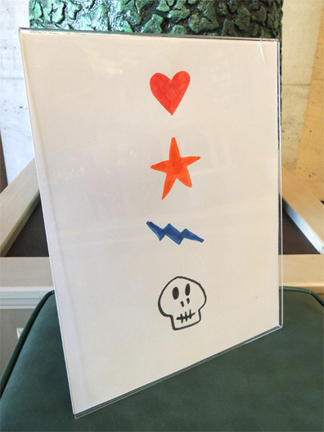
friendship tattoosPirates and vikings sat down in matching chairs, scanned a list of 4 tattoos (see above), and decided which one they wanted. But they also had to decide where they were going to get the tattoos, and the tattoo locations had to match! Eventually, the team members would come to a consensus and we drew the tattoos straight onto their skin with washable markers.

At our story time, most of the kids don’t know each other. We didn’t want to make anyone feel uncomfortable, so we kept the cooperative games low-contact and simple. But if you did this in a classroom where the kids know each other fairly well, you could up the challenge level. One example would be to play Beach Ball Bliss, but have the kids squash the ball between their bellies and, using no hands, walk the ball to the goal without dropping it!


Postscript: The author, Jared Chapman, sent this to me! It’s an image from Little, Brown’s annual Halloween party. Two staffers from the School & Library team dressed up as Pirate and Viking using the costumes from this post! Don’t they look amazing? Thanks for the photo Jared!

IMG_3941