 The tale of Cinderella takes an intergalactic spin with this charming paper cup rocket. Never underestimate the power of a space ship. The story time kids LOVED this project!
We read Interstellar Cinderella, written by Deborah Underwood, and illustrated by Meg Hunt (Chronicle Books, 2015). When Cinderella, our tool-handy heroine, is kept from attending the Prince’s Royal Space Parade, she is visited by her Fairy Godrobot. Cinderella arrives to the parade just in time, as the Prince’s ship is malfunctioning and only she can fix it! Cinderella and the Prince have a blast talking mechanics, but she flees at midnight, leaving behind her sonic socket wrench. The Prince circles the galaxy, intent on finding the only person who can fix his ship. It’s Cinderella, and no, she doesn’t want to get married. She wants to be his chief mechanic!
You’ll need:
- 1 paper cup
- Space ship decor
- Scissors, tape, and glue for construction
- Markers for decorating
- Hot glue
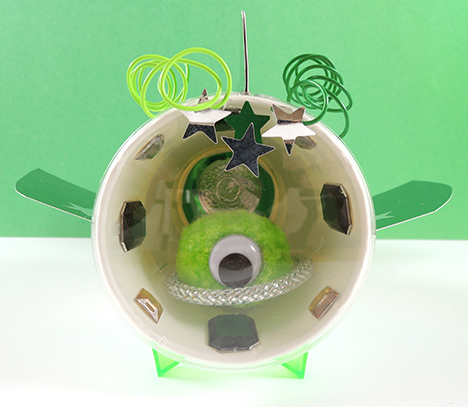
As you can see, this rocket is a paper cup propped up on little legs. We had some extra Petri dish lids (leftover from this Hobbit door project) that made terrific windshields, but that’s totally optional!
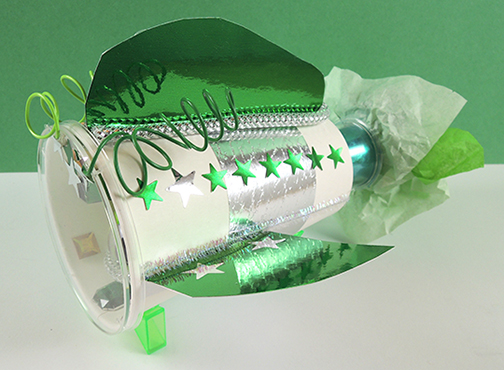
For decor, we offered embossed foil paper, color mirror board, twisteez wire, star stickers, large gemstones, metallic mesh tubing, plastic cup boosters with tissue paper flames, and little plastic blocks for landing gear.
Ready for take off!

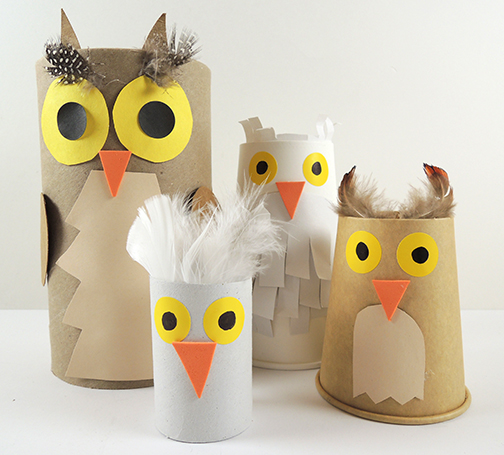 It’s a simple craft, but oh-so-dynamic when this owl family reveals itself to be a set of charming nesting dolls!
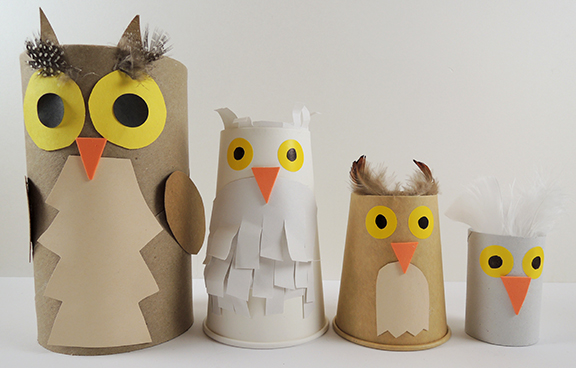 As you can see, we did different combinations of construction paper, textures, and feathers to make each owl unique, but also to keep them visually cohesive as a family. If you can, we highly recommend brown AND white cups, just to give the nesting doll reveal a fun color-change.