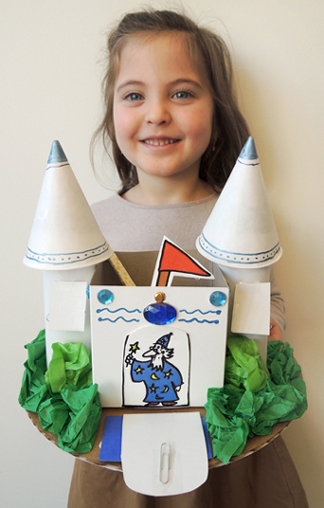
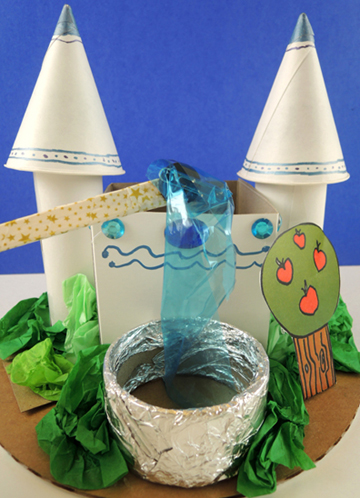
Use your magic wand to reveal the secrets of this enchanted castle – raise the drawbridge, hoist the flag, open windows, discover buried treasure, and more! All it takes is a magnet and a few well-placed paper clips!
We read I Wished for a Unicorn, written by Robert Heidbreder, and illustrated by Kady MacDonald Denton (Kids Can Press, 2000). A little girl wishes for a unicorn, and wow… one appears! Granted, it looks and acts suspiciously like her pet dog, but that doesn’t stop the two from having amazing adventures in a magic woods and enchanted castle.
You’ll need:
- 1 corrugated cardboard base (we used a 10″ diameter cake circle)
- 1 small box (ours was 4″ x 4″ x 4″ – a small tissue box works too)
- 2 paper towel tubes
- 2 paper cone water cups
- Construction paper
- 1 magnet castle template, printed on 8.5″ x 11″ white card stock
- 1 brass fastener
- 1 pair of unused, intact chopsticks
- 1 button magnet
- 6-7 small paper clips
- Scissors, tape, and glue for construction
- Markers for decorating
- Hole punch
- Hot glue
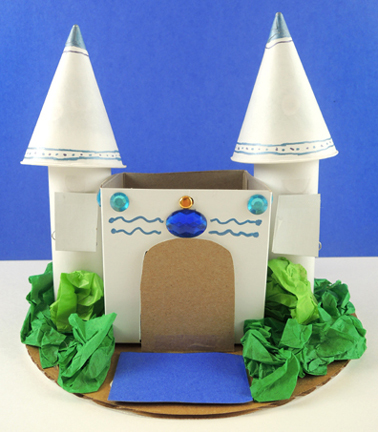
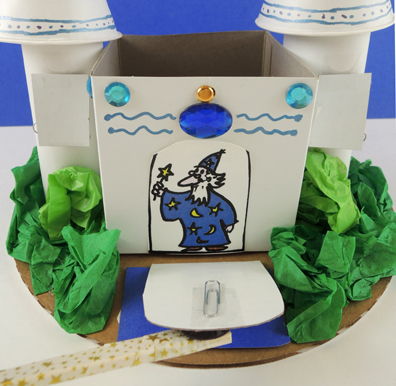
As far as construction, this castle is very basic. We used a 4″ x 4″ x 4″ craft box with the lid cut off, and hot glued it to a corrugated cardboard base. Add 2 shortened paper towel tube towers, 2 cone drinking cup roofs, and some (optional) green tissue paper shrubs . The drawbridge is a hinged piece of cardboard (we used the scrap from our box lid). The moat is construction paper. Wrap the castle with construction paper if you like, then decorate with metallic markers and perhaps a jewel or two. You’re done!
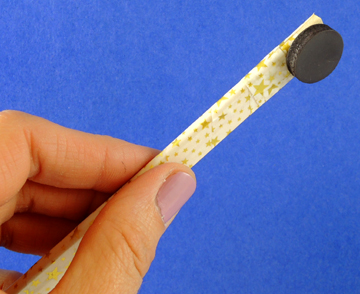
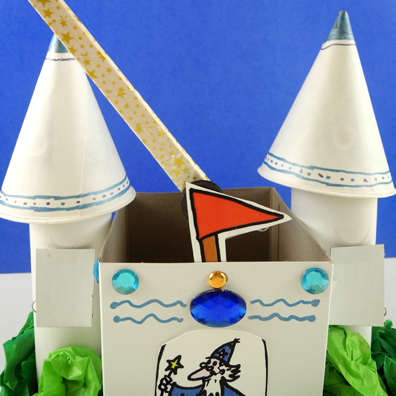
Infusing your castle with magical powers is also easy, thanks to this “magic wand.” It’s a pair of intact chopsticks decorated with markers or patterned tape. Hot glue a button magnet to the wider end:
 Next, tape paperclips to various castle elements. Here’s what we did, using our castle template. The drawbridge lowers to reveal a wizard:
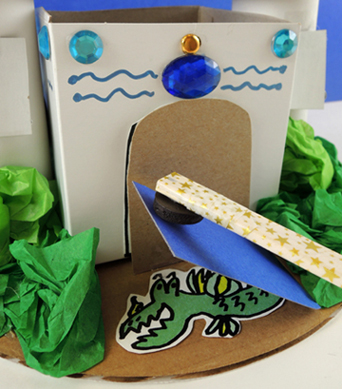
 The moat rises to reveal a water dragon:
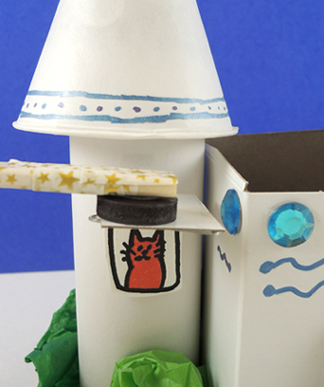
 The castle towers each have a window that hinges upward to reveal something inside. Below you see a cat…the other window has a friendly flower in a pot:
 Above the drawbridge, you can also raise a flag! Use a hole punch to create a hole in the pole of the template flag, and in the wall of the castle. Thread a brass tack through the holes, tape a paperclip to the back of the flag, and fly it high!
 Around the back of the castle is an (optional) fountain. We wrapped a packing tape core with tin foil, then taped a 3″ x 6.5″ rectangle of blue cellophane inside. Use a paper clip and the wand to make the fountain water rise!
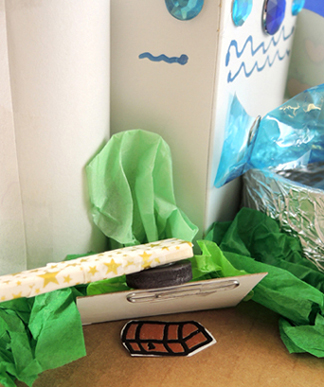
 In the garden next to the fountain was a buried treasure trap door:
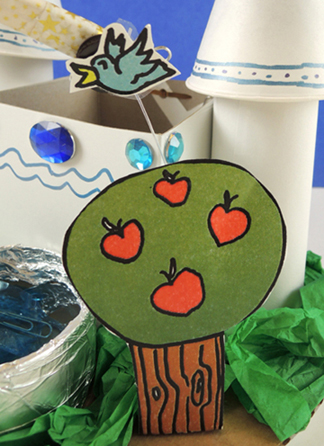
 And on the other side of the fountain is an apple tree with flying bird. We tethered the bird to the tree with clear elastic beading cord, but any string will do:
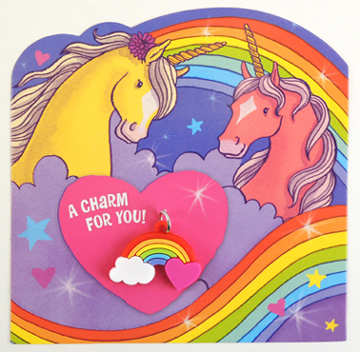
 At this point, you might be wondering…where is the UNICORN? The book is all about an adventure with a unicorn! Well fear not. We scored these awesome unicorn Valentines by Peaceable Kingdom (a set of 28 cards cost $13-15). Each card comes with a little rainbow charm:
 When kids were finished with their castles, DR. MAGICAL PURPLE UNICORN bestowed cards and rainbow charms!
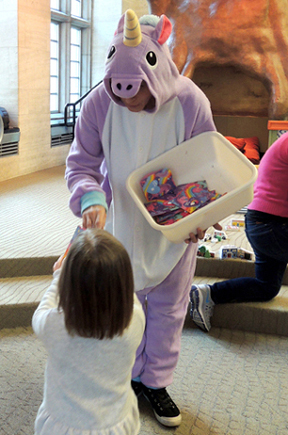 And yes, that unicorn onesie does feel just as comfortable as it looks.
 It started with an excited text from Katie: “Check out this LEGO set!” The accompanying image made my heart go pitter pat. LEGO has created a fairy tale pop-up book. I think it took oh…maybe 15 seconds for me to order one for blog testing? The set was Katie’s discovery, so she gets to do the honors. Take it away, Katie!
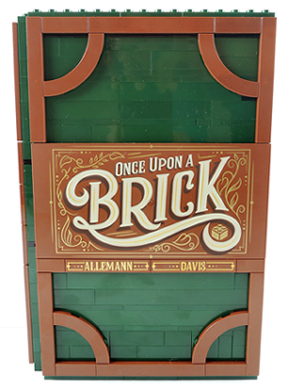
 The set retails between $50-$70. There are 859 pieces in the box and the suggested age range is 12+. The instruction manual is a novel in its own right, weighing in at a hefty 162 pages. I loved that at the start of the instruction manual, LEGO introduced the fan designers who came up with the original idea for the pop-up book, as well as the LEGO designers who helped bring the book to LEGO life.
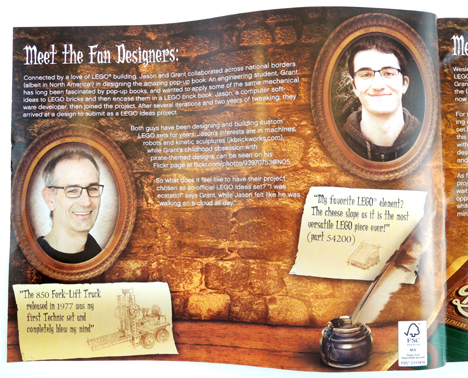 LEGO also provided the history of pop-up books, which date back to the 13th century, and briefly discussed the two fairy tales that are a part of the set. Along with words of encouragement to “Create your own fairy tale!” and “Build your own story…,” the instructions to build your LEGO set starts.
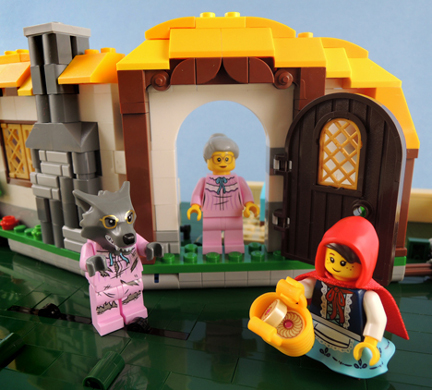
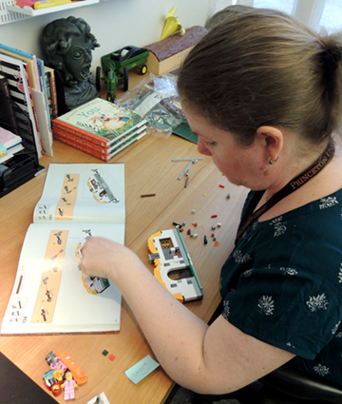 The instructions have you build the Little Red Riding Hood cottage first. As I attached the pieces inside the book covers, I wasn’t sure the cottage would properly fold down and create the pop-up book illusion. But it really works!
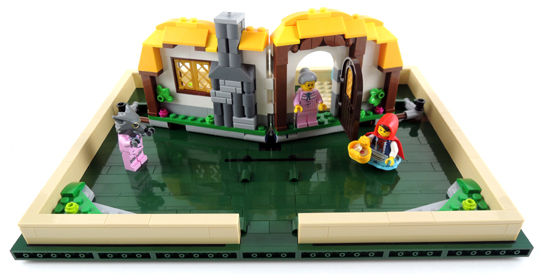
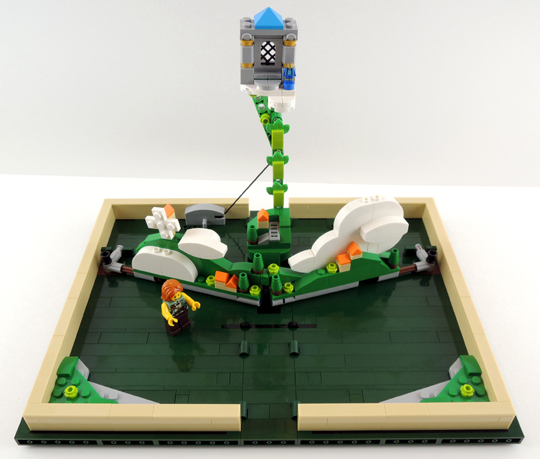
 My *only* complaint – and perhaps it is merely a humble suggestion – is that the little windmill blades in the Jack and the Beanstalk tiny town should have been a different color. They sort of blend into the white clouds surrounding them.
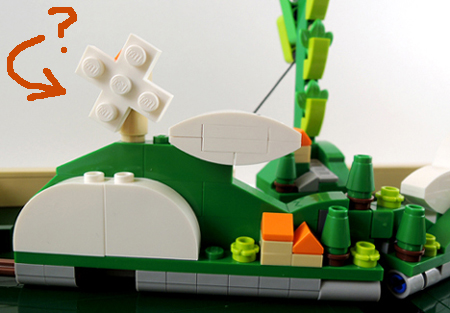 It took me about three hours to put the LEGO set together. I do agree with the suggested age range of 12+. The complexity of the set would be tough for younger kids to complete on their own, but they could probably build it with assistance from an adult.
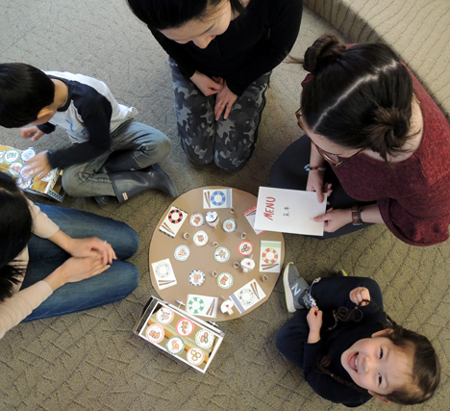 Hungry? We invite you to peruse the contents of this adorable dim sum cart. In addition to being stocked with deliciously delectable dishes, the cart is a bilingual matching game with an additional story time social twist!
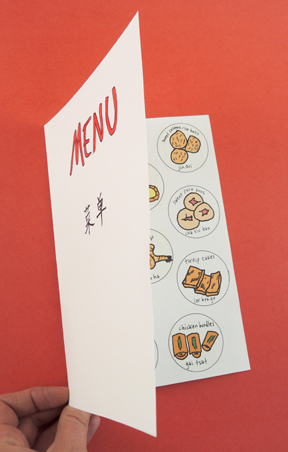
 We read Dim Sum for Everyone! by Grace Lin (Alfred A. Knopf, 2001). Follow a family as they sample the many little dishes served at a dim sum restaurant. Pork buns, fried shrimp, egg tarts…the carts have something for everyone! The book concludes with an excellent essay about dim sum – it’s history, traditions, and social aspects. Fantastic book!
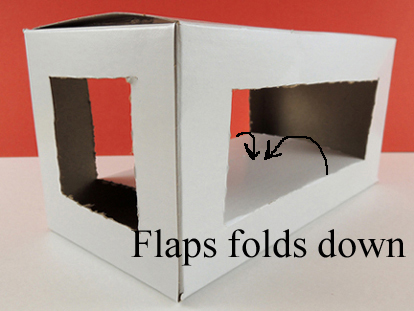 Add a wheel assembly to the bottom of the box (you’ll find instructions and alternative wheel suggestions
 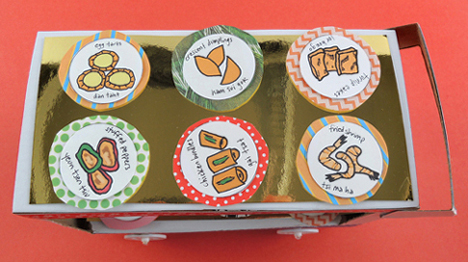 Would you also like to serve tea? The tea cups are leftover bits of card stock circled into miniature cylinders. To make the teapot, circle and tape the rectangular part of the
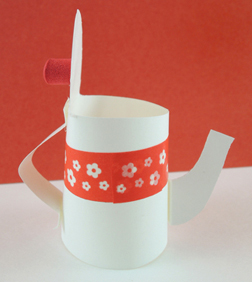
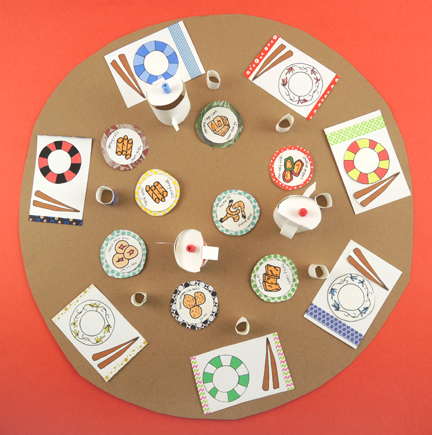 The book mentions how social dim sum dining is, so we made a couple tables (i.e. brown poster board circles) and asked the story time grown ups to sit around them. Kids traveled to ALL the tables, playing the matching game with everyone’s grown up! If you decided to add this social aspect to your story time, just make sure the kids write their names on the backs of each of their dishes so they can be returned to the proper cart.
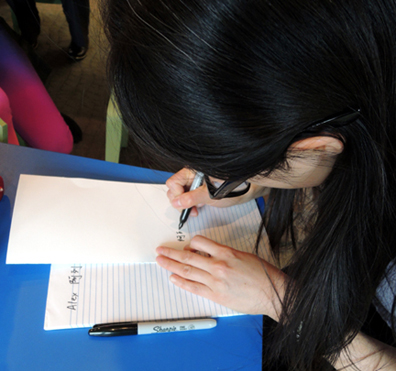
 The final touch on this awesome project? Our colleague, Dr. Minjie Chen, stopped by to write the kids’ names on their menus in Chinese characters. The absolutely loved it. Thanks Minjie!